bonnet Peugeot 308 2016 Owner's Manual - RHD (UK, Australia)
[x] Cancel search | Manufacturer: PEUGEOT, Model Year: 2016, Model line: 308, Model: Peugeot 308 2016Pages: 398, PDF Size: 10.3 MB
Page 5 of 398
Driving recommendations 146
Starting-switching off the engine
1
48
Manual parking brake
1
54
el
ectric parking brake
1
55
Hill start assist
1
62
5-speed manual gearbox
1
63
6-speed manual gearbox
1
63
ge
ar shift indicator
1
64
Automatic gearbox
1
65
Dynamic pack
1
69
Stop & Start
1
70
Memorising speeds
1
73
Speed limiter
1
74
Cruise control
1
77
Active cruise control
1
80
Display of inter-vehicle time
1
87
em
ergency collision alert system,
emergency collision braking system
1
90
Blind spot sensors
1
95
Parking sensors
1
98
Reversing camera
2
00
Park Assist
2
01
Under-inflation detection
20
9Fuel tank
2 13
Diesel misfuel prevention
2
14
Snow chains
2
16
Very cold climate screen
2
17
to
wing a trailer
2
18
en
ergy economy mode
2
19
Accessories
2
20
Changing a wiper blade
2
22
Fitting roof bars
2
23
Bonnet
226
Petrol engine
2
27
Diesel engine
2
28
Checking levels
2
29
Checks
233
AdBlue
® additive and SCR system
(
BlueHDi Diesel)
23
5
Warning triangle (stowing)
2
43
te
mporary puncture repair kit
2
44
Changing a wheel
2
50
Changing a bulb
2
56
Changing a fuse
2
66
12 V battery
2
72
to
w i n g
2 7 5
Running out of fuel (Diesel)
2
77Petrol engines
2
78
Petrol weights
2
81
Diesel engines
2
84
Diesel weights
2
88
Dimensions
2
92
Identification markings
2
95
Driving
Practical information
In the event of a breakdownte chnical data
.
Audio equipment and telematics 296
D
eN
ON equipment
2
98
7-inch touch screen
2
99
Peuge
O
t Connect Sound (RD5)
3
63
Audio equipment and telematics
Alphabetical index
Contents
Page 9 of 398
7
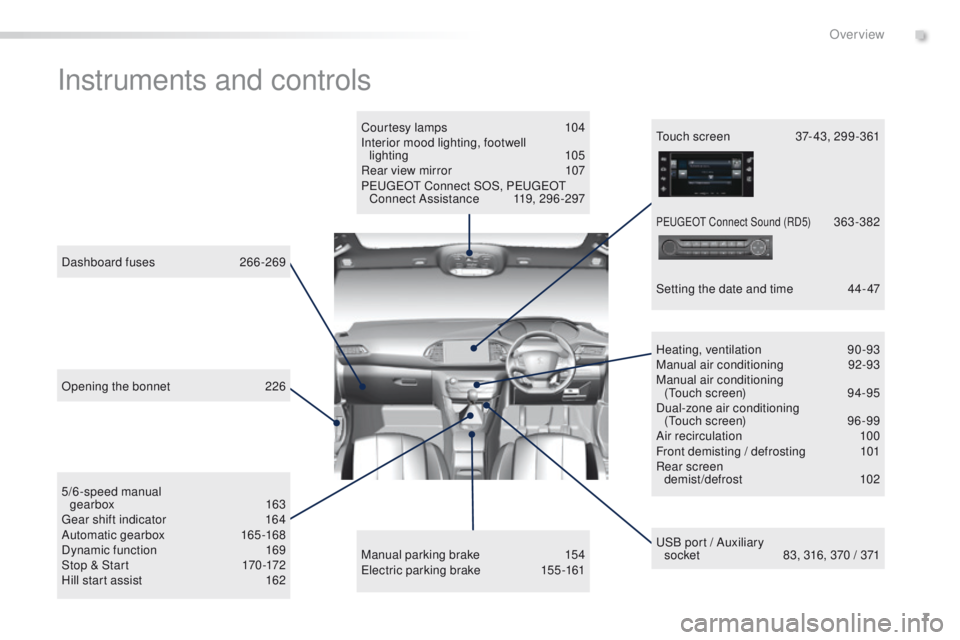
Instruments and controls
Courtesy lamps 104
Interior mood lighting, footwell lighting
105
Rear view mirror
1
07
Peuge
O
t Connect SOS, Peuge
O
t
Connect Assistance
1
19, 296 -297
uS
B port / Auxiliary
socket
8
3, 316, 370 / 371
5/6-speed manual
gearbox
163
ge
ar shift indicator
1
64
Automatic gearbox
16
5 -168
Dynamic function
1
69
Stop & Start
1
70 -172
Hill start assist
1
62
Dashboard fuses
2
66-269 Heating, ventilation
9
0-93
Manual air conditioning
9
2-93
Manual air conditioning (
to
uch screen)
9
4-95
Dual-zone air conditioning (
to
uch screen)
9
6 -99
Air recirculation
1
00
Front demisting / defrosting
1
01
Rear screen demist/defrost
1
02
Manual parking brake
1
54
el
ectric parking brake
1
55 -161to uch screen 3 7- 43, 299 -361
Setting the date and time
4
4- 47
Opening the bonnet
2
26
PeugeO t Connect Sound (RD5) 363-382
.
Over view
Page 11 of 398
9
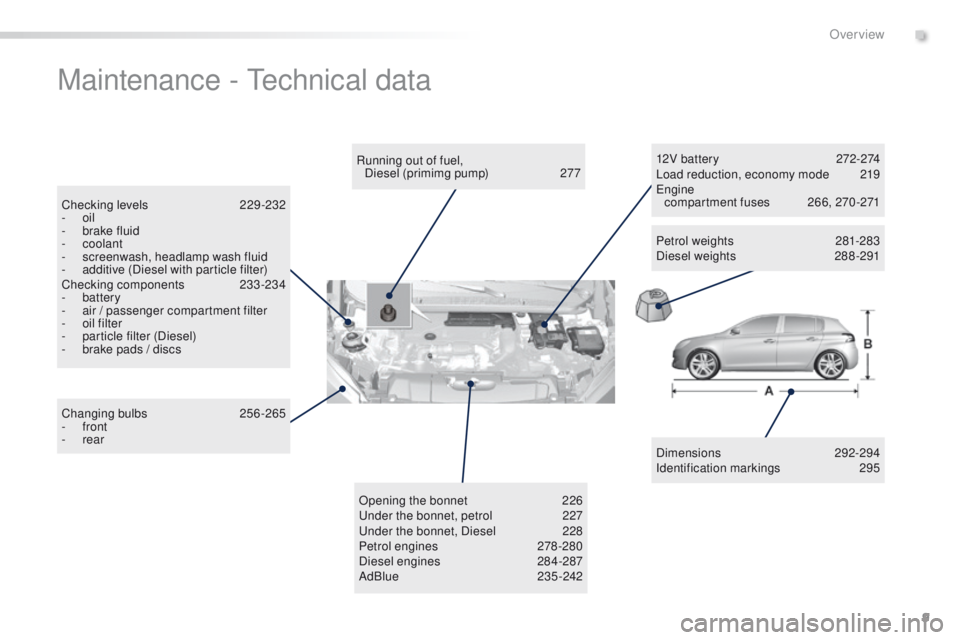
Maintenance - technical data
Dimensions 292-294
Identification markings 2 95
Running out of fuel,
Diesel (primimg pump)
2
77
Checking levels
2
29-232
-
oil
-
b
rake fluid
-
coolant
-
s
creenwash, headlamp wash fluid
-
a
dditive (Diesel with particle filter)
Checking components
23
3-234
-
battery
-
a
ir / passenger compartment filter
-
o
il filter
-
p
article filter (Diesel)
-
b
rake pads / discs
Changing bulbs
2
56-265
-
front
-
rear 12V battery
2
72-274
Load reduction, economy
mode
2
19
en
gine
compartment fuses
2
66, 270 -271
Opening the bonnet
2
26
un
der the bonnet, petrol
2
27
un
der the bonnet, Diesel
2
28
Petrol engines
2
78 -280
Diesel engines
2
84-287
AdBlue
235-242 Petrol weights
2
81-283
Diesel weights
2
88 -291
.
Over view
Page 67 of 398
65
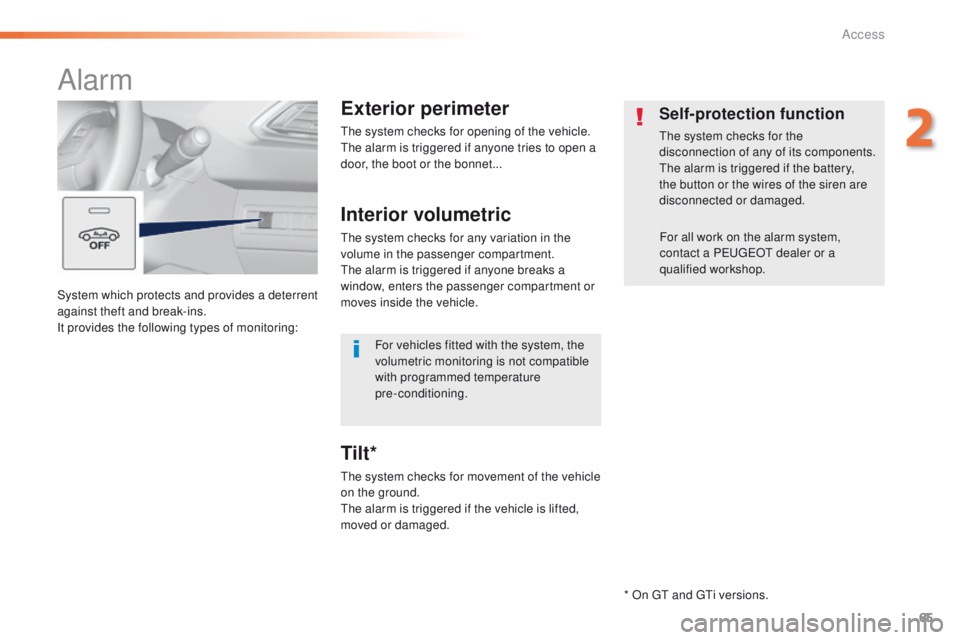
System which protects and provides a deterrent
against theft and break-ins.
It provides the following types of monitoring:
Alarm
Exterior perimeter
the system checks for opening of the vehicle.the alarm is triggered if anyone tries to open a
door, the boot or the bonnet...
Self-protection function
the system checks for the
disconnection of any of its components.
th
e alarm is triggered if the battery,
the button or the wires of the siren are
disconnected or damaged.
For all work on the alarm system,
contact a P
e
uge
Ot
dealer or a
qualified workshop.
Interior volumetric
the system checks for any variation in the
volume in the passenger compartment.
th
e alarm is triggered if anyone breaks a
window, enters the passenger compartment or
moves inside the vehicle.
th
e system checks for movement of the vehicle
on the ground.
th
e alarm is triggered if the vehicle is lifted,
moved or damaged.
Tilt*
For vehicles fitted with the system, the
volumetric monitoring is not compatible
with programmed temperature
pre-conditioning.
* On
gt and gt
i v
ersions.
2
Access
Page 68 of 398
66
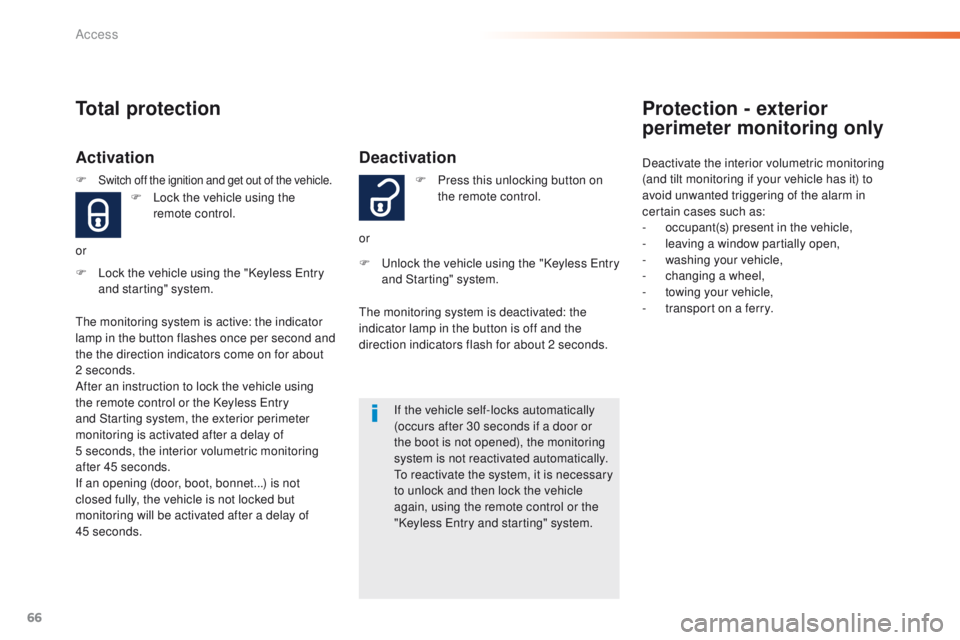
Deactivation
F Lock the vehicle using the "Keyless en try
and starting" system. F
P
ress this unlocking button on
the remote control.
or
F un lock the vehicle using the "Keyless en try
and Starting" system.
If the vehicle self-locks automatically
(occurs after 30 seconds if a door or
the boot is not opened), the monitoring
system is not reactivated automatically.
to r
eactivate the system, it is necessary
to unlock and then lock the vehicle
again, using the remote control or the
"Keyless
e
n
try and starting" system.
th
e monitoring system is deactivated: the
indicator lamp in the button is off and the
direction indicators flash for about 2 seconds.
Total protection
Activation
F Lock the vehicle using the remote control.
or
th
e monitoring system is active: the indicator
lamp in the button flashes once per second and
the the direction indicators come on for about
2 seconds.
After an instruction to lock the vehicle using
the remote control or the Keyless
e
n
try
and Starting system, the exterior perimeter
monitoring is activated after a delay of
5
seconds, the interior volumetric monitoring
after 45 seconds.
If an opening (door, boot, bonnet...) is not
closed fully, the vehicle is not locked but
monitoring will be activated after a delay of
45
seconds.
F
Switch off the ignition and get out of the vehicle.
Protection - exterior
perimeter monitoring only
Deactivate the interior volumetric monitoring
(and tilt monitoring if your vehicle has it) to
avoid unwanted triggering of the alarm in
certain cases such as:
-
o
ccupant(s) present in the vehicle,
-
l
eaving a window partially open,
-
w
ashing your vehicle,
-
c
hanging a wheel,
-
t
owing your vehicle,
-
t
ransport on a ferry.
Access
Page 174 of 398
172
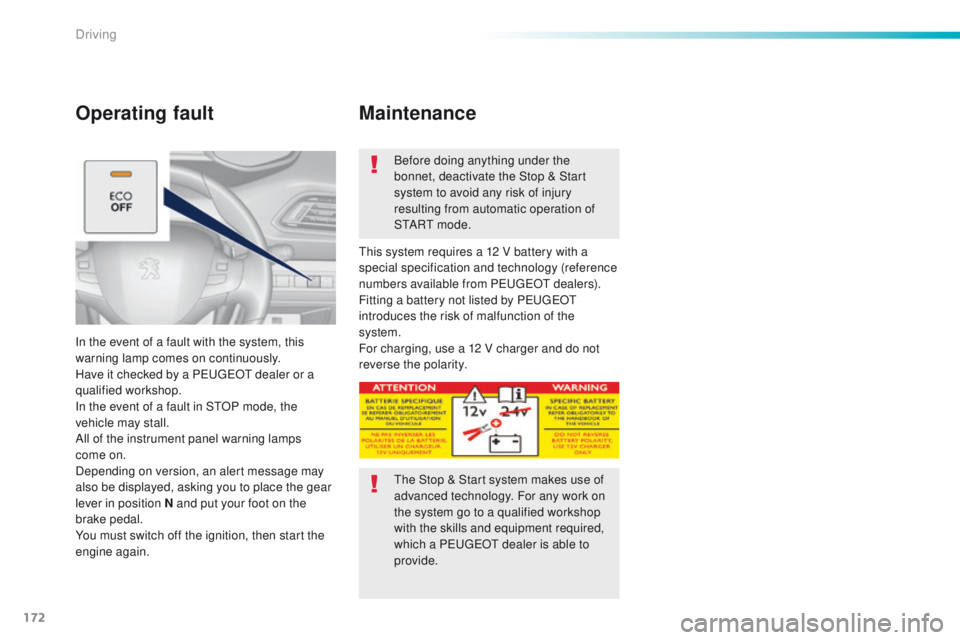
Operating fault
In the event of a fault with the system, this
warning lamp comes on continuously.
Have it checked by a P
e
uge
Ot
dealer or a
qualified workshop.
In the event of a fault in S
tO
P mode, the
vehicle may stall.
All of the instrument panel warning lamps
come on.
Depending on version, an alert message may
also be displayed, asking you to place the gear
lever in position N and put your foot on the
brake pedal.
You must switch off the ignition, then start the
engine again. Before doing anything under the
bonnet, deactivate the Stop & Start
system to avoid any risk of injury
resulting from automatic operation of
S
t
A R
t m
o d e .
th
is system requires a 12 V battery with a
special specification and technology (reference
numbers available from P
e
uge
Ot d
ealers).
Fitting a battery not listed by P
e
uge
Ot
introduces the risk of malfunction of the
system.
For charging, use a 12 V charger and do not
reverse the polarity.
Maintenance
the Stop & Start system makes use of
advanced technology. For any work on
the system go to a qualified workshop
with the skills and equipment required,
which a P
e
uge
Ot
dealer is able to
provide.
Driving
Page 228 of 398
226
Bonnet
Before doing anything under the
bonnet, switch off the Stop & Start
system to avoid any risk of injury
resulting from an automatic change to
S
t
A R
t m
o d e .
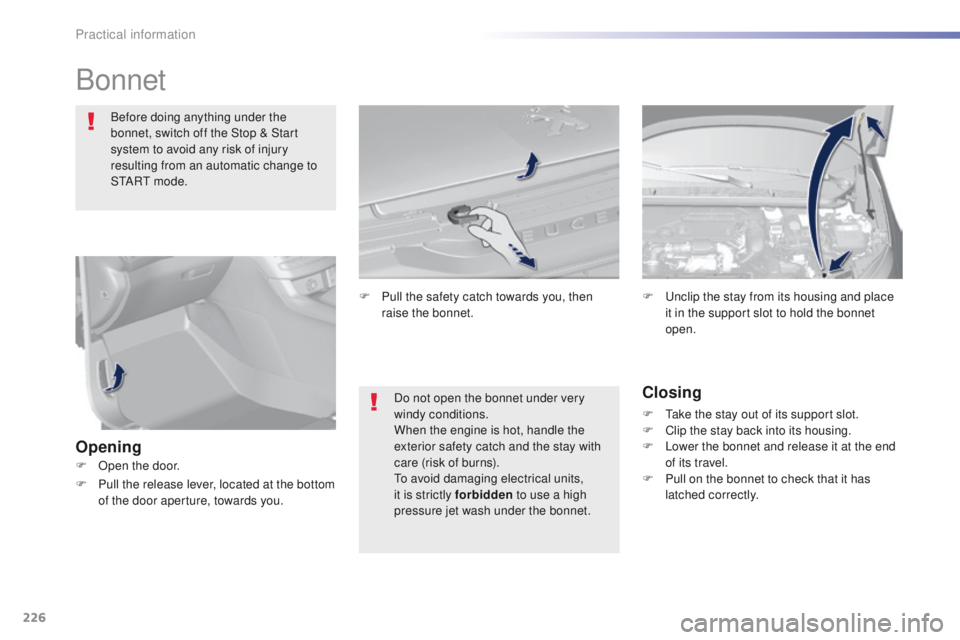
Opening Closing
F take the stay out of its support slot.
F
C lip the stay back into its housing.
F
L
ower the bonnet and release it at the end
of its travel.
F
P
ull on the bonnet to check that it has
latched correctly.
F
u
n
clip the stay from its housing and place
it in the support slot to hold the bonnet
open.
Do not open the bonnet under very
windy conditions.
When the engine is hot, handle the
exterior safety catch and the stay with
care (risk of burns).
to
avoid damaging electrical units,
it is strictly forbidden to use a high
pressure jet wash under the bonnet.
F
P
ull the safety catch towards you, then
raise the bonnet.
F
O
pen the door.
F
P
ull the release lever, located at the bottom
of the door aperture, towards you.
Practical information
Page 231 of 398
229
Checking levels
take care when working under the bonnet, as certain areas of the engine may be extremely hot (risk of burns) and the cooling fan could start at
any time (even with the ignition off).
Engine oil level
the check is carried out either when
the ignition is switched on using the
oil level indicator in the instrument
panel for vehicles so equipped, or
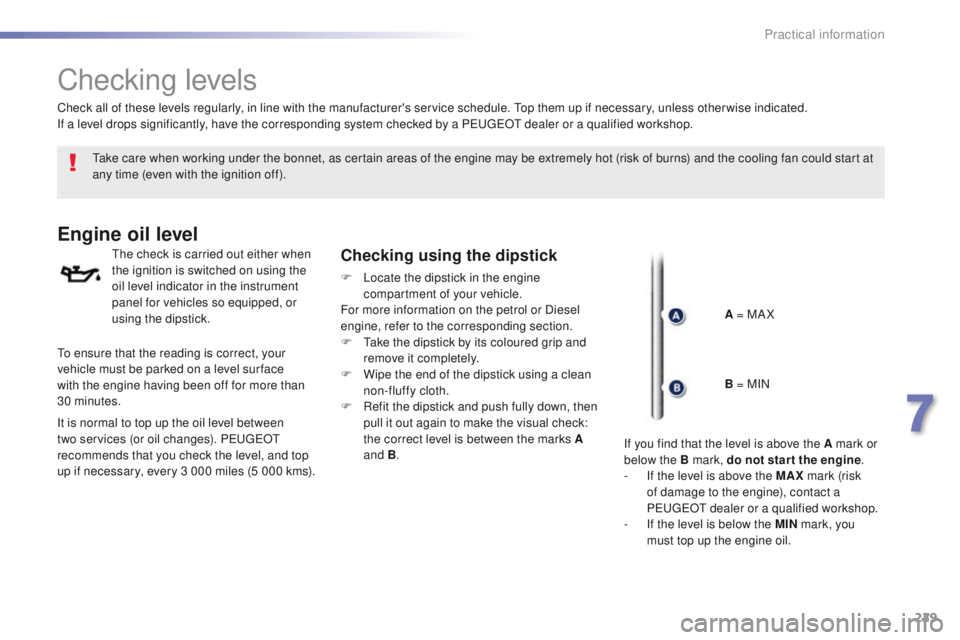
using the dipstick.Checking using the dipstick
F Locate the dipstick in the engine compartment of your vehicle.
For more information on the petrol or Diesel
engine, refer to the corresponding section.
F
t
a
ke the dipstick by its coloured grip and
remove it completely.
F
W
ipe the end of the dipstick using a clean
non-fluffy cloth.
F
R
efit the dipstick and push fully down, then
pull it out again to make the visual check:
the correct level is between the marks A
and B .
Check all of these levels regularly, in line with the manufacturer's service schedule.
t
o
p them up if necessary, unless other wise indicated.
If a level drops significantly, have the corresponding system checked by a P
e
uge
Ot
dealer or a qualified workshop.
A = MA X
to e
nsure that the reading is correct, your
vehicle must be parked on a level sur face
with the engine having been off for more than
30
minutes.
It is normal to top up the oil level between
two services (or oil changes). P
e
uge
Ot
recommends that you check the level, and top
up if necessary, every 3 000 miles (5 000 kms). B = MIN
If you find that the level is above the A mark or
below the B mark, do not star t the engine .
-
I
f the level is above the MAX mark (risk
of damage to the engine), contact a
P
e
uge
Ot
dealer or a qualified workshop.
-
I
f the level is below the MIN mark, you
must top up the engine oil.
7
Practical information
Page 274 of 398
272
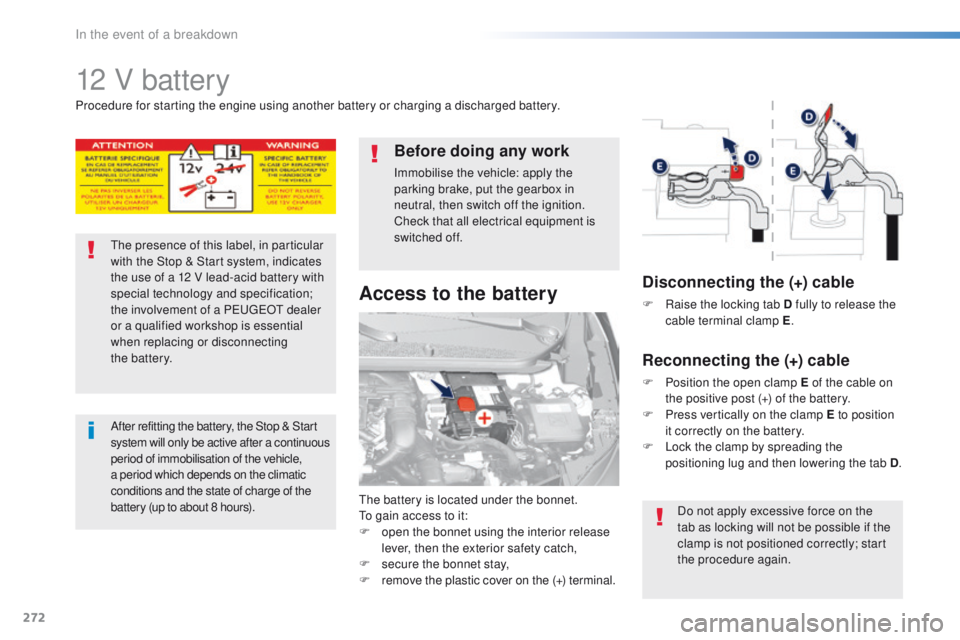
12 V battery
the battery is located under the bonnet.to gain access to it:
F
o
pen the bonnet using the interior release
lever, then the exterior safety catch,
F
s
ecure the bonnet stay,
F
r
emove the plastic cover on the (+) terminal.
Access to the battery
Procedure for starting the engine using another battery or charging a discharged battery.
th
e presence of this label, in particular
with the Stop & Start system, indicates
the use of a 12 V lead-acid battery with
special technology and specification;
the involvement of a P
e
uge
Ot
dealer
or a qualified workshop is essential
when replacing or disconnecting
the
battery.
After refitting the battery, the Stop & Start
s ystem will only be active after a continuous
period of immobilisation of the vehicle,
a period which depends on the climatic
conditions and the state of charge of the
battery (up to about 8 hours).
Before doing any work
Immobilise the vehicle: apply the
parking brake, put the gearbox in
neutral, then switch off the ignition.
Check that all electrical equipment is
switched off.
Disconnecting the (+) cable
F Raise the locking tab D fully to release the cable terminal clamp E .
Reconnecting the (+) cable
F Position the open clamp E of the cable on
the positive post (+) of the battery.
F
P
ress vertically on the clamp E to position
it correctly on the battery.
F
L
ock the clamp by spreading the
positioning lug and then lowering the tab D .
Do not apply excessive force on the
tab as locking will not be possible if the
clamp is not positioned correctly; start
the procedure again.
In the event of a breakdown
Page 279 of 398
277
On vehicles fitted with Diesel engines, the fuel
system must be primed if you run out of fuel.
For all versions other than BlueHDi, refer to the
corresponding engine compartment view.
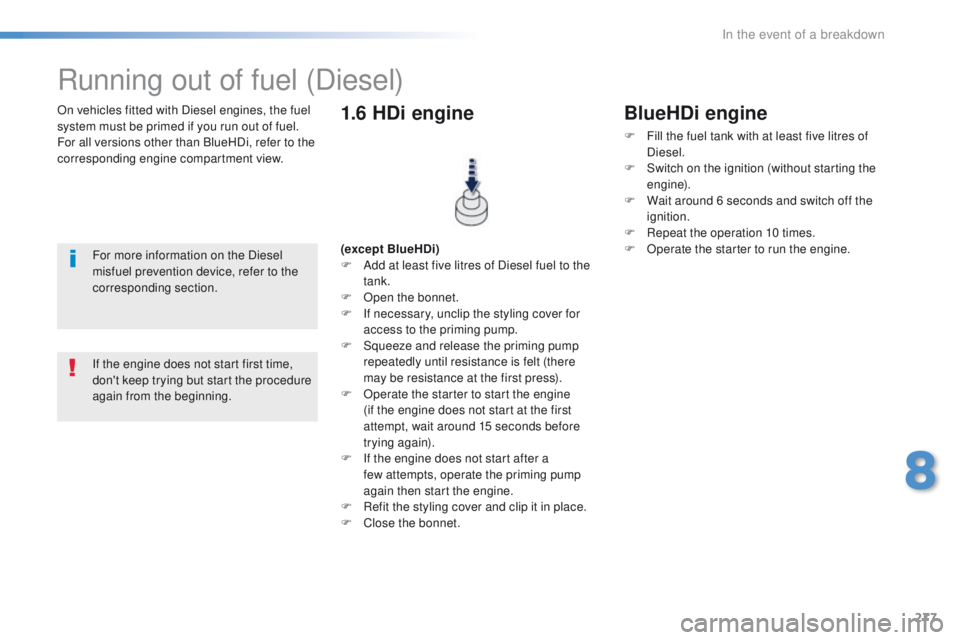
Running out of fuel (Diesel)
For more information on the Diesel
misfuel prevention device, refer to the
corresponding section.(except BlueHDi)
F
A dd at least five litres of Diesel fuel to the
tank.
F
O
pen the bonnet.
F
I
f necessary, unclip the styling cover for
access to the priming pump.
F
S
queeze and release the priming pump
repeatedly until resistance is felt (there
may be resistance at the first press).
F
O
perate the starter to start the engine
(if the engine does not start at the first
attempt, wait around 15 seconds before
trying again).
F
I
f the engine does not start after a
few
attempts, operate the priming pump
again then start the engine.
F
R
efit the styling cover and clip it in place.
F
C
lose the bonnet.
1.6 HDi engine
If the engine does not start first time,
don't keep trying but start the procedure
again from the beginning.
BlueHDi engine
F Fill the fuel tank with at least five litres of Diesel.
F
S
witch on the ignition (without starting the
engine).
F
W
ait around 6 seconds and switch off the
ignition.
F
R
epeat the operation 10 times.
F
O
perate the starter to run the engine.
8
In the event of a breakdown