light Peugeot 308 2017 - RHD (UK, Australia) User Guide
[x] Cancel search | Manufacturer: PEUGEOT, Model Year: 2017, Model line: 308, Model: Peugeot 308 2017Pages: 392, PDF Size: 10.13 MB
Page 42 of 392
40
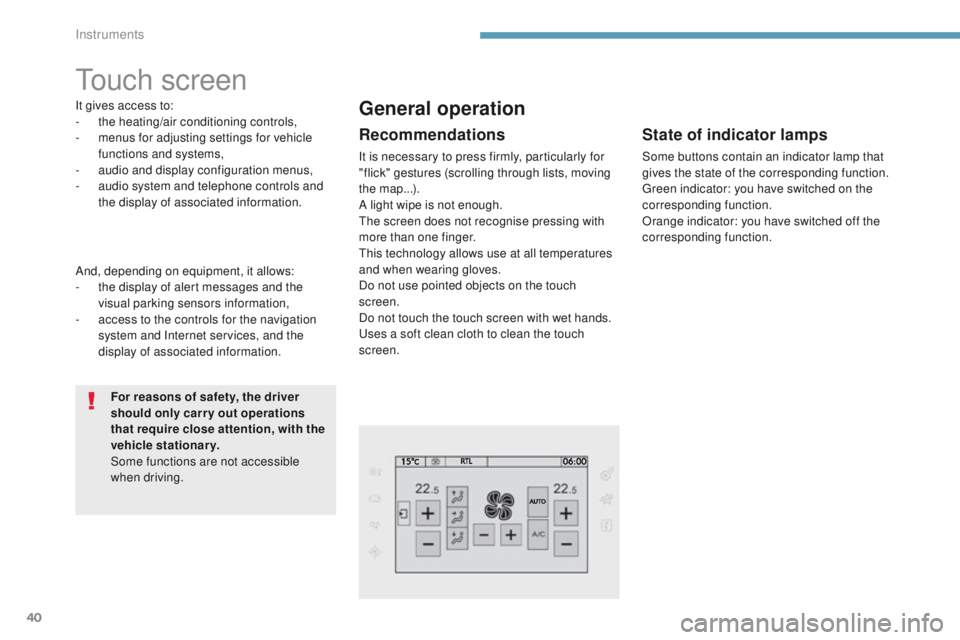
touch screen
It gives access to:
- the heating/air conditioning controls,
-
m
enus for adjusting settings for vehicle
functions and systems,
-
a
udio and display configuration menus,
-
a
udio system and telephone controls and
the display of associated information.
For reasons of safety, the driver
should only carr y out operations
that require close attention, with the
vehicle stationary.
Some functions are not accessible
when driving.General operation
Recommendations
It is necessary to press firmly, particularly for
"flick" gestures (scrolling through lists, moving
the map...).
A light wipe is not enough.
th
e screen does not recognise pressing with
more than one finger.
th
is technology allows use at all temperatures
and when wearing gloves.
Do not use pointed objects on the touch
screen.
Do not touch the touch screen with wet hands.
us
es a soft clean cloth to clean the touch
screen.
And, depending on equipment, it allows:
-
t
he display of alert messages and the
visual parking sensors information,
-
a
ccess to the controls for the navigation
system and Internet services, and the
display of associated information.
State of indicator lamps
Some buttons contain an indicator lamp that
gives the state of the corresponding function.
gr
een indicator: you have switched on the
corresponding function.
Orange indicator: you have switched off the
corresponding function.
Instruments
Page 45 of 392
43
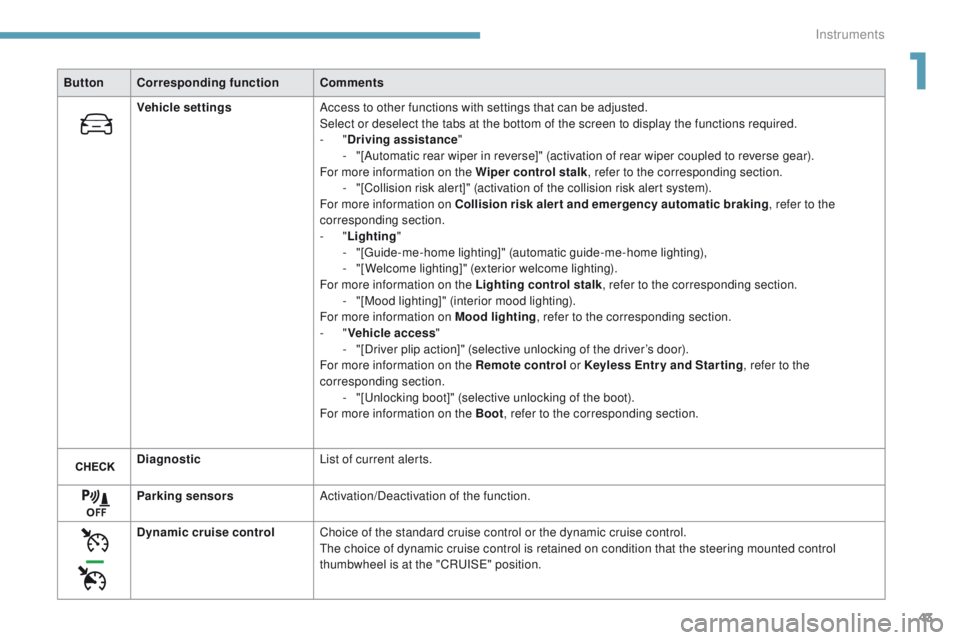
ButtonCorresponding function Comments
Vehicle settings Access to other functions with settings that can be adjusted.
Select or deselect the tabs at the bottom of the screen to display the functions required.
-
"Driving assistance "
-
"
[Automatic rear wiper in reverse]" (activation of rear wiper coupled to reverse gear).
For more information on the Wiper control stalk , refer to the corresponding section.
-
"
[Collision risk alert]" (activation of the collision risk alert system).
For more information on Collision risk alert and emergency automatic braking , refer to the
corresponding section.
-
"Lighting "
-
"
[
gu
ide-me-home lighting]" (automatic guide-me-home lighting),
-
"
[Welcome lighting]" (exterior welcome lighting).
For more information on the Lighting control stalk , refer to the corresponding section.
-
"
[Mood lighting]" (interior mood lighting).
For more information on Mood lighting , refer to the corresponding section.
-
"Vehicle access "
-
"
[Driver plip action]" (selective unlocking of the driver’s door).
For more information on the Remote control or Keyless Entr y and Star ting, refer to the
corresponding section. -
"
[
un
locking boot]" (selective unlocking of the boot).
For more information on the Boot , refer to the corresponding section.
Diagnostic List of current alerts.
Parking sensors Activation/Deactivation of the function.
Dynamic cruise control Choice of the standard cruise control or the dynamic cruise control.
th
e choice of dynamic cruise control is retained on condition that the steering mounted control
thumbwheel is at the "CR
uI
S
e" p
osition.
1
Instruments
Page 53 of 392
51
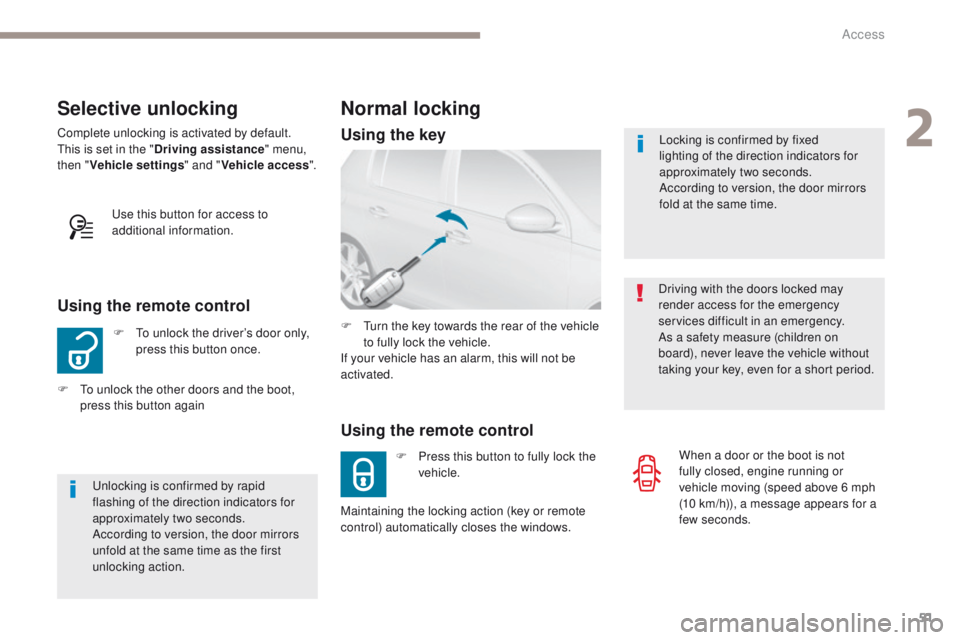
Selective unlocking
F to unlock the driver’s door only, press this button once.
Using the remote control
Complete unlocking is activated by default.this is set in the " Driving assistance " menu,
then " Vehicle settings " and "Vehicle access ".
un
locking is confirmed by rapid
flashing of the direction indicators for
approximately two seconds.
According to version, the door mirrors
unfold at the same time as the first
unlocking action.
F
t
o u
nlock the other doors and the boot,
press this button again
us
e this button for access to
additional information. Locking is confirmed by fixed
lighting of the direction indicators for
approximately two seconds.
According to version, the door mirrors
fold at the same time.
Driving with the doors locked may
render access for the emergency
services difficult in an emergency.
As a safety measure (children on
board), never leave the vehicle without
taking your key, even for a short period.
Normal locking
Using the remote control
F Press this button to fully lock the vehicle.
F
t
u
rn the key towards the rear of the vehicle
to fully lock the vehicle.
If your vehicle has an alarm, this will not be
activated.
Maintaining the locking action (key or remote
control) automatically closes the windows. When a door or the boot is not
fully closed, engine running or
vehicle moving (speed above 6 mph
(10
km/h)), a message appears for a
few seconds.
Using the key
2
Access
Page 54 of 392
52
If one of the doors or the boot is still
open, the central locking does not take
place.
When the vehicle is locked, if it is
unlocked inadvertently, it will lock itself
again automatically after about thirty
seconds unless a door is opened.
And if your vehicle has an alarm, this
will not be reactivated.
th
e folding and unfolding of the door
mirrors by the remote control can be
deactivated by a P
e
uge
Ot
dealer or a
qualified workshop.
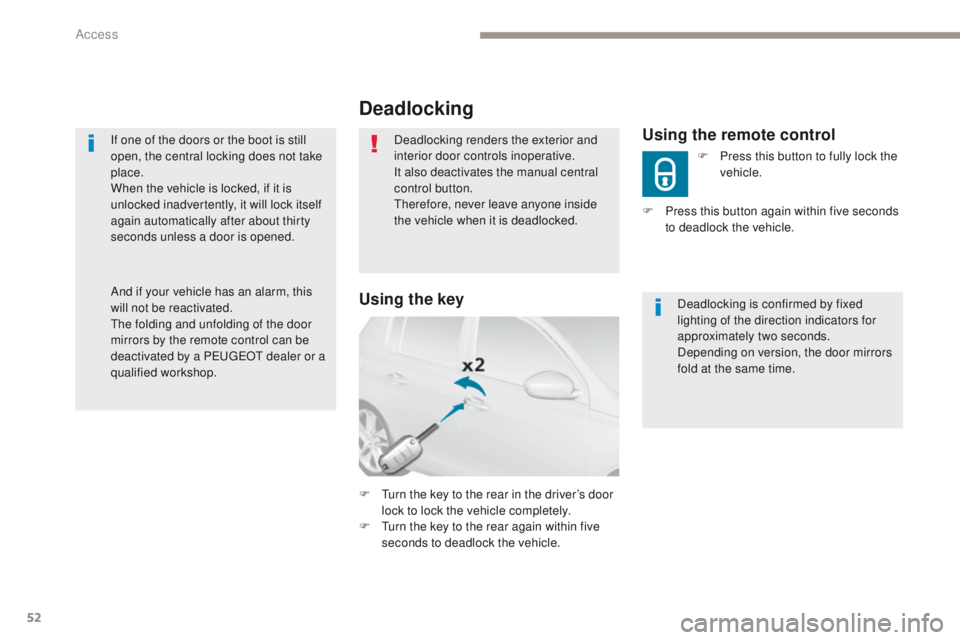
Deadlocking
Deadlocking renders the exterior and
interior door controls inoperative.
It also deactivates the manual central
control button.
th
erefore, never leave anyone inside
the vehicle when it is deadlocked.
F
t
u
rn the key to the rear in the driver’s door
lock to lock the vehicle completely.
F
t
u
rn the key to the rear again within five
seconds to deadlock the vehicle. Deadlocking is confirmed by fixed
lighting of the direction indicators for
approximately two seconds.
Depending on version, the door mirrors
fold at the same time.Using the remote control
F Press this button to fully lock the
vehicle.
F
P
ress this button again within five seconds
to deadlock the vehicle.
Using the key
Access
Page 55 of 392
53
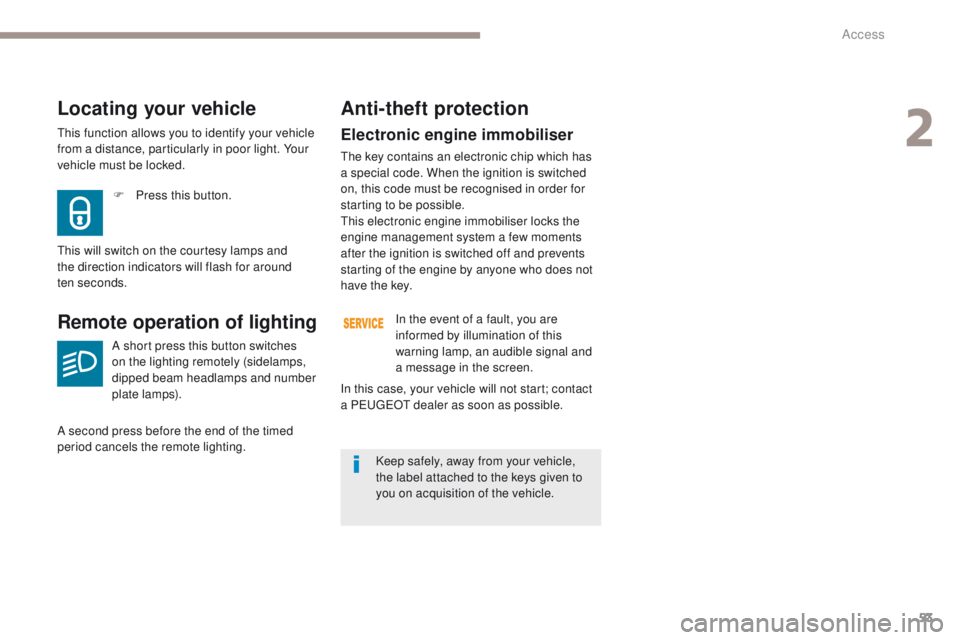
Electronic engine immobiliser
the key contains an electronic chip which has
a special code. When the ignition is switched
on, this code must be recognised in order for
starting to be possible.
th
is electronic engine immobiliser locks the
engine management system a few moments
after the ignition is switched off and prevents
starting of the engine by anyone who does not
have the key.
F
P
ress this button.
Locating your vehicle
this will switch on the courtesy lamps and
the direction indicators will flash for around
ten
seconds.
Remote operation of lighting
A short press this button switches
on the lighting remotely (sidelamps,
dipped beam headlamps and number
plate lamps).
A second press before the end of the timed
period cancels the remote lighting.
Anti-theft protection
In the event of a fault, you are
informed by illumination of this
warning lamp, an audible signal and
a message in the screen.
Keep safely, away from your vehicle,
the label attached to the keys given to
you on acquisition of the vehicle.
In this case, your vehicle will not start; contact
a P
e
uge
Ot
dealer as soon as possible.
th
is function allows you to identify your vehicle
from a distance, particularly in poor light. Your
vehicle must be locked.
2
Access
Page 57 of 392
55
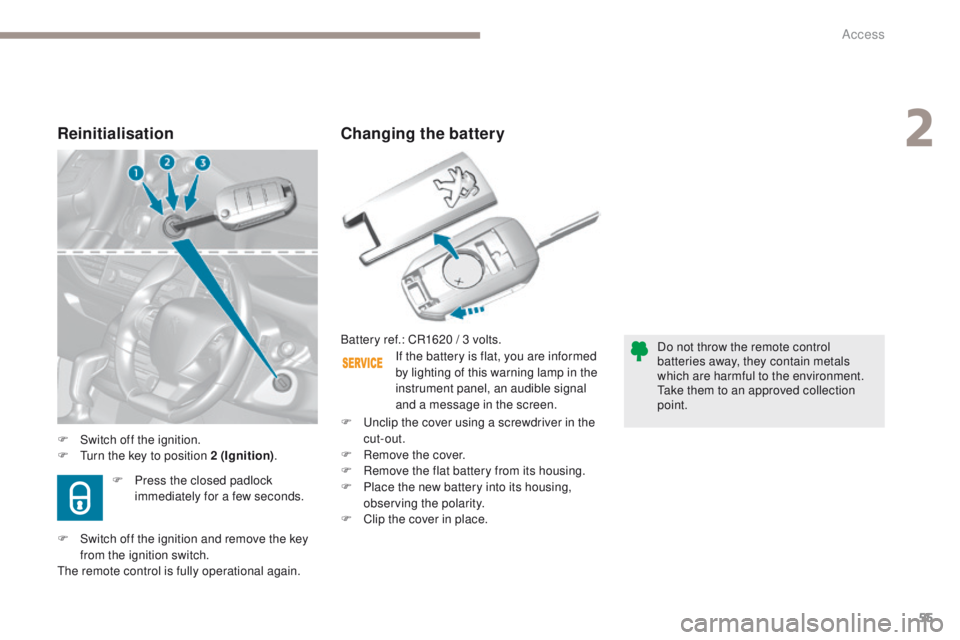
Changing the battery
Do not throw the remote control
batteries away, they contain metals
which are harmful to the environment.
ta
ke them to an approved collection
point.
If the battery is flat, you are informed
by lighting of this warning lamp in the
instrument panel, an audible signal
and a message in the screen.
F
S
witch off the ignition.
F
t
u
rn the key to position 2 (Ignition) .Battery ref.: CR1620 / 3 volts.
F
P
ress the closed padlock
immediately for a few seconds.
F
S
witch off the ignition and remove the key
from the ignition switch.
th
e remote control is fully operational again.
Reinitialisation
F unclip the cover using a screwdriver in the cut-out.
F
R
emove the cover.
F
R
emove the flat battery from its housing.
F
P
lace the new battery into its housing,
observing the polarity.
F
C
lip the cover in place.
2
Access
Page 59 of 392
57
this function allows you to identify your vehicle
from a distance, particularly in poor light. Your
vehicle must be locked.
Locating your vehicle
F Press this button.
As a safety measure (children on
board), never leave the vehicle without
taking the key for the Keyless
e
n
try
and Starting system, even for a short
period.
gu
ard against theft when the key for
the Keyless
e
n
try and Starting system
is in the recognition zone with the
vehicle unlocked.
In order to preserve the charge of the
cell battery in the remote control, the
"hands-free" functions go into extended
stand-by after 21 days of non-use.
t
o
r
estore these functions, press one of
the remote control buttons or start the
engine with the electronic key in the
reader.
th
is will switch on the courtesy lamps and
the direction indicators will flash for around
ten
seconds.
2
Access
Page 86 of 392
84
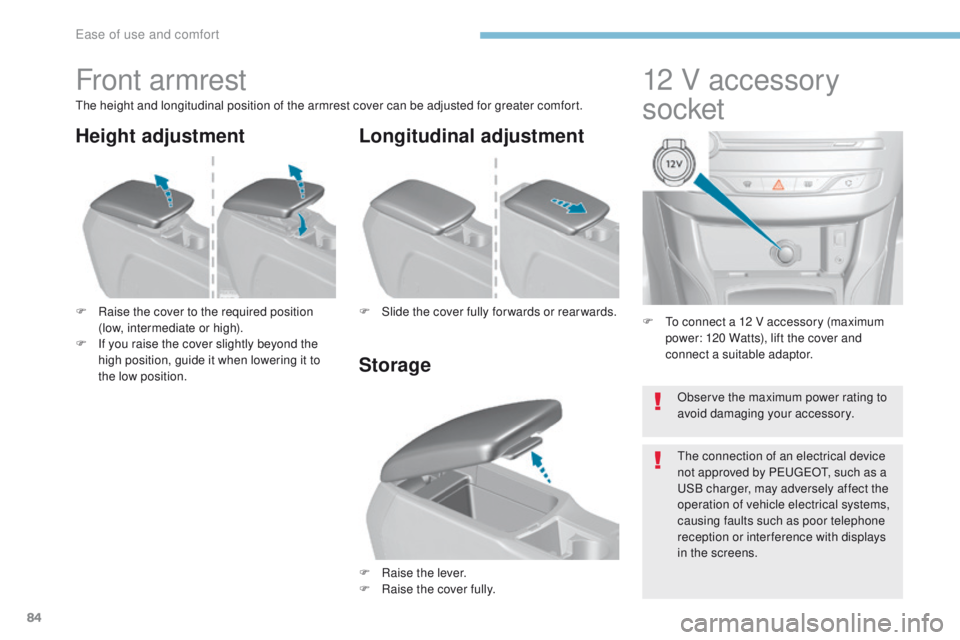
F to connect a 12 V accessory (maximum power: 120 Watts), lift the cover and
connect a suitable adaptor.
12 V accessory
socket
Front armrest
the height and longitudinal position of the armrest cover can be adjusted for greater comfort.
F
R
aise the cover to the required position
(low, intermediate or high).
F
I
f you raise the cover slightly beyond the
high position, guide it when lowering it to
the low position.
F
Ra
ise the lever.
F
Ra
ise the cover fully.
F
S
lide the cover fully for wards or rear wards.
Storage Longitudinal adjustment
Height adjustment
Observe the maximum power rating to
avoid damaging your accessory.
th
e connection of an electrical device
not approved by P
e
uge
Ot, s
uch as a
uS
B charger, may adversely affect the
operation of vehicle electrical systems,
causing faults such as poor telephone
reception or inter ference with displays
in the screens.
ease of use and comfort
Page 95 of 392
93
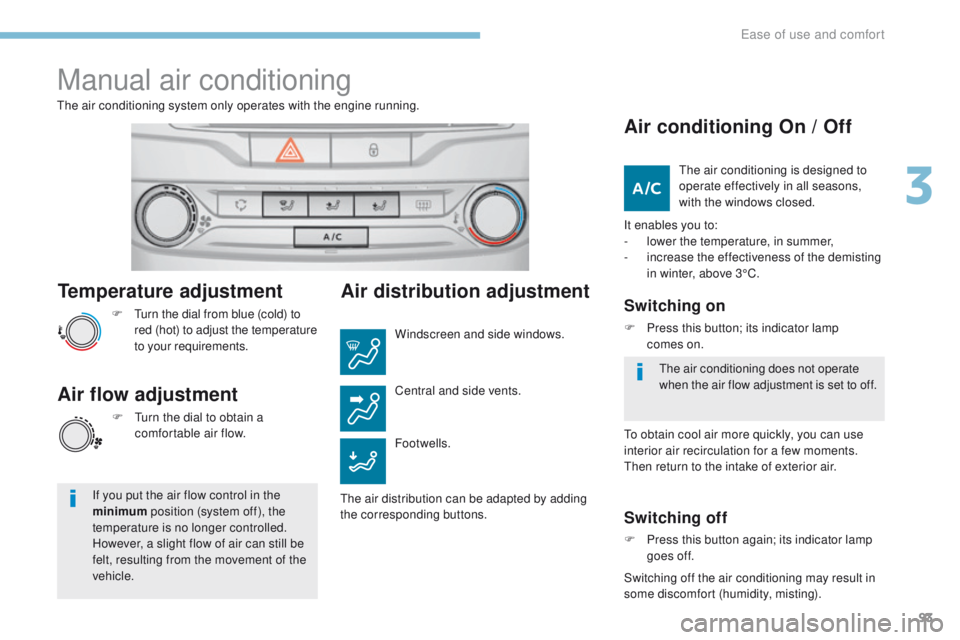
Temperature adjustment
F turn the dial from blue (cold) to red (hot) to adjust the temperature
to your requirements.
th
e air conditioning system only operates with the engine running.
Air flow adjustment
F turn the dial to obtain a
comfortable air flow.
If you put the air flow control in the
minimum position
(system off), the
temperature is no longer controlled.
However, a slight flow of air can still be
felt, resulting from the movement of the
vehicle.
Manual air conditioning
Air distribution adjustment
Windscreen and side windows.
Footwells. Central and side vents.
th
e air distribution can be adapted by adding
the corresponding buttons.
Air conditioning On / Off
It enables you to:
- l ower the temperature, in summer,
-
i
ncrease the effectiveness of the demisting
in winter, above 3°C.
Switching on
F Press this button; its indicator lamp comes on.
Switching off
F Press this button again; its indicator lamp goes off.
th
e air conditioning is designed to
operate effectively in all seasons,
with the windows closed.
th
e air conditioning does not operate
when the air flow adjustment is set to off.
to o
btain cool air more quickly, you can use
interior air recirculation for a few moments.
th
en return to the intake of exterior air.
Switching off the air conditioning may result in
some discomfort (humidity, misting).
3
Ease of use and comfort
Page 105 of 392
103
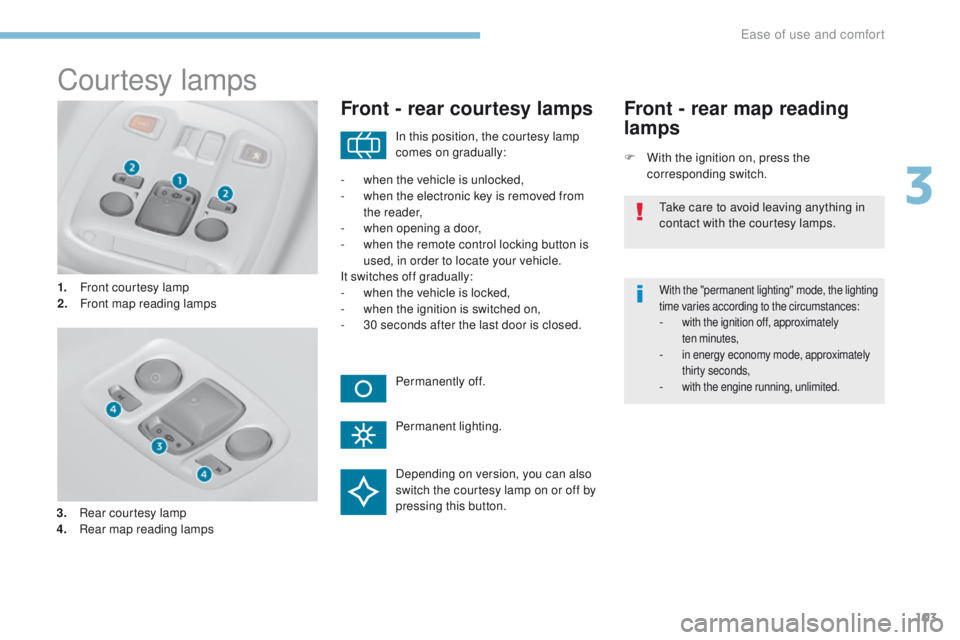
Courtesy lamps
1. Front courtesy lamp
2. Front map reading lamps
Front - rear courtesy lamps
F With the ignition on, press the corresponding switch.
Front - rear map reading
lamps
With the "permanent lighting" mode, the lighting
time varies according to the circumstances:
- with the ignition off, approximately ten minutes,
- in energy economy mode, approximately thirty seconds,
- with the engine running, unlimited.
In this position, the courtesy lamp
comes on gradually:
Permanently off.
Permanent lighting.
-
w
hen the vehicle is unlocked,
-
w
hen the electronic key is removed from
the reader,
-
w
hen opening a door,
-
w
hen the remote control locking button is
used, in order to locate your vehicle.
It switches off gradually:
-
w
hen the vehicle is locked,
-
w
hen the ignition is switched on,
-
3
0 seconds after the last door is closed.
ta
ke care to avoid leaving anything in
contact with the courtesy lamps.
Depending on version, you can also
switch the courtesy lamp on or off by
pressing this button.
3.
R
ear courtesy lamp
4.
R
ear map reading lamps
3
ease of use and comfort