wheel Peugeot 308 2017 - RHD (UK, Australia) Service Manual
[x] Cancel search | Manufacturer: PEUGEOT, Model Year: 2017, Model line: 308, Model: Peugeot 308 2017Pages: 392, PDF Size: 10.13 MB
Page 210 of 392
208
the system is deactivated by pressing the
control.
the
system is deactivated automatically:
-
o
n switching off the ignition,
-
i
f the engine stalls,
-
i
f no manoeuvre is started within 5 minutes
of selection of the type of manoeuvre,
-
a
fter a prolonged stop of the vehicle during
a manoeuvre,
-
i
f the road wheel anti-slip regulation (ASR)
is triggered,
-
i
f the speed of the vehicle exceeds the
stated limit,
-
w
hen the driver interrupts movement of the
steering wheel,
-
a
fter 4 manoeuvre cycles,
-
o
n opening the driver's door,
-
i
f one of the front wheels encounters an
obstacle.
th
e operation indicator lamp goes off in the
instrument panel and a message is displayed
accompanied by an audible signal.
th
e driver should then take back control of the
vehicle's steering.
Deactivation
If the system is deactivated during a
manoeuvre, the drive should reactivate it to
repeat the measurement.
th
e system is switched off automatically:
-
w
hen towing a trailer,
-
i
f the driver's door is opened,
-
i
f the speed of the vehicle is above 42 mph
(70 km/h).
to s
witch the system of for a prolonged period,
contact a P
e
uge
Ot
dealer or a qualified
workshop.
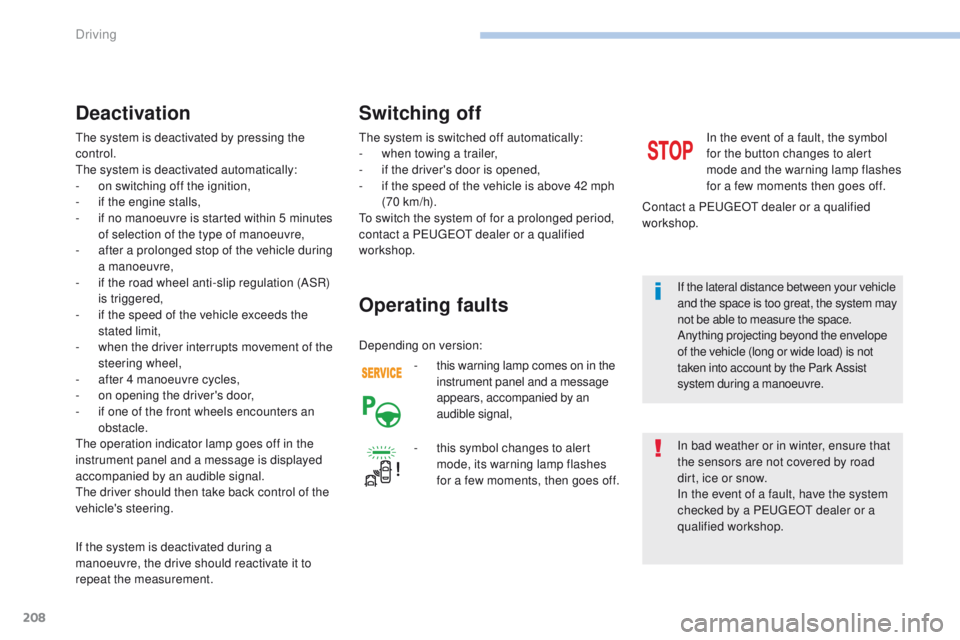
-
t
his warning lamp comes on in the
instrument panel and a message
appears, accompanied by an
audible signal,
Operating faults
In the event of a fault, the symbol
for the button changes to alert
mode and the warning lamp flashes
for a few moments then goes off.
Contact a P
e
uge
Ot
dealer or a qualified
workshop.
Switching off
In bad weather or in winter, ensure that
the sensors are not covered by road
dirt, ice or snow.
In the event of a fault, have the system
checked by a P
e
uge
Ot
dealer or a
qualified workshop.
-
t
his symbol changes to alert
mode, its warning lamp flashes
for a few moments, then goes off. If the lateral distance between your vehicle
and the space is too great, the system may
not be able to measure the space.
Anything projecting beyond the envelope
of the vehicle (long or wide load) is not
taken into account by the Park Assist
system during a manoeuvre.
Depending on version:
Driving
Page 211 of 392
209
Under-inflation detection
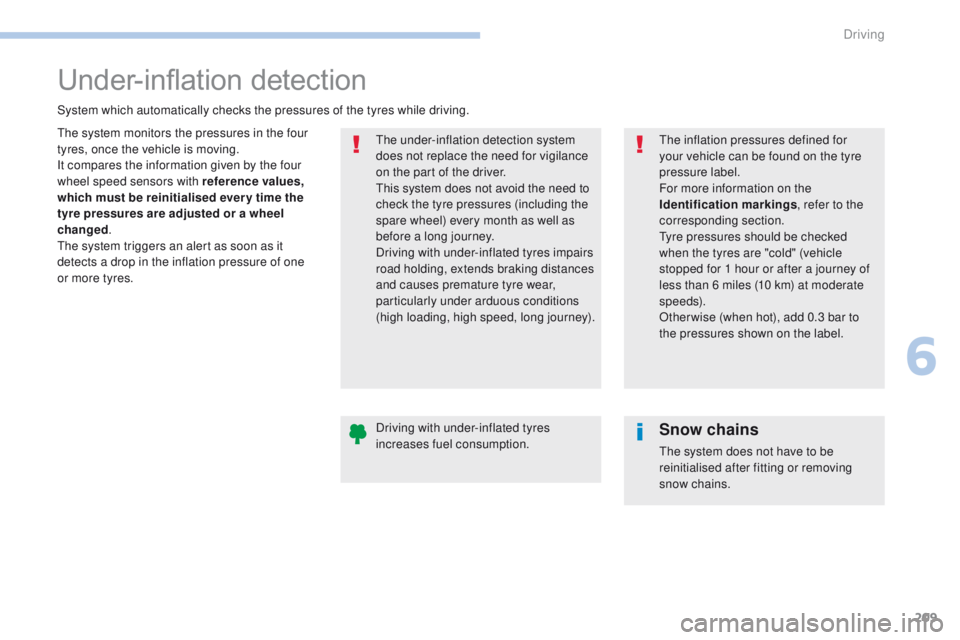
the system monitors the pressures in the four
tyres, once the vehicle is moving.
It compares the information given by the four
wheel speed sensors with reference values,
which must be reinitialised ever y time the
tyre pressures are adjusted or a wheel
changed.
th
e system triggers an alert as soon as it
detects a drop in the inflation pressure of one
or more tyres.th e under-inflation detection system
does not replace the need for vigilance
on the part of the driver.
th
is system does not avoid the need to
check the tyre pressures (including the
spare wheel) every month as well as
before a long journey.
Driving with under-inflated tyres impairs
road holding, extends braking distances
and causes premature tyre wear,
particularly under arduous conditions
(high loading, high speed, long journey).
System which automatically checks the pressures of the tyres while driving.th
e inflation pressures defined for
your vehicle can be found on the tyre
pressure label.
For more information on the
Identification markings , refer to the
corresponding section.
ty
re pressures should be checked
when the tyres are "cold" (vehicle
stopped for 1 hour or after a journey of
less than 6 miles (10 km) at moderate
speeds).
Other wise (when hot), add 0.3 bar to
the pressures shown on the label.
Driving with under-inflated tyres
increases fuel consumption.
Snow chains
the system does not have to be
reinitialised after fitting or removing
snow chains.
6
Driving
Page 212 of 392
210
Under-inflation alertReinitialisation
Before reinitialising the system, ensure
that the pressures of the four tyres are
correct for the use of the vehicle and in
line with the recommendations on the
tyre pressure label.
th
e under-inflation alert can only
be relied on if the reinitialisation of
the system has been done with the
pressures in the four tyres correctly
adjusted.
th
e under-inflation detection system
does not give a warning if a pressure is
incorrect at the time of reinitialisation.
th
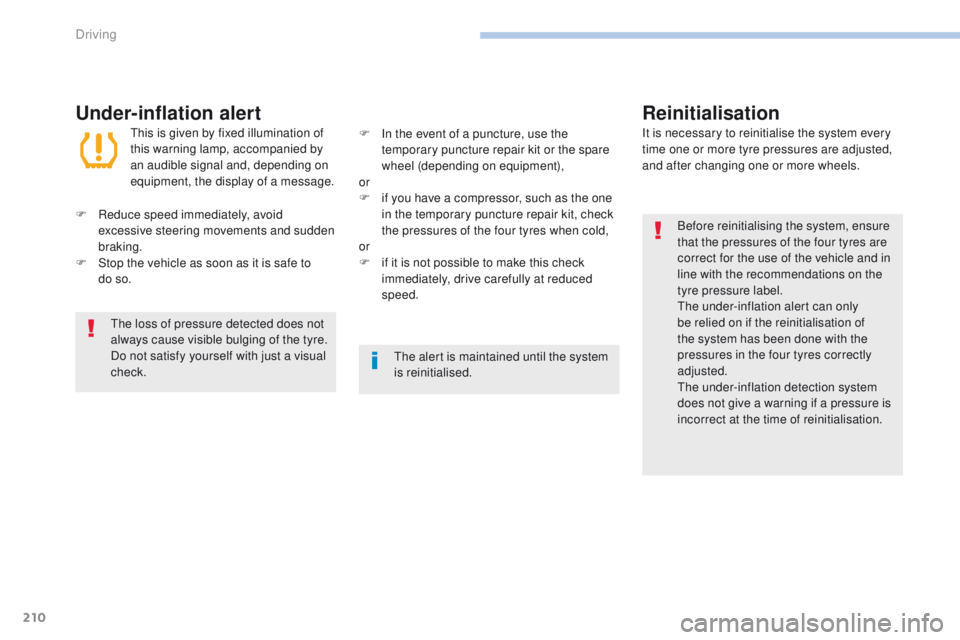
is is given by fixed illumination of
this warning lamp, accompanied by
an audible signal and, depending on
equipment, the display of a message. It is necessary to reinitialise the system every
time one or more tyre pressures are adjusted,
and after changing one or more wheels.
F
R
educe speed immediately, avoid
excessive steering movements and sudden
braking.
F
S
top the vehicle as soon as it is safe to
do
so. F
I
n the event of a puncture, use the
temporary puncture repair kit or the spare
wheel (depending on equipment),
or
F
i
f you have a compressor, such as the one
in the temporary puncture repair kit, check
the pressures of the four tyres when cold,
or
F
i
f it is not possible to make this check
immediately, drive carefully at reduced
speed.
th
e loss of pressure detected does not
always cause visible bulging of the tyre.
Do not satisfy yourself with just a visual
check.
th
e alert is maintained until the system
is reinitialised.
Driving
Page 218 of 392
216
Snow chains
In wintry conditions, snow chains improve traction as well as the behaviour of the vehicle when braking.
th
e snow chains must be fitted only
to the front wheels.
t
h
ey must never
be fitted to "space-saver" type spare
wheels.
ta
ke account of the legislation in force
in your country on the use of snow
chains and the maximum running speed
authorised.
Avoid driving with snow chains on roads
that have been cleared of snow, to
avoid damaging your vehicle's tyres and
the road sur face. If your vehicle is fitted
with alloy wheels, check that no part of
the chain or its fixings is in contact with
the wheel rim.
us
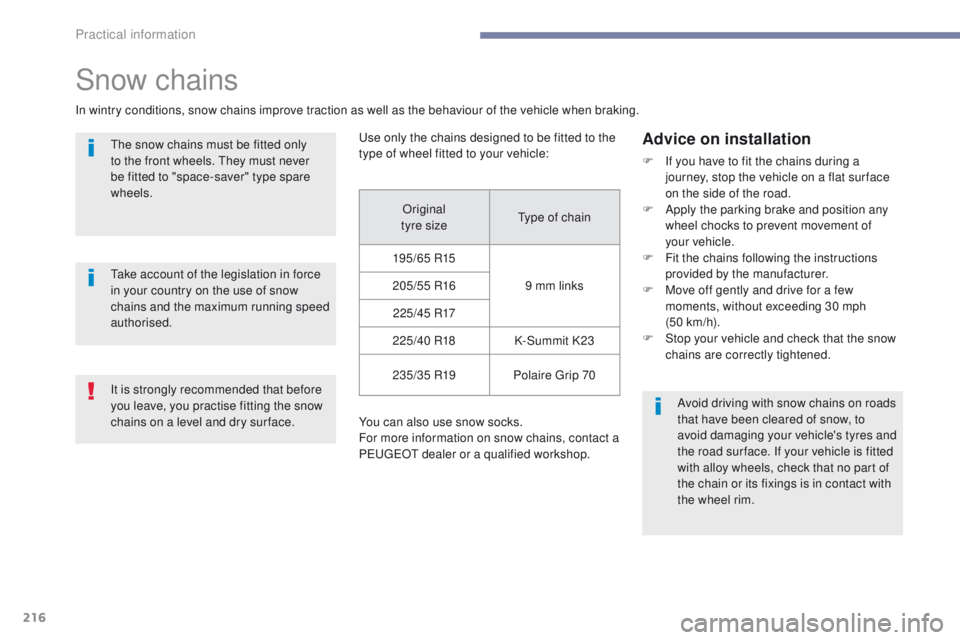
e only the chains designed to be fitted to the
type of wheel fitted to your vehicle:
You can also use snow socks.
For more information on snow chains, contact a
P
e
uge
Ot
dealer or a qualified workshop.
Advice on installation
F If you have to fit the chains during a journey, stop the vehicle on a flat sur face
on the side of the road.
F
A
pply the parking brake and position any
wheel chocks to prevent movement of
your
vehicle.
F
F
it the chains following the instructions
provided by the manufacturer.
F
M
ove off gently and drive for a few
moments, without exceeding 30 mph
(50
km/h).
F
S
top your vehicle and check that the snow
chains are correctly tightened.
Original
tyre size
ty
pe of chain
195/65 R15 9 mm links
205/55 R16
2 2 5 /4 5 R17
225/40 R18 K-Summit K23
235/35 R19 Polaire
g
r
ip 70
It is strongly recommended that before
you leave, you practise fitting the snow
chains on a level and dry sur face.
Practical information
Page 222 of 392
220
"Multimedia"
Multimedia support, hands-free kit, DVD player,
driving aids, vehicle tracking system, ...
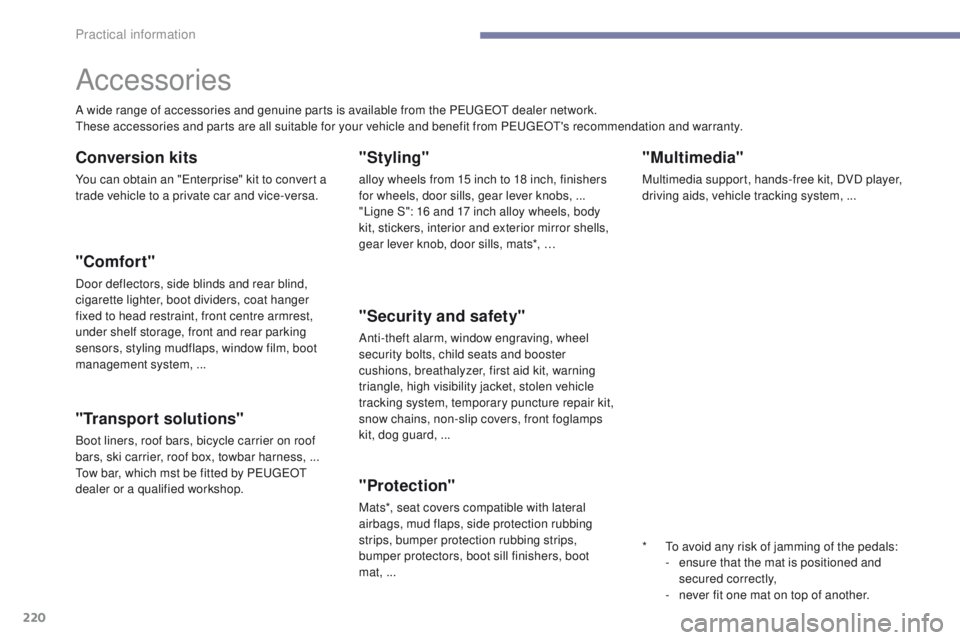
Accessories
A wide range of accessories and genuine parts is available from the PeugeOt dealer network.th
ese accessories and parts are all suitable for your vehicle and benefit from Pe ugeOt' s recommendation and warranty.
"Transport solutions"
Boot liners, roof bars, bicycle carrier on roof
bars, ski carrier, roof box, towbar harness, ...
to
w bar, which mst be fitted by P
e
uge
Ot
dealer or a qualified workshop.
Conversion kits
You can obtain an "en terprise" kit to convert a
trade vehicle to a private car and vice-versa.
"Styling"
alloy wheels from 15 inch to 18 inch, finishers
for wheels, door sills, gear lever knobs, ...
"Ligne S": 16 and 17 inch alloy wheels, body
kit, stickers, interior and exterior mirror shells,
gear lever knob, door sills, mats*, …
"Comfort"
Door deflectors, side blinds and rear blind,
cigarette lighter, boot dividers, coat hanger
fixed to head restraint, front centre armrest,
under shelf storage, front and rear parking
sensors, styling mudflaps, window film, boot
management system, ...
*
t
o a
void any risk of jamming of the pedals:
-
e
nsure that the mat is positioned and
secured correctly,
-
n
ever fit one mat on top of another.
"Security and safety"
Anti-theft alarm, window engraving, wheel
security bolts, child seats and booster
cushions, breathalyzer, first aid kit, warning
triangle, high visibility jacket, stolen vehicle
tracking system, temporary puncture repair kit,
snow chains, non-slip covers, front foglamps
kit, dog guard, ...
"Protection"
Mats*, seat covers compatible with lateral
airbags, mud flaps, side protection rubbing
strips, bumper protection rubbing strips,
bumper protectors, boot sill finishers, boot
mat,
...
Practical information
Page 237 of 392
235
Recommendations on storage
Never store bottles of AdBlue® in your
vehicle.
AdBlue
® freezes at about -11°C and
deteriorates above 25°C. It is recommended
that bottles be stored in a cool area and
protected from direct sunlight.
un
der these conditions, the fluid can be kept
for at least a year.
If the additive has frozen, it can be used once
it has completely thawed out.
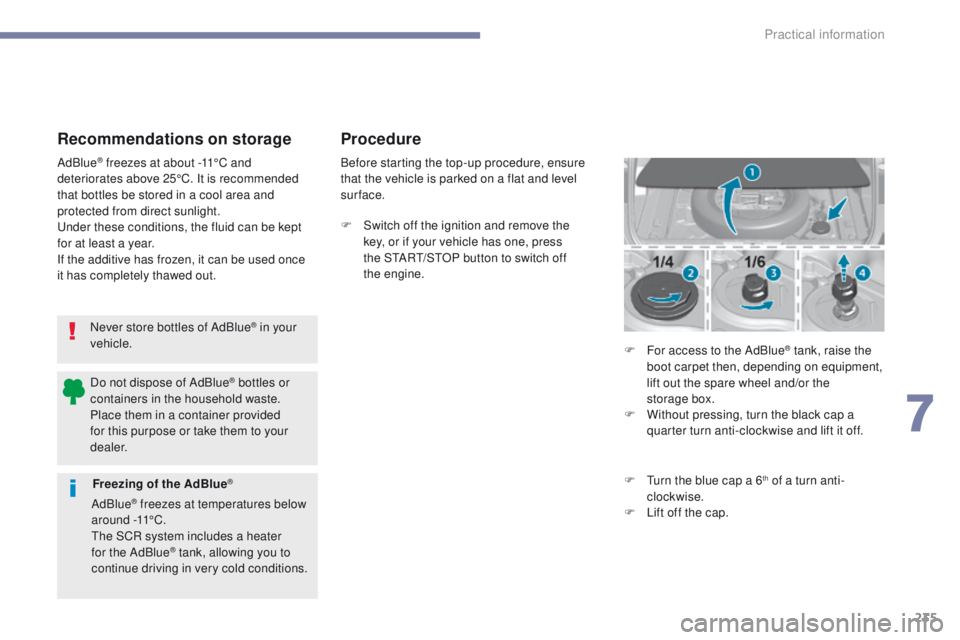
Procedure
Before starting the top-up procedure, ensure
that the vehicle is parked on a flat and level
sur face.
F
S
witch off the ignition and remove the
key, or if your vehicle has one, press
the S
tA
R
t/
S
tO
P button to switch off
the
engine. F
F
or access to the AdBlue
® tank, raise the
boot carpet then, depending on equipment,
lift out the spare wheel and/or the
storage
box.
F
W
ithout pressing, turn the black cap a
quarter turn anti-clockwise and lift it off.
F
t
u
rn the blue cap a 6
th of a turn anti-
clockwise.
F
L
ift off the cap.
Freezing of the AdBlue®
AdBlue® freezes at temperatures below
around -11°C.
th
e SCR system includes a heater
for the AdBlue
® tank, allowing you to
continue driving in very cold conditions.
Do not dispose of AdBlue
® bottles or
containers in the household waste.
Place them in a container provided
for this purpose or take them to your
dealer.
7
Practical information
Page 238 of 392
236
Never dispose of AdBlue® bottles in
the household waste. Place them in
a special container provided for this
purpose or take them to your dealer.
F
A
fter emptying the bottle, wipe away any
spillage around the tank filler using a damp
cloth. If any AdBlue
® fluid is spilt or splashed,
wash immediately with cold water or
wipe with a damp cloth.
If the AdBlue
® has crystallised, clean it
off using a sponge and hot water.
F
R
efit the blue cap to the tank and turn it a
6
th of a turn clockwise, to its stop.
F
R
efit the black cap and turn it a quarter of
a turn clockwise without pressing.
e
n
sure
that the indicator on the cap lines up with
the indicator on the support.
F
D
epending on equipment, return the spare
wheel and/or the storage box to the bottom
of the boot.
F
R
efit the boot carpet and close the tailgate. Important: when topping-up after
running out of AdBlue
®, signalled
by the message "to
p-up AdBlue:
Starting prevented", you must wait for
about 5 minutes before switching the
ignition on again, without opening the
driver's door, unlocking the vehicle,
introducing the remote control key
into the ignition switch, or placing
the electronic key of the "Keyless
Entr y and Star ting" system inside
the vehicle.
Switch on the ignition, then wait for
10
seconds before starting the engine.
F
O
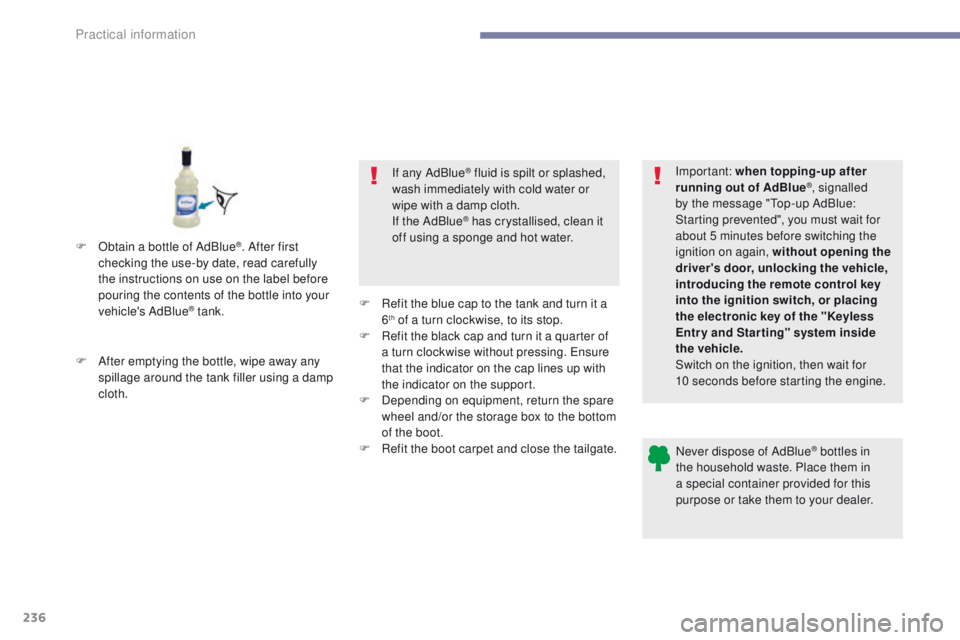
btain a bottle of AdBlue
®. After first
checking the use-by date, read carefully
the instructions on use on the label before
pouring the contents of the bottle into your
vehicle's AdBlue
® tank.
Practical information
Page 242 of 392
240
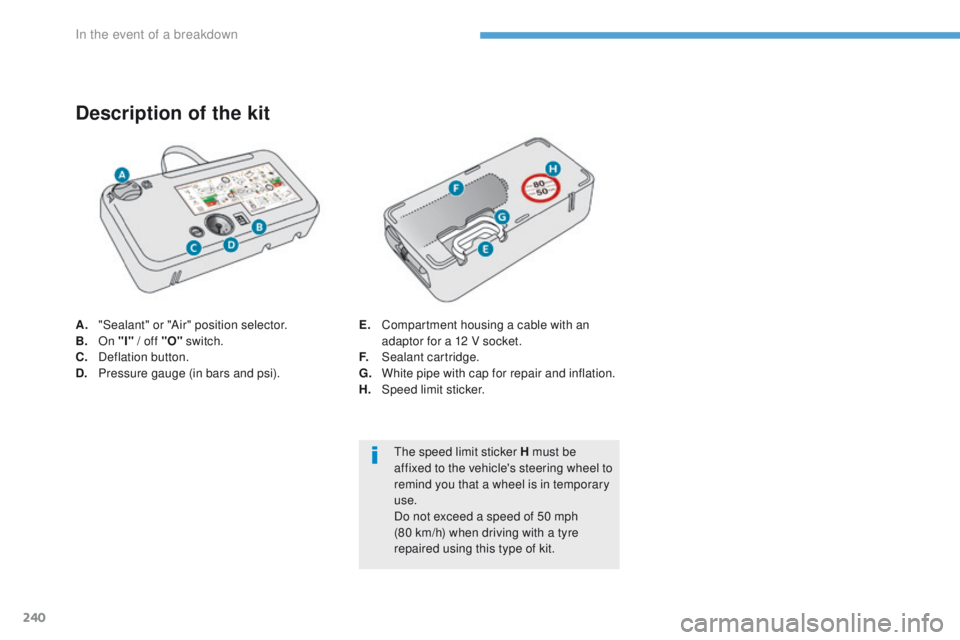
A. "Sealant" or "Air" position selector.
B. On "I" / off "O" switch.
C.
D
eflation button.
D.
P
ressure gauge (in bars and psi).
Description of the kit
E. Compartment housing a cable with an adaptor for a 12 V socket.
F.
S
ealant cartridge.
G.
W
hite pipe with cap for repair and inflation.
H.
Spe
ed limit sticker.
th
e speed limit sticker H must be
affixed to the vehicle's steering wheel to
remind you that a wheel is in temporary
use.
Do not exceed a speed of 50 mph
(80 km/h) when driving with a tyre
repaired using this type of kit.
In the event of a breakdown
Page 248 of 392
246
Spare wheel
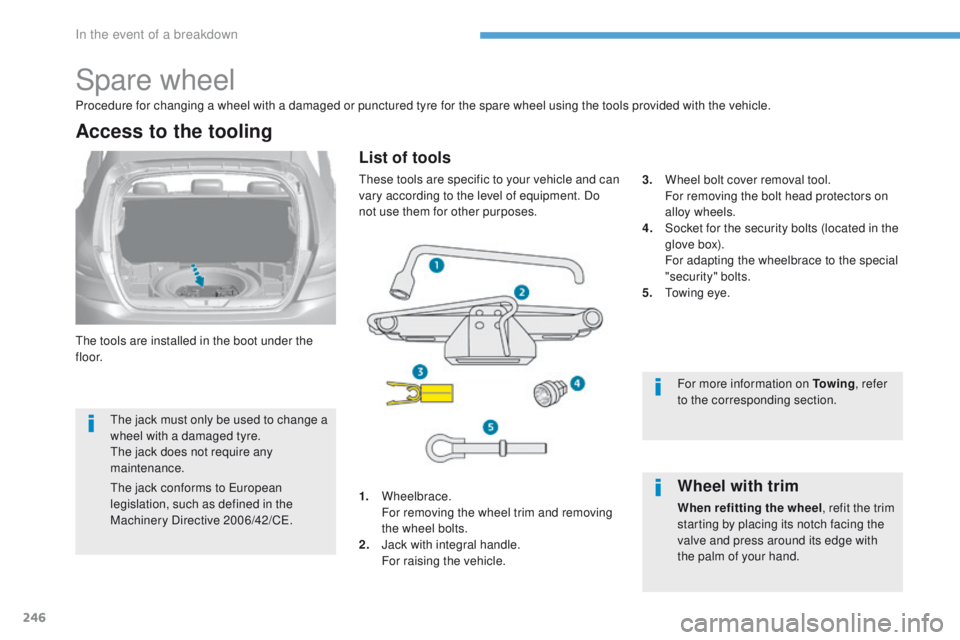
the tools are installed in the boot under the
f l o o r.
Access to the tooling
1. Wheelbrace. F
or removing the wheel trim and removing
the wheel bolts.
2.
J
ack with integral handle.
F
or raising the vehicle. 3.
W
heel bolt cover removal tool.
F
or removing the bolt head protectors on
alloy wheels.
4.
S
ocket for the security bolts (located in the
glove box).
F
or adapting the wheelbrace to the special
"security" bolts.
5.
t
o
wing eye.
Procedure for changing a wheel with a damaged or punctured tyre for the spare wheel using the tools provided with the vehicle.
For more information on To w i n g, refer
to the corresponding section.Wheel with trim
When refitting the wheel , refit the trim
starting by placing its notch facing the
valve and press around its edge with
the palm of your hand.
List of tools
these tools are specific to your vehicle and can
vary according to the level of equipment. Do
not use them for other purposes.
th
e jack must only be used to change a
wheel with a damaged tyre.
th
e jack does not require any
maintenance.
th
e jack conforms to
e
u
ropean
legislation, such as defined in the
Machinery Directive 2006/42/C
e.
In the event of a breakdown
Page 249 of 392
247
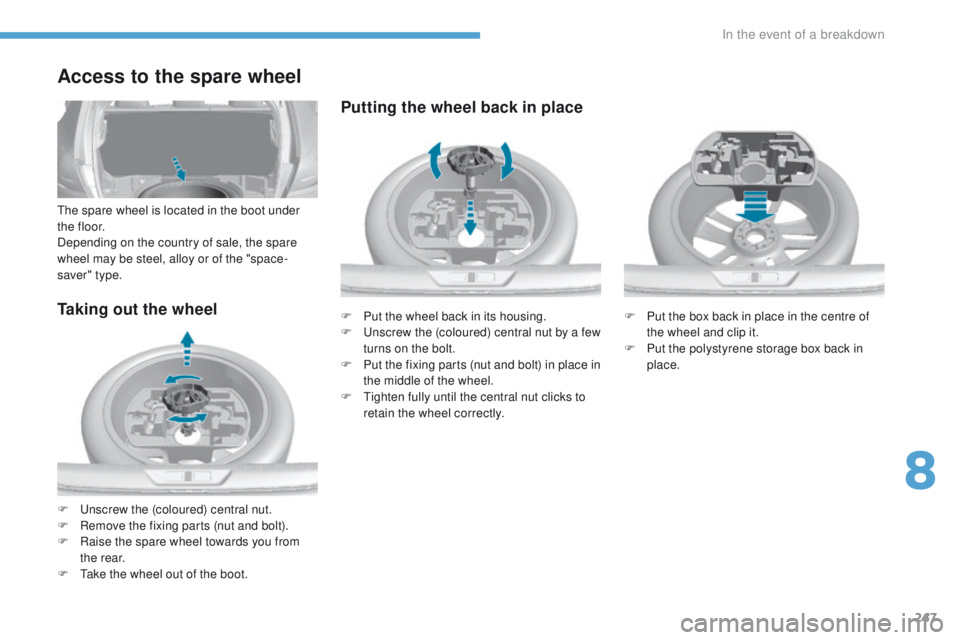
Taking out the wheel
F unscrew the (coloured) central nut.
F R emove the fixing parts (nut and bolt).
F
R
aise the spare wheel towards you from
the rear.
F
t
a
ke the wheel out of the boot.
Access to the spare wheel
the spare wheel is located in the boot under
t h e f l o o r.
Depending on the country of sale, the spare
wheel may be steel, alloy or of the "space-
saver" type.
Putting the wheel back in place
F Put the box back in place in the centre of the wheel and clip it.
F
P
ut the polystyrene storage box back in
place.
F
P
ut the wheel back in its housing.
F
un
screw the (coloured) central nut by a few
turns on the bolt.
F
P
ut the fixing parts (nut and bolt) in place in
the middle of the wheel.
F
t
i
ghten fully until the central nut clicks to
retain the wheel correctly.
8
In the event of a breakdown