sensor Peugeot 308 2017 Owner's Manual
[x] Cancel search | Manufacturer: PEUGEOT, Model Year: 2017, Model line: 308, Model: Peugeot 308 2017Pages: 392, PDF Size: 10.16 MB
Page 5 of 392
.
308_en_Chap00a_sommaire_ed01-2016
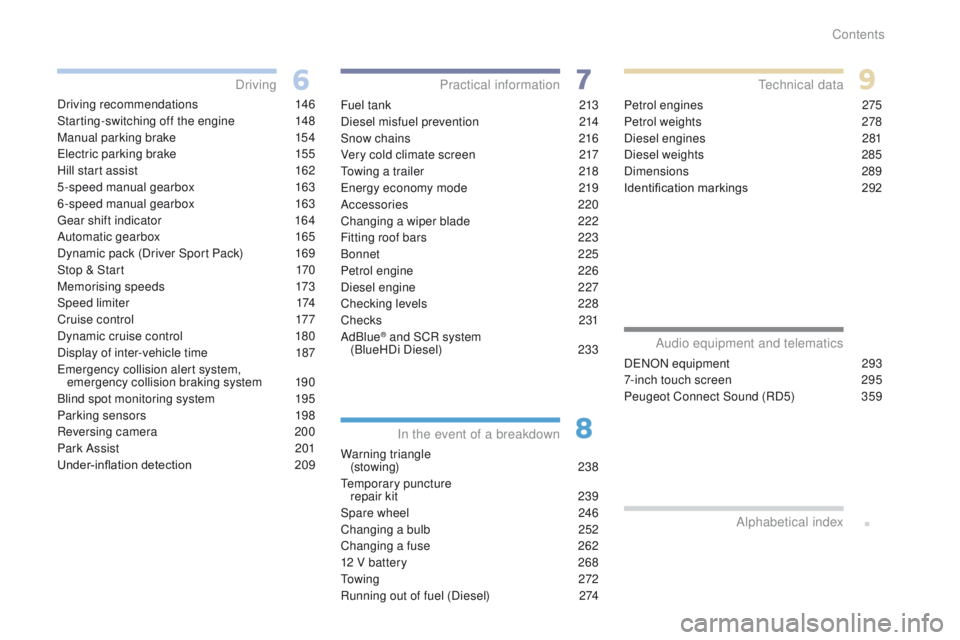
Driving recommendations 146
Starting-switching off the engine
1
48
Manual parking brake
1
54
el
ectric parking brake
1
55
Hill start assist
1
62
5-speed manual gearbox
1
63
6-speed manual gearbox
1
63
ge
ar shift indicator
1
64
Automatic gearbox
1
65
Dynamic pack (Driver Sport Pack)
1
69
Stop & Start
1
70
Memorising speeds
1
73
Speed limiter
1
74
Cruise control
1
77
Dynamic cruise control
1
80
Display of inter-vehicle time
1
87
em
ergency collision alert system,
emergency collision braking system
1
90
Blind spot monitoring system
1
95
Parking sensors
1
98
Reversing camera
2
00
Park Assist
2
01
Under-inflation detection
20
9Fuel tank
2 13
Diesel misfuel prevention
2
14
Snow chains
2
16
Very cold climate screen
2
17
to
wing a trailer
2
18
en
ergy economy mode
2
19
Accessories
2
20
Changing a wiper blade
2
22
Fitting roof bars
2
23
Bonnet
2
25
Petrol engine
2
26
Diesel engine
2
27
Checking levels
2
28
Checks
231
AdBlue
® and SCR system
(BlueHDi Diesel) 23 3
Warning triangle (stowing)
238
te
mporary puncture
repair kit
2
39
Spare wheel
2
46
Changing a bulb
2
52
Changing a fuse
2
62
12 V battery
2
68
to
w i n g
2 7 2
Running out of fuel (Diesel)
2
74Petrol engines
2
75
Petrol weights
2
78
Diesel engines
2
81
Diesel weights
2
85
Dimensions
2
89
Identification markings
2
92
Driving
Practical information
In the event of a breakdownte chnical data
DeNON equipment 2 93
7-inch touch screen
2
95
Peugeot Connect Sound (RD5)
3
59
Audio equipment and telematics
Alphabetical index
Contents
Page 6 of 392
4
308_en_Chap00b_vue-densemble_ed01-2016
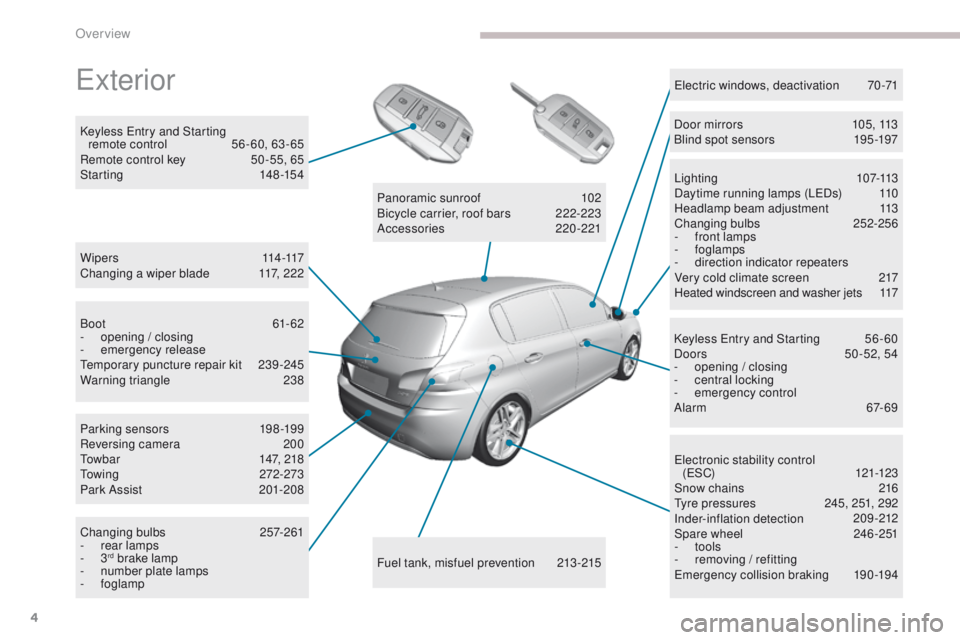
exterior
W i p e r s 114 -117
Changing a wiper blade 1 17, 222
Keyless
e
n
try and Starting
remote control
5
6 - 60, 63 - 65
Remote control key
5
0 -55, 65
Starting
1
48-154
ele
ctronic stability control
(
eS
C)
121-123
Snow chains
2
16
ty
re pressures
2
45, 251, 292
Inder-inflation detection
20
9-212
Spare wheel
2
46 -251
-
tools
-
r
emoving / refitting
em
ergency collision braking
1
90-194
Lighting
1
07-113
Daytime running lamps (L
eD
s)
1
10
Headlamp beam adjustment
1
13
Changing bulbs
2
52-256
-
f
ront lamps
- foglamps
- d irection indicator repeaters
Very cold climate screen
2
17
Heated windscreen and washer jets
1
17
el
ectric windows, deactivation
7
0-71
Keyless e
n
try and Starting
5
6 - 60
Doors
5
0 -52, 54
-
ope
ning / closing
-
c
entral locking
-
em
ergency control
Alarm
6
7-69
Fuel tank, misfuel prevention
2
13-215
Panoramic sunroof
1
02
Bicycle carrier, roof bars
2
22-223
Accessories
2
20-221
Boot
61-62
-
ope
ning / closing
-
em
ergency release
te
mporary puncture repair kit
2
39-245
Warning triangle
2
38
Parking sensors
1
98-199
Reversing camera
2
00
to
wbar
1
47, 218
to
wing
272-273
Park Assist
2
01-208
Changing bulbs
2
57-261
-
r
ear lamps
-
3
rd brake lamp
-
n
umber plate lamps
-
foglamp Door mirrors
1
05, 113
Blind spot sensors
1
95 -197
Over view
Page 42 of 392
40
touch screen
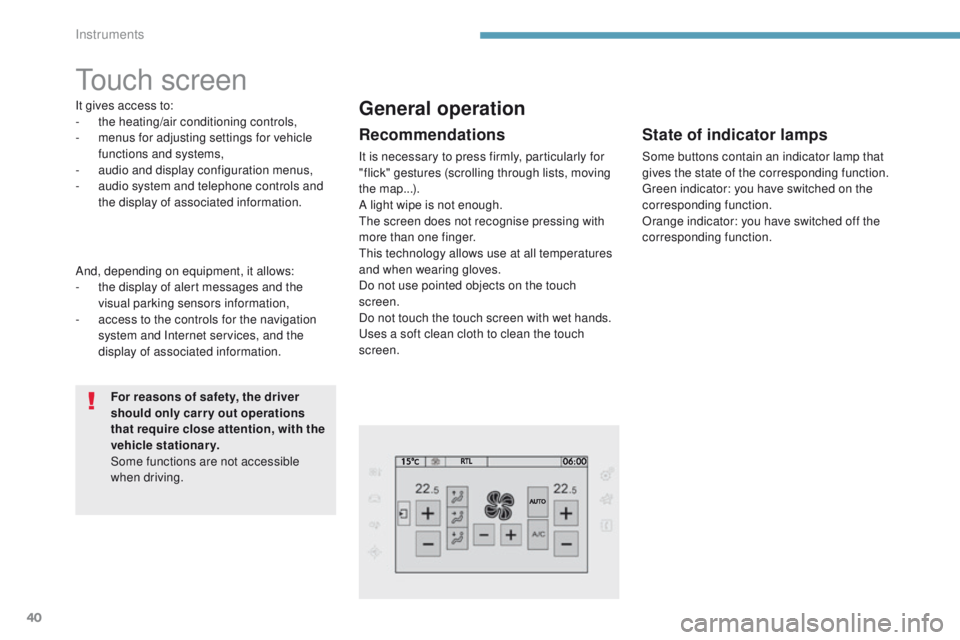
It gives access to:
- the heating/air conditioning controls,
-
m
enus for adjusting settings for vehicle
functions and systems,
-
a
udio and display configuration menus,
-
a
udio system and telephone controls and
the display of associated information.
For reasons of safety, the driver
should only carr y out operations
that require close attention, with the
vehicle stationary.
Some functions are not accessible
when driving.General operation
Recommendations
It is necessary to press firmly, particularly for
"flick" gestures (scrolling through lists, moving
the map...).
A light wipe is not enough.
th
e screen does not recognise pressing with
more than one finger.
th
is technology allows use at all temperatures
and when wearing gloves.
Do not use pointed objects on the touch
screen.
Do not touch the touch screen with wet hands.
us
es a soft clean cloth to clean the touch
screen.
And, depending on equipment, it allows:
-
t
he display of alert messages and the
visual parking sensors information,
-
a
ccess to the controls for the navigation
system and Internet services, and the
display of associated information.
State of indicator lamps
Some buttons contain an indicator lamp that
gives the state of the corresponding function.
gr
een indicator: you have switched on the
corresponding function.
Orange indicator: you have switched off the
corresponding function.
Instruments
Page 44 of 392
42
"Driving assistance" menu
the systems with settings that can be adjusted are detailed in the table below.Button Corresponding function Comments
Speed settings Memorisation of speeds for use with the speed limiter or cruise control.
Under-inflation initialisation Reinitialisation of the under-inflation system.
Blind spot sensors Activation of the function.
Park Assist Activation/Deactivation of the function
Instruments
Page 45 of 392
43
308_en_Chap01_instruments-de-bord_ed01-2016
ButtonCorresponding function Comments
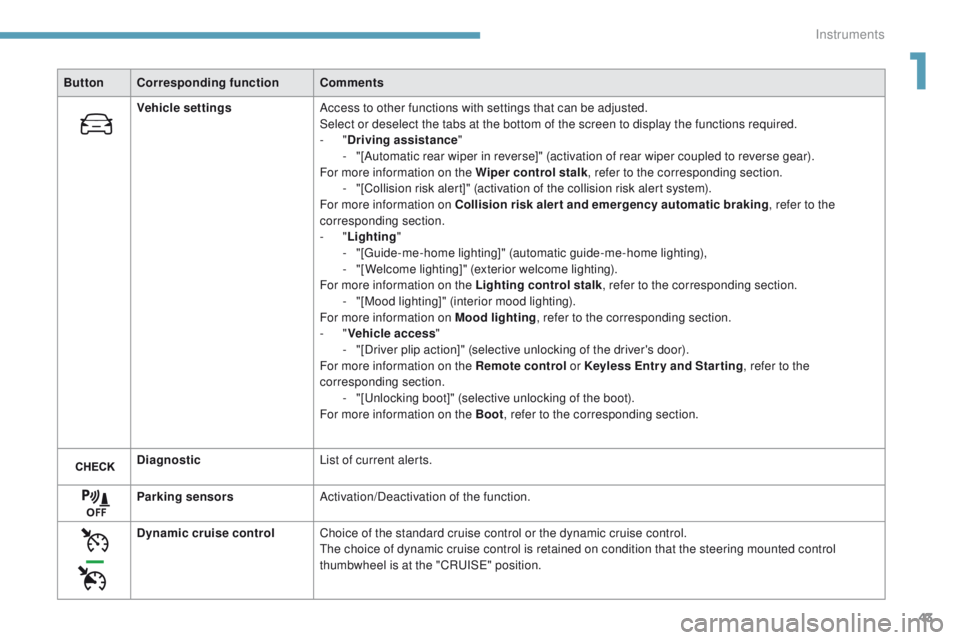
Vehicle settings Access to other functions with settings that can be adjusted.
Select or deselect the tabs at the bottom of the screen to display the functions required.
-
"Driving assistance "
-
"
[Automatic rear wiper in reverse]" (activation of rear wiper coupled to reverse gear).
For more information on the Wiper control stalk , refer to the corresponding section.
-
"
[Collision risk alert]" (activation of the collision risk alert system).
For more information on Collision risk alert and emergency automatic braking , refer to the
corresponding section.
-
"Lighting "
-
"
[
gu
ide-me-home lighting]" (automatic guide-me-home lighting),
-
"
[Welcome lighting]" (exterior welcome lighting).
For more information on the Lighting control stalk , refer to the corresponding section.
-
"
[Mood lighting]" (interior mood lighting).
For more information on Mood lighting , refer to the corresponding section.
-
"Vehicle access "
-
"
[Driver plip action]" (selective unlocking of the driver's door).
For more information on the Remote control or Keyless Entr y and Star ting, refer to the
corresponding section. -
"
[
un
locking boot]" (selective unlocking of the boot).
For more information on the Boot , refer to the corresponding section.
Diagnostic List of current alerts.
Parking sensors Activation/Deactivation of the function.
Dynamic cruise control Choice of the standard cruise control or the dynamic cruise control.
th
e choice of dynamic cruise control is retained on condition that the steering mounted control
thumbwheel is at the "CR
uI
S
e" p
osition.
1
Instruments
Page 94 of 392
92
308_en_Chap03_ergonomie-et-confort_ed01-2016
In order for these systems to be fully effective, follow the operation and maintenance
guidelines below:
F t
o o
btain an even air distribution, take care not to obstruct the exterior air intake grilles
located at the base of the windscreen, the nozzles, the vents and the air outlets, as well
as the air extractor located in the boot.
F
D
o not cover the sunshine sensor, located on the dashboard; this is used for regulation
of the air conditioning system.
F
O
perate the air conditioning system for at least 5 to 10 minutes, once or twice a month
to keep it in per fect working order.
F
e
n
sure that the passenger compartment filter is in good condition and have the filter
elements replaced regularly.
W
e recommend the use of a combined passenger compartment filter. t
h
anks to its
special active additive, it contributes to the purification of the air breathed by the
occupants and the cleanliness of the passenger compartment (reduction of allergic
symptoms, bad odours and greasy deposits).
F
t
o e
nsure correct operation of the air conditioning system, you are also advised to have
it checked regularly as recommended in the warranty and maintenance record.
F
I
f the system does not produce cold air, switch it off and contact a P
e
uge
Ot
dealer or
a qualified workshop.
Recommendations for ventilation and air conditioning
If after an extended stop in sunshine,
the interior temperature is very high, first
ventilate the passenger compartment for
a few moments.
Put the air flow control at a setting high
enough to quickly change the air in the
passenger compartment.
th
e air conditioning system does not
contain chlorine and does not present
any danger to the ozone layer.
th
e condensation created by the air
conditioning results in a discharge
of water under the vehicle which is
perfectly normal.
When towing the maximum load on a steep gradient in high temperatures, switching off the
air conditioning increases the available engine power and so improves the towing ability.
Stop & Start
the heating and air conditioning
systems only work when the engine is
running.
to m
aintain a comfortable temperature
in the passenger compartment, you can
temporarily deactivate the Stop & Start
system.
For more information on Stop & Star t ,
refer to the corresponding section.
ease of use and comfort
Page 108 of 392

106
308_en_Chap04_eclairage-et-visibilite_ed01-2016
Rear view mirror
equipped with an anti-dazzle system, which darkens the mirror glass and reduces the nuisance to
the driver caused by the sun, headlamps from other vehicles...
Manual model
Adjustment
F A djust the mirror so that the glass is
directed correctly in the "day" position.
In order to ensure optimum visibility
during your manoeuvres, the mirror
lightens automatically when reverse
gear is engaged.
Day / night position
F
P
ull the lever to change to the "night" anti-
dazzle position.
F
P
ush the lever to change to the normal
"day" position.
Automatic "electrochrome"
model
this system automatically and progressively
changes between the day and night uses by
means of a sensor, which measures the light
from the rear of the vehicle.
Lighting and visibility
Page 112 of 392

110
308_en_Chap04_eclairage-et-visibilite_ed01-2016
In good or rainy weather, by both day
and night, the front foglamps and the
rear foglamps are prohibited. In these
situations, the power of their beams
may dazzle other drivers. t
he
y should
only be used in fog or falling snow.
In these weather conditions, you should
switch on the foglamps and dipped
beam headlamps manually, as the
sunshine sensor may detect sufficient
light.
Do not forget to switch off the front and
rear foglamps when they are no longer
necessary.Switching off the lighting
when switching off the ignition
When the ignition is switched off, all of the
lamps switch off immediately, except for
the dipped beam headlamps if automatic
guide-me-home lighting is activated.
Switching on the lighting
when switching on the
ignition
to reactivate the lighting control stalk,
turn the ring A to position "0" - lighting
off, then to the position of your choice.
When the driver's door is opened, a
temporary audible signal warns you that
the vehicle's lighting is on.
th
ey switch off automatically after a
period which depends on the state of
charge of the battery (entry to energy
economy mode).
Front daytime running
lamps
(light-emitting diodes)
they come on automatically when the engine
is started, when the lighting control stalk is in
position " 0" or " AUTO ".
Lighting and visibility
Page 113 of 392
111
308_en_Chap04_eclairage-et-visibilite_ed01-2016
Guide-me-home
lighting
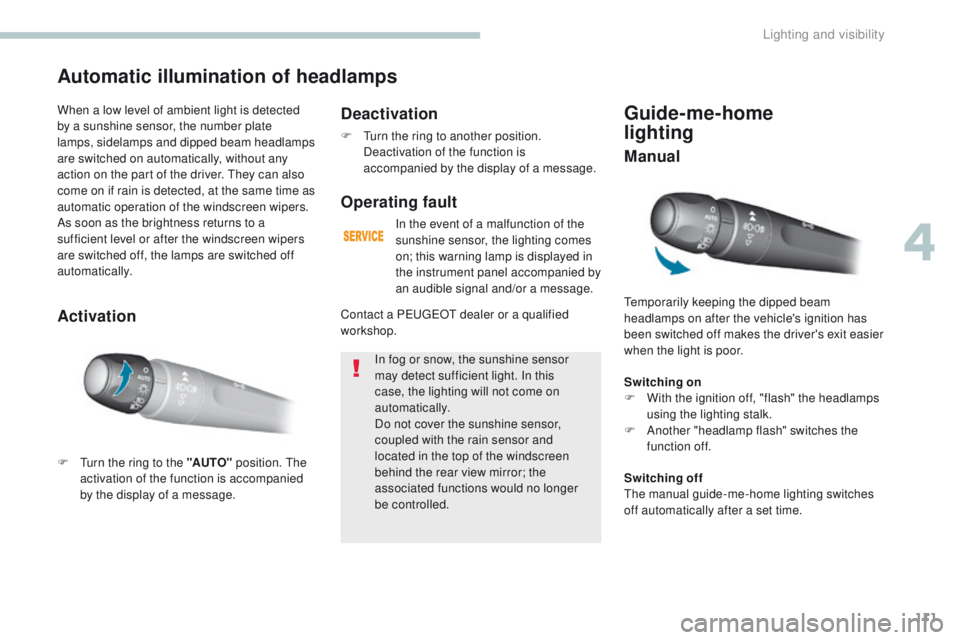
temporarily keeping the dipped beam
headlamps on after the vehicle's ignition has
been switched off makes the driver's exit easier
when the light is poor.
Switching on
F
W
ith the ignition off, "flash" the headlamps
using the lighting stalk.
F
A
nother "headlamp flash" switches the
function off.
Automatic illumination of headlamps
F turn the ring to the "AUTO" position. th e
activation of the function is accompanied
by the display of a message.
When a low level of ambient light is detected
by a sunshine sensor, the number plate
lamps,
sidelamps and dipped beam headlamps
are switched on automatically, without any
action on the part of the driver. t
h
ey can also
come on if rain is detected, at the same time as
automatic operation of the windscreen wipers.
As soon as the brightness returns to a
sufficient level or after the windscreen wipers
are switched off, the lamps are switched off
automatically.
Deactivation
F turn the ring to another position. Deactivation of the function is
accompanied by the display of a message.
Operating fault
In the event of a malfunction of the
sunshine sensor, the lighting comes
on; this warning lamp is displayed in
the instrument panel accompanied by
an audible signal and/or a message.
In fog or snow, the sunshine sensor
may detect sufficient light. In this
case, the lighting will not come on
automatically.
Do not cover the sunshine sensor,
coupled with the rain sensor and
located in the top of the windscreen
behind the rear view mirror; the
associated functions would no longer
be controlled.
Contact a P
e
uge
Ot
dealer or a qualified
workshop.
Activation Manual
Switching offth
e manual guide-me-home lighting switches
off automatically after a set time.
4
Lighting and visibility
Page 114 of 392
112
308_en_Chap04_eclairage-et-visibilite_ed01-2016
Automatic
When the automatic illumination of headlamps
function is activated (lighting control stalk
in the "AUTO" position), under low ambient
light the dipped beams headlamps come on
automatically when the ignition is switched off.
Activation or deactivation, as well
as the duration of the guide-me-
home lighting, is set in the " Driving
assistance " menu, then " Vehicle
settings " in the secondary page.
Exterior welcome
lighting
the remote switching on of the lighting makes
your approach to the vehicle easier in poor
light. It is activated when the lighting control
is in the " AUTO" position and the level of light
detected by the sunshine sensor is low.
Switching on
F Press the open padlock on the remote control or one of the front
door handles with Keyless
e
n
try
and Starting.
Switching offthe exterior welcome lighting switches off
automatically after a set time, when the ignition
is switched on or on locking the vehicle.
Programmingthe activation, deactivation and
choice of welcome lighting duration
are done in the " Driving assistance "
menu then " Vehicle settings ".
th
e dipped beam headlamps and sidelamps
come on; your vehicle is also unlocked.
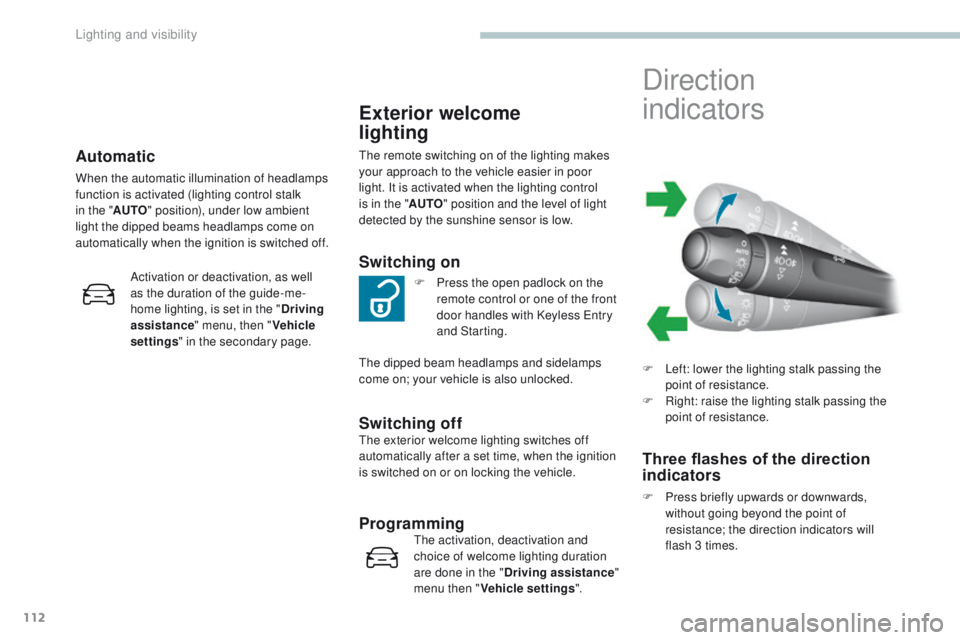
Direction
indicators
F Left: lower the lighting stalk passing the point of resistance.
F
R
ight: raise the lighting stalk passing the
point of resistance.
Three flashes of the direction
indicators
F Press briefly upwards or downwards, without going beyond the point of
resistance; the direction indicators will
flash 3 times.
Lighting and visibility