change time PEUGEOT 5008 2015 Owners Manual
[x] Cancel search | Manufacturer: PEUGEOT, Model Year: 2015, Model line: 5008, Model: PEUGEOT 5008 2015Pages: 364, PDF Size: 12.82 MB
Page 14 of 364
12
Eco-driving
Eco-driving is a range of everyday practices that allow the motorist to optimise their fuel consumption and CO2 emissions.
Optimise the use of your gearbox
With a manual gearbox, move off gently and change up without waiting.
During acceleration change up early.
With an automatic or electronic gearbox, give preference to automatic
mode and avoid pressing the accelerator pedal heavily or suddenly.
The gear shift indicator invites you engage the most suitable gear: as
soon as the indication is displayed in the instrument panel, follow it
straight away.
For vehicles fitted with an electronic or automatic gearbox, this
indicator appears only in manual mode.
Drive smoothly
Maintain a safe distance between vehicles, use engine braking rather
than the brake pedal, and press the accelerator progressively. These
practices contribute towards a reduction in fuel consumption and CO
2
emissions and also helps reduce the background traffic noise.
If your vehicle has cruise control, make use of the system at speeds
above 25 mph (40 km/h) when the traffic is flowing well.
Control the use of your electrical
equipment
Before moving off, if the passenger compartment is too warm, ventilate it
by opening the windows and air vents before using the air conditioning.
Above 30 mph (50 km/h), close the windows and leave the air vents
open.
Remember to make use of equipment that can help keep the
temperature in the passenger compartment down (sunroof and window
blinds...).
Switch off the air conditioning, unless it has automatic regulation, as
soon as the desired temperature is attained.
Switch off the demisting and defrosting controls, if not automatic.
Switch off the heated seat as soon as possible.
Switch off the headlamps and front foglamps when the level of light
does not require their use.
Avoid running the engine before moving off, particularly in winter; your
vehicle will warm up much faster while driving.
As a passenger, if you avoid connecting your multimedia devices
(film, music, video game...), you will contribute towards limiting the
consumption of electrical energy, and so of fuel.
Disconnect your portable devices before leaving the vehicle.
Eco-driving
Page 33 of 364
31
Distance recorders
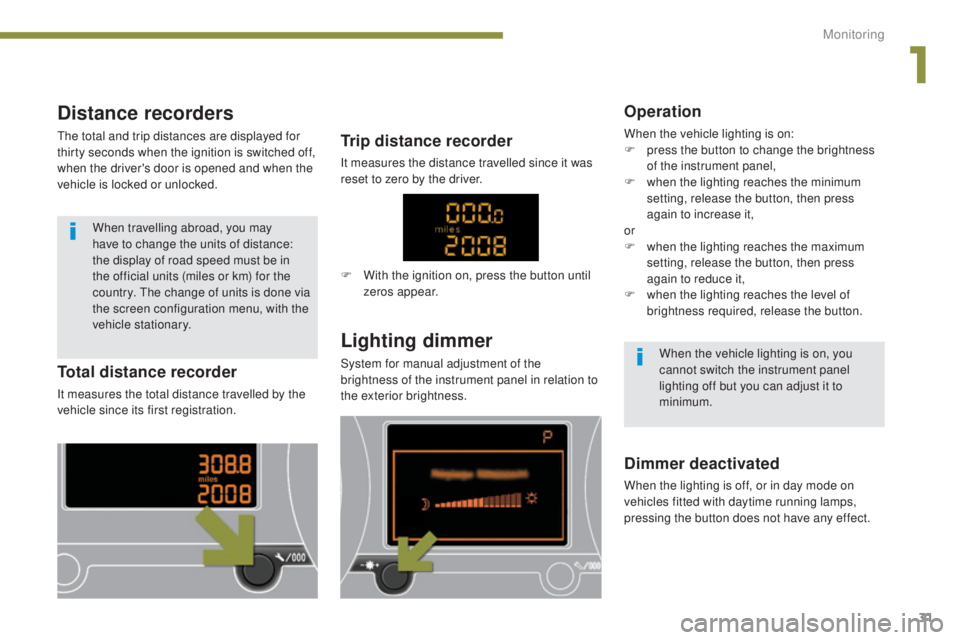
The total and trip distances are displayed for
thirty seconds when the ignition is switched off,
when the driver's door is opened and when the
vehicle is locked or unlocked.
Lighting dimmer
System for manual adjustment of the
brightness of the instrument panel in relation to
the exterior brightness.Total distance recorder
It measures the total distance travelled by the
vehicle since its first registration.
Trip distance recorder
It measures the distance travelled since it was
reset to zero by the driver.
Dimmer deactivated
When the lighting is off, or in day mode on
vehicles fitted with daytime running lamps,
pressing the button does not have any effect.
Operation
When the vehicle lighting is on:
F p ress the button to change the brightness
of the instrument panel,
F
w
hen the lighting reaches the minimum
setting, release the button, then press
again to increase it,
or
F
w
hen the lighting reaches the maximum
setting, release the button, then press
again to reduce it,
F
w
hen the lighting reaches the level of
brightness required, release the button.
When the vehicle lighting is on, you
cannot switch the instrument panel
lighting off but you can adjust it to
minimum.
When travelling abroad, you may
have to change the units of distance:
the display of road speed must be in
the official units (miles or km) for the
country. The change of units is done via
the screen configuration menu, with the
vehicle stationary.
F
W
ith the ignition on, press the button until
zeros appear.
1
Monitoring
Page 35 of 364
33
Vehicle configuration
Options
Once the "Options" menu has been selected,
you can start diagnostics of the status of the
equipment (active, not active, faulty).
Languages
Once the "Languages" menu has been
selected, you can change the language used
by the display (Français, Italiano, Nederlands,
Portugues, Portugues-Brasil, Türkçe, Deutsch,
English, Espanol).
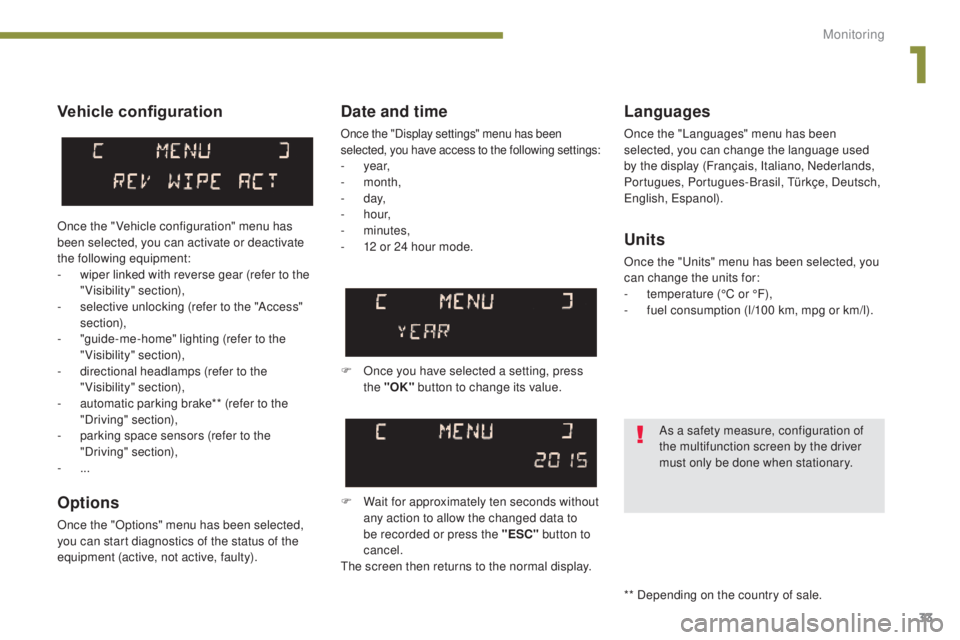
Date and time
Once the "Display settings" menu has been
selected, you have access to the following settings:
- year,
- month,
-
d ay,
-
h o u r,
-
minutes,
-
1
2 or 24 hour mode.
Units
Once the "Units" menu has been selected, you
can change the units for:
-
t
emperature (°C or °F),
-
f
uel consumption (l/100 km, mpg or km/l).
F Once you have selected a setting, press the "OK" button to change its value.
F
W
ait for approximately ten seconds without
any action to allow the changed data to
be recorded or press the "ESC" button to
cancel.
The screen then returns to the normal display.
Once the " Vehicle configuration" menu has
been selected, you can activate or deactivate
the following equipment:
-
w
iper linked with reverse gear (refer to the
"Visibility" section),
-
s
elective unlocking (refer to the "Access"
section),
-
"
guide-me-home" lighting (refer to the
"Visibility" section),
-
d
irectional headlamps (refer to the
"Visibility" section),
-
a
utomatic parking brake** (refer to the
"Driving" section),
-
p
arking space sensors (refer to the
"Driving" section),
-
... As a safety measure, configuration of
the multifunction screen by the driver
must only be done when stationary.
** Depending on the country of sale.
1
Monitoring
Page 36 of 364
34
Monochrome screen A (with audio equipment)
Controls
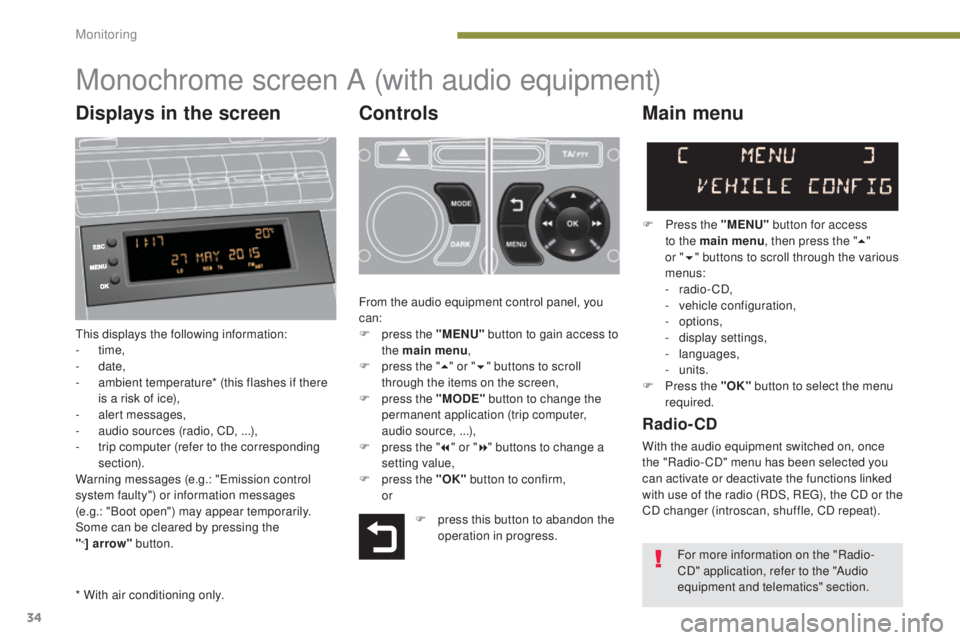
This displays the following information:
- time,
-
date,
-
a
mbient temperature* (this flashes if there
is a risk of ice),
-
a
lert messages,
-
a
udio sources (radio, CD, ...),
-
t
rip computer (refer to the corresponding
section).
Warning messages (e.g.: "Emission control
system faulty") or information messages
(e.g.: "Boot open") may appear temporarily.
Some can be cleared by pressing the
"
<] arrow" button.
Main menu
F Press the "MENU" button for access
to the main menu , then press the "5"
or
"6 "
buttons to scroll through the various
menus:
-
radio - CD,
-
v
ehicle configuration,
-
options,
-
d
isplay settings,
-
languages,
-
units.
F
P
ress the "OK" button to select the menu
required.
From the audio equipment control panel, you
can:
F
p
ress the "MENU" button to gain access to
the main menu ,
F
p
ress the " 5" or " 6" buttons to scroll
through the items on the screen,
F
p
ress the "MODE" button to change the
permanent application (trip computer,
audio source, ...),
F
p
ress the " 7" or " 8" buttons to change a
setting value,
F
p
ress the "OK" button to confirm,
or
Radio- CD
With the audio equipment switched on, once
the "Radio- CD" menu has been selected you
can activate or deactivate the functions linked
with use of the radio (RDS, REG), the CD or the
CD changer (introscan, shuffle, CD repeat).
F
p
ress this button to abandon the
operation in progress.
* With air conditioning only. For more information on the "Radio-
CD" application, refer to the "Audio
equipment and telematics" section.
Displays in the screen
Monitoring
Page 37 of 364
35
Date and time
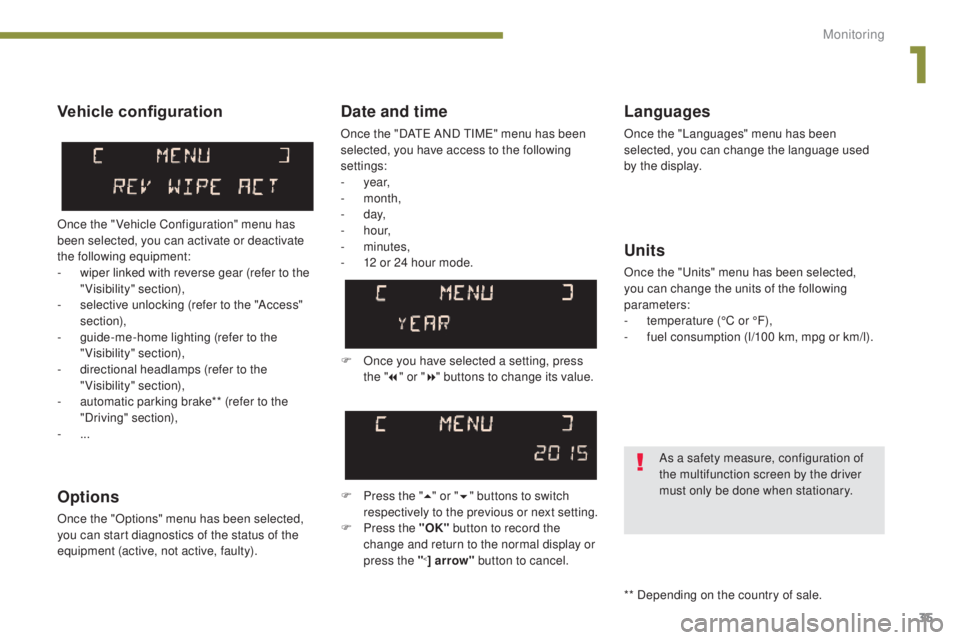
Once the "DATE AND TIME" menu has been
selected, you have access to the following
settings:
- year,
-
month,
-
d ay,
-
h o u r,
-
minutes,
-
1
2 or 24 hour mode.
Languages
Once the "Languages" menu has been
selected, you can change the language used
by the display.
Units
Once the "Units" menu has been selected,
you can change the units of the following
parameters:
-
t
emperature (°C or °F),
-
f
uel consumption (l/100 km, mpg or km/l).
F
O
nce you have selected a setting, press
the " 7" or " 8" buttons to change its value.
F
P
ress the " 5" or " 6" buttons to switch
respectively to the previous or next setting.
F
P
ress the "OK" button to record the
change and return to the normal display or
press the "
<] arrow" button to cancel.
Vehicle configuration
Once the " Vehicle Configuration" menu has
been selected, you can activate or deactivate
the following equipment:
-
w
iper linked with reverse gear (refer to the
"Visibility" section),
-
s
elective unlocking (refer to the "Access"
section),
-
g
uide-me-home lighting (refer to the
"Visibility" section),
-
d
irectional headlamps (refer to the
"Visibility" section),
-
a
utomatic parking brake** (refer to the
"Driving" section),
-
...
Options
Once the "Options" menu has been selected,
you can start diagnostics of the status of the
equipment (active, not active, faulty).
As a safety measure, configuration of
the multifunction screen by the driver
must only be done when stationary.
** Depending on the country of sale.
1
Monitoring
Page 38 of 364
36
Monochrome screen C (with PEUGEOT C onnect Sound (RD5))
Main menu
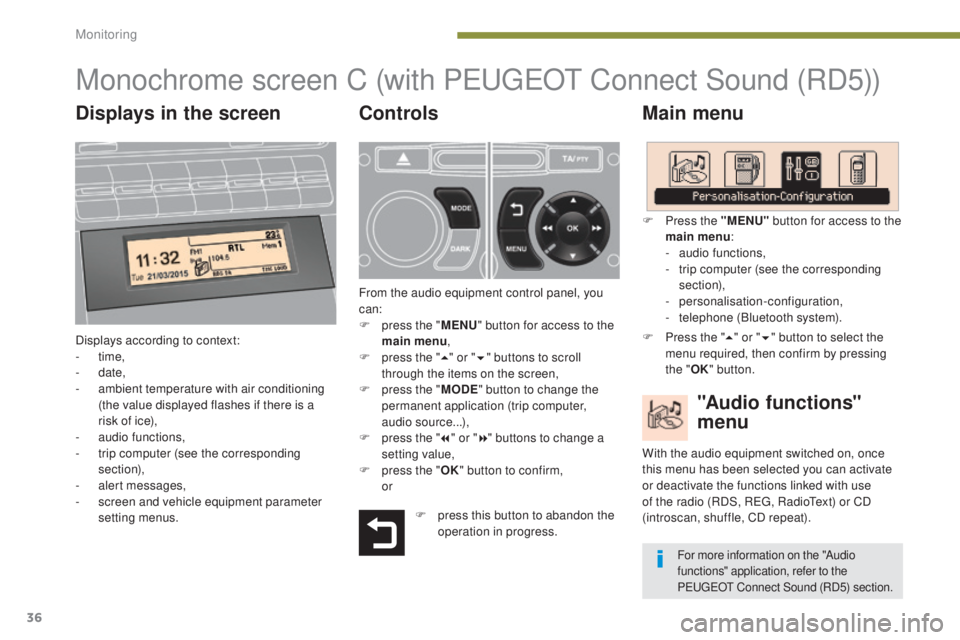
Displays according to context:
-
time,
-
date,
-
a
mbient temperature with air conditioning
(the value displayed flashes if there is a
risk of ice),
-
a
udio functions,
-
t
rip computer (see the corresponding
section),
-
a
lert messages,
-
s
creen and vehicle equipment parameter
setting menus.
"Audio functions"
menu
Controls
From the audio equipment control panel, you
can:
F
p
ress the " MENU" button for access to the
main menu ,
F
p
ress the " 5" or " 6" buttons to scroll
through the items on the screen,
F
p
ress the " MODE" button to change the
permanent application (trip computer,
audio source...),
F
p
ress the " 7" or " 8" buttons to change a
setting value,
F
p
ress the " OK" button to confirm,
or F
P
ress the "MENU"
button for access to the
main menu :
-
a
udio functions,
-
t
rip computer (see the corresponding
section),
- personalisation-configuration,
-
t
elephone (Bluetooth system).
With the audio equipment switched on, once
this menu has been selected you can activate
or deactivate the functions linked with use
of the radio (RDS, REG, RadioText) or CD
(introscan, shuffle, CD repeat).
F press this button to abandon the operation in progress. F
P
ress the "
5" or " 6" button to select the
menu required, then confirm by pressing
the " OK" button.
For more information on the "Audio
functions" application, refer to the
PEUGEOT Connect Sound (RD5) section.
Displays in the screen
Monitoring
Page 40 of 364
38
Display configuration
Once this menu has been selected, you have
access to the following settings:
-
b
rightness-video setting,
-
d
ate and time setting,
-
s
election of the units.
Adjusting the date and time
F
P
ress the " 7" or " 8" button to select the
"Display configuration" menu, then the
"OK" button.
F
P
ress the " 5" or " 6" button, to select the
"Adjust date and time" line, then on the
"OK" button.
F
P
ress the " 7" or " 8" button to select the
setting to modify. Confirm by pressing the
"OK"
button then adjust the setting and
confirm again to save the modification.
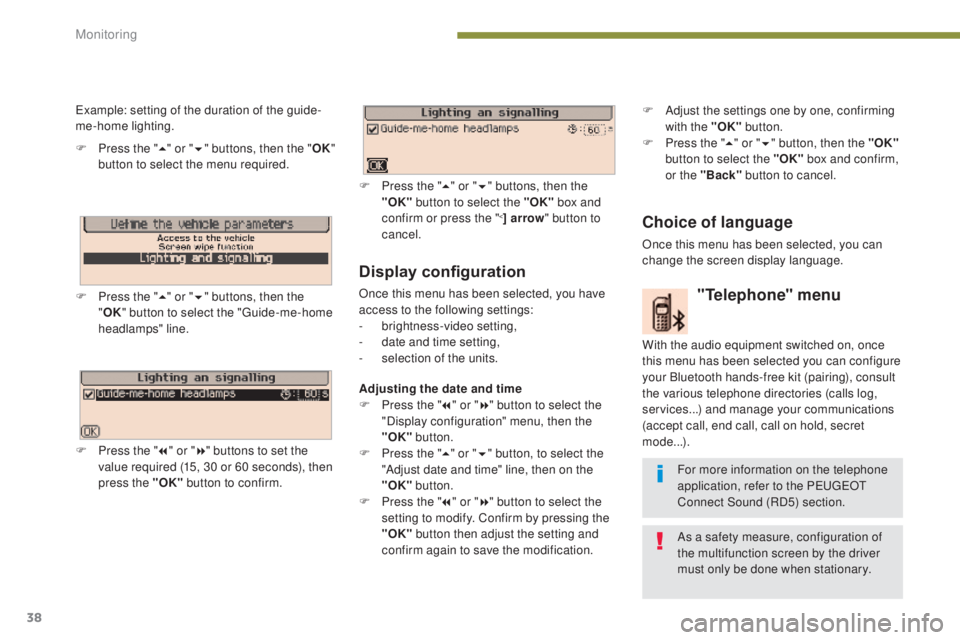
Example: setting of the duration of the guide-
me-home lighting.
F
P
ress the "
5" or " 6" buttons, then the " OK"
button to select the menu required.
F
P
ress the " 5" or " 6" buttons, then the
" OK " button to select the "Guide-me-home
headlamps" line.
F
P
ress the " 7" or " 8" buttons to set the
value required (15, 30 or 60 seconds), then
press the "OK" button to confirm. F
P
ress the "
5" or " 6" buttons, then the
"OK" button to select the "OK" box and
confirm or press the "
<] arrow " button to
cancel.
"Telephone" menu
With the audio equipment switched on, once
this menu has been selected you can configure
your Bluetooth hands-free kit (pairing), consult
the various telephone directories (calls log,
services...) and manage your communications
(accept call, end call, call on hold, secret
mode...).
For more information on the telephone
application, refer to the P
E
UGEOT
C
onnect Sound (RD5) section.
As a safety measure, configuration of
the multifunction screen by the driver
must only be done when stationary.
Choice of language
Once this menu has been selected, you can
change the screen display language. F
A
djust the settings one by one, confirming
with the "OK" button.
F
P
ress the "
5" or " 6" button, then the "OK"
button to select the "OK" box and confirm,
or the "Back" button to cancel.
Monitoring
Page 44 of 364
42
Tr i p c o m p u t e r
When the range falls below 20 miles (30 km),
dashes are displayed. After filling with at least
5 litres of fuel, the range is recalculated and is
displayed when it exceeds 60 miles (100 km).
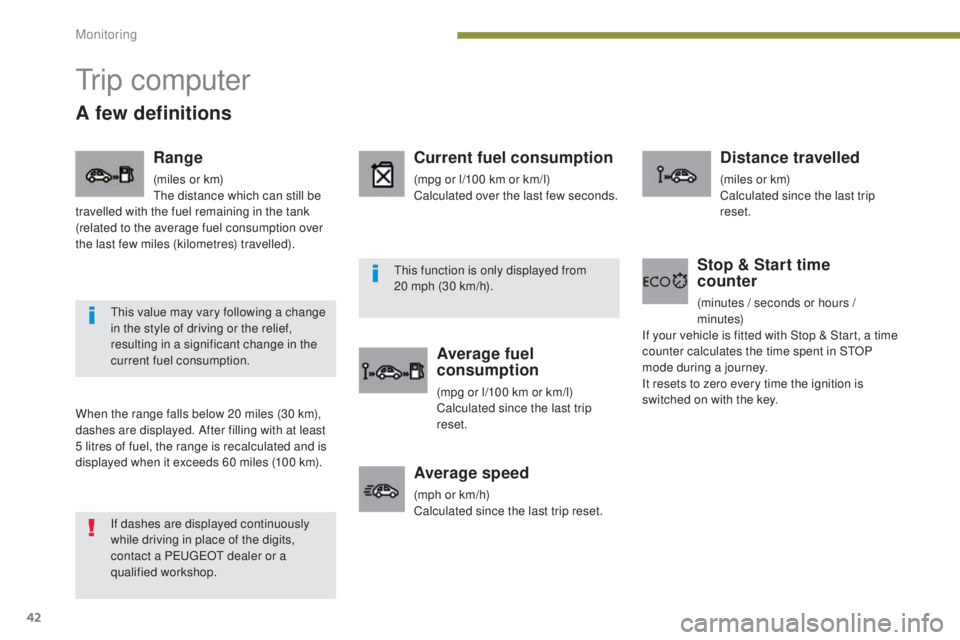
A few definitions
Current fuel consumption
(mpg or l/100 km or km/l)
Calculated over the last few seconds.
Average fuel
consumption
(mpg or l/100 km or km/l)
Calculated since the last trip
reset.
Distance travelled
(miles or km)
Calculated since the last trip
reset.
Average speed
(mph or km/h)
Calculated since the last trip reset.
Stop & Start time
counter
(minutes / seconds or hours /
minutes)
If your vehicle is fitted with Stop & Start, a time
counter calculates the time spent in STOP
mode during a journey.
It resets to zero every time the ignition is
switched on with the key.
If dashes are displayed continuously
while driving in place of the digits,
contact a PEUGEOT dealer or a
qualified workshop. This value may vary following a change
in the style of driving or the relief,
resulting in a significant change in the
current fuel consumption. This function is only displayed from
20 mph (30 km/h).
Range
(miles or km)
The distance which can still be
travelled with the fuel remaining in the tank
(related to the average fuel consumption over
the last few miles (kilometres) travelled).
Monitoring
Page 140 of 364
138
Deactivation
In exceptional conditions (starting a vehicle
which is bogged down, stuck in snow, on soft
ground...), it may be advisable to deactivate
the DSC and ASR, so that the wheels can turn
freely and regain grip.
Reactivate the systems as soon as the level of
grip permits.
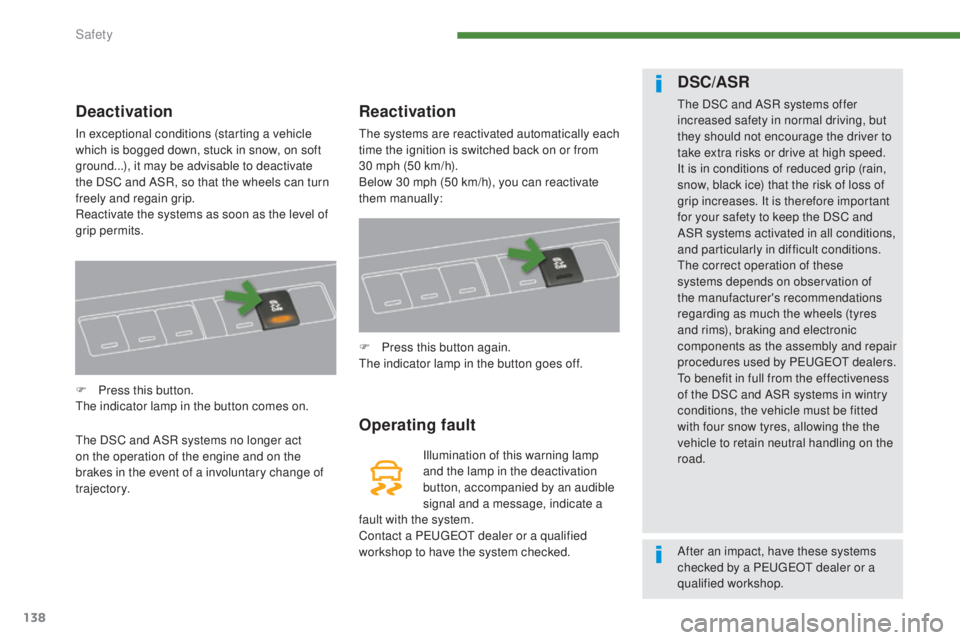
F
P
ress this button.
The indicator lamp in the button comes on.
The DSC and ASR systems no longer act
on the operation of the engine and on the
brakes in the event of a involuntary change of
trajectory.
Reactivation
The systems are reactivated automatically each
time the ignition is switched back on or from
30
mph (50 km/h).
Below 30 mph (50 km/h), you can reactivate
them manually:
Operating fault
Illumination of this warning lamp
and the lamp in the deactivation
button, accompanied by an audible
signal and a message, indicate a
fault with the system.
Contact a PEUGEOT dealer or a qualified
workshop to have the system checked. F
P
ress this button again.
The indicator lamp in the button goes off.
DSC/ASR
The DSC and ASR systems offer
increased safety in normal driving, but
they should not encourage the driver to
take extra risks or drive at high speed.
It is in conditions of reduced grip (rain,
snow, black ice) that the risk of loss of
grip increases. It is therefore important
for your safety to keep the DSC and
ASR systems activated in all conditions,
and particularly in difficult conditions.
The correct operation of these
systems depends on observation of
the manufacturer's recommendations
regarding as much the wheels (tyres
and rims), braking and electronic
components as the assembly and repair
procedures used by PEUGEOT dealers.
To benefit in full from the effectiveness
of the DSC and ASR systems in wintry
conditions, the vehicle must be fitted
with four snow tyres, allowing the the
vehicle to retain neutral handling on the
road.
After an impact, have these systems
checked by a PEUGEOT dealer or a
qualified workshop.
Safety
Page 179 of 364
177
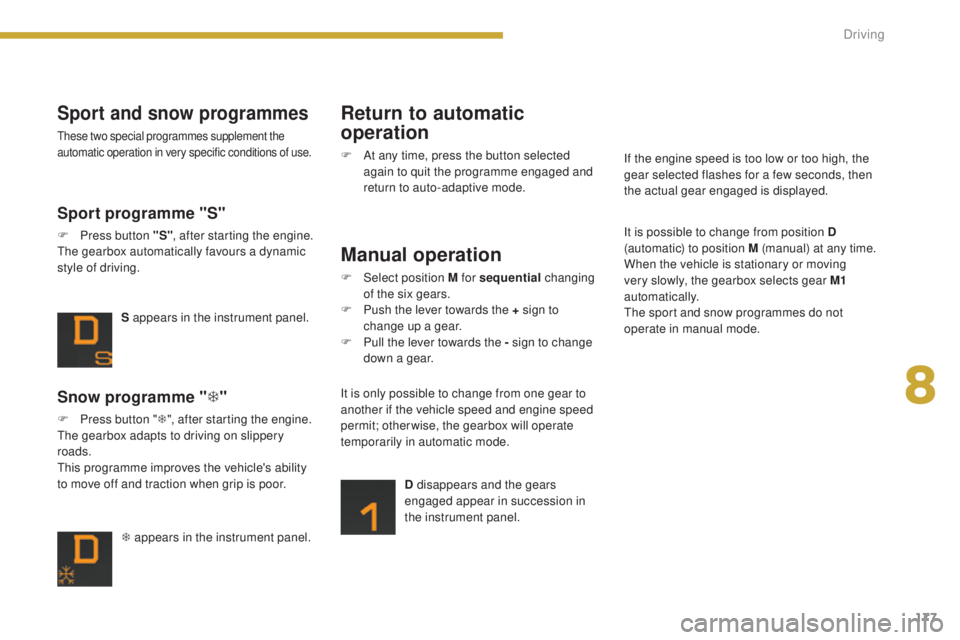
T appears in the instrument panel.
Snow programme "T"
F Press button " T", after starting the engine.
The gearbox adapts to driving on slippery
roads.
This programme improves the vehicle's ability
to move off and traction when grip is poor. S appears in the instrument panel.
Sport programme "S"
F Press button "S"
, after starting the engine.
The gearbox automatically favours a dynamic
style of driving.
Sport and snow programmes
These two special programmes supplement the
automatic operation in very specific conditions of use.
Return to automatic
operation
F At any time, press the button selected again to quit the programme engaged and
return to auto-adaptive mode.
Manual operation
F Select position M for sequential changing
of the six gears.
F
P
ush the lever towards the + sign to
change up a gear.
F
P
ull the lever towards the - sign to change
down a gear.
D disappears and the gears
engaged appear in succession in
the instrument panel.
It is only possible to change from one gear to
another if the vehicle speed and engine speed
permit; otherwise, the gearbox will operate
temporarily in automatic mode. It is possible to change from position D
(automatic) to position M (manual) at any time.
When the vehicle is stationary or moving
very slowly, the gearbox selects gear M1
automatically.
The sport and snow programmes do not
operate in manual mode. If the engine speed is too low or too high, the
gear selected flashes for a few seconds, then
the actual gear engaged is displayed.
8
Driving