Peugeot 508 Hybrid 2016 Owner's Manual
Manufacturer: PEUGEOT, Model Year: 2016, Model line: 508 Hybrid, Model: Peugeot 508 Hybrid 2016Pages: 424, PDF Size: 13.29 MB
Page 181 of 424
179
508_en_Chap06_conduite_ed01-2016
Manual operation
F Select position M for sequential changing
of the six gears.
F
P
ull the lever towards the + sign to change
up a gear.
F
P
ush the lever towards the - sign to change
down a gear.
It is only possible to change from one gear to
another if the vehicle speed and engine speed
permit; otherwise, the gearbox will operate
temporarily in automatic mode.
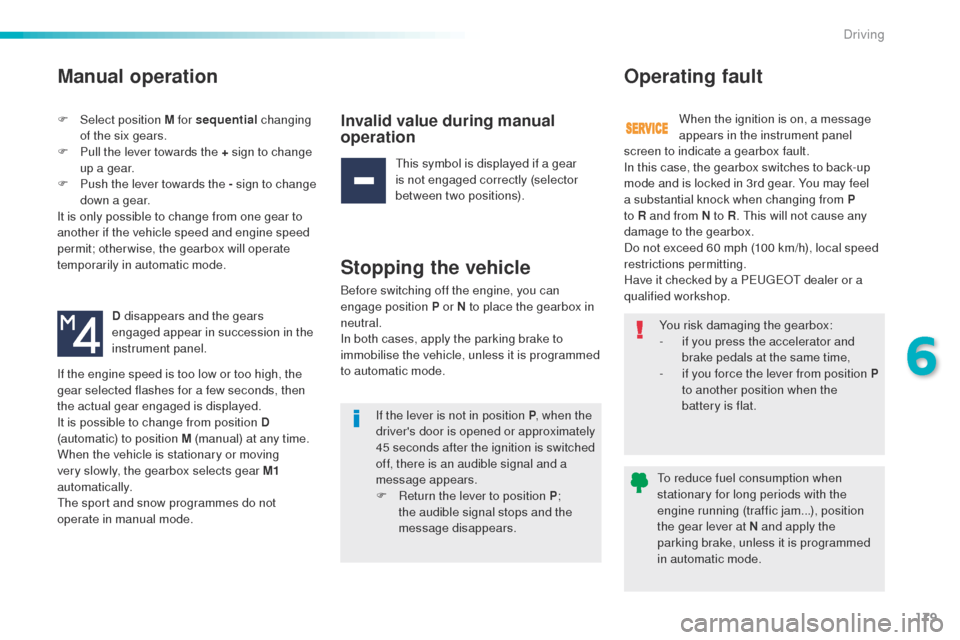
D disappears and the gears
engaged appear in succession in the
instrument panel.Invalid value during manual
operation
this symbol is displayed if a gear
is not engaged correctly (selector
between two positions).
Stopping the vehicle
Before switching off the engine, you can
engage position P or N to place the gearbox in
neutral.
In both cases, apply the parking brake to
immobilise the vehicle, unless it is programmed
to automatic mode.
Operating fault
When the ignition is on, a message
appears in the instrument panel
If the engine speed is too low or too high, the
gear selected flashes for a few seconds, then
the actual gear engaged is displayed.
It is possible to change from position D
(automatic) to position M (manual) at any time.
When the vehicle is stationary or moving
very slowly, the gearbox selects gear M1
automatically.
th
e sport and snow programmes do not
operate in manual mode. You risk damaging the gearbox:
-
i
f you press the accelerator and
brake pedals at the same time,
-
i
f you force the lever from position P
to another position when the
battery is flat.
If the lever is not in position P , when the
driver's door is opened or approximately
45 seconds after the ignition is switched
off, there is an audible signal and a
message appears.
F
R
eturn the lever to position P ;
the audible signal stops and the
message disappears.
to r
educe fuel consumption when
stationary for long periods with the
engine running (traffic jam...), position
the gear lever at N and apply the
parking brake, unless it is programmed
in automatic mode.
screen to indicate a gearbox fault.
In this case, the gearbox switches to back-up
mode and is locked in 3rd gear. You may feel
a substantial knock when changing from P
to R and from N to R
.
t
h
is will not cause any
damage to the gearbox.
Do not exceed 60 mph (100 km/h), local speed
restrictions permitting.
Have it checked by a P
e
uge
Ot
dealer or a
qualified workshop.
6
Driving
Page 182 of 424
180
508_en_Chap06_conduite_ed01-2016
Stop & Start
Operation
Going into engine STOP mode
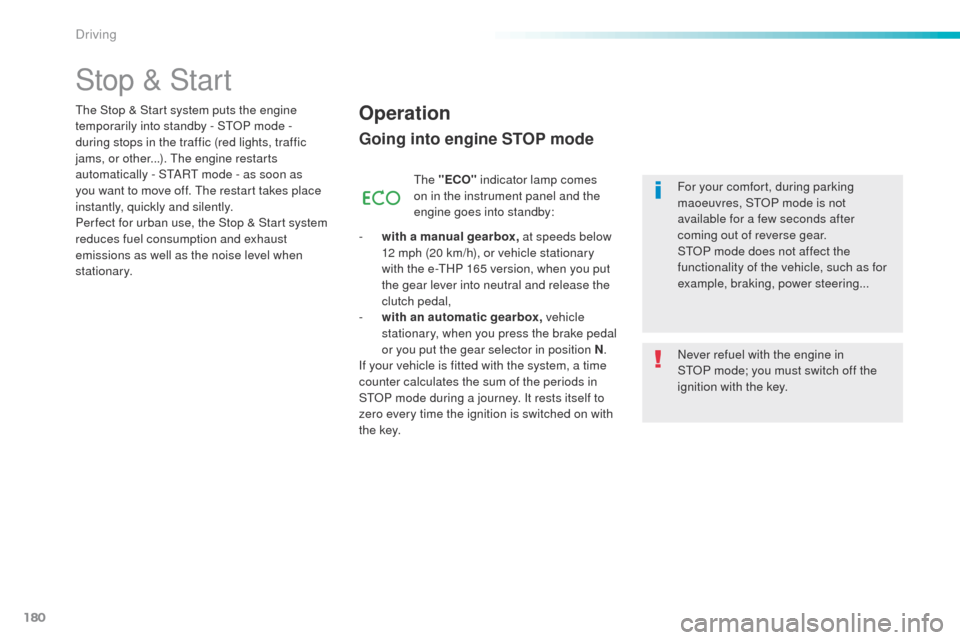
the "ECO" indicator lamp comes
on in the instrument panel and the
engine goes into standby:
-
w
ith a manual gearbox, at speeds below
12 mph (20 km/h), or vehicle stationary
with the e-
tH
P 165 version, when you put
the gear lever into neutral and release the
clutch pedal,
-
w
ith an automatic gearbox, vehicle
stationary, when you press the brake pedal
or you put the gear selector in position N .
If your vehicle is fitted with the system, a time
counter calculates the sum of the periods in
S
tO
P mode during a journey. It rests itself to
zero every time the ignition is switched on with
t h e key. Never refuel with the engine in
S
tO
P mode; you must switch off the
ignition with the key. For your comfort, during parking
maoeuvres, S
tO
P mode is not
available for a few seconds after
coming out of reverse gear.
S
tO
P mode does not affect the
functionality of the vehicle, such as for
example, braking, power steering...
th
e Stop & Start
system puts the engine
temporarily into standby - S
tO
P mode -
during stops in the traffic (red lights, traffic
jams, or other...).
t
h
e engine restarts
automatically
-
StA
Rt
mode - as soon as
you want to move off.
th
e restart takes place
instantly, quickly and silently.
Per fect for urban use, the Stop & Start system
reduces fuel consumption and exhaust
emissions as well as the noise level when
stationary.
Driving
Page 183 of 424
181
508_en_Chap06_conduite_ed01-2016
Going into engine START mode
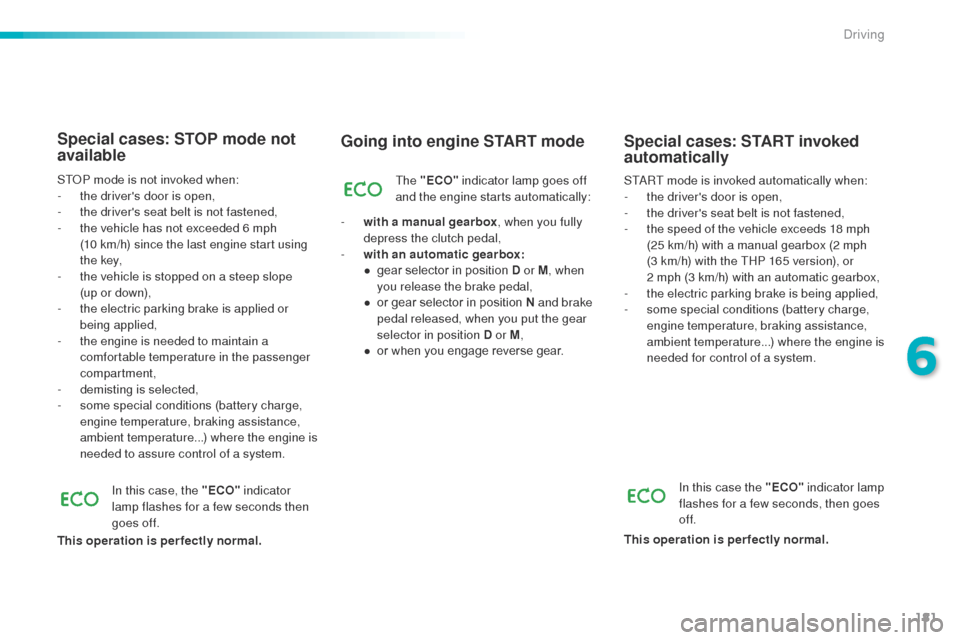
the "ECO" indicator lamp goes off
and the engine starts automatically:
-
w
ith a manual gearbox , when you fully
depress the clutch pedal,
-
w
ith an automatic gearbox:
●
g
ear selector in position D or M , when
you release the brake pedal,
●
o
r gear selector in position N and brake
pedal released, when you put the gear
selector in position D or M ,
●
o
r when you engage reverse gear. StA
Rt mode is invoked automatically when:
- t he driver's door is open,
-
t
he driver's seat belt is not fastened,
-
t
he speed of the vehicle exceeds 18 mph
(25 km/h) with a manual gearbox (2 mph
(3 km/h) with the
t
H
P 165 version), or
2
mph (3 km/h) with an automatic gearbox,
-
t
he electric parking brake is being applied,
-
s
ome special conditions (battery charge,
engine temperature, braking assistance,
ambient temperature...) where the engine is
needed for control of a system.
Special cases: START invoked
automatically
In this case the "ECO" indicator lamp
flashes for a few seconds, then goes
of f.
This operation is perfectly normal.
Special cases: STOP mode not
available
StOP mode is not invoked when:
- t he driver's door is open,
-
t
he driver's seat belt is not fastened,
-
t
he vehicle has not exceeded 6 mph
(10
km/h) since the last engine start using
t h e key,
-
t
he vehicle is stopped on a steep slope
(up
or down),
-
t
he electric parking brake is applied or
being applied,
-
t
he engine is needed to maintain a
comfortable temperature in the passenger
compartment,
-
d
emisting is selected,
-
s
ome special conditions (battery charge,
engine temperature, braking assistance,
ambient temperature...) where the engine is
needed to assure control of a system.
In this case, the "ECO" indicator
lamp flashes for a few seconds then
goes off.
This operation is perfectly normal.
6
Driving
Page 184 of 424
182
508_en_Chap06_conduite_ed01-2016
the system is reactivated automatically
at every new start using the key.
Reactivation
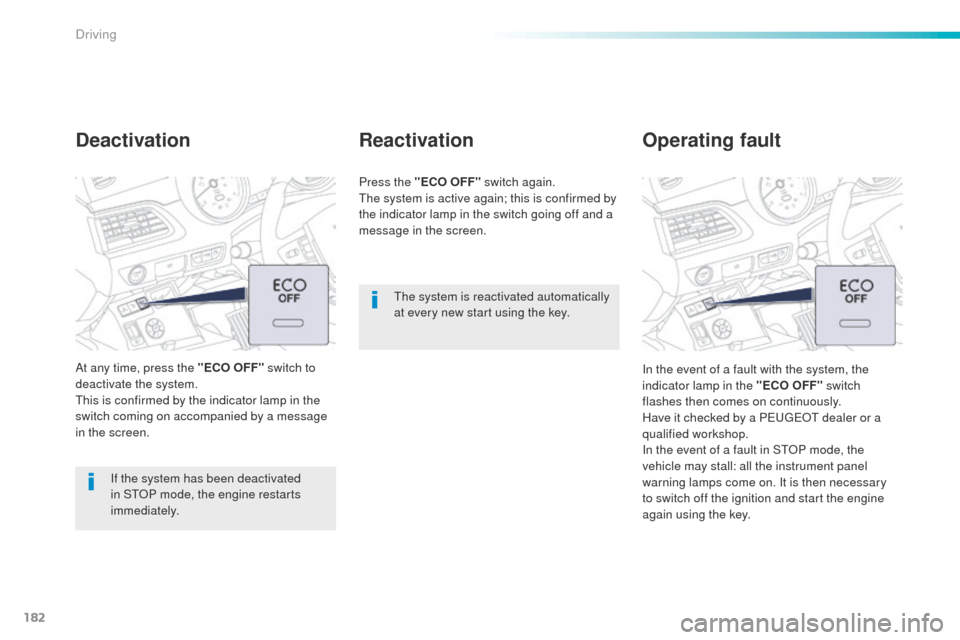
Press the "ECO OFF" switch again.the system is active again; this is confirmed by
the indicator lamp in the switch going off and a
message in the screen.
Operating fault
In the event of a fault with the system, the
indicator lamp in the "ECO OFF" switch
flashes then comes on continuously.
Have it checked by a P
e
uge
Ot
dealer or a
qualified workshop.
In the event of a fault in S
tO
P mode, the
vehicle may stall: all the instrument panel
warning lamps come on. It is then necessary
to switch off the ignition and start the engine
again using the key.
If the system has been deactivated
in S
tO
P mode, the engine restarts
immediately.
At any time, press the "ECO OFF"
switch to
deactivate the system.
th
is is confirmed by the indicator lamp in the
switch coming on accompanied by a message
in the screen.
Deactivation
Driving
Page 185 of 424
183
508_en_Chap06_conduite_ed01-2016
Hill start assist
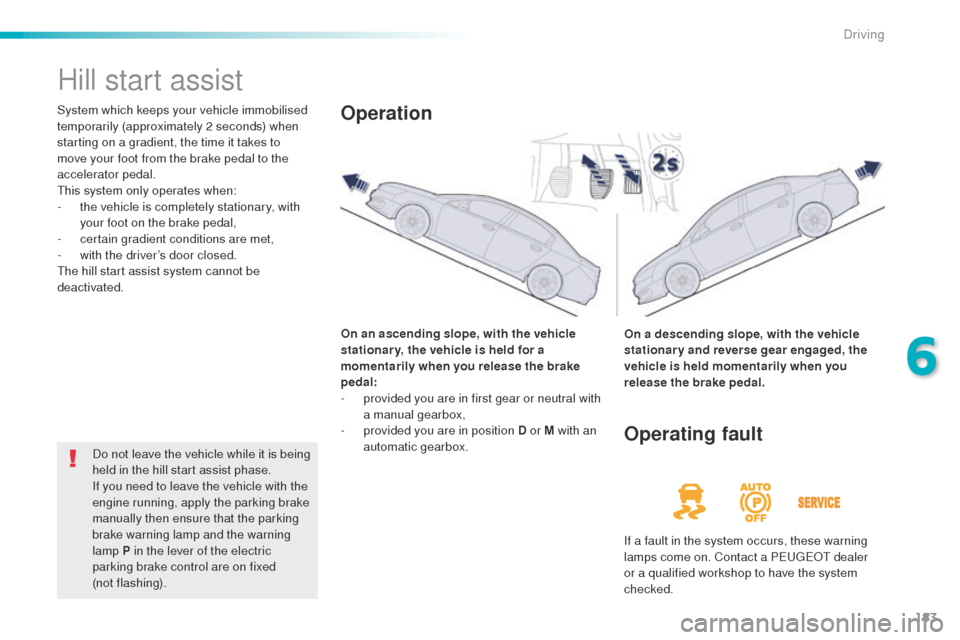
System which keeps your vehicle immobilised
temporarily (approximately 2 seconds) when
starting on a gradient, the time it takes to
move your foot from the brake pedal to the
accelerator pedal.
th
is system only operates when:
-
t
he vehicle is completely stationary, with
your foot on the brake pedal,
-
c
ertain gradient conditions are met,
-
w
ith the driver’s door closed.
th
e hill start assist system cannot be
deactivated.
On an ascending slope, with the vehicle
stationar y, the vehicle is held for a
momentarily when you release the brake
pedal:
-
p
rovided you are in first gear or neutral with
a manual gearbox,
-
p
rovided you are in position D or M with an
automatic gearbox.Operation
On a descending slope, with the vehicle
stationary and reverse gear engaged, the
vehicle is held momentarily when you
release the brake pedal.
Do not leave the vehicle while it is being
held in the hill start assist phase.
If you need to leave the vehicle with the
engine running, apply the parking brake
manually then ensure that the parking
brake warning lamp and the warning
lamp P in the lever of the electric
parking brake control are on fixed
(not
flashing).
Operating fault
If a fault in the system occurs, these warning
lamps come on. Contact a Pe ugeOt dealer
or a qualified workshop to have the system
checked.
6
Driving
Page 186 of 424
184
508_en_Chap06_conduite_ed01-2016
Head-up display
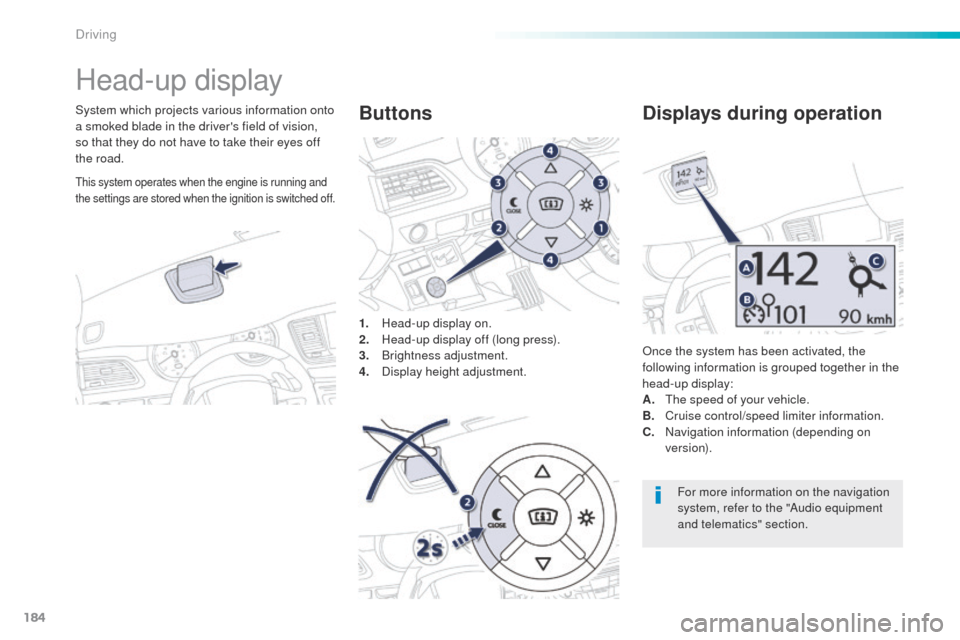
System which projects various information onto
a smoked blade in the driver's field of vision,
so that they do not have to take their eyes off
the road.1.
H
ead-up display on.
2.
H
ead-up display off (long press).
3.
Br
ightness adjustment.
4.
D
isplay height adjustment.Buttons
Once the system has been activated, the
following information is grouped together in the
head-up display:
A.
t
h
e speed of your vehicle.
B.
C
ruise control/speed limiter information.
C.
N
avigation information (depending on
ve r s i o n).
Displays during operation
For more information on the navigation
system, refer to the "Audio equipment
and telematics" section.
this system operates when the engine is running and
the settings are stored when the ignition is switched off.
Driving
Page 187 of 424
185
508_en_Chap06_conduite_ed01-2016
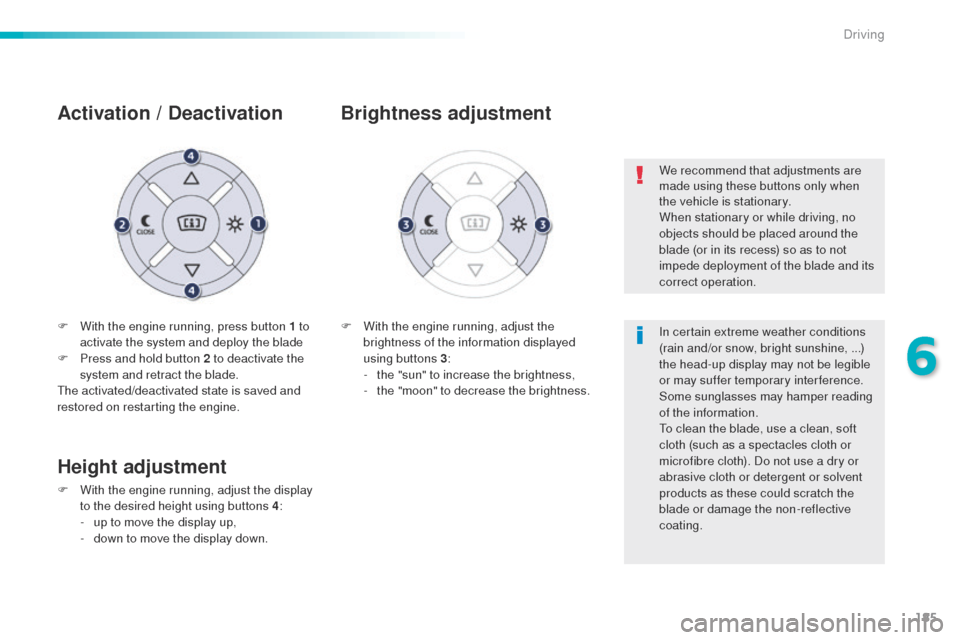
F With the engine running, press button 1 to activate the system and deploy the blade
F
P
ress and hold button 2 to deactivate the
system and retract the blade.
th
e activated/deactivated state is saved and
restored on restarting the engine.
Activation / D eactivation
F With the engine running, adjust the
brightness of the information displayed
using buttons 3 :
-
t
he "sun" to increase the brightness,
-
t
he "moon" to decrease the brightness.
Brightness adjustment
We recommend that adjustments are
made using these buttons only when
the vehicle is stationary.
When stationary or while driving, no
objects should be placed around the
blade (or in its recess) so as to not
impede deployment of the blade and its
correct operation.
In certain extreme weather conditions
(rain and/or snow, bright sunshine, ...)
the head-up display may not be legible
or may suffer temporary interference.
Some sunglasses may hamper reading
of the information.
to c
lean the blade, use a clean, soft
cloth (such as a spectacles cloth or
microfibre cloth). Do not use a dry or
abrasive cloth or detergent or solvent
products as these could scratch the
blade or damage the non-reflective
coating.
Height adjustment
F With the engine running, adjust the display to the desired height using buttons 4 :
-
u
p to move the display up,
-
d
own to move the display down.
6
Driving
Page 188 of 424
186
508_en_Chap06_conduite_ed01-2016
Tyre under-inflation detection
System which automatically checks the pressures of the tyres while driving.the system continuously monitors the pressures of the four tyres, as soon as the vehicle is moving.
th
e tyre under-inflation detection
system is an aid to driving which does
not replace the need for vigilance on
the part of the driver.
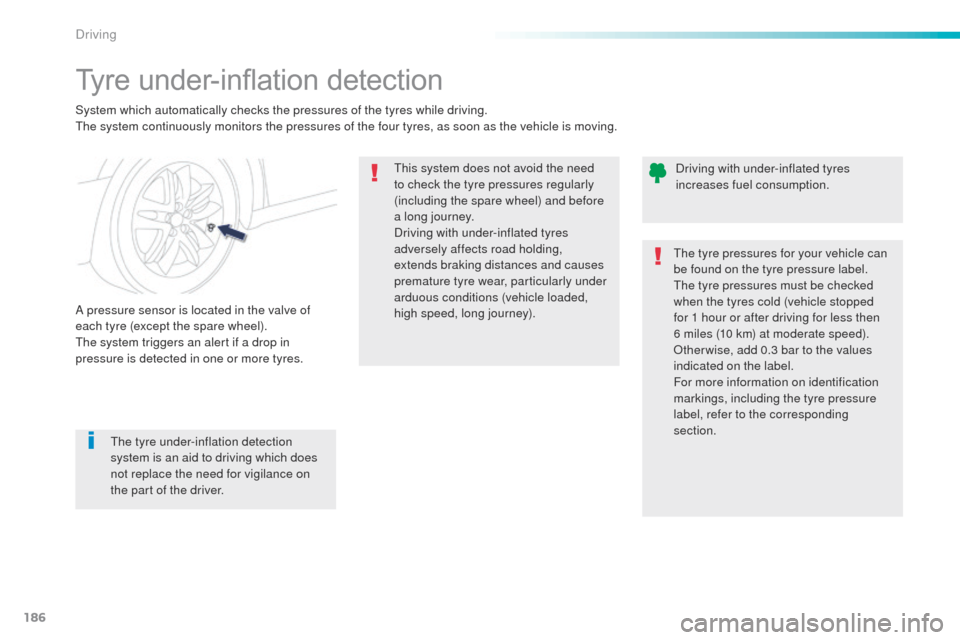
A pressure sensor is located in the valve of
each tyre (except the spare wheel).
th
e system triggers an alert if a drop in
pressure is detected in one or more tyres.
th
is system does not avoid the need
to check the tyre pressures regularly
(including the spare wheel) and before
a long journey.
Driving with under-inflated tyres
adversely affects road holding,
extends braking distances and causes
premature tyre wear, particularly under
arduous conditions (vehicle loaded,
high speed, long journey). Driving with under-inflated tyres
increases fuel consumption.
th
e tyre pressures for your vehicle can
be found on the tyre pressure label.
th
e tyre pressures must be checked
when the tyres cold (vehicle stopped
for 1 hour or after driving for less then
6 miles (10 km) at moderate speed).
Other wise, add 0.3 bar to the values
indicated on the label.
For more information on identification
markings, including the tyre pressure
label, refer to the corresponding
section.
Driving
Page 189 of 424
187
508_en_Chap06_conduite_ed01-2016
the loss of pressure detected does not
always lead to visible deformation of
the tyre.
Do not rely on just a visual check.
th
e alert is maintained until the tyre or
tyres concerned is reinflated, repaired
or replaced.
th
e spare wheel (space-saver type or a
steel rim) does not have a sensor.
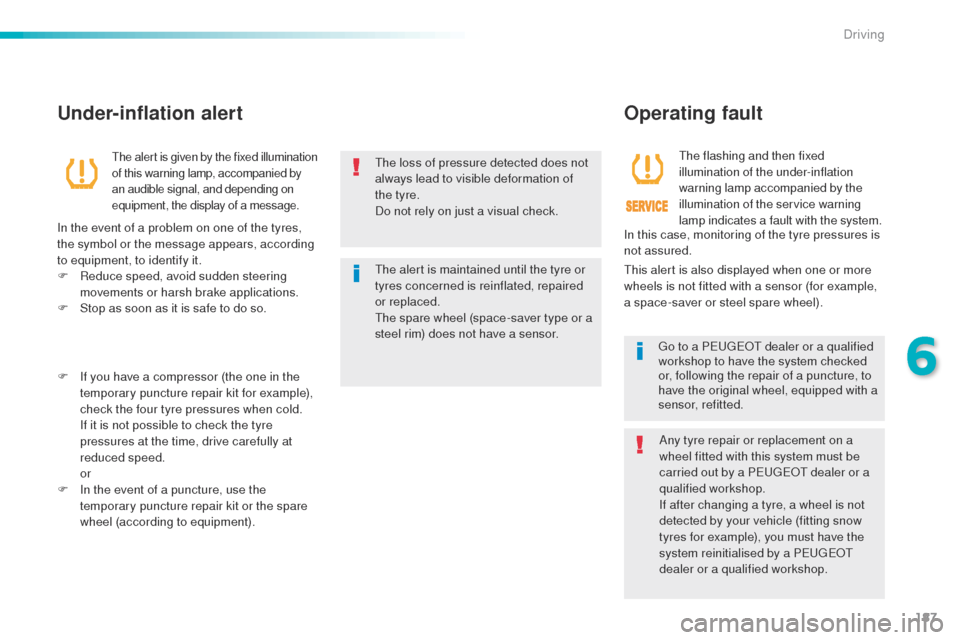
Under-inflation alert
the alert is given by the fixed illumination
of this warning lamp, accompanied by
an audible signal, and depending on
equipment, the display of a message.
In the event of a problem on one of the tyres,
the symbol or the message appears, according
to equipment, to identify it.
F
R
educe speed, avoid sudden steering
movements or harsh brake applications.
F
S
top as soon as it is safe to do so.
F
I
f you have a compressor (the one in the
temporary puncture repair kit for example),
check the four tyre pressures when cold.
I
f it is not possible to check the tyre
pressures at the time, drive carefully at
reduced speed.
or
F
I
n the event of a puncture, use the
temporary puncture repair kit or the spare
wheel (according to equipment).
Operating fault
the flashing and then fixed
illumination of the under-inflation
warning lamp accompanied by the
illumination of the service warning
lamp indicates a fault with the system.
th
is alert is also displayed when one or more
wheels is not fitted with a sensor (for example,
a space-saver or steel spare wheel).
go t
o a P
e
uge
Ot
dealer or a qualified
workshop
to have the system checked
or, following the repair of a puncture, to
have the original wheel, equipped with a
sensor, refitted.
Any tyre repair or replacement on a
wheel fitted with this system must be
carried out by a P
e
uge
Ot
dealer or a
qualified workshop.
If after changing a tyre, a wheel is not
detected by your vehicle (fitting snow
tyres for example), you must have the
system reinitialised by a P
e
uge
Ot
dealer or a qualified workshop.
In this case, monitoring of the tyre pressures is
not assured.
6
Driving
Page 190 of 424
188
508_en_Chap06_conduite_ed01-2016
Speed limiter
System which prevents the vehicle from
exceeding the speed programmed by the
driver.
When the programmed speed limit is reached,
pressing the accelerator pedal no longer
has any effect unless it is pressed firmly,
which allows you to temporarily exceed the
programmed speed.
to r
eturn to the programmed speed, simply
slow down to a speed below the programmed
speed by releasing the accelerator.
th
e speed limiter is switched on manually:
it requires a programmed speed of at least
20
mph (30 km/h).
th
e speed limiter is switched off by manual
operation of the control.
th
e programmed speed remains in the memory
when the ignition is switched off.
th
e speed limiter cannot, in any
circumstances, replace the need to
observe speed limits, nor can it replace
the need for vigilance and responsibility
on the part of the driver.
th
is information also appears in the
head-up display.
For more information, refer to the
"Head-up display" section.
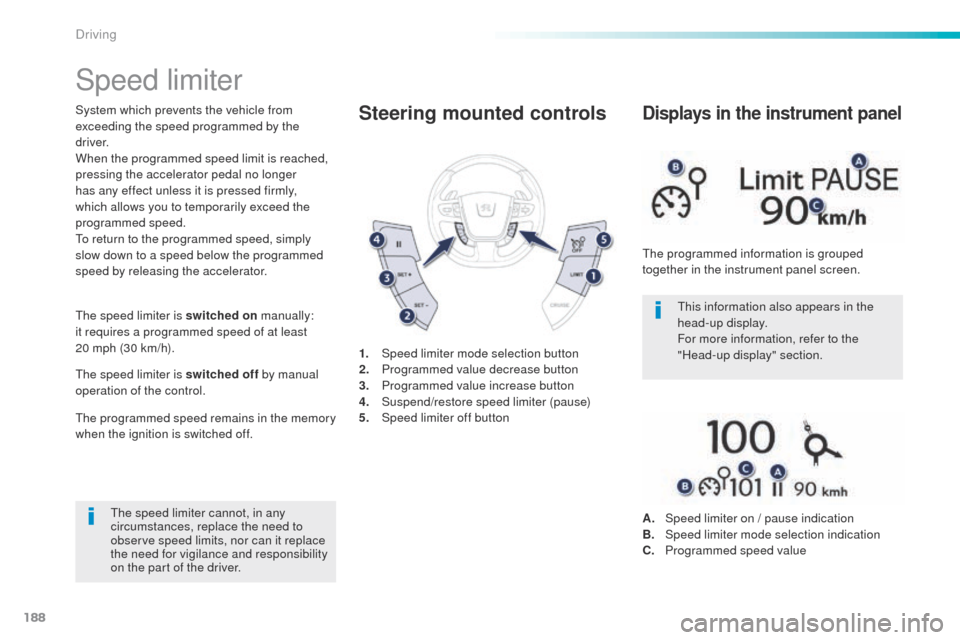
1.
Spe
ed limiter mode selection button
2.
P
rogrammed value decrease button
3.
P
rogrammed value increase button
4.
S
uspend/restore speed limiter (pause)
5.
Spe
ed limiter off buttonSteering mounted controls
the programmed information is grouped
together in the instrument panel screen.
Displays in the instrument panel
A. Speed limiter on / pause indication
B. Spe ed limiter mode selection indication
C.
P
rogrammed speed value
Driving