check engine light Peugeot Bipper 2010.5 Owner's Manual
[x] Cancel search | Manufacturer: PEUGEOT, Model Year: 2010.5, Model line: Bipper, Model: Peugeot Bipper 2010.5Pages: 166, PDF Size: 4.22 MB
Page 26 of 166

28
Instruments and controls
SERVICE INDICATOR ENGINE OIL WARNING LAMP
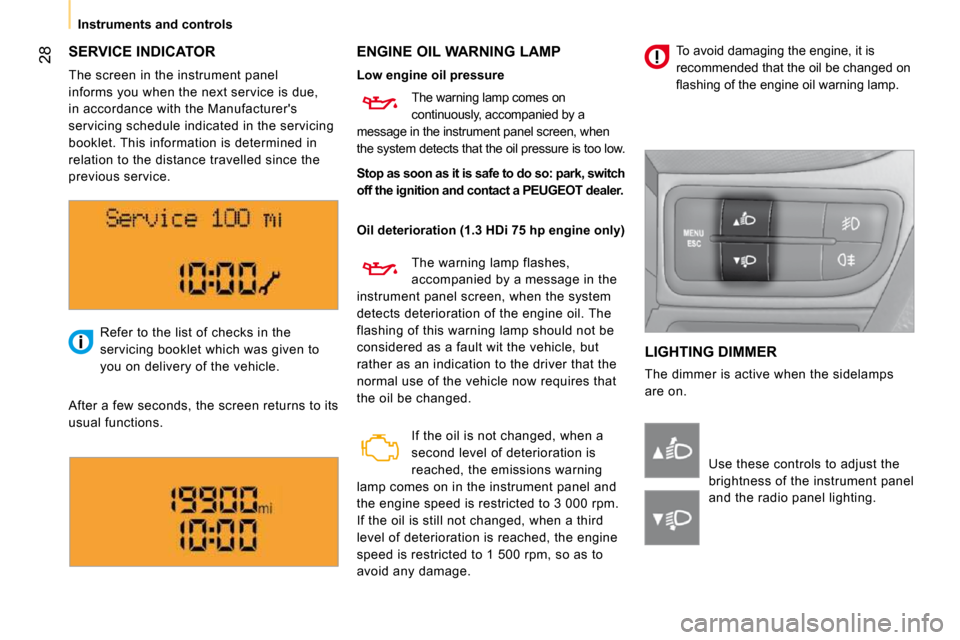
LIGHTING DIMMER
The dimmer is active when the sidelamps
are on.
Refer to the list of checks in the
servicing booklet which was given to
you on delivery of the vehicle.
After a few seconds, the screen returns to its
usual functions.
Use these controls to adjust the
brightness of the instrument panel
and the radio panel lighting.
The screen in the instrument panel
informs you when the next service is due,
in accordance with the Manufacturer's
servicing schedule indicated in the servicing
booklet. This information is determined in
relation to the distance travelled since the
previous service.
Low engine oil pressure
Oil deterioration (1.3 HDi 75 hp engine only)
The warning lamp comes on
continuously, accompanied by a
message in the instrument panel screen, when
the system detects that the oil pressure is too low .
The warning lamp flashes,
accompanied by a message in the
instrument panel screen, when the system
detects deterioration of the engine oil. The
flashing of this warning lamp should not be
considered as a fault wit the vehicle, but
rather as an indication to the driver that the
normal use of the vehicle now requires that
the oil be changed.
If the oil is not changed, when a
second level of deterioration is
reached, the emissions warning
lamp comes on in the instrument panel and
the engine speed is restricted to 3 000 rpm.
If the oil is still not changed, when a third
level of deterioration is reached, the engine
speed is restricted to 1 500 rpm, so as to
avoid any damage. To avoid damaging the engine, it is
recommended that the oil be changed on
�fl� �a�s�h�i�n�g� �o�f� �t�h�e� �e�n�g�i�n�e� �o�i�l� �w�a�r�n�i�n�g� �l�a�m�p�.� � �
Stop as soon as it is safe to do so:
park, switch
off the ignition and contact a
PEUGEOT
dealer.
Page 129 of 166

115
6
ACCESSORIES
Towing a trailer
In certain cases of particularly arduous
use (towing the maximum load up a steep
slope in high temperatures), the engine
automatically limits its power. In this case,
automatic cutting off of the air conditioning
allows the engine power to be saved.
If the coolant temperature
warning light comes on, stop the
vehicle and switch off the engine
as soon as possible.
See the "Levels" section of chapter 7.
Tyres: check the tyre pressures of the
towing vehicle (see the "Identification
markings" section of chapter 7) and of
the trailer, observing the recommended
pressures.
Brakes: towing increases the braking
distance. Drive at a moderate speed,
change down early and brake gradually.
Side wind: sensitivity to side wind is
increased. Drive smoothly and at a
moderate speed.
ABS: the system only controls the vehicle,
not the trailer.
Rear parking sensors: the sensors
will be deactivated automatically when
an genuine PEUGEOT towbar is used
(see the "Rear parking sensors" section of
chapter 3). Towbar
We recommend the use of original
PEUGEOT towbars and their harnesses,
which have been tested and approved from
the design stage of your vehicle, and that
the fitting of this equipment is entrusted to a
PEUGEOT dealer.
If this equipment is not fitted by a PEUGEOT
dealer, it is essential that it is fitted using
the electrical pre-equipment located at
the rear of the vehicle and following the
manufacturer's instructions.
The operation of the rear parking sensors is
deactivated automatically when the trailer
cable connector is inserted in the towbar
socket.
When the trailer cable is removed, the rear
parking sensors are re-activated.
Distribution of loads
Distribute the load in the trailer so that the
heaviest objects are as close as possible
to the axle and the nose weight is close to
the maximum authorised without, however,
exceeding it. The air density decreases with
altitude, so reducing the performance of
the engine. The maximum towed load must
be reduced by 10 % for each 1 000 metres
of altitude. Refer to the "Technical data"
chapter for details of the weights and towed
loads applicable to your vehicle and also to
the administrative documents
(V5 registration document, ...).
Page 157 of 166

139
7
QUICK HELP
Fuel
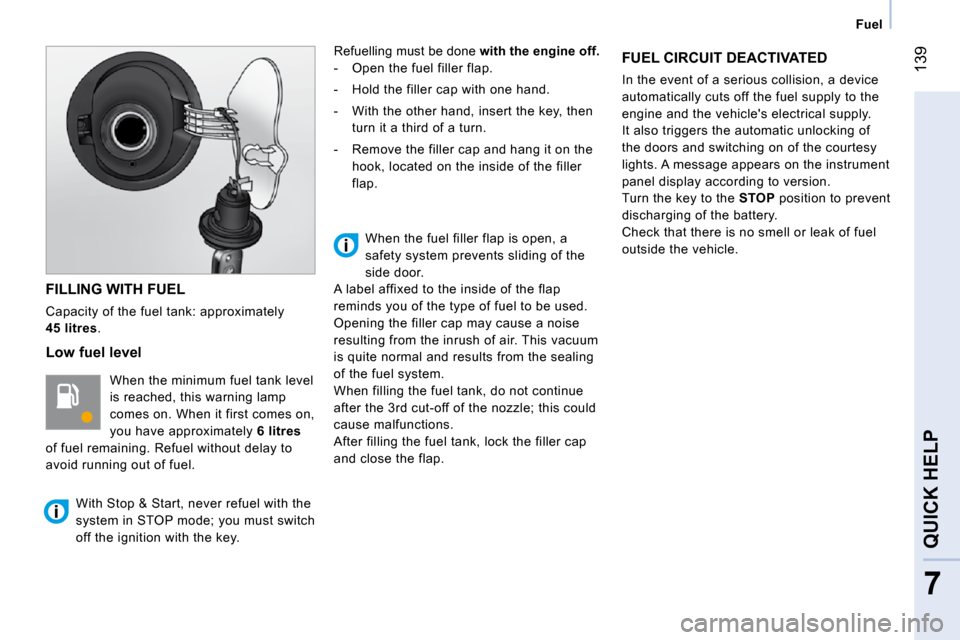
FILLING WITH FUEL
Capacity of the fuel tank: approximately
45 litres .
Low fuel level
When the minimum fuel tank level
is reached, this warning lamp
comes on. When it first comes on,
you have approximately 6
litres
of fuel remaining. Refuel without delay to
avoid running out of fuel. Refuelling must be done
with the engine off.
- Open the fuel filler flap.
- Hold the filler cap with one hand.
- With the other hand, insert the key, then turn it a third of a turn.
- Remove the filler cap and hang it on the hook, located on the inside of the filler
flap.
FUEL CIRCUIT DEACTIVATED
In the event of a serious collision, a device
automatically cuts off the fuel supply to the
engine and the vehicle's electrical supply.
It also triggers the automatic unlocking of
the doors and switching on of the courtesy
lights. A message appears on the instrument
panel display according to version.
Turn the key to the STOP position to prevent
discharging of the battery.
Check that there is no smell or leak of fuel
outside the vehicle.
With Stop & Start, never refuel with the
system in STOP mode; you must switch
off the ignition with the key. When the fuel filler flap is open, a
safety system prevents sliding of the
side door.
A label affixed to the inside of the flap
reminds you of the type of fuel to be used.
Opening the filler cap may cause a noise
resulting from the inrush of air. This vacuum
is quite normal and results from the sealing
of the fuel system.
When filling the fuel tank, do not continue
after the 3rd cut-off of the nozzle; this could
cause malfunctions.
After filling the fuel tank, lock the filler cap
and close the flap.
Page 158 of 166

139
7
QUICK HELP
Fuel
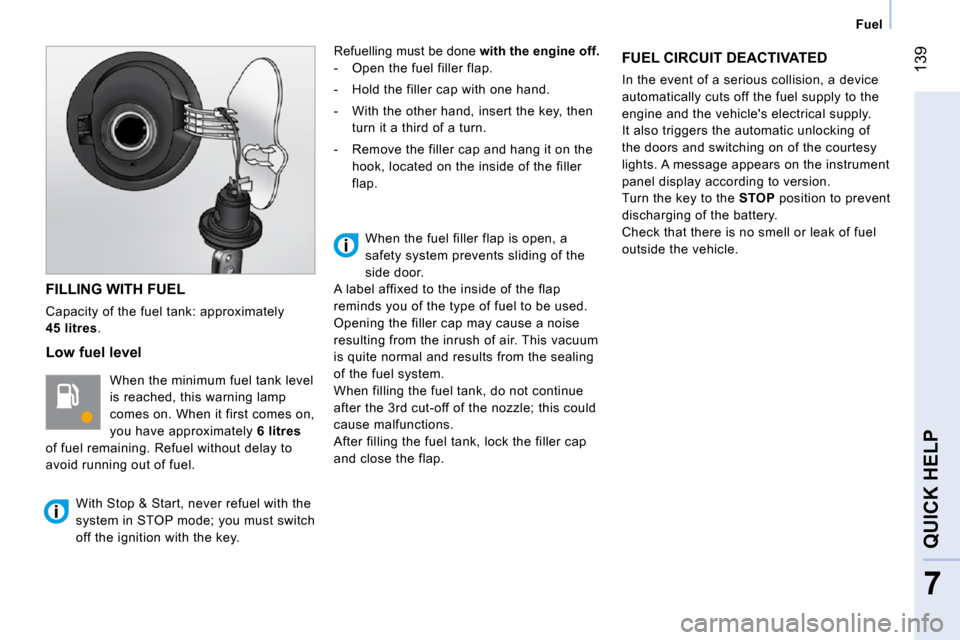
FILLING WITH FUEL
Capacity of the fuel tank: approximately
45 litres .
Low fuel level
When the minimum fuel tank level
is reached, this warning lamp
comes on. When it first comes on,
you have approximately 6
litres
of fuel remaining. Refuel without delay to
avoid running out of fuel. Refuelling must be done
with the engine off.
- Open the fuel filler flap.
- Hold the filler cap with one hand.
- With the other hand, insert the key, then turn it a third of a turn.
- Remove the filler cap and hang it on the hook, located on the inside of the filler
flap.
FUEL CIRCUIT DEACTIVATED
In the event of a serious collision, a device
automatically cuts off the fuel supply to the
engine and the vehicle's electrical supply.
It also triggers the automatic unlocking of
the doors and switching on of the courtesy
lights. A message appears on the instrument
panel display according to version.
Turn the key to the STOP position to prevent
discharging of the battery.
Check that there is no smell or leak of fuel
outside the vehicle.
With Stop & Start, never refuel with the
system in STOP mode; you must switch
off the ignition with the key. When the fuel filler flap is open, a
safety system prevents sliding of the
side door.
A label affixed to the inside of the flap
reminds you of the type of fuel to be used.
Opening the filler cap may cause a noise
resulting from the inrush of air. This vacuum
is quite normal and results from the sealing
of the fuel system.
When filling the fuel tank, do not continue
after the 3rd cut-off of the nozzle; this could
cause malfunctions.
After filling the fuel tank, lock the filler cap
and close the flap.