ECO mode PONTIAC BONNEVILLE 1995 Owners Manual
[x] Cancel search | Manufacturer: PONTIAC, Model Year: 1995, Model line: BONNEVILLE, Model: PONTIAC BONNEVILLE 1995Pages: 338, PDF Size: 16.19 MB
Page 55 of 338
Operation
The driver’s door will unlock when UNLOCK is
pressed. If pressed again within
25 seconds, all doors
will unlock. Also, if your car is equipped with a locking
fuel filler door
it will unlatch at this time. All doors will
lock when
LOCK is pressed.
The
trunk will unlock when the opened trunk symbol on
the key fob
is pressed, but only when the ignition is off.
Press any button to illuminate the interior lamps (see
“Illuminated Entry System” in the Index).
Matching Transmitter(s) To Your Vehicle
Each key chain transmitter is coded to prevent another
transmitter from unlocking your vehicle.
If a transmitter
is lost
or stolen, a replacement can be purchased through
your dealer. Remember
to bring any remaining
transmitters with you when you
go to your dealer. When
the dealer matches the replacement transmitter to your
vehicle, the remaining transmitters must also be
matched. Once the new transmitter
is coded, the lost
transmitter will not unlock your vehicle. You
can match
a transmitter to as many different
vehicles as you own, provided they are equipped with
exactly the same model system, (General Motors ofks
several different models of these systems on their
vehicles.) Each vehicle can have only two transmitters
matched to it.
See your dealer to match transmitters to another vehicle.
Battery Replacement
Under normal use, the batteries in your key chain
transmitter should last about two years.
You can tell the batteries
are weak if the transmitter
won’t work at the normal range in any location.
If you
have to get close to your vehicle before the transmitter
works, it’s probably time to change the batteries.
2-6
ProCarManuals.com
Page 62 of 338
;ystem tu its higlxevt speed with
>n ECON or VENT. That will
air into
your vehicle. See Vornfo
New Vehicle “Break-In”
NOTICE:
Your modern Pontiac doesn’t need an elaborate
“break-in.” But it will perform better in the long
run if you follow these guidelines:
Don’t drive at any one speed -- fast or slow
-- for the first 500 miles (804 km). Don’t
make full-throttle starts.
Avoid making hard stops for the first 200
miles (322 km) or so. During this time your
new brake linings aren’t yet broken in.
Hard stops with new linings can mean
premature wear and earlier replacement.
Follow this “breaking-in” guideline every
time you get new brake linings.
Don’t tow a trailer during “break-in.” See
“Towing a Trailer’’ in the Index
for more
information.
2-13
ProCarManuals.com
Page 71 of 338
Performance Shifting (Option)
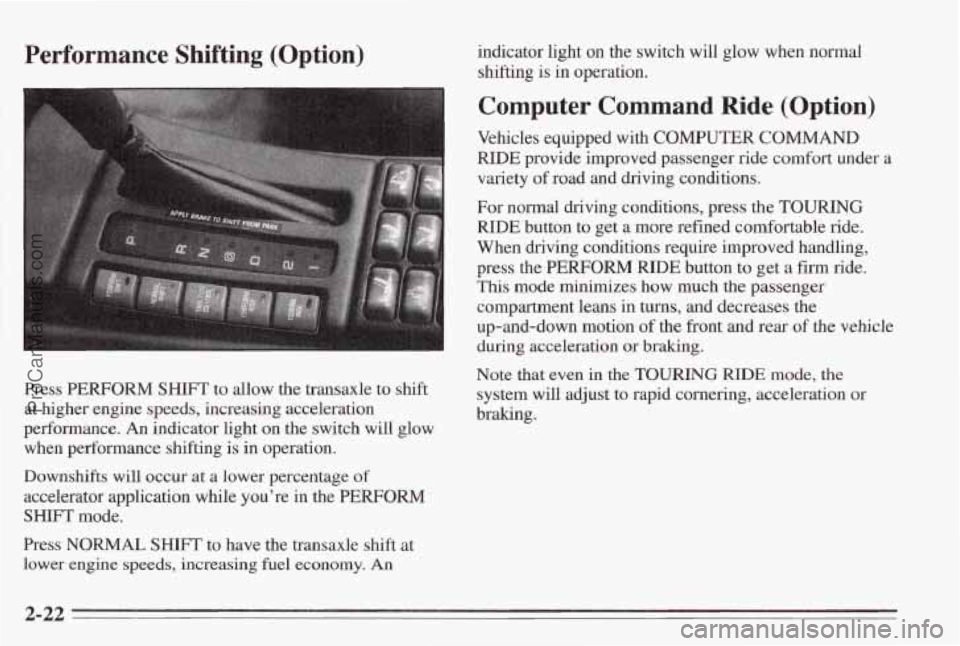
Press PERFORM SHIFT to allow the transaxle to shift
at higher engine speeds, increasing acceleration
performance. An indicator light on
the switch will glow
when performance shifting is in operation.
Downshifts will occur at a lower percentage of
accelerator application while you’re in the
PERFORM
SHIFT mode.
Press NORMAL
SHIFT to have the transaxle shift at
lower engine speeds, increasing fuel economy. An
indicator light on the switch will glow when normal
shifting
is in operation.
Computer Command Ride (Option)
Vehicles equipped with COMPUTER COMMAND
RIDE provide improved passenger ride comfort under a
variety of road and driving conditions.
For normal driving conditions, press the
TOURING
RIDE button to get a more refined comfortable ride.
When driving conditions require improved handling,
press the
PERFORM RIDE button to get a firm ride.
This mode minimizes how much the passenger
compartment leans in turns, and decreases the
up-and-down motion
of the front and rear of the vehicle
during acceleration or braking.
Note that even in the TOURING RIDE mode, the
system will adjust to rapid cornering, acceleration or
braking.
2-22
ProCarManuals.com
Page 82 of 338
Windshield Washer
At the top of the turn signal/multifunction lever there’s a
paddle with the word
PUSH on it. To spray washer fluid
on the windshield, push the paddle for less than a
second. The wipers will clear the window and there
either stop or return to your preset speed. For more
washer cycles, push and hold the paddle. Remember,
driving without washer fluid can be dangerous.
A bad
mud splash can block your vision. You could hit another
vehicle or
go off the road. Check your washer fluid level
often.
Some models have a
WASHER FLUID warning, that
indicates
if the fluid level in the windshield washer is
low. See “Low Washer Fluid Warning Light” in the
Index.
NOTICE:
When using concentrated washer fluid,
follow the manufacturer’s instructions for
adding water.
Don’t mix water with ready-to-use washer
fluid. Water can cause the solution to freeze
and damage your washer fluid tank and
other parts
of the washer system. Also,
water doesn’t clean
as well as washer fluid.
Fill your washer fluid tank only 314 full
when it’s very cold. This allows for
expansion, which could damage the tank
if
it is completely full.
windshield washer.
It can damage your
washer system and paint.
Don’t use radiator antifreeze in your
2-33
ProCarManuals.com
Page 115 of 338
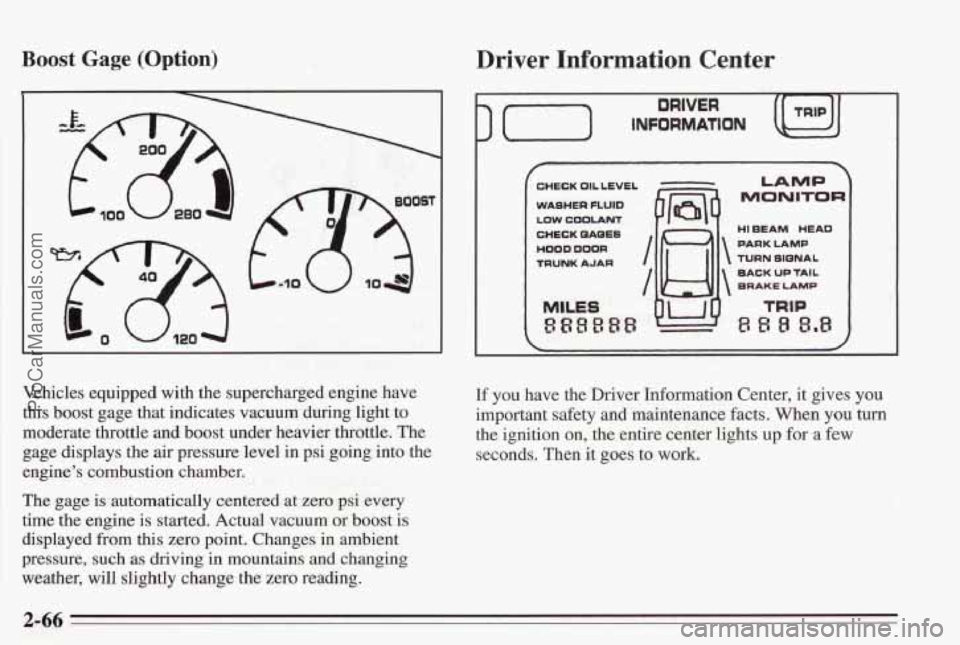
Boost Gage (Option)
Vehicles equipped with the supercharged engine have
this boost gage that indicates vacuum during light to
moderate throttle and boost under heavier throttle. The
gage displays the air pressure level in psi going into the
engine’s combustion chamber.
The gage is automatically centered at zero psi every
time the engine is started. Actual vacuum or
boost is
displayed from this zero point. Changes in ambient
pressure, such
as driving in mountains and changing
weather, will slightly change the zero reading.
Driver Information Center
) (-) INFORMATION
DRIVER
CHECK OIL LEVEL
WASHER
FLUID
LOW COOLANT
CHECK QAQES
HOOD DOOR
TRUNK AJAR
MILES
888888
I /w
7
LAMP
MONITOR
HI EEAM HEAD
PARK LAMP
TURN SIQNAL
BACK
UP TAIL
BRAKE LAMP
If you have the Driver Information Center, it gives you
important safety and maintenance facts. When you turn
the ignition on, the entire center lights
up for a few
seconds. Then it goes to work.
2-66
ProCarManuals.com
Page 119 of 338
(MOOE)
f ZONE 05’ f CALIBRATE 3
~ 1 1. .,
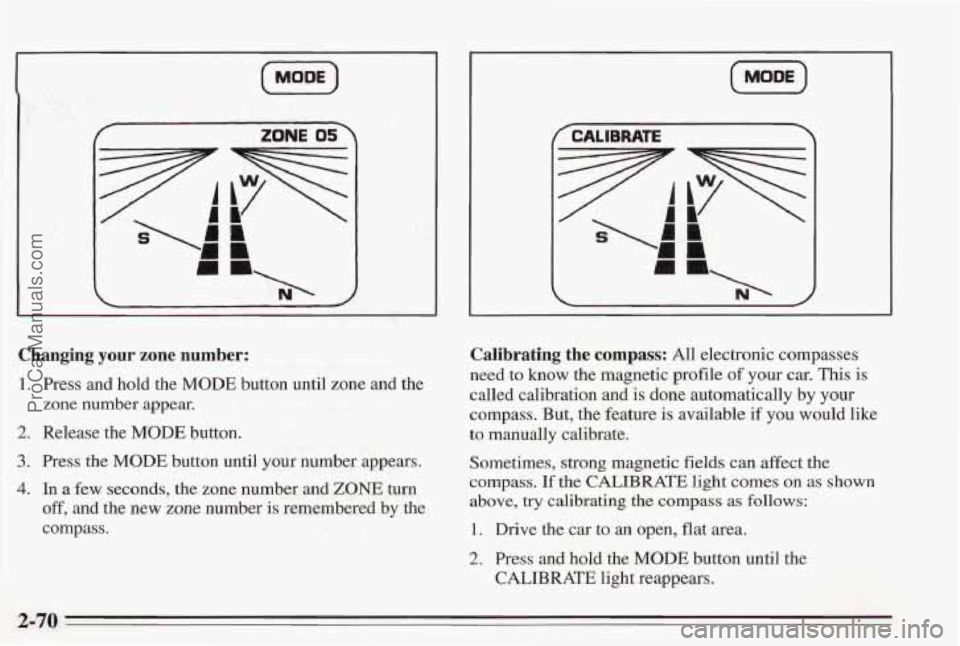
Changing your zone number:
1. Press and hold the MODE button until zone and the
zone number appear.
2. Release the MODE button.
3. Press the MODE button until your mber appears.
4. In a few seconds, the zone number and ZONE turn
off, and the new zone number is remembered by the
compass.
Calibrating the compass: All electronic compasses
need
to know the magnetic profile of your car. This is
called calibration and is done automatically by your
compass. But, the feature is available if you would like
to manually calibrate.
Sometimes, strong magnetic fields can affect the
compass.
If the CALIBRATE light comes on as shown
above, try calibrating the compass as follows:
1. Drive the car to an open, flat area.
2. Press and hold the MODE button until the
CALIBRATE light reappears.
2-70
ProCarManuals.com
Page 120 of 338
3. Release the MODE button. The heading display will
start to rotate.
4. Drive the car in small circles. Don’t drive faster than
10 mph.
out. It usually takes
1 to 5 circles.
this when the direction bars are on and the
CALIBRATE light is
off.
5. Drive in circles until the CALIBRATE light goes
6. Your compass should be calibrated. You will know
Compass Accuracy: Your compass may show different
headings around bridges, power lines, large metal
objects, and steep hills. This is normal and
is true of
compasses in general.
If you put large metal objects like golf clubs in the trunk
they could affect accuracy. If the accuracy is close, the
compass will adapt
to these objects over time.
If you use an antenna with a magnetic base, it is best to
mount it away from the center of the trunk near the rear
window. The
rear defog system can affect accuracy, and
the
compass corrects for the rear defog. However, if the rear
defog is turned on while making sharp turns, the
accuracy may be off. When you turn the rear defog
off
again, the accuracy returns to normal.
Do not turn on the rear defog if you are trying to
calibrate. The system will not allow the calibration. You
will hear the chime, and CALIBRATE will flash for a
few seconds.
Be aware that metal objects are sometimes buried in the
ground. They
can affect accuracy and you may not know
they are there. As an example, many concrete roads
have metal reinforcements inside.
ProCarManuals.com
Page 123 of 338
Standard Climate Control
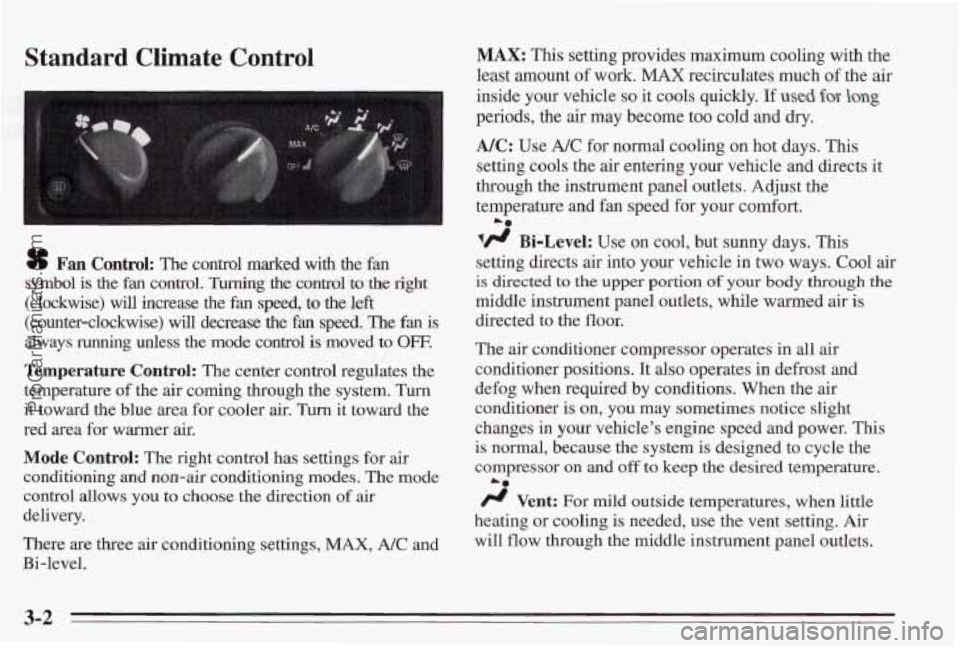
sf Fan Control: The control marked with the fan
symbol is
the fan control. Turning the control to the right
(clockwise) will increase the fan speed, to the left
(counter-clockwise) will decrease the fan speed. The fan is
always running unless the mode control is moved to OFF.
Temperature Control: The center control regulates the
temperature
of the air coming through the system. Turn
it toward the blue area for cooler air.
Turn it toward the
red area for warmer air.
Mode Control: The right control has settings for air
conditioning and non-air conditioning modes.
The mode
control allows
you to choose the direction of air
delivery.
There are three air conditioning settings,
MAX, A/C and
Bi-level.
MAX: This setting provides maximum cooling with the
least amount
of work. MAX recirculates much of the air
inside your vehicle
so it cools quickly. If used for- long
periods, the air may become too cold and dry.
NC: Use A/C for normal cooling on hot days. This
setting cools the air entering your vehicle and directs it
through the instrument panel outlets. Adjust the
temperature
and fan speed for your comfort.
lfl Bi-Level: Use on cool, but sunny days. This
setting directs air into your vehlcle in two ways. Cool air
is directed to the upper portion of your body through the
middle instrument panel outlets, while warmed air is
directed to the floor.
The
air conditioner compressor operates in all air
conditioner positions. It also operates in defrost and
defog when required by conditions. When the
air
conditioner is on, you may sometimes notice slight
changes
in your vehicle’s engine speed and power. This
is
normal, because the system is designed to cycle the
compressor on
and off to keep the desired temperature.
/J Vent: For mild outside temperatures, when little
heating or cooling is needed, use the vent setting. Air
will
flow through the middle instrument panel outlets.
La
3-2
ProCarManuals.com
Page 125 of 338
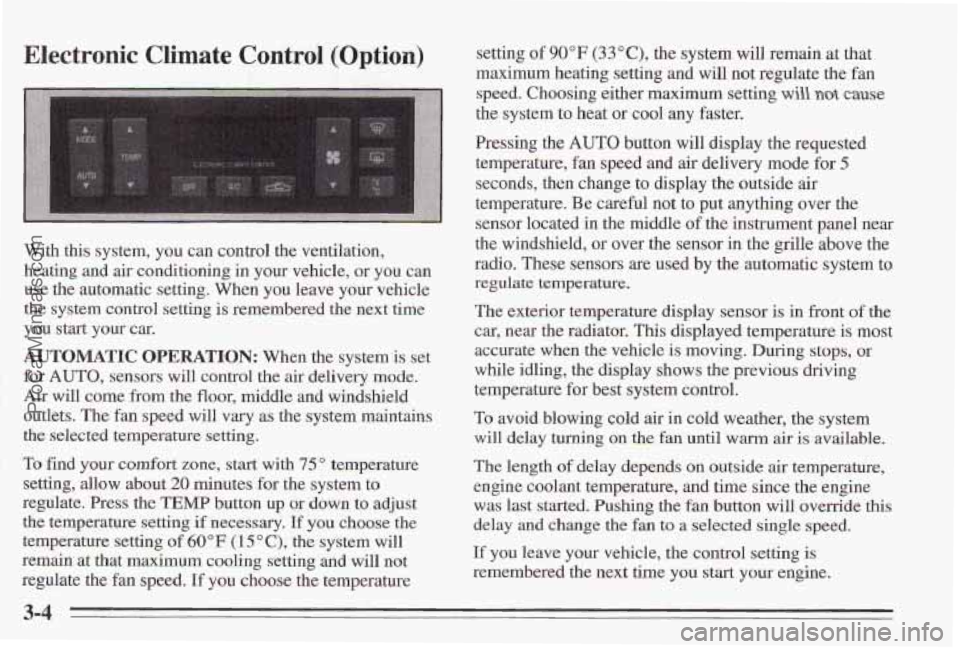
Electronic Climate Control (Option)
With this system, you can control the ventilation,
heating and
air conditioning in your vehicle, or you can
use the automatic setting. When
you leave your vehicle
the system control setting
is remembered the next time
you start your
car.
AUTOMATIC OPERATION: When the system is set
for
AUTO, sensors will control the air delivery mode.
Air will come from the floor, middle and windshield
outlets. The fan speed will
vary as the system maintains
the selected temperature setting.
To find your comfort
zone, start with 75" temperature
setting, allow about
20 minutes for the system to
regulate. Press the
TEMP button up or down to adjust
the temperature setting
if necessary, If you choose the
temperature
setting of 60°F (1 5 O C), the system will
remain at that maximum cooling setting and will not
regulate the fan speed.
If you choose the temperature setting
of 90°F (33"C), the system
will remain at that
maximum heating setting and will
not regulate the fan
speed. Choosing either maximum setting
will not cause
the system to heat or cool any faster.
Pressing the
AUTO button will display the requested
temperature, fan speed and air delivery mode for
5
seconds, then change to display the outside air
temperature. Be careful not to put anything over the
sensor located in the middle
of the instrument panel near
the windshield, or over the sensor in the
grille above the
radio. These sensors are used by the automatic system to
regulate temperature.
The exterior temperature display sensor is in front of the
car, near the radiator,
This displayed temperature is most
accurate when the vehicle is moving. During stops,
or
while idling, the display shows the previous driving
temperature for best system control.
To avoid blowing cold air in cold weather, the system
will delay turning on the
fan until warm air is available.
The length
of delay depeds on outside air temperature,
engine coolant temperature, and time since the engine
was last started. Pushing the
fan button will override this
delay and change the fan
to a selected single speed.
If you leave your vehicle, the control setting is
remembered the next time you start your engine.
3-4
ProCarManuals.com
Page 128 of 338
Audio Systems
The following pages describe the audio systems
available for your Pontiac, and how to get the best
performance from them. Please read about the system in
your vehicle.
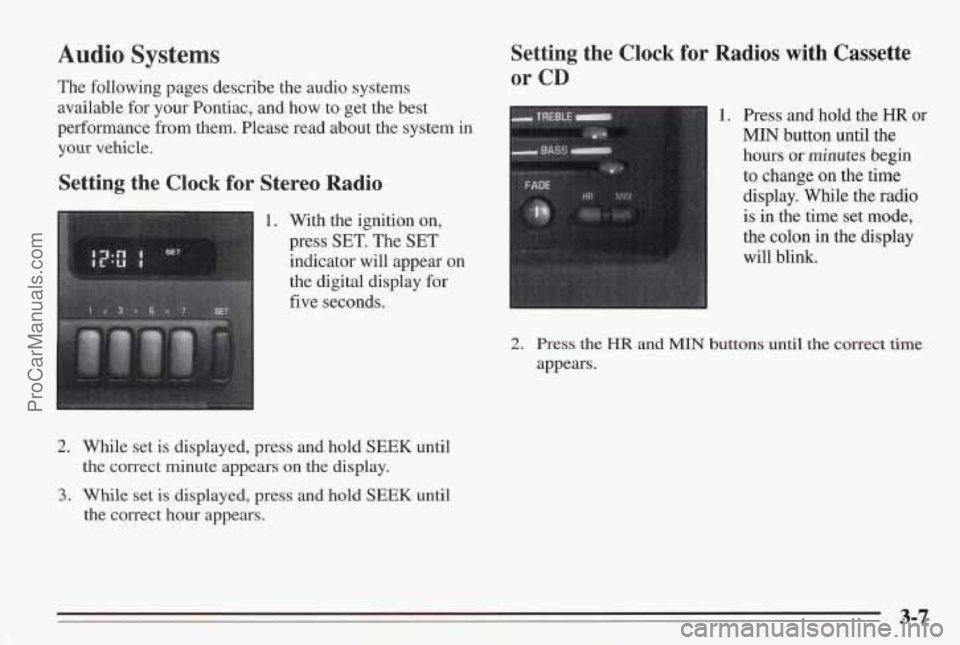
Setting the Clock for Stereo Radio
1. With the ignition on,
press
SET. The SET
indicator will appear on
the digital display
for
five seconds.
2. While set is displayed, press and hold SEEK until
the correct minute appears
on the display.
3. While set is displayed, press and hold SEEK until
the correct hour appears.
Setting the Clock for Radios with Cassette
or CD
1. Press and hold the HR or
MIN button until the
hours or minutes begin
to change on the time
display. While the radio
is in the time set mode,
the colon in
the display
will blink.
2. Press the HR and MIN buttons until the correct time
appears.
ProCarManuals.com