turn signal PONTIAC BONNEVILLE 1995 Owners Manual
[x] Cancel search | Manufacturer: PONTIAC, Model Year: 1995, Model line: BONNEVILLE, Model: PONTIAC BONNEVILLE 1995Pages: 338, PDF Size: 16.19 MB
Page 6 of 338
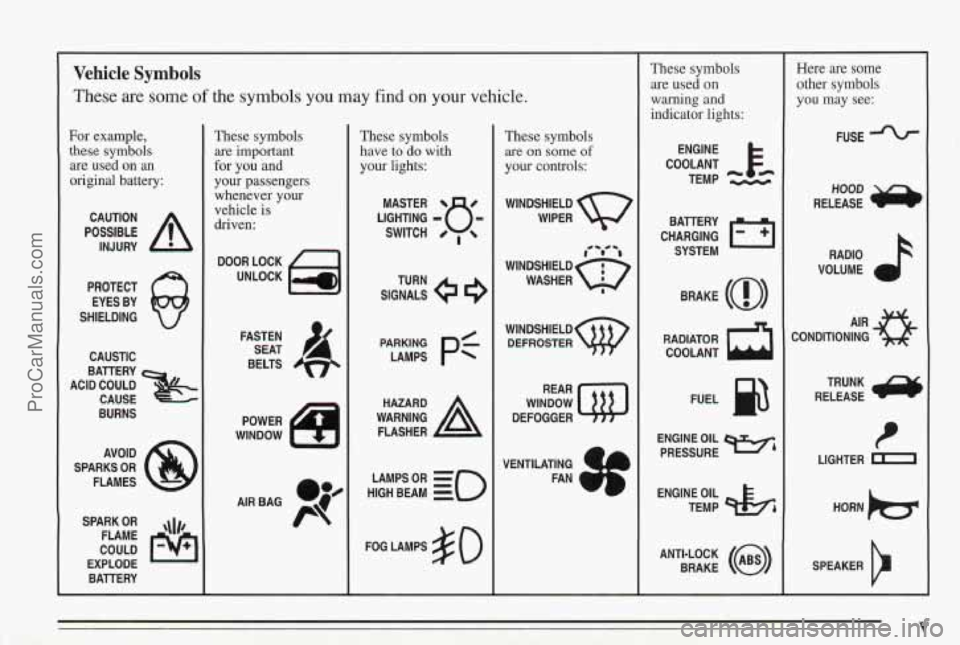
Vehicle Symbols
These are some of the symbols you may find on your vehicle.
For example,
these symbols
are used on
an
original battery:
POSSIBLE A
CAUTION
INJURY
PROTECT EYES BY
SHIELDING
CAUSTIC
ACID COULD BATTERY
CAUSE
BURNS
AVOID
SPARKS
OR
FLAMES
SPARK
OR ,\I/,
COULD FLAME
EXPLODE BAllERY
These symbols are
important
for you and
your passengers
whenever your
vehicle
is
driven:
DOOR LOCK
UNLOCK
FASTEN SEAT
4
BELTS
POWER
WINDNOW
These symbols
have
to do with
your lights:
SIGNALS 9
TURN
HIGH
LAMPSoR BEAM = =o
FOG LAMPS $0
These symbols
are on some of
your controls:
WIPER w
WINDsHIELDw DEFROSTER
WINDOW
DEFOGGER
VENTILATING
4 1
FAN CI
These symbols are used on
warning
and
indicator lights:
COOLANT Fe
TEMP --
ENGINE
CHARGING
I-1
BATTERY SYSTEM
BRAKE
(0)
RADIATOR COOLANT
a
FUEL @
ENGINE OIL
PRESSURE Wb
TEMP OIL 45
ANTI-LOCK (@)
BRAKE
Here are some
other symbols
you may see:
FUSE
RADIO
VOLUME
CONDITIONING
AIR 43
TRUNK
RELEASE
t
LIGHTER n
SPEAKER
V ProCarManuals.com
Page 79 of 338
Horn
You can sound the horn by pressing the horn s’ymbols on
your steering wheel.
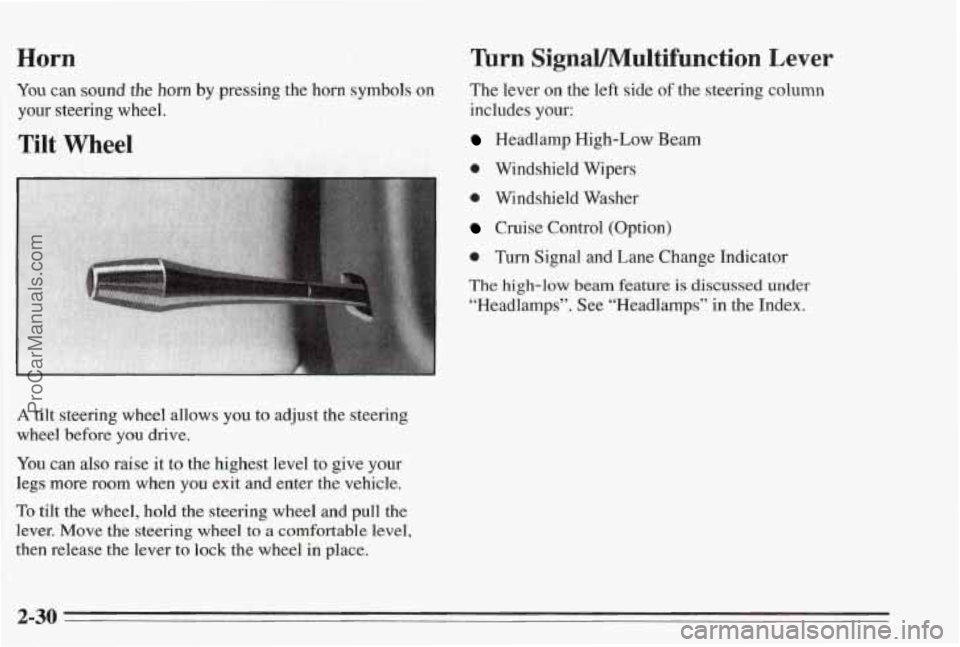
‘Tilt Wheel
Turn SignaVMultifunction Lever
The lever on the left side of the steering column
includes your:
Headlamp High-Low Beam
0 Windshield Wipers
a Windshield Washer
Cruise Control (Option)
@ Turn Signal and Lane Change Indicator
The high-low beam feature is discussed under
“Headlamps”. See “Headlamps” in the Index.
A tilt steering wheel allows you to adjust the steering
wheel before you drive.
You can
also raise it to the highest level to give your
legs more room when you exit and enter the vehicle.
To tilt the wheel, hold the steering wheel and pull the
lever.
Move the steering wheel to a comfortable level,
then release the lever to
lock the wheel m place.
2-30
ProCarManuals.com
Page 80 of 338
Turn Signal and Lane Change Indicator
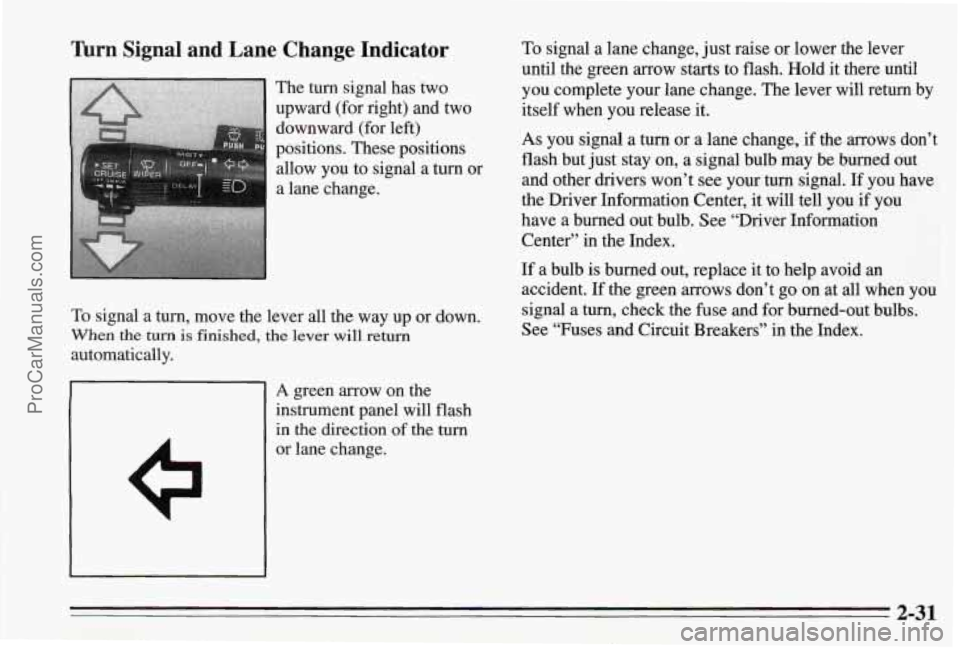
The turn signal has two
upward (for right) and two
downward (for
left)
positions. These positions
I
allow you to signal a turn or
a lane change.
To signal a turn, move the lever all the way up or down.
When the turn is finished, the lever will return
automatically.
A green arrow on the
instrument panel will flash
in the direction of the turn
or lane change.
To signal a lane change, just raise or lower the lever
until the green arrow starts to flash. Hold it there until
you complete your lane change. The lever will return by
itself when you release it.
As you signal a turn or a lane change, if the arrows don’t
flash but just stay on, a signal bulb
may be burned out
and other drivers won’t see your turn signal. If you have
the Driver Information Center, it will tell you
if you
have a burned out bulb. See “Driver Information
Center” in the Index.
If a bulb is burned out, replace it to help avoid an
accident. If the green arrows don’t go on at all when you
signal a turn, check the fuse and for burned-out bulbs.
See “Fuses and Circuit Breakers” in the Index.
2-31
ProCarManuals.com
Page 82 of 338
Windshield Washer
At the top of the turn signal/multifunction lever there’s a
paddle with the word
PUSH on it. To spray washer fluid
on the windshield, push the paddle for less than a
second. The wipers will clear the window and there
either stop or return to your preset speed. For more
washer cycles, push and hold the paddle. Remember,
driving without washer fluid can be dangerous.
A bad
mud splash can block your vision. You could hit another
vehicle or
go off the road. Check your washer fluid level
often.
Some models have a
WASHER FLUID warning, that
indicates
if the fluid level in the windshield washer is
low. See “Low Washer Fluid Warning Light” in the
Index.
NOTICE:
When using concentrated washer fluid,
follow the manufacturer’s instructions for
adding water.
Don’t mix water with ready-to-use washer
fluid. Water can cause the solution to freeze
and damage your washer fluid tank and
other parts
of the washer system. Also,
water doesn’t clean
as well as washer fluid.
Fill your washer fluid tank only 314 full
when it’s very cold. This allows for
expansion, which could damage the tank
if
it is completely full.
windshield washer.
It can damage your
washer system and paint.
Don’t use radiator antifreeze in your
2-33
ProCarManuals.com
Page 87 of 338
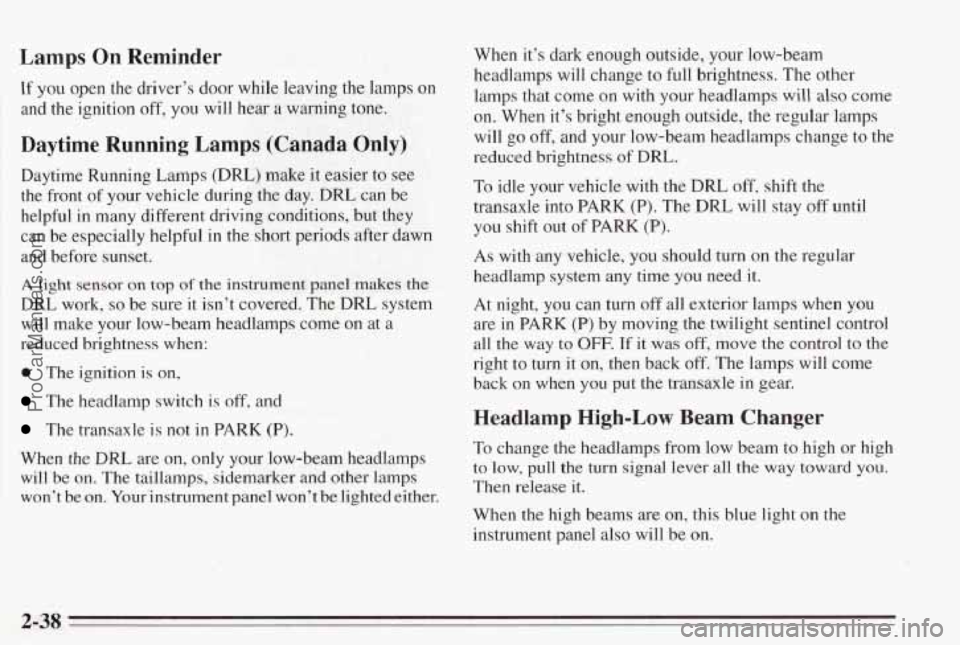
Lamps On Reminder
If you open the driver’s door while leaving the lamps on
and the ignition off, you will hear a warning tone.
Daytime Running Lamps (Canada Only)
Daytime Running Lamps (DRL) make it easier to see
the front of your vehicle during the day. DRL can be
helpful in many different driving conditions,
but they
can be especially helpful in the
short periods after dawn
and before sunset.
A light sensor on top of the instrument panel makes the
DRL work, so be sure it isn’t covered. The DRL system
will make your low-beam headlamps come on at a
reduced brightness when:
0 The ignition is on,
The headlamp switch is off, and
The transaxle is not in PARK (P).
When the DRL are on, only your low-beam headlamps
will be
on. The taillamps, sidemarker and other lamps
won’t be on. Your instrument panel won’t be lighted either. When it’s dark
enough outside, your low-beam
headlamps will change to full brightness. The other
lamps that come on with your headlamps will also come
on. When it’s bright enough outside, the regular lamps
will go
off, and your low-beam headlamps change to the
reduced brightness
of DRL.
To idle your vehicle with the DRL off, shift the
transaxle into
PARK (P). The DRL will stay off until
you shift out of PARK
(P).
As with any vehicle, you should turn on the regular
headlamp system
any time you need it.
At night, you can turn off all exterior lamps when
you
are in PARK (P) by moving the twilight sentinel control
all the way to OFF. If it was off, move the control to the
right
to turn it on, then back off. The lamps will come
back
on when you put the transaxle in gear.
Headlamp High-Low Beam Changer
To change the headlamps from low beam to high or high
to low, pull the turn signal lever all the way toward you.
Then release it.
When the high beams are
on, this blue light on the
instrument panel also will
be on.
2-38
ProCarManuals.com
Page 109 of 338
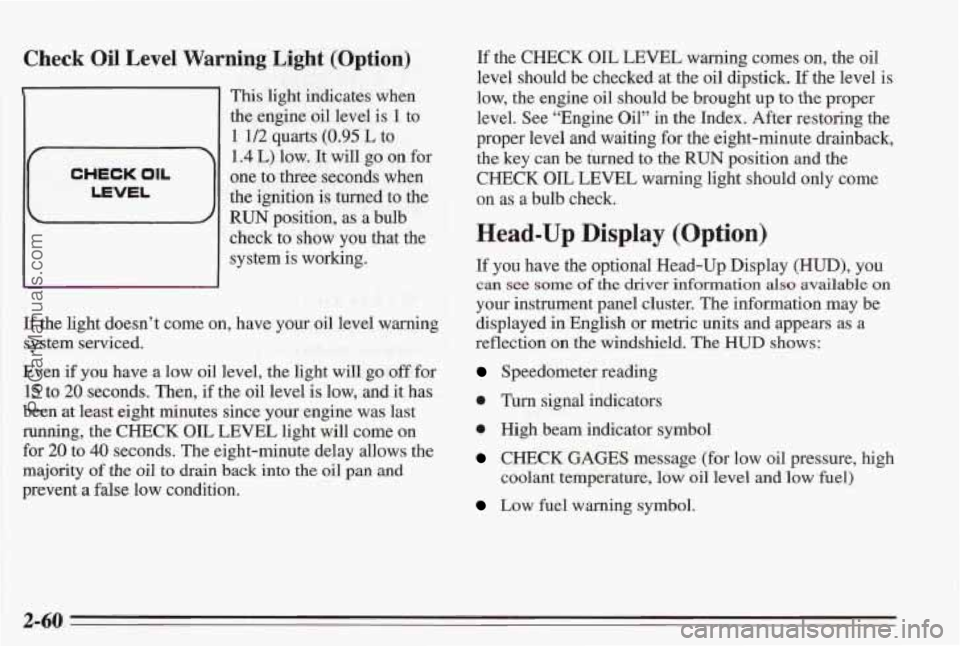
Check Oil Level Warning Light (Option)
1
CHECK OIL
LEVEL
1 This light indicates when
the engine oil level is
1 to
1 1/2 quarts (0.95 L to
1.4 L) low. It will go on for
one to three seconds when
the ignition is turned to the
RUN position, as a bulb
check to show
you that the
system is working.
If the light doesn’t come on, have your oil level warning
system serviced.
Even if
you have a low oil level, the light will go off for
15 to 20 seconds. Then, if the oil level is low, and it has
been at least eight minutes since your engine was last
running, the CHECK OIL LEVEL light will come on
for 20 to
40 seconds. The eight-minute delay allows the
majority of the
oil to drain back into the oil pan and
prevent
a false low condition. If the
CHECK OIL LEVEL
warning comes on, the oil
level should be checked at the oil dipstick. If the level is
low, the engine oil should be brought up
to the proper
level. See “Engine Oil” in the Index. After restoring the
proper level and
waiting for the eight-minute drainback,
the key can be turned to the
RUN position and the
CHECK OIL LEVEL warning light should only come
on
as a bulb check.
Head-Up Display (Option)
If you have the optional Head-Up Display (HUD), you
can see some of the driver information also available on
your instrument panel cluster. The information may be
displayed in English or metric units and appears as
a
reflection on the windshield. The HUD shows:
Speedometer reading
0 Turn signal indicators
e High beam indicator symbol
CHECK GAGES message (for low oil pressure, high
coolant temperature, low oil level and
low fuel)
Low fuel warning symbol.
2-60
ProCarManuals.com
Page 117 of 338
If a burned-out bulb is replaced, the warning light will
stay on until the bulb is used.
Message .......... Bulbs Monitored
Hi Beam Lamp ..... Both Headlamp High Beams
Head Lamp
........ Both Headlamp Low Beams
Turn Signal ........ 1 Front Left Turn/Park
.................. 1 Front Right TuWark
.................. 2 Rear Left WStop
.................. 2 Rear Right Turdstop
Back Up
........... 2 Back Up Lamps
Tail ............... 4 Tail Only
.................. 4 stopnaim
.................. 2 License Plate
.................. Right Rear Side Marker
.................. Left Rear Side Marker
Brake Lamp ........ 4 Rear Stop/Tail/Tun
Park Lamp ......... 2 Front Park
.................. 1 Center High Mounted Stop
.................. Right Side Marker
.................. Left Side Marker
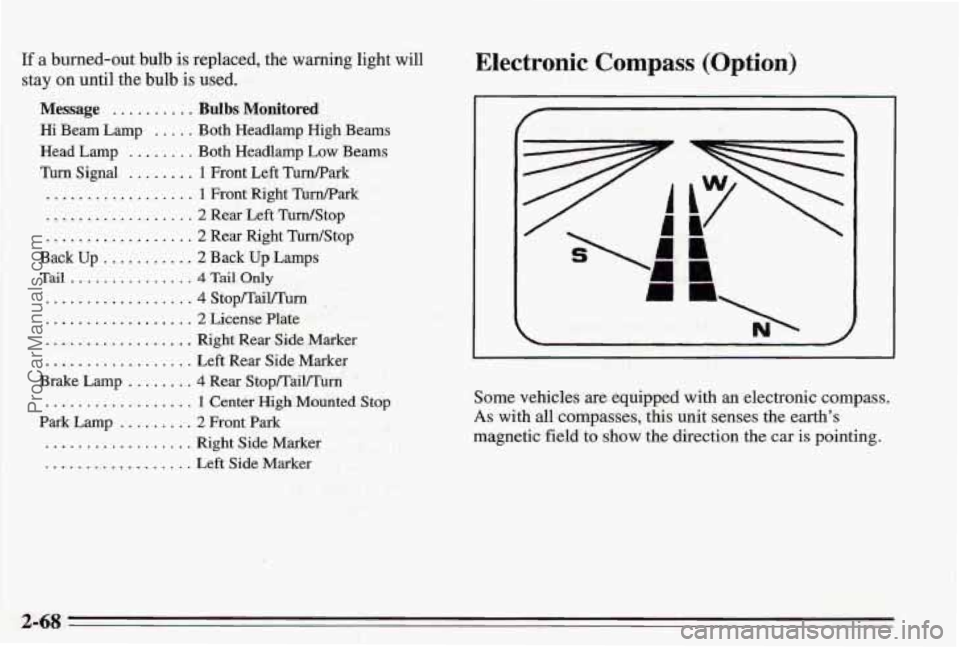
Electronic Compass (Option)
Some vehicles are equipped with an electronic compass.
As with all compasses, this unit senses the earth’s
magnetic
field to show the direction the car is pointing.
ProCarManuals.com
Page 141 of 338
Compact Discs Care
Handle discs carehlly. Store them in their original cases
or other protective cases and away from direct sunlight
and dust.
If the surface of a disc is soiled, dampen a
clean, soft cloth in a mild, neutral detergent solution and
clean it, wiping from the center to the edge.
Be sure never to touch the signal surface when handling
discs. Pick up discs by grasping the outer edges or the
edge of the hole and the outer edge.
Fixed Mast Antenna
The fixed mast antenna can withstand most car washes
without being damaged. If the mast should ever become
slightly bent, you can straighten
it out by hand. If the
mast is badly bent, as it might be by vandals, you should
replace
it.
Check every once in a while to be sure the mast is still
tightened to the fender.
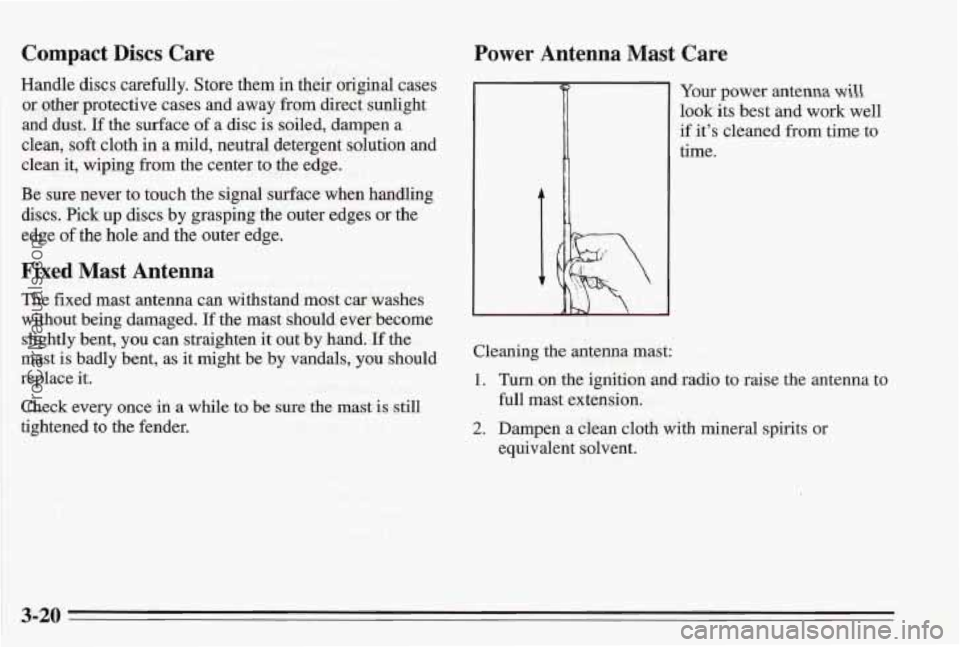
Power Antenna Mast Care
Your power antenna will
look its best and work well
if it’s cleaned from time to
time.
Cleaning the antenna mast:
1. Turn on the ignition and radio to raise the antenna to
full mast extension.
2. Dampen a clean cloth with mineral spirits or
equivalent solvent.
3-20
ProCarManuals.com
Page 155 of 338
0 Do not get too close to the vehicle you want to pass
while you’re awaiting an opportunity. For one thing,
foIl’owing too closely reduces your area of vision,
especially if you’re following a larger vehicle, Also,
you won’t have adequate space if the vehicle ahead
suddenly slows
or stops. Keep back a reasonable
distance.
When it looks like a chance to pass is coming up,
start to accelerate but stay in the right lane and don’t
get too close. Time your move
so you will be
increasing speed as the time comes to move into the
other lane. If the way is clear to pass, you will have a
“running start” that more than makes up for the
distance you would lose
by dropping back. And if
something happens to cause you to cancel your pass,
you need only slow down and drop back again and
wait for another opportunity.
If other cars are lined up to pass a slow vehicle, wait
your
turn. But take care that someone isn’t trying to
pass
you as you pull out to pass the slow vehicle.
Remember to glance over your shoulder and check
the blind spot.
0 Check your mirrors, glance over your shoulder, and
start your left lane change signal before moving out
of the right lane to pass. When you are far enough
ahead of the passed vehicle to see its front in your
inside mirror, activate your right lane change signal
and move back into the right lane. (Remember that
your right outside mirror
is convex. The vehicle you
just passed may seem to be farther away from you
than it really is.)
0 Try not to pass more than one vehicle at a time on
two-lane roads. Reconsider before passing the next
vehicle.
0 Don’t overtake a slowly moving vehicle too rapidly.
Even though the brake lights
are not flashing, it may
be slowing down or starting to turn.
0 If you’re being passed, make it easy for the
following driver
to get ahead of you. Perhaps you
can ease a little to the right.
4-12
ProCarManuals.com
Page 159 of 338
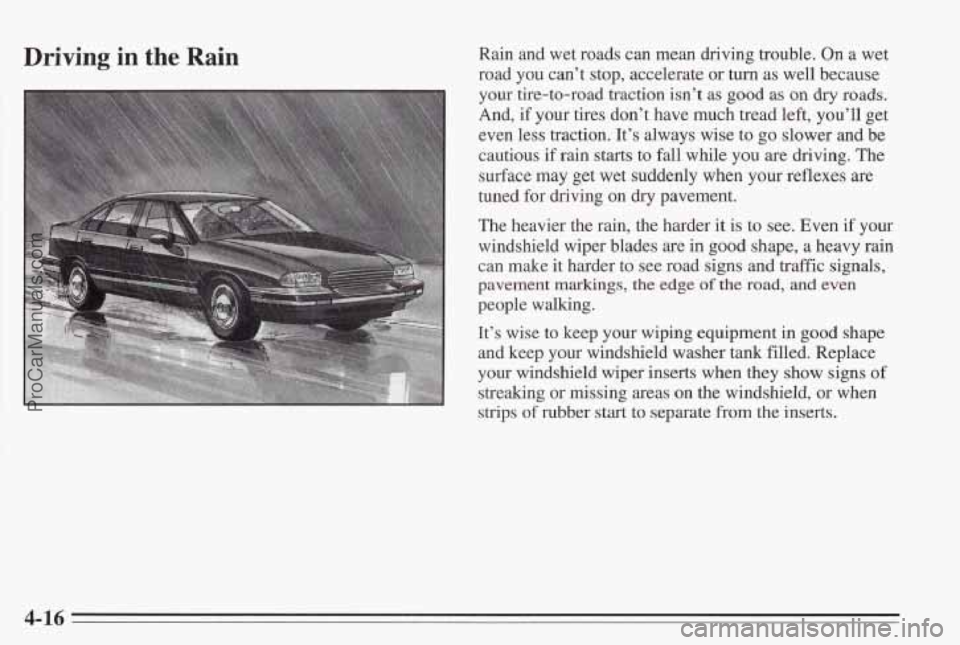
Driving in the Rain Rain and wet roads can mean dnving trouble. On a wet
road you can’t stop, accelerate or
turn as well because
your tire-to-road traction isn’t
as good as on dry roads.
And, if your tires don’t have much tread left, you’ll get
even less traction. It’s always wise to go slower and be
cautious
if rain starts to fall while you are driving. The
surface may get wet suddenly when
your reflexes are
tuned for driving
on dry pavement.
The heavier the rain, the harder it is to
see. Even if your
windsheld wiper blades
are in good shape, a heavy rain
can make it harder to see road signs and traffic signals,
pavement markings, the edge sf the road, and even
people walking.
It’s wise to keep your wiping equipment in good shape
and keep your windshield washer tank filled. Replace
your windshield wiper inserts when they show signs
of
streaking or missing areas on the windshield, or when
strips
of rubber start to separate from the inserts.
4-16
ProCarManuals.com