keyless PONTIAC BONNEVILLE 1996 Owners Manual
[x] Cancel search | Manufacturer: PONTIAC, Model Year: 1996, Model line: BONNEVILLE, Model: PONTIAC BONNEVILLE 1996Pages: 387, PDF Size: 18.71 MB
Page 54 of 387
Door Locks
I
Unlocked doors can be dangerous.
Passengers
-- especially children -- can easily
open the doors and fall out. When
a door is
locked, the inside handle won’t open it.
Outsiders can easily enter through an unlocked
door when you slow down or stop your’vehicle.
This may not be
so obvious: You increase the
chance of being thrown out of the vehicle in a
crash if the doors aren’t locked. Wear safety belts
properly, lock your doors, and you will be far
better off whenever you drive your ,vehicle.
There are several ways to lock and unlock your vehicle. From the outside, use your door key
or Remote Keyless
Entry transmitter, if your vehicle has this option. With
your door key, turning the key toward the rear
of the
vehicle
will lock the door and turning the key toward the
front
of the vehicle will unlock it.
If your vehicle has a theft-deterrent system and it
is activated, unlock the doors only with the key or
Remote Keyless
Entry system. This will avoid
setting
off the alarm.
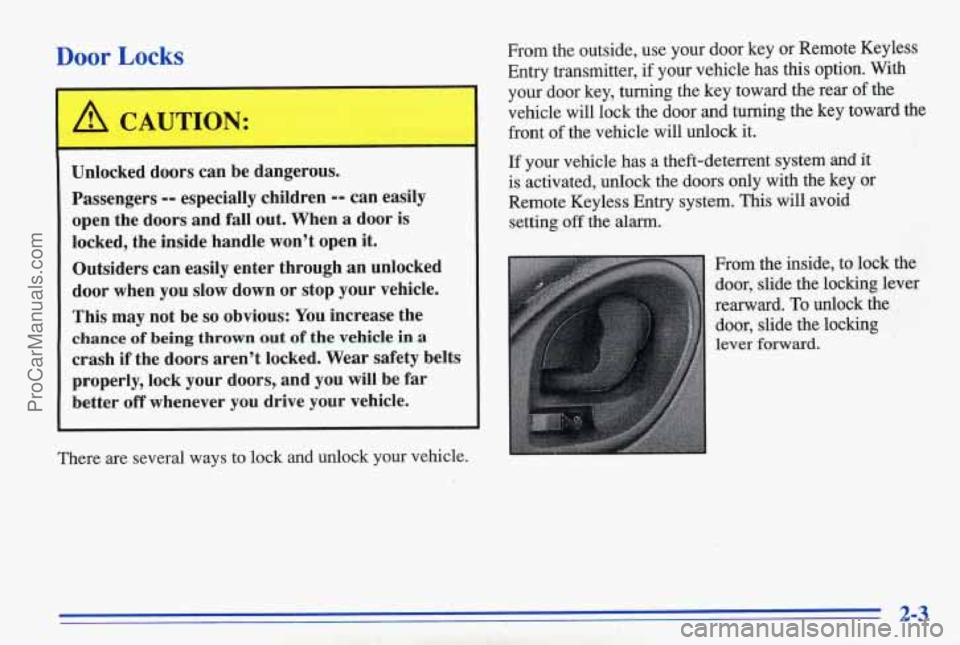
From the inside, to lock the door, slide the locking lever
rearward.
TQ unlock the
door, slidq the locking
lever forward.
2-3
ProCarManuals.com
Page 56 of 387
Customizing Your Automatic Door Locks Feature
With Remote Keyless Entry, you can program the: automatic door locks feature to change to the following
modes:
Mode
1
2
3
Operation
No automatic door lock or unlock.
All doors automatically lock when shifted out of PARK (P).
No
automatic door unlock.
All doors automatically lock when
shifted out of PARK (P). All the
doors automatically unlock when shifted into
PARK (P) with the
ignition turned
OFF.
Vehicles are delivered programmed in Mode 3.
If your vehicle is equipped with Remote Keyless Entry,
use the following procedure to change modes:
1. Close all doors and turn the ignition on. Keep all
doors closed throughout this procedure.
2. Press and hold the driver’s power door lock switch
through Step
4.
3.
4.
5.
Press the LOCK button on the Remote Keyless Entry
transmitter. The automatic door locks will remain in
the current mode.
Press the LOCK button on the transmitter again.
Each time the transmitter’s LOCK button
is pressed,
the mode will advance by one,
going from 3 to 1 to
2, etc.
Release the power door lock switch. The automatic door locks will remain in the most recent mode
selected.
If your vehicle is not equipped with Remote Keyless
Entry, use the following procedure to change modes:
1. Close all doors and turn the ignition on. Keep all
doors closed throughout this procedure.
2. Press and hold the driver’s power door lock switch
through Step
3.
3. Cycle the PARK (P) shift lever starting in PARK (P)
position to advance by one mode.
4. Release the power door lock switch.
ProCarManuals.com
Page 58 of 387
Remote Keyless Entry (Option)
If your Pontiac has this option, you can lock and unlock
your doors or unlock your trunk from up to
30 feet (9 m)
away using the key chain transmitter supplied with
your vehicle.
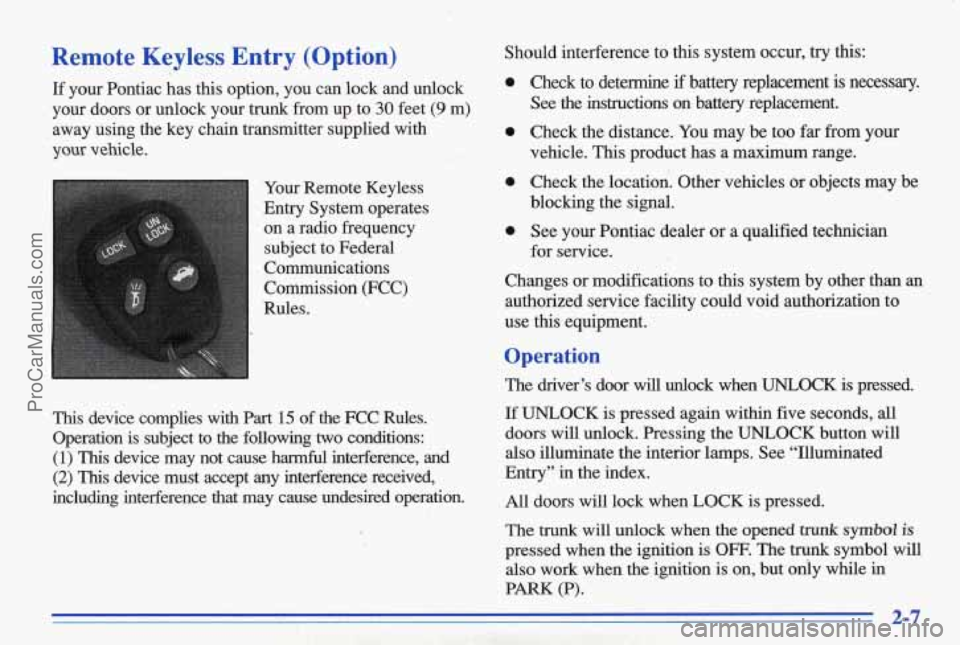
Your Remote Keyless
Entry System operates on a radio frequency
subject to Federal
Comrinunications
Commission (FCC)
This device complies with Part 15 of the FCC Rules.
Operation is subject
to the following two conditions:
(1) This device may not cause hannful interference, and
(2) This device must accept any interference received,
including interference that may cause undesired operation. Should interference to this system occur,
try this:
0
0
0
0
Check to determine if battery replacement is necessary.
See the instructions on battery replacement.
Check the distance. You may be
too far from your
vehicle.
This product has a maximum range.
Check the location. Other vehicles
dr objects may be
blocking the signal.
See your Pontiac dealer or a qualified technician
for service.
Changes or modifications to this system by other than
an
authorized service facility could void authorization to
use this equipment.
Operation
The driver’s door will unlock when UNLOCK is pressed.
If UNLOCK is pressed again within five seconds, all
doors
will unlock. Pressing the UNLOCK button will
also illuminate the interior lamps. See “Illuminated
Entry” in the index.
All doors
will lock when LOCK is pressed.
The
trunk will unlock when the opened trunk symbol is
pressed when the ignition is OFF. The trunk symbol will
also work when the ignition is
on, but ody while in
PARK (P).
ProCarManuals.com
Page 60 of 387
Vehicles are delivered programmed in Mode 5. To
change to another mode:
1. Press and hold the power door lock switch.
2. Press the opened trunk button on the transmitter. The
transmitter will remain
in its current mode.
3. Press the opened trunk button again. Each time the
opened
trunk button is pressed, the transmitter will
advance to the next mode.
4. Release the power door lock switch.
Delayed Locking (Option)
NOTE: This feature is available only if you request your
dealer to activate this option. After initial activation
you can turn this feature on and off by using the
following procedure.
This feature lets the driver delay the actual locking of
the vehicle. When the power door lock switch is pressed
with the key removed from the ignition and the driver's
door open, a chime will sound three times to signal that
the delayed locking system
is active. When all doors
have been closed, the doors will lock automatically after five seconds.
If any door is opened before this, the
five-second twer will reset itself once all the doors
have been closed again.
Pressing the door lock switch twice within two seconds will override
this feature. The delayed locking feature
can be turned on.or
off for
each remote transmitter.
To turn the feature on:
1. Press and hold the power door lock switch
throughout
this procedure. All'the doors will Io&.
2. Press the UNLOCK button on the remote
transmitter. The lock delay is still
off and all
doors will remain locked.
3. Press the UNLOCK button on the remote
transmitter again. Lock delay is now active and
all doors dill unlock.
4. Release the power door lock switch. I
If your vehicle is not equipped with the Remote Keyless
Enby, use the following procedure to
turn the feature on:
1. With the ignition on, press and hold the power door
lock switch.
All doors will lock.
2. Toggle the headlamps switch seven times (off to on
is one toggle). The doors will unlock to confirm that
the feature
is now on.
3. Release the power door lock switch.
To
turn the feature off, repeat the previous procedure.
ProCarManuals.com
Page 62 of 387
To replace the battery:
1. Insert a coin into the notch near the keyring. Turn the
coin counterclockwise to separate the two halves
of
the transmitter.
2. Once the transmitter is separated, use a pencil to
remove the old battery.
Do not use a metal object.
3. Remove and replace the battery. Replace it as the
instructions inside the cover indicate.
Trunk
Be. sure not to touch any of the black boxes or the
green surfaces. Any static transferred from your
body to these areas may cause the transmitter to
be inoperative.
no moisture can enter.
4. Snap the transmitter back together tightly to be sure
5. Resynchronize the transmitter by pressing and holding
the LOCK and UNLOCK buttons for about eight
seconds.
You must be within range of the vehicle.
When the transmitter has been resynchronized, the
horn will clwp
and the exterior lamps will flash once.
Trunk Lock Release
To unlock the trunk from the outside, insert the door key
and turn it.
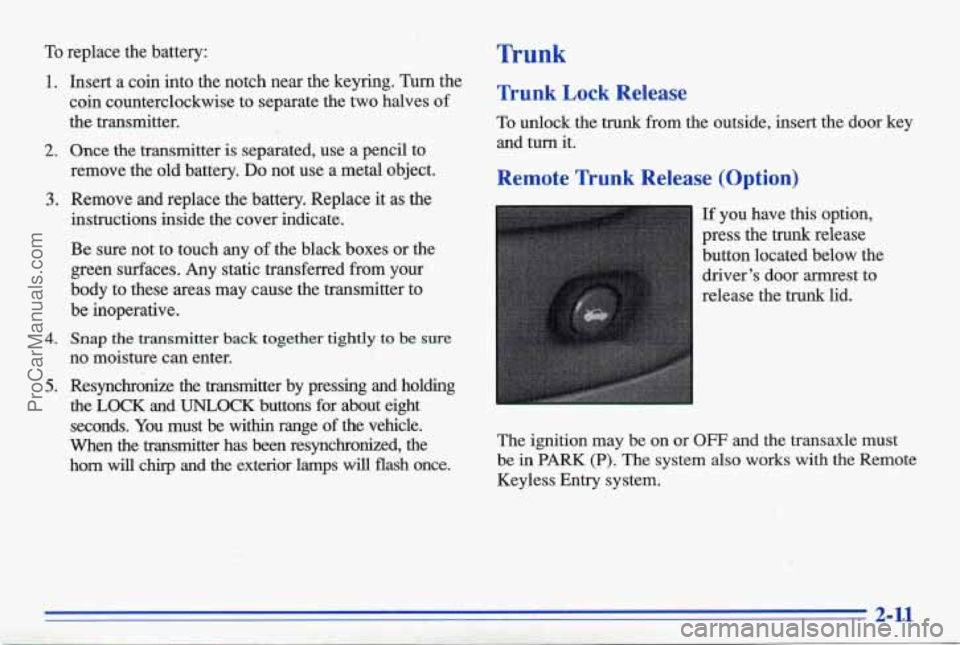
Remote Trunk Release (Option)
If you have this option,
press the trunk release
button located below the
driver’s door armrest to
release the
trunk lid. I -. ’ .’-
The ignition may be on or OFF and the transaxle must
be in
PARK (P). The system also works with the Remote
Keyless Entry system.
ProCarManuals.com
Page 65 of 387
Universal Theft-Deterrent (Option)
If your Pontiac has this option, it has a theft-deterrent
alm system. With this system, the SECURITY light
will flash as you open the door (if your ignition is OFF).
This light reminds you to activate the theft-deterrent
system when leaving
your vehicle.
Activating the
sys tern:
1.
2.
3.
Open the door.
Lock the door with
the power door lock switch or
Remote Keyless
Entry transmitter. The SEC-Y
light should come on and stay on.
Close
all doors. The SECUFUTY light should go afT after
about
30 seconds and the system will then be armed.
If the SECURITY light comes on for one minute and
then shuts
off while the ignition is on, the security
system has detected a problem with itself. See your
dealer for service.
If a door ‘or the trunk is opened without the key or
Remote Keyless Entry transmitter, the
alarm will go off.
It will also go off if the trunk lock is damaged. Your
vehicle’s lamps will flash and the horn will sound for
three minutes, then will
go off to save battery power.
Remember, the theft-deterrent system won’t activate if
you lock the doors with
a key or manual door lock. It
activates only if you use a power door lock
switch ox
Remote Keyless Entry transmitter.
Avoid setting
bff the alarm by accident.
Always unlock
a door with a key, or use the Remote
Keyless Entry transmitter. Unlocking a door any other
way will set
off the alarm.
Stopping the alarm: If you set off the alarm by accident,
unlock
any door with your key. You can also turn off the
alarm by pressing the
UNLOCK button on the Remote
Keyless
Entry transmitter. The alarm won’t stop if you
try to dock a door any other way.
Testing the alarm: Open the, window, then follow the
directions for activating the system described earlier.
Once the alarm is set, reach through the window and
manually uvlock the door
from the inside or turn on the
ignition.
The alarm should sound.
If the alarm does not sound when it should, check to see if
the horn works. The horn fuse may be blown. To replace
the fuse, see “Fuses and Circuit Breakers” in the Index.
To reduce the possibility of theft, always activate the
theft-deterrent
system when leaving your vehicle.
ProCarManuals.com
Page 95 of 387
To operate twilight sentinel, turn the control to MAX for
the three minute delay.
Turn it the other way to reduce
the delay. Turn the control to MIN to turn twilight
sentinel
off.
,. Also, it's possible that your headlamps my go out if
': ,_ .:'. * , . :' you drive from a dark area into a bright area like a
' lighted parking lot. If this happens, turn on your
headlamps with the regular headlamp switch.
Interior Lamps
Instrument Panel .Intensity/Brightness
Control
You can brighten or dim your instrument cluster lights
by
turning the headlamp switch. Turn the switch
clockwise to brighten the instrument cluster lights
and
displays. Turn the switch clockwise all the way t'o turn
on the interior courtesy lamps. Turn the switch
counterclockwise to dim the instrument cluster lights
and displays and to turn off the courtesy lamps.
Delayed Illumination
When you open the door, the interior lamps will come
on. When you
close the door with the ignition off, the
interior lamps will stay on
for 25 seconds or until the
ignition
is turned to an on position. Please note that locking the doors
will override the delayed illumination
feature and the lamps will
turn off right away.
Theater Dimming
This feature allows for a thee to five-second fade out of
the courtesy lamps instead of immediate turn off.
Exit Lighting
With this feature, the interior lamps will come on for
25 seconds after you remove the key from the ignition.
This will give you time to fhd the door pull handle or
lock switches.
Illuminated Entry (Option)
When you lift the handle of either front door, a Imp
will glow around the door lock. This will help you insert
the door key at night.
The lamps inside your vehicle will also go on. These
lamps will
go off after about 25 seconds, or when you
start
your engine. These lamps will also go on when
you press any button on the optional Remote Keyless
Entry transmitter.
If a door is left ajar, your interior lamps will turn off
after 10 minutes to save your battery.
ProCarManuals.com
Page 249 of 387
Fuels in Foreign Countries
If you plan on driving in another country outside the
United States or Canada, the proper fuel may be hard to
find. Never use leaded gasoline or any other fuel not
recommended
in the previops text on fuel. Costly repairs
caused by use
of improper fuel wouldn't be covered by
your wairanty.
To' check on fuel availability, ask an auto club, or
contact a major oil company that does business in the
country where you'll be driving.
You can
also write us at the following address for.
advice. Just tell us Where you're going and give your
Vehicle Identification Number (VIN).
General Motors Overseas Distribution Corporation
North American Export Sales (NAES)
1908 Colonel Sam Drive
Oshawa, Ontario
LlH 8P7
Fuel Door Lock (Option)
On a model equipped with the theft-deterrent system,
the fuel
dpor is locked and unlocked together with the
power door locks. Therefore,
to unlock the fuel filler
door, you
may use the outside door key lock, the inside
power door lock button or the Remote Keyless
Entry
key chain transmitter. To unlock the fuel door, dock all
doors. If the remote keyless entry transmitter is used,
the UNLOCK
button must be pressed twice.
6-4
ProCarManuals.com
Page 375 of 387
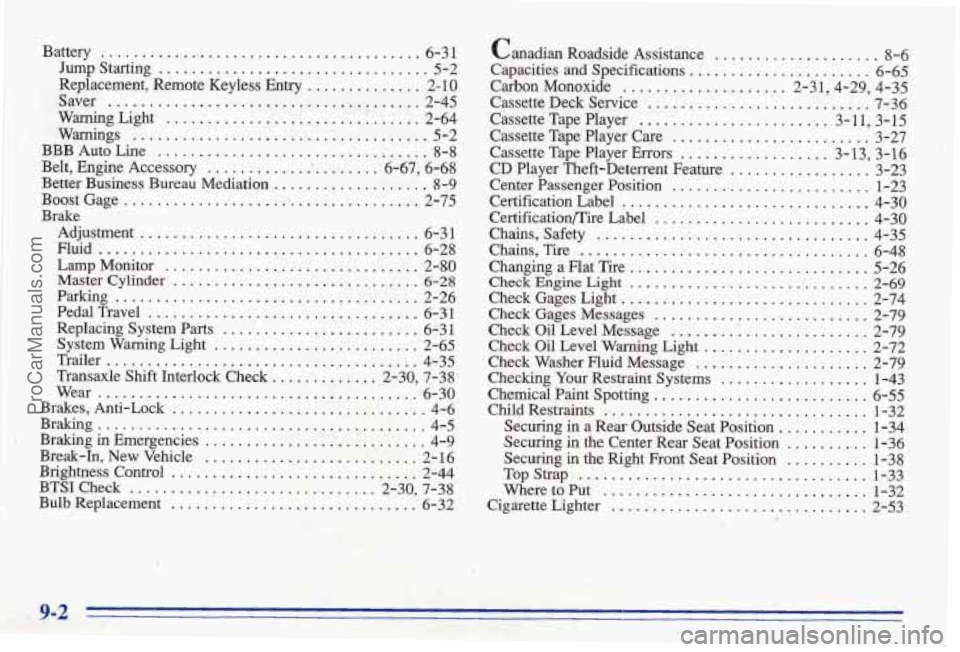
Battery ........................................ 6-3 1
Jump Starting ....... ! ......................... 5-2
Replacement. Remote Keyless Entry
.............. 2- 10
Warning Light
............................... 2-64
BBB Auto Line
................................. 8-8
Better Business Bureau Mediation ................... 8-9
BoostGage
.................................... 2-75
Adjustment
.................................. 6-3 1
Fluid
....................................... 6-28
Lamp Monitor
............................... 2-80
Master Cylinder .............................. 6-28
Parking ..................................... 2-26
Replacing System Parts
........................ 6-3 1
System Warning Light
......................... 2-65
Transaxle Shift Interlock Check
............. 2-30. 7-38
Brakes. Anti-Lock ............................... 4-6
Braking ........................................ 4-5
Braking in Emergencies ........................... 4-9
Break-In. New Vehicle .......................... 2- 16
Brightness Control
.............................. 2-44
BTSI Check
.............................. 2-30. 7-38
Bulb Replacement .............................. 6-32
Saver
.........'............................. 2-45
Warnings
.................................... 5-2
Belt. Engine Accessory
...................... 6-67. 6-68
Brake
PedalTravel
................................. 6-31
Trailer ...................................... 4-35
Wear
....................................... 6-30
Canadian Roadside Assistance .................... 8-6
Capacities and Specifications
...................... 6-65
Carbon Monoxide .................... 2-31.4-29. 4-35
Cassette Deck Service
........................... 7.36
Cassette Tape Player ....................... 3- 11 . 3-15
Cassette Tape Player Care ........................ 3-27
Cassette Tape Player Errors
.................. 3.13. 3.16
CD Player Theft-Deterrent Feature ................. 3-23
Center Passenger Position
........................ 1-23
Certification Label
.............................. 4-30
CertificationRire Label .......................... 4-30
Changing a Flat Tire ............................. 5-26
Check Engine Light ............................. 2-69
Check Gages Light
.............................. 2-74
Check Gages Messages
.......................... 2-79
Check Oil Level Warning Light .................... 2-72
Check Washer Fluid Message ..................... 2-79
Checking Your Restraint Systems
.................. 1-43
Chemical Paint Spotting
.......................... 6-55
Child Restraints
................................ 1-32
Securing
in a Rear Outside Seat Position ........... 1-34
Securing in the Center Rear Seat Position .......... 1-36
Securing in the Right Front Seat Position
.......... 1-38
Where to Put
................................ 1-32
Cigarette Lighter
............................... 2-53
Chains. Safety
................................. 4-35
Chains. Tire
................................... 6-48
Check Oil Level Message ........ ............... 2-79
TopStrap
................................... 1-33
9-2
ProCarManuals.com
Page 384 of 387
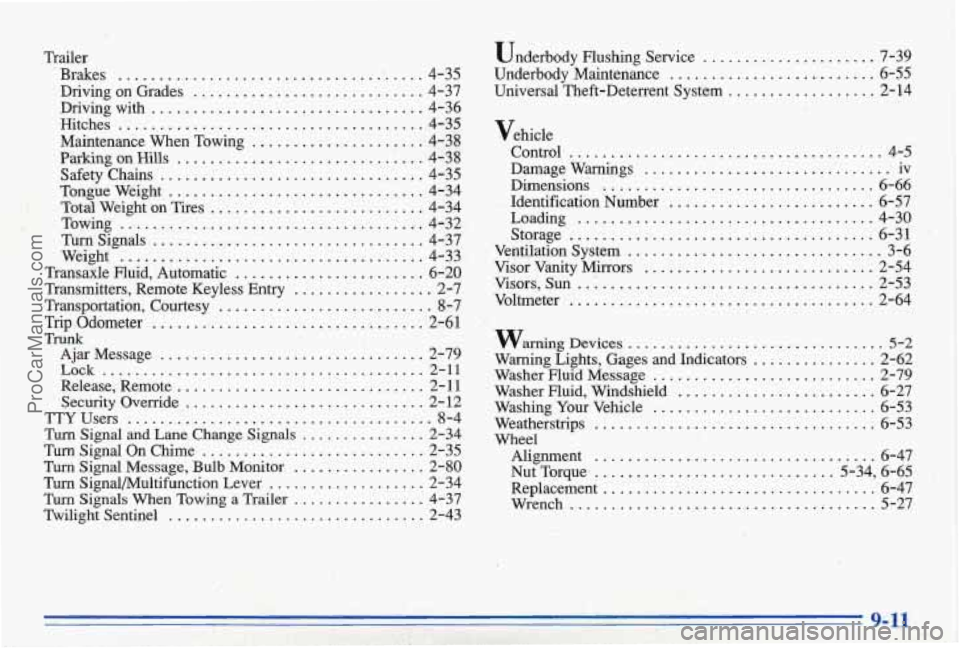
Trailer
. Brakes ...................................... 4-35
Driving on Grades ............................ 4-37
Drivingwith ................................. 4-36
-Hitches ..................................... 4-35
Maintenance When Towing ..................... 4-38
Parking on Hills ............................... 4-38
Safety Chains ................................. 4-35
Tongueweight ............................... 4-34
Total Weight on Tires .......................... 4-34
Turn Signals ................................. 4-37
Weight ..................................... 4-33
Transaxle Fluid, Automatic ....................... 6-20
Transmitters, Remote Keyless Entry ................. 2-7
Transportation, Courtesy .......................... 8-7
Trip Odometer .......................... ...... 2-61
Ajar Message ................................ 2-79
Lock ....................................... 2-11
Release, Remote .............................. 2-1 1
Security Override. ............................. 2-12
TTYUsers ..................................... 8-4
Turn Signal and Lane Change Signals ............... 2-34
Turn Signal On Chime ........................... 2-35
Turn Signal Message, Bulb Monitor ................ 2-80
Turn Signal/Multifunction Lever ................... 2-34
Turn Signals When Towing a Trailer ................ 4-37
Twilight Sentinel ............................... .. 2-43
Towing ...................................... 4-32.
Tiunk
Underbody Flushing Service ..................... 7-39
Universal Theft-Deterrent System .................. 2-14
Underbody Maintenance .......................... 6-55
Vehicle
Control
..................................... 4-5
Damage Warnings .............................. iv
Dimensions
.................................. 6-66
Identification Number ......................... 6-57
Loading ..................................... 4-30
Ventilation System ............................... 3-6
Visor Vanity Mirrors ............................ 2-54
Visors. Sun .. .................................. 2-53
Voltmeter ..................................... 2-64
Storage ..................................... 6-31 .
warning Devices ............................... 5-2
Warning Lights. Gages and Indicators ............... 2-62
Washer Fluid Message ............................ 2-79
Washer Fluid. Windshield ........................ 6-27
Washing Your Vehicle ........................... 6-53
Weatherstrips ........................ ...... 6-53
Wheel Alignment
................................ 6-47
Nut Torque ............................. 5-34. 6-65
Replacement ................................. 6-47
Wrench ..................................... 5-27
I .. .... ,.
.l?. .. .. ... ... \I., ..... 1 .. ._ .
T- L .
.... I .- I .. .... ... ,. i .. ..
.l?. .. .. ... ..... .. ._ . \I., ..... 1
T- L .
I
... i ..
ProCarManuals.com