coolant level PONTIAC BONNEVILLE 2003 Owners Manual
[x] Cancel search | Manufacturer: PONTIAC, Model Year: 2003, Model line: BONNEVILLE, Model: PONTIAC BONNEVILLE 2003Pages: 418, PDF Size: 20.24 MB
Page 116 of 418
Section 3 Instrument Panel
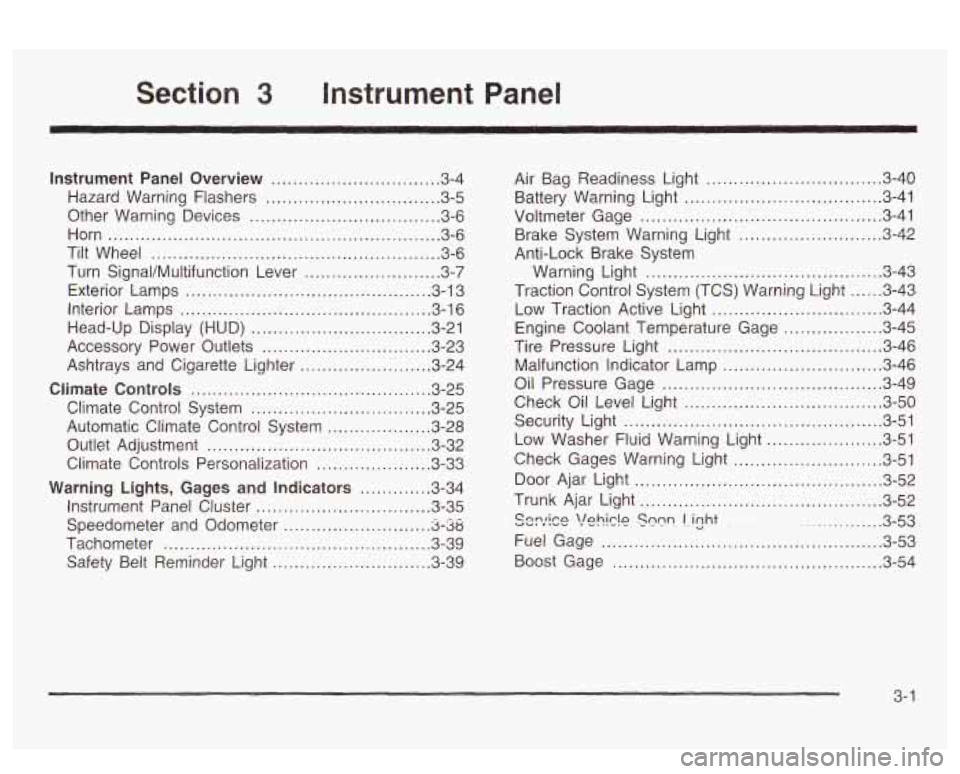
Instrument Panel Overview ............................... 3.4
Hazard Warning Flashers
................................ 3.5
Other Warning Devises
................................... 3.6
Horn
............................................................. 3.6
Tilt Wheel
..................................................... 3.6
Turn SignaVMultifunction Lever
......................... 3.7
Exterior Lamps
............................................. 3.13
Interior Lamps
.............................................. 3.16
Head-Up Display (HUD)
................................. 3-21
Accessory Power Outlets
............................... 3.23
Ashtrays and Cigarette Lighter
........................ 3.24
Ciimate Controls ............................................ 3.25
Climate Control System ................................. 3.25
Automatic Climate Control System
................... 3.28
Outlet Adjustment
......................................... 3.32
Climate Controls Personalization
..................... 3.33
Warning Lights, Gages and Indicators ............. 3.34
Instrument Panel Cluster
................................ 3-35
Speedometer and Odometer
-8-38
Tachometer ................................................. 3.39
Safety Belt Reminder Light
............................. 3.39
. -- ..........................
Air Bag Readiness Light ............................. 3.40
Battery Warning bight
.................................... 3-41
Voltmeter Gage
............................................ 3-41
Brake System Warning Light
.......................... 3-42
Warning Light
........................................... 3-43
Traction Control System (TCS) Warning Light
...... 3-43
Low Traction Active Light ............................... 3-44
Engine Coolant Temperature Gage
.................. 3-45
Tire Pressure Light
....................................... 3-46
Anti-Lock
Brake System
Malfunction Indicator Lamp
....... ............... 3-46
Oil Pressure Gage
.................. ............... 3-49
Check Oil Level Light
J-50
Low Washer Fluid Warning Light ..................... 3-51
n ....................................
Security Light ............................................... 3-51
Check Gages Warning Light
........................... 3-51
Door Ajar Light
............................................. 3-52
Trunk Ajar Light
............................................ 3-52
............... 3-53
Fuel Gage
............................. ............... 3-53
Boost Gage
....................... ................... 3-54
Cnnrirn vu, Y . "1 \!nhirlo I . ..-.- Snnn - - - . lizht . ~
3- 1
Page 136 of 418
Head-Up Display (HUD)
If the HUD image is too bright, or too high in
your field
of view, it may take you more time to
see things you need to see when it's dark
outside. Be sure to keep the HUD image dim
and placed low in your field of view.
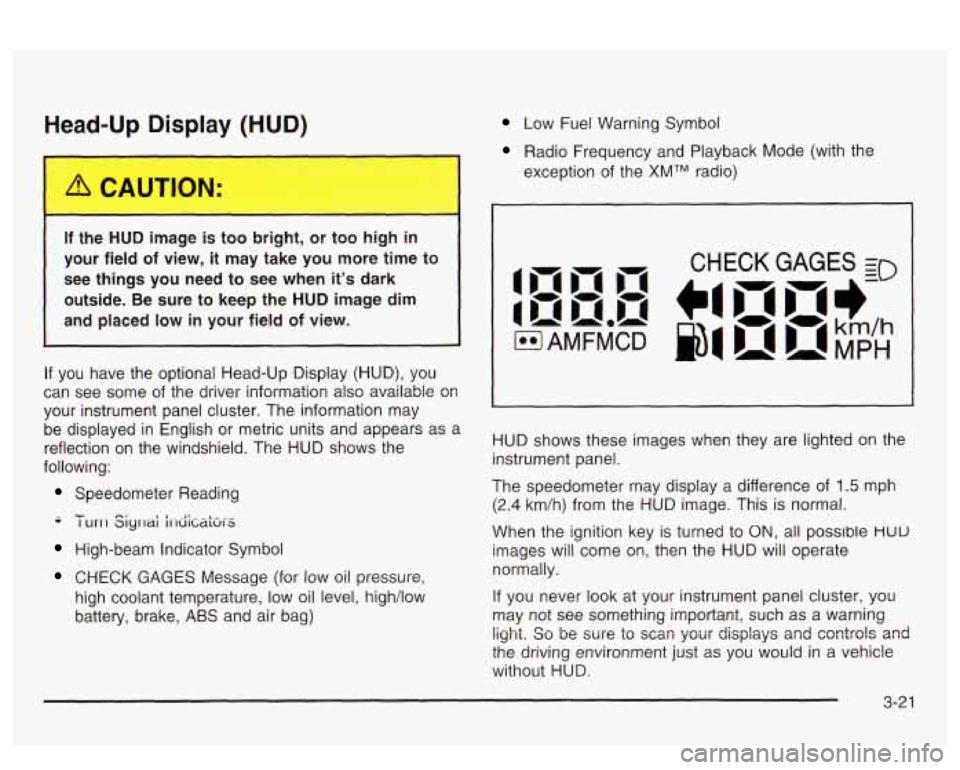
If you have the optional Head-Up Display (HUD), you
can see
some of the driver information also available 08
your instrument panel cluster. The information may
be displayed in English
or metric units and appears as a
reflection on the windshield. The HUD shows the
following:
Speedometer Reading
-- - I urrl Siyrlai i1-diCaki-S
High-beam Indicator Symbol
CHECK GAGES Message (for low oil pressure,
high coolant temperature, low oil level, high/low
battery, brake,
ABS and air bag)
Low Fuel Warning Symbol
Radio Frequency and Playback Mode (with the
exception of the
XMTM radio)
HUD shows these images when they are lighted on the
instrument panel.
The speedometer may display a difference of
1.5 mph
(2.4 km/h) from the HUD image. This is normal.
When the ignition key is turned to
ON, all possible HUU
images will come on, then the HUD will operate
normally.
If you never look at your instrument panel cluster, you
may not see something important, such as a warning
light. So be wre to scm your displays and csntrols and
the driving environment just as you would in a vehicle
without HUD.
Page 274 of 418
A. Engine Compartment Fuse Block
B. Windshield Washer Fluid Reservoir
C. Engine Coolant Recovery Tank
D. Radiator Pressure Cap
E. Power Steering Fluid Reservoir
F. Engine Oil Dipstick
G. Engine Oil Fill Cap
H. Automatic Transaxle Fluid Dipstick
I. Brake Master Cylinder
J. Engine Air Cleaner/Filter
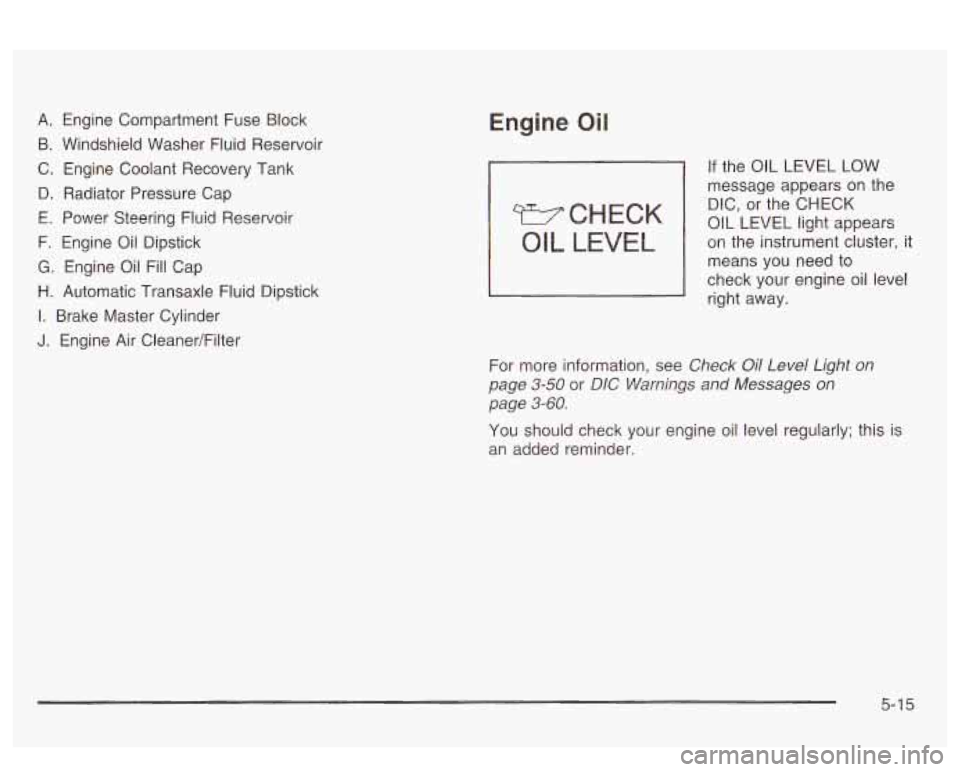
Engine Oil
WCHECK
OIL LEVEL
If the OIL LEVEL LOW
message appears
on the
DIC, or the CHECK
OIL LEVEL light appears
on the instrument cluster, it
means
YOU need to
check your engine oil level
right away.
For more information, see
Check Oil Level Light on
page
3-50 or DIG Warnings and Messages on
page 3-60.
You should check your engine oil level regularly; this is
an added reminder.
5-1 5
Page 285 of 418
How to Add Fluid
Refer to the Maintenance Schedule to determine what
kind of transaxle fluid
to use. See Part D:
Recommended Fluids and Lubricants on page 6-24.
If the fluid level is low, add only enough of the proper
fluid
to bring the level into the cross-hatched area on the
dipstick.
1. Pull out the dipstick.
2. Using a long-neck funnel, add enough fluid at the
dipstick hole
to bring it to the proper level.
It doesn’t take much fluid, generally less than one
pint
(0.5 L). Don’t overfill.
Notice: We recommend you use only fluid labeled
DEXRON@-Ill, because fluid with that label is
made especially for your automatic transaxle.
Damage caused by fluid other than DEXRON@-Ill
is
not covered by your new vehicle warranty.
3. After adding fluid, recheck the fluid level as
described under “How to Check,” earlier in this
section.
Engine Coolant
The cooling system in your vehicle is filled with
DEX-COOL@ engine coolant. This coolant is designed
to remain
in your vehicle for 5 years or 150,000 miles
(240
000 km), whichever occurs first, if you add
only extended life coolant.
The following explains your cooling system and how to
add coolant when it is low. If you have a problem
with engine overheating, see
Engine Overheating on
page
5-29.
A 50/50 mixture of clean, drinkable water and
DEX-COOL@ coolant will:
Give freezing protection down to -34°F (-37°C).
Give boiling protection up to 265°F (129°C)
Protect against rust and corrosion.
Help keep the proper engine temperature.
Let the warning lights and gages work as
they should.
4. When the correct fluid level is obtained, push the
dipstick back
in all the way.
5-26
Page 287 of 418
Checking Coolant
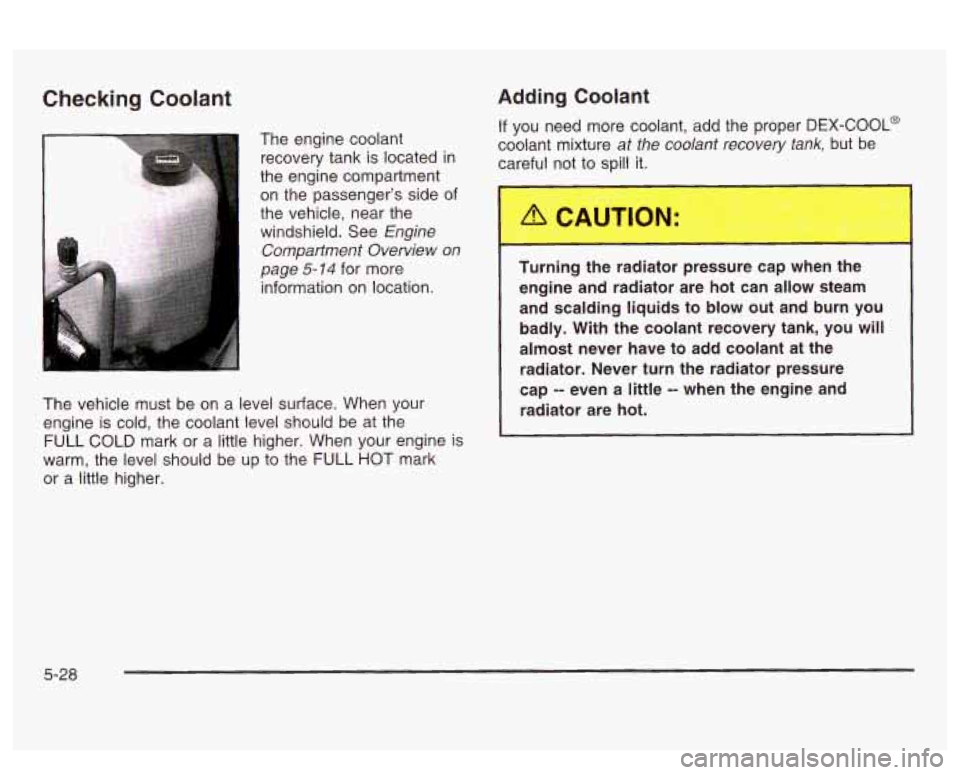
The engine coolant
recovery tank is located in
the engine compartment
on the passenger’s side of
the vehicle, near the windshield. See
Engine
Compartment Overview on
page
5-74 for more
information on location.
Adding Coolant
The vehicle must be on a level surface. When your
engine
is cold, the coolant level should be at the
FULL COLD mark or a little higher. When your engine is
warm, the level should be up to the FULL HOT mark
or a little higher.
If you need more coolant, add the proper DEX-COOL@
coolant mixture
at the coolant recovery tank, but be
careful not to spill it.
Turnin- :he rai tor pressure
~-2 w..,n the
engine and radiator are hot can allow steam
and scalding liquids to blow out and burn you
badly. With the coolant recovery tank, you will
almost never have to add coolant at the
radiator. Never turn the radiator pressure
cap
-- even a little -- when the engine and
radiator are hot.
5-28
Page 288 of 418
1 -J can __ burned if you spill coolant -.I hot
engine parts. Coolant contains ethylene glycol,
and
it will burn if the engine parts are hot
enough. Don’t spill coolant on a hot engine.
~~ ~ ~~
Occasionally check the coolant level in the radiator.
For information on how to add coolant to the radiator,
see
Cooling System on page 5-32.
Radiator Pressure Cap
Notice: Your radiator cap is a pressure-type cap
and must be tightly installed to prevent coolant
loss
and possible engine damage from overheating.
Be sure the arrows on the cap line up with the
overflow tube on the radiator filler
neck.
See Engine Compartment Overview on page 5-14 for
more information on location.
Engine Overheating
You will find a coolant temperature gage or a DIC
warning message about a hot engine on your vehicle’s
instrument panel. See
Engine Coolant Temperature
Gage on page 3-45
and DIC Warnings and Messages
on page
3-60.
5-29
Page 291 of 418
Cooling System
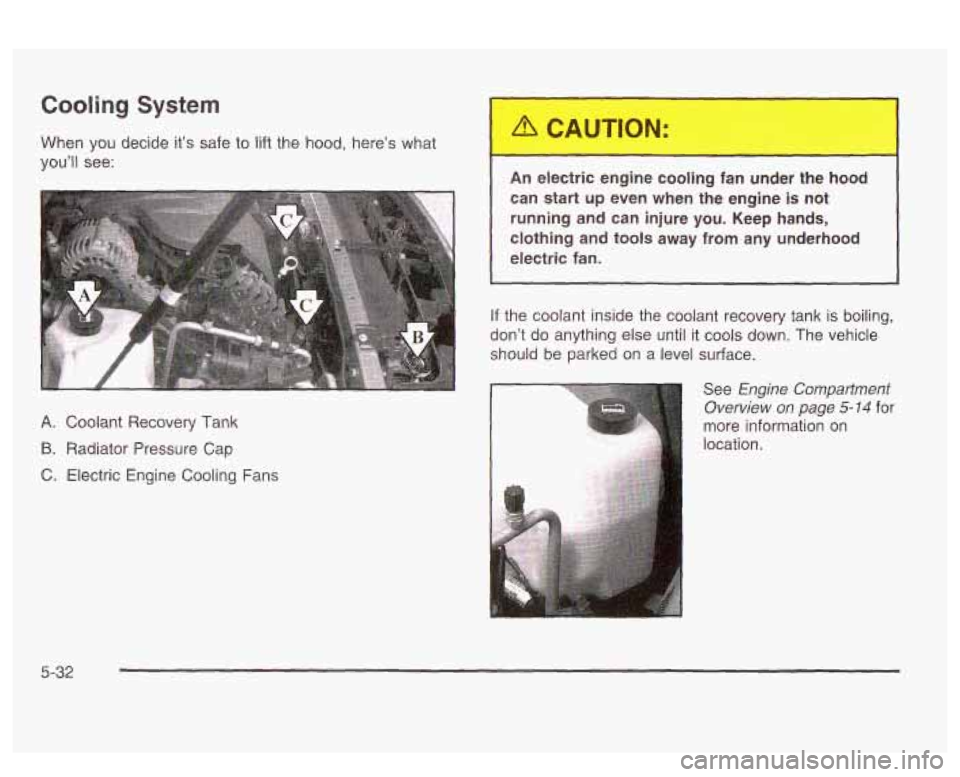
When you decide it’s safe to lift the hood, here’s what
you’ll see:
A. Coolant Recovery Tank
B. Radiator Pressure Cap
C. Electric Engine Cooling Fans
An electric engine cooling fan under the hood
can start up even when the engine is not
running and can injure you. Keep hands,
clothing and tools away from any underhood
electric fan.
If the coolant inside the coolant recovery tank is boiling,
don’t
do anything else until it cools down. The vehicle
should be parked on a level surface.
See
Engine Compartment
Overview on page
5- 14 for
more information on
location.
5-32
Page 292 of 418
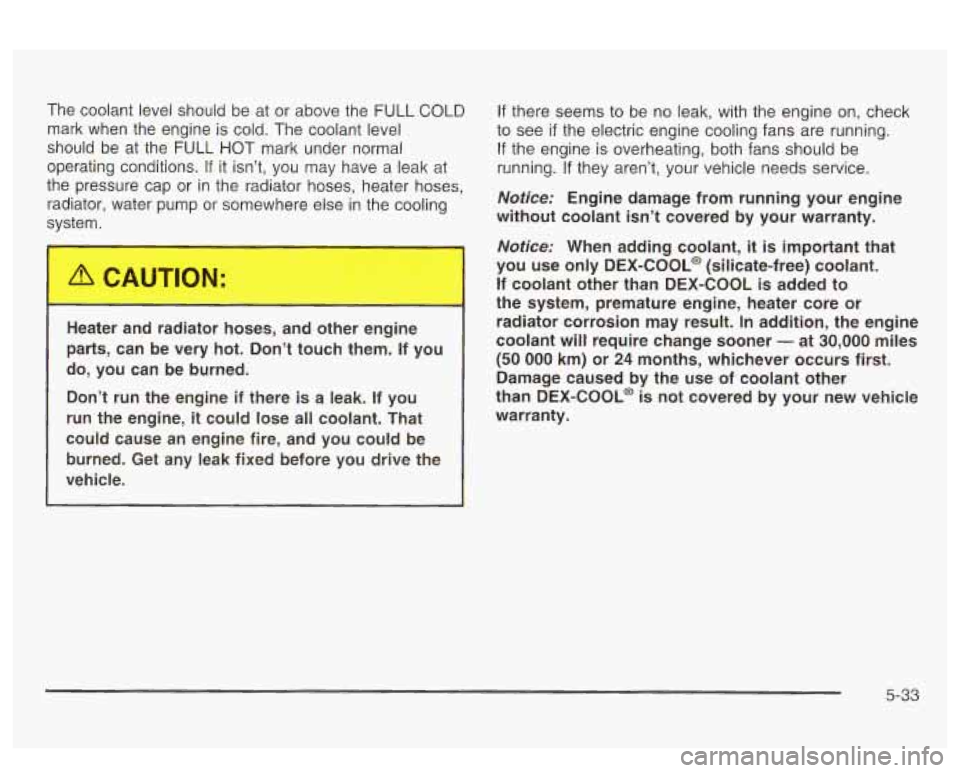
The coolant level should be at or above the FULL COLD
mark when the engine is cold. The coolant level
should be at the FULL HOT mark under normal
operating conditions.
If it isn’t, you may have a leak at
the pressure cap or in the radiator hoses, heater hoses,
radiator, water pump or somewhere else in the cooling
syster
If there seems to be no leak, with the engine on, check
to see
if the electric engine cooling fans are running.
If the engine is overheating, both fans should be
running.
If they aren’t, your vehicle needs service.
Notice: Engine damage from running your engine
without coolant
isn’t covered by your warranty.
Notice: When adding coolant, it is important that
you use only
DEX-COOL@ (silicate-free) coolant.
If coolant other than
DEX-COOL is added to
the system, premature engine, heater core or
1
Heater and radiator hoses, and other engine radiator corrosion may result.
-In addition, the engine
parts, can be very hot. Don’t touch them. If you coolant will require change sooner - at 30,000 miles
(50 000 km) or 24 months, whichever occurs first.
do, you can be burned.
Damage caused by the use of coolant other
Don’t run the engine if there
is a leak. If you than DEX-COOL@ is not covered by your new vehicie
run the engine,
it could lose all coolant. That warranty.
could cause an engine fire, and you could be
burned. Get any leak fixed before you drive the
vehicle.
5-33
Page 293 of 418
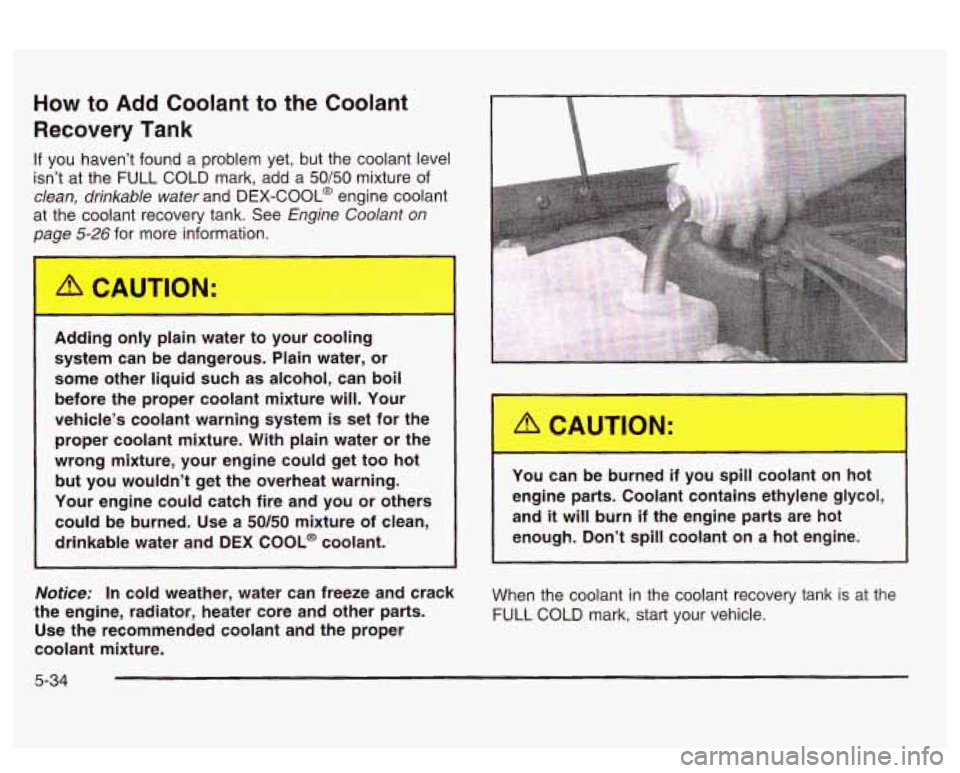
How to Add Coolant to the Coolant
Recovery Tank
If you haven’t found a problem yet, but the coolant level
isn’t at the FULL COLD mark, add a
50/50 mixture of
clean, drinkable water and DEX-COOL@ engine coolant
at the coolant recovery tank. See
Engine Coolant on
page
5-26 for more information.
Adding only plain water to your cooling system can be dangerous. Plain water, or
some other liquid such as alcohol, can boil
before the proper coolant mixture will. Your
vehicle’s coolant warning system
is set for the
proper coolant mixture. With plain water or the
wrong mixture, your engine could get too hot
but you wouldn’t get the overheat warning.
Your engine could catch fire and you or others could be burned. Use a
50/50 mixture of clean,
drinkable water and DEX COOL@ coolant.
Notice: In cold weather, water can freeze and crack
the engine, radiator, heater core and other parts. Use the recommended coolant and the proper
coolant mixture. You
can be burned if you spill coolant on hot
engine parts. Coolant contains ethylene glycol, and
it will burn if the engine parts are hot
enough. Don’t
spill coolant on a hot engine.
When the coolant in the coolant recovery tank is at the
FULL
COLD mark, start your vehicle.
5-34
Page 298 of 418
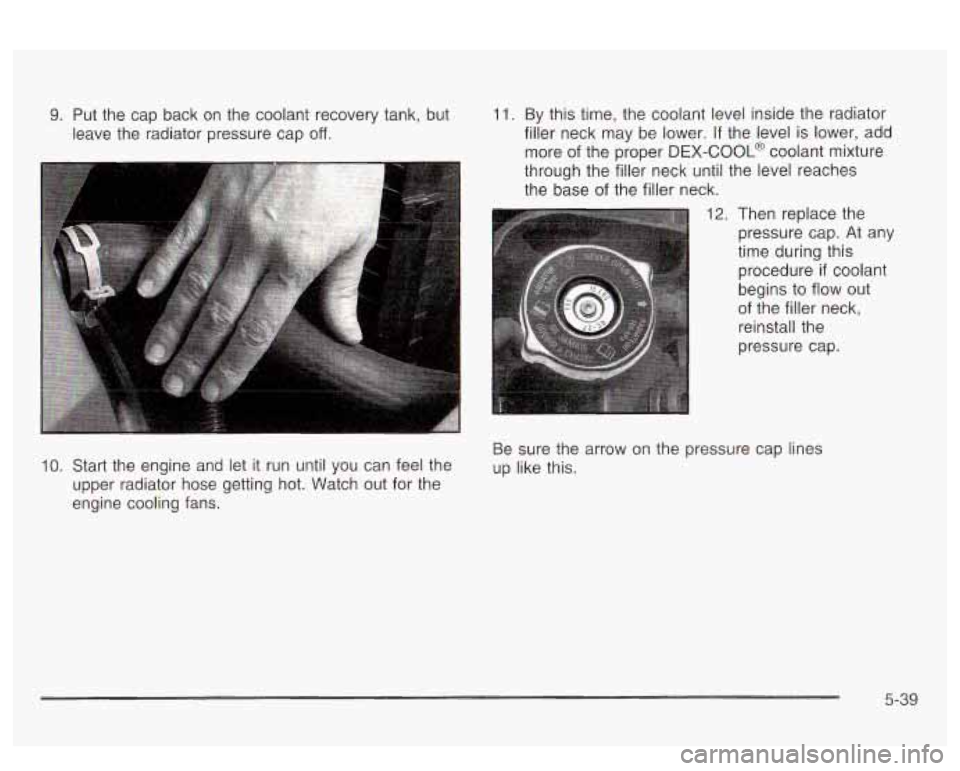
9. Put the cap back on the coolant recovery tank, but
leave the radiator pressure cap
off.
11. By this time, the coolant level inside the radiator
filler neck may be lower.
If the level is lower, add
more of the proper
DEX-COOL@ coolant mixture
through the filler neck until the level reaches
the base
of the filler neck.
12. Then replace the
pressure cap. At any
time during this
procedure
if coolant
begins to
flow out
of the filler neck,
reinstall the
pressure cap.
IO. Start the engine and let it run until you can feel the
upper radiator hose getting hot. Watch out for the
engine cooling fans. Be
sure the arrow on the pressure cap lines
up like this.
5-39