trunk PONTIAC BONNEVILLE 2004 Owners Manual
[x] Cancel search | Manufacturer: PONTIAC, Model Year: 2004, Model line: BONNEVILLE, Model: PONTIAC BONNEVILLE 2004Pages: 446, PDF Size: 2.81 MB
Page 69 of 446
Keys...............................................................2-3
Remote Keyless Entry System.........................2-5
Remote Keyless Entry System Operation...........2-6
Doors and Locks............................................2-10
Door Locks..................................................2-10
Central Door Unlocking System......................2-11
Power Door Locks........................................2-11
Delayed Locking...........................................2-12
Programmable Automatic Door Locks..............2-13
Rear Door Security Locks..............................2-15
Lockout Protection........................................2-16
Leaving Your Vehicle....................................2-16
Trunk..........................................................2-16
Windows........................................................2-19
Power Windows............................................2-20
Sun Visors...................................................2-21
Theft-Deterrent Systems..................................2-21
Universal Theft-Deterrent...............................2-21
Content Theft-Deterrent.................................2-22
PASS-Key
®III ..............................................2-23
PASS-Key®III Operation...............................2-23Starting and Operating Your Vehicle................2-25
New Vehicle Break-In....................................2-25
Ignition Positions..........................................2-26
Starting Your Engine.....................................2-27
Engine Coolant Heater..................................2-28
Automatic Transaxle Operation.......................2-29
Parking Brake..............................................2-32
Shifting Into Park (P).....................................2-33
Shifting Out of Park (P).................................2-36
Parking Over Things That Burn.......................2-36
Engine Exhaust............................................2-37
Running Your Engine While You Are Parked.......2-38
Mirrors...........................................................2-39
Manual Rearview Mirror.................................2-39
Automatic Dimming Rearview Mirror................2-39
Outside Power Mirrors...................................2-40
Outside Curb View Assist Mirror.....................2-41
Outside Convex Mirror...................................2-41
Outside Heated Mirrors..................................2-41
OnStar
®System.............................................2-42
HomeLink®Transmitter...................................2-44
Programming the HomeLink®Transmitter.........2-45
Section 2 Features and Controls
2-1
Page 72 of 446
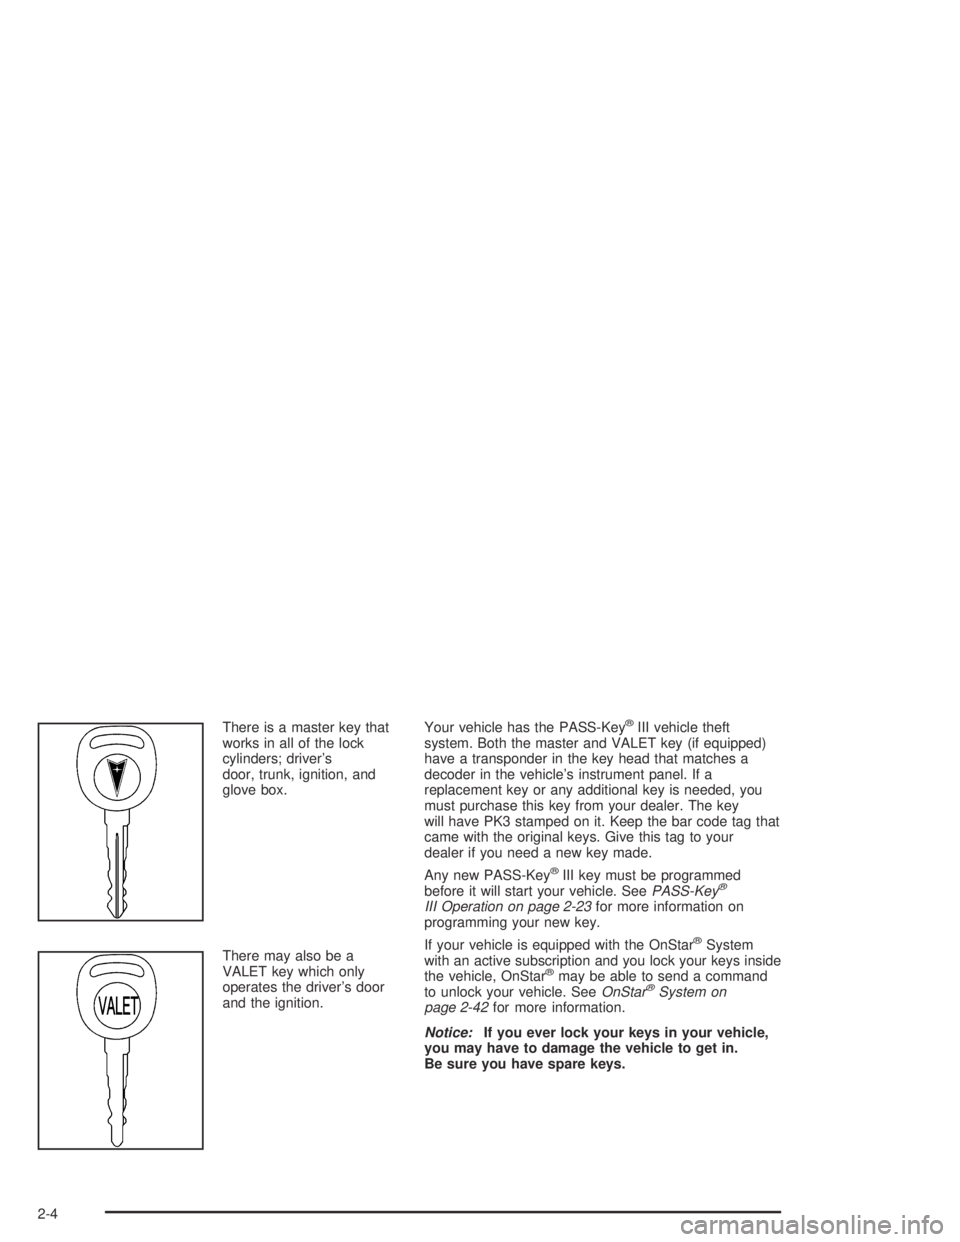
There is a master key that
works in all of the lock
cylinders; driver’s
door, trunk, ignition, and
glove box.
There may also be a
VALET key which only
operates the driver’s door
and the ignition.Your vehicle has the PASS-Key®III vehicle theft
system. Both the master and VALET key (if equipped)
have a transponder in the key head that matches a
decoder in the vehicle’s instrument panel. If a
replacement key or any additional key is needed, you
must purchase this key from your dealer. The key
will have PK3 stamped on it. Keep the bar code tag that
came with the original keys. Give this tag to your
dealer if you need a new key made.
Any new PASS-Key
®III key must be programmed
before it will start your vehicle. SeePASS-Key®
III Operation on page 2-23for more information on
programming your new key.
If your vehicle is equipped with the OnStar
®System
with an active subscription and you lock your keys inside
the vehicle, OnStar
®may be able to send a command
to unlock your vehicle. SeeOnStar®System on
page 2-42for more information.
Notice:If you ever lock your keys in your vehicle,
you may have to damage the vehicle to get in.
Be sure you have spare keys.
2-4
Page 74 of 446
Remote Keyless Entry System
Operation
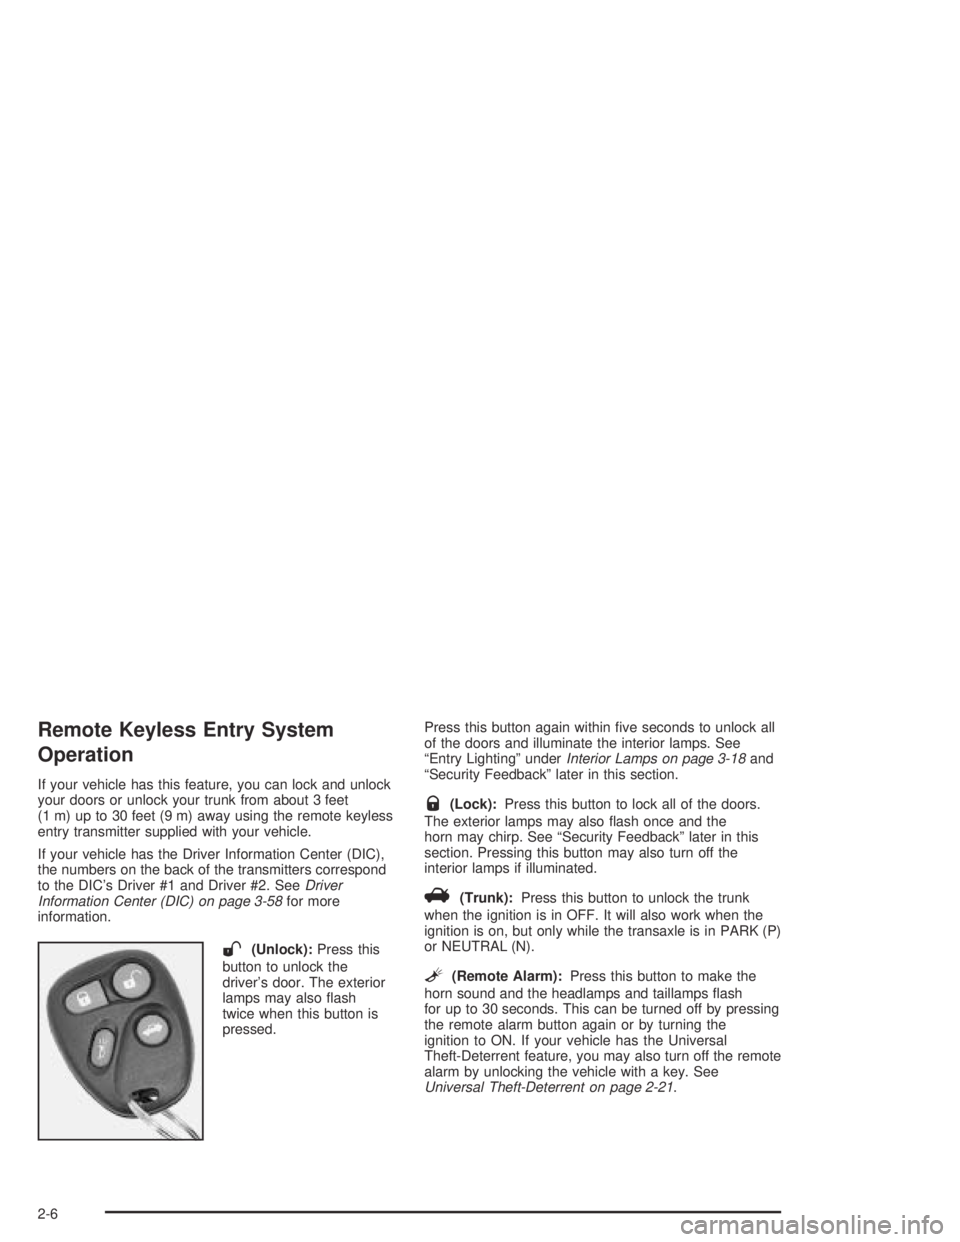
If your vehicle has this feature, you can lock and unlock
your doors or unlock your trunk from about 3 feet
(1 m) up to 30 feet (9 m) away using the remote keyless
entry transmitter supplied with your vehicle.
If your vehicle has the Driver Information Center (DIC),
the numbers on the back of the transmitters correspond
to the DIC’s Driver #1 and Driver #2. SeeDriver
Information Center (DIC) on page 3-58for more
information.
W(Unlock):Press this
button to unlock the
driver’s door. The exterior
lamps may also �ash
twice when this button is
pressed.Press this button again within �ve seconds to unlock all
of the doors and illuminate the interior lamps. See
“Entry Lighting” underInterior Lamps on page 3-18and
“Security Feedback” later in this section.
Q(Lock):Press this button to lock all of the doors.
The exterior lamps may also �ash once and the
horn may chirp. See “Security Feedback” later in this
section. Pressing this button may also turn off the
interior lamps if illuminated.
V(Trunk):Press this button to unlock the trunk
when the ignition is in OFF. It will also work when the
ignition is on, but only while the transaxle is in PARK (P)
or NEUTRAL (N).
L(Remote Alarm):Press this button to make the
horn sound and the headlamps and taillamps �ash
for up to 30 seconds. This can be turned off by pressing
the remote alarm button again or by turning the
ignition to ON. If your vehicle has the Universal
Theft-Deterrent feature, you may also turn off the remote
alarm by unlocking the vehicle with a key. See
Universal Theft-Deterrent on page 2-21.
2-6
Page 76 of 446
Each remote keyless entry transmitter can be
programmed to a different mode according to the user’s
preference. To change to another mode, do the
following:
1. Keep all doors closed, the vehicle in PARK (P) and
the ignition on throughout this procedure.
2. Press and hold the driver’s power door lock switch
in LOCK through Step 4.
3. Press the button with the trunk symbol on the
transmitter. The transmitter will remain in its
current mode and the horn will chirp as feedback.
4. Press the button with the trunk symbol again. Each
time the transmitter’s trunk button is pressed, the
mode will advance by one, going from Mode 2 to 3
to 4, etc. and the horn will chirp as feedback.
5. Release the power door lock switch. The security
feedback will remain in the most recent mode
selected.
To verify the mode selected, remove the key from the
ignition and close all of the doors after you have
exited the vehicle. Press the lock button on the
transmitter to be veri�ed and con�rm the appropriate
feedback. Repeat with the unlock button.Matching Transmitter(s) to Your
Vehicle
Each remote keyless entry transmitter is coded to
prevent another transmitter from unlocking your vehicle.
If a transmitter is lost or stolen, a replacement can
be purchased through your dealer. Remember to bring
any remaining transmitters with you when you go to
your dealer. When the dealer matches the replacement
transmitter to your vehicle, any remaining transmitters
must also be matched. Once your dealer has coded the
new transmitter, the lost transmitter will not unlock
your vehicle. Each vehicle can have a maximum of four
transmitters matched to it.
See your dealer to match additional transmitters to your
vehicle.
2-8
Page 84 of 446
Lockout Protection
The power door locks will not work if the key is in the
ignition and any door is open. You can override this
feature by holding the driver’s power door lock switch
for more than three seconds.
Leaving Your Vehicle
If you are leaving the vehicle, take your keys, open your
door and set the locks from the inside. Then get out and
close the door. You may also use the lock button on the
remote keyless entry transmitter after shutting the doors.
If your vehicle has a theft-deterrent system, see
Universal Theft-Deterrent on page 2-21.
Trunk
{CAUTION:
It can be dangerous to drive with the trunk lid
open because carbon monoxide (CO) gas can
come into your vehicle. You can not see or
smell CO. It can cause unconsciousness and
even death. If you must drive with the trunk lid
open or if electrical wiring or other cable
connections must pass through the seal
between the body and the trunk lid:
Make sure all other windows are shut.
Turn the fan on your heating or cooling
system to its highest speed and select the
control setting that will force outside air
into your vehicle. See Climate Control
System in the Index.
If you have air outlets on or under the
instrument panel, open them all the way.
SeeEngine Exhaust on page 2-37.
2-16
Page 85 of 446
Trunk Lock Release
To unlock the trunk from the outside, insert the master
key and turn it.
Remote Trunk Release
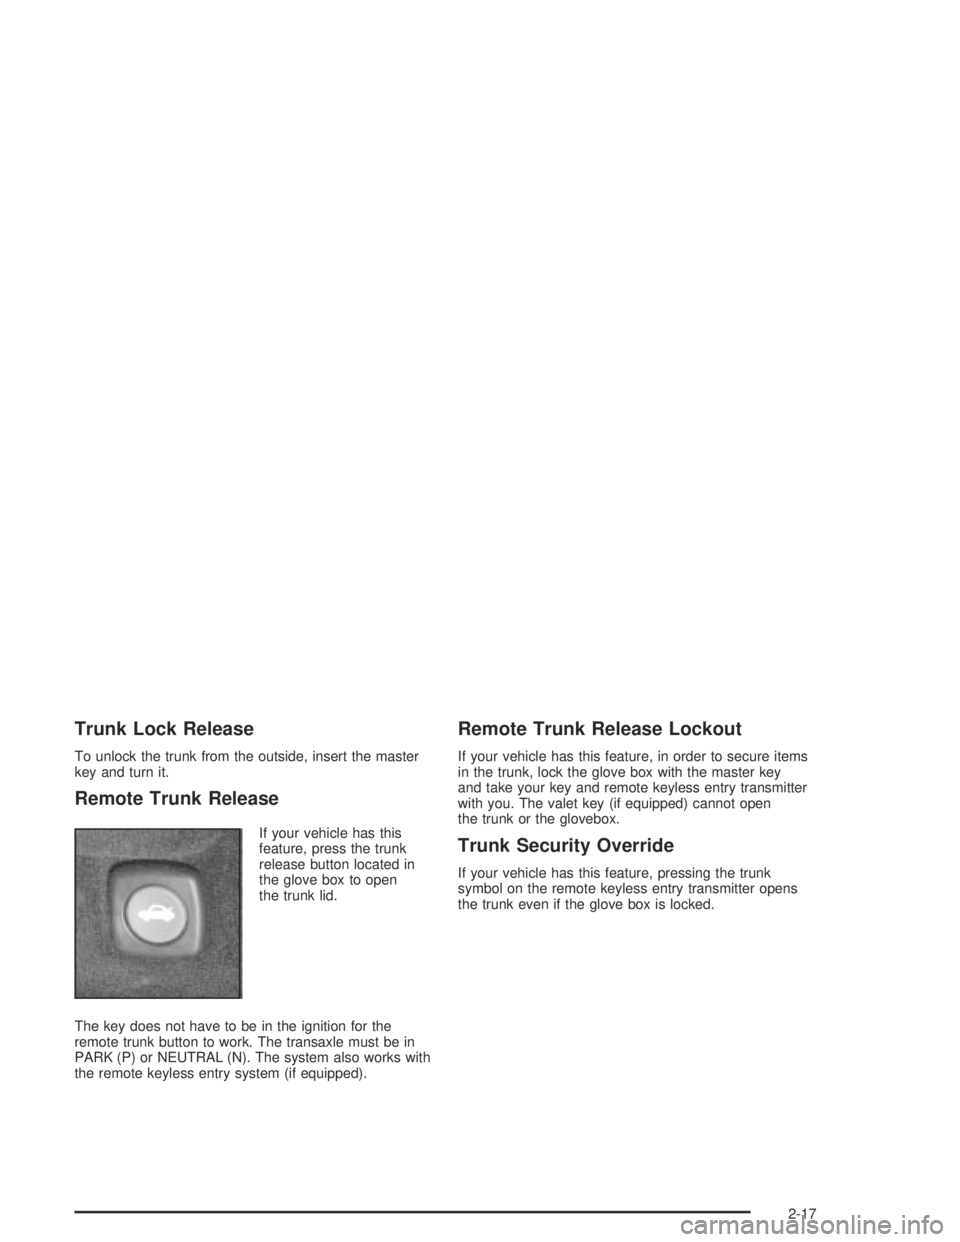
If your vehicle has this
feature, press the trunk
release button located in
the glove box to open
the trunk lid.
The key does not have to be in the ignition for the
remote trunk button to work. The transaxle must be in
PARK (P) or NEUTRAL (N). The system also works with
the remote keyless entry system (if equipped).
Remote Trunk Release Lockout
If your vehicle has this feature, in order to secure items
in the trunk, lock the glove box with the master key
and take your key and remote keyless entry transmitter
with you. The valet key (if equipped) cannot open
the trunk or the glovebox.
Trunk Security Override
If your vehicle has this feature, pressing the trunk
symbol on the remote keyless entry transmitter opens
the trunk even if the glove box is locked.
2-17
Page 86 of 446
Emergency Trunk Release HandleNotice:Using the emergency trunk release handle
as a tie-down or anchor point when securing
items in the trunk may damage it. Use the
emergency trunk release handle only to help you
open the trunk lid.
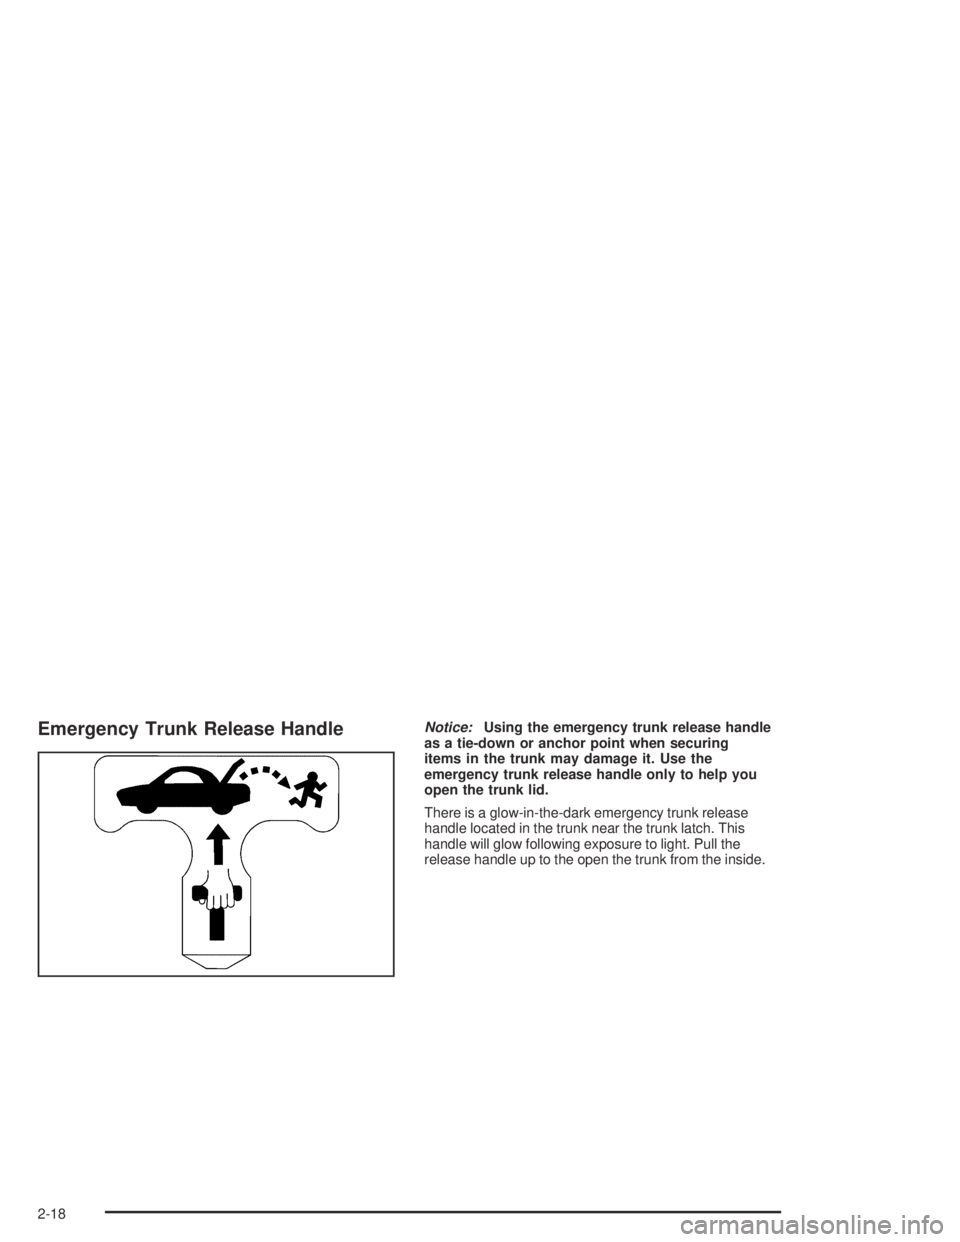
There is a glow-in-the-dark emergency trunk release
handle located in the trunk near the trunk latch. This
handle will glow following exposure to light. Pull the
release handle up to the open the trunk from the inside.
2-18
Page 117 of 446
Rear Seat Pass Through
Your vehicle has a rear seat armrest with cupholders
and a pass-through feature.
Pull down the interior door to access the trunk.
Convenience Net
Your vehicle may have a convenience net. You will see
it just inside the back wall of the trunk.
Put small loads behind the net. It can help keep them
from falling over during sharp turns or quick starts
and stops. For heavier loads, store them in the trunk as
far forward as you can.
You can unhook the net so that it will lie �at when you
are not using it.
Sunroof
Your vehicle may be equipped with a sunroof. The
sunroof has both manual and express features
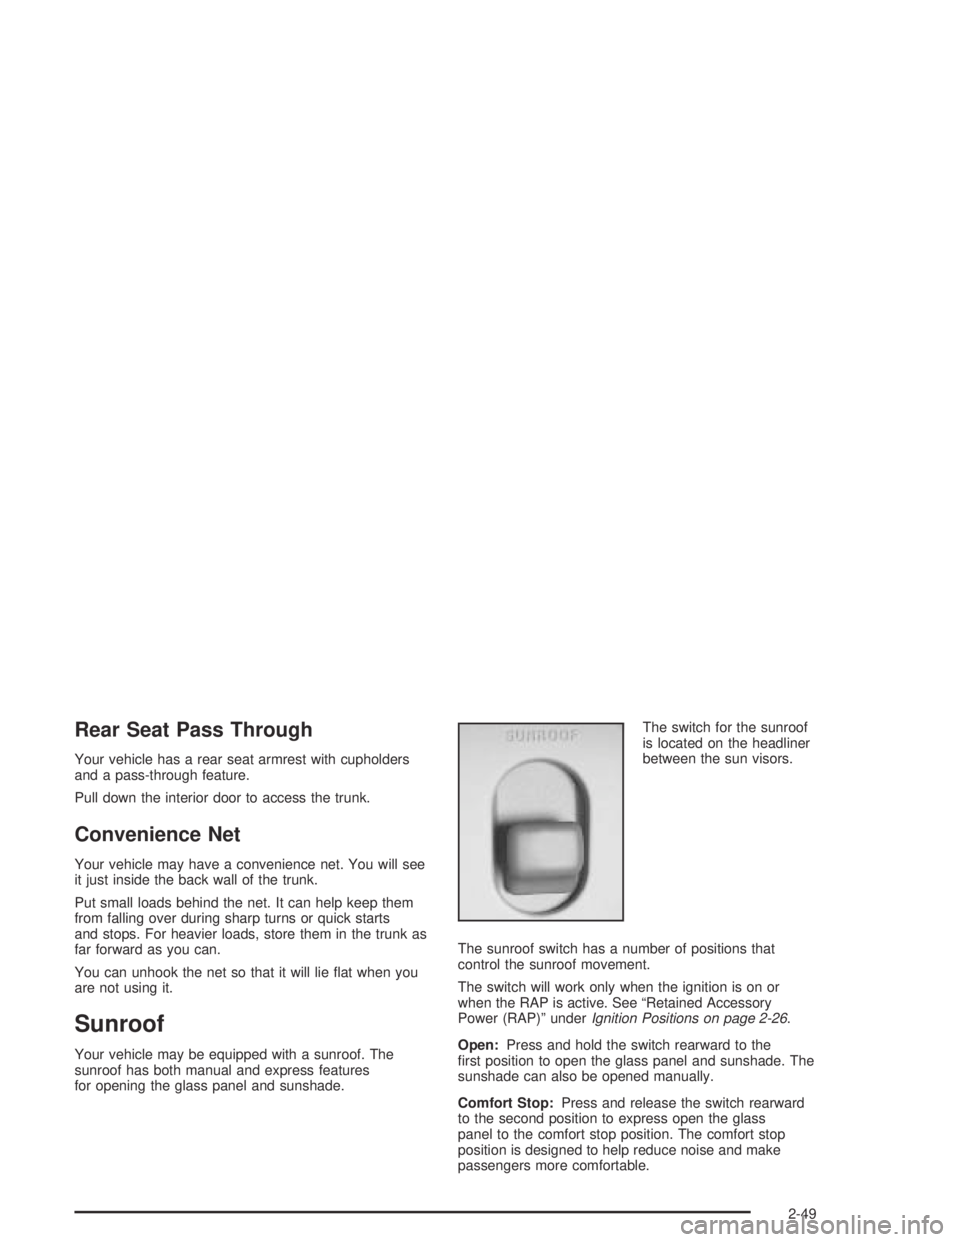
for opening the glass panel and sunshade.The switch for the sunroof
is located on the headliner
between the sun visors.
The sunroof switch has a number of positions that
control the sunroof movement.
The switch will work only when the ignition is on or
when the RAP is active. See “Retained Accessory
Power (RAP)” underIgnition Positions on page 2-26.
Open:Press and hold the switch rearward to the
�rst position to open the glass panel and sunshade. The
sunshade can also be opened manually.
Comfort Stop:Press and release the switch rearward
to the second position to express open the glass
panel to the comfort stop position. The comfort stop
position is designed to help reduce noise and make
passengers more comfortable.
2-49
Page 121 of 446
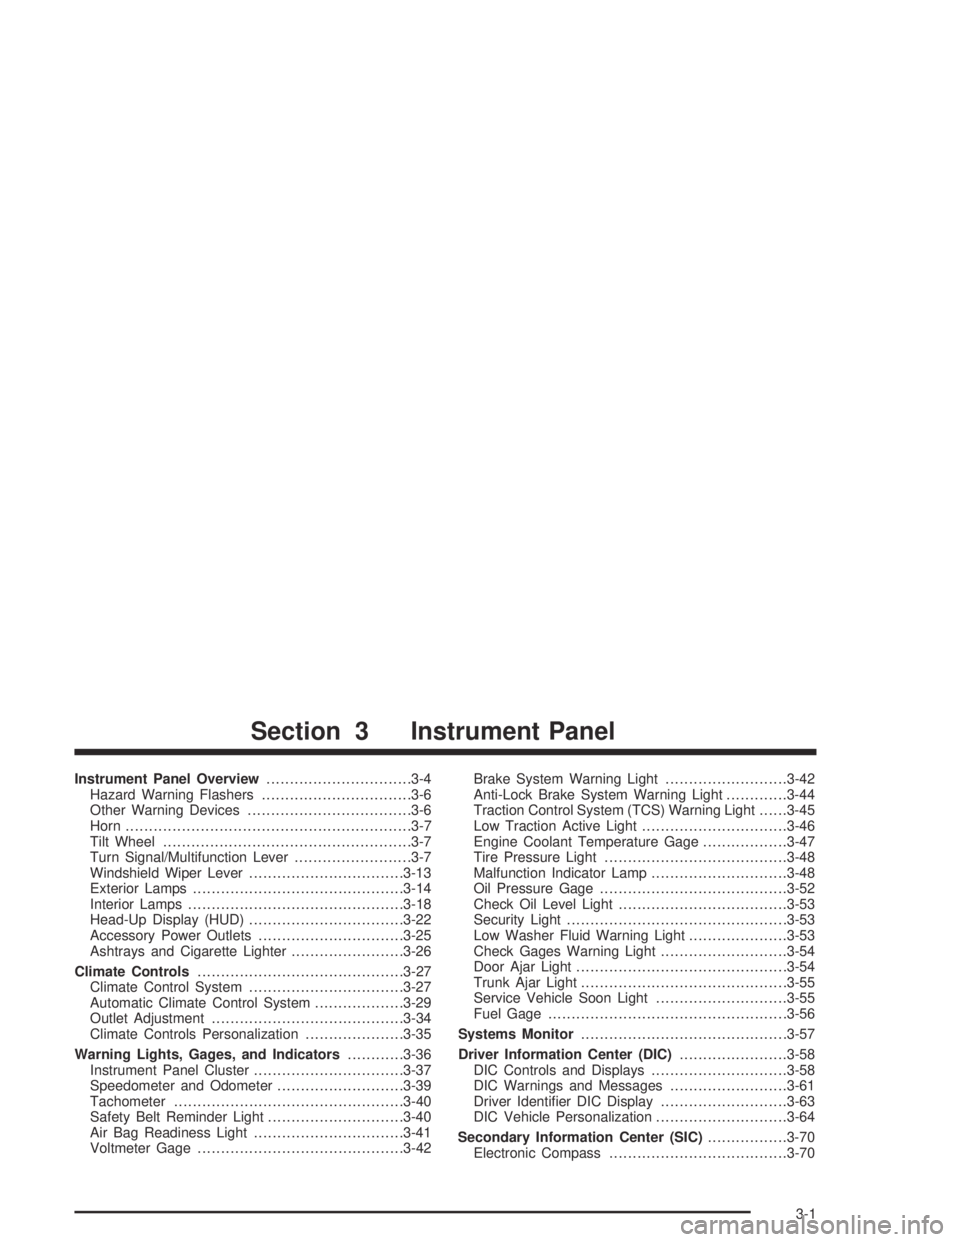
Instrument Panel Overview...............................3-4
Hazard Warning Flashers................................3-6
Other Warning Devices...................................3-6
Horn.............................................................3-7
Tilt Wheel.....................................................3-7
Turn Signal/Multifunction Lever.........................3-7
Windshield Wiper Lever.................................3-13
Exterior Lamps.............................................3-14
Interior Lamps..............................................3-18
Head-Up Display (HUD).................................3-22
Accessory Power Outlets...............................3-25
Ashtrays and Cigarette Lighter........................3-26
Climate Controls............................................3-27
Climate Control System.................................3-27
Automatic Climate Control System...................3-29
Outlet Adjustment.........................................3-34
Climate Controls Personalization.....................3-35
Warning Lights, Gages, and Indicators............3-36
Instrument Panel Cluster................................3-37
Speedometer and Odometer...........................3-39
Tachometer.................................................3-40
Safety Belt Reminder Light.............................3-40
Air Bag Readiness Light................................3-41
Voltmeter Gage............................................3-42Brake System Warning Light..........................3-42
Anti-Lock Brake System Warning Light.............3-44
Traction Control System (TCS) Warning Light......3-45
Low Traction Active Light...............................3-46
Engine Coolant Temperature Gage..................3-47
Tire Pressure Light.......................................3-48
Malfunction Indicator Lamp.............................3-48
Oil Pressure Gage........................................3-52
Check Oil Level Light....................................3-53
Security Light...............................................3-53
Low Washer Fluid Warning Light.....................3-53
Check Gages Warning Light...........................3-54
Door Ajar Light.............................................3-54
Trunk Ajar Light............................................3-55
Service Vehicle Soon Light............................3-55
Fuel Gage...................................................3-56
Systems Monitor............................................3-57
Driver Information Center (DIC).......................3-58
DIC Controls and Displays.............................3-58
DIC Warnings and Messages.........................3-61
Driver Identi�er DIC Display...........................3-63
DIC Vehicle Personalization............................3-64
Secondary Information Center (SIC).................3-70
Electronic Compass......................................3-70
Section 3 Instrument Panel
3-1
Page 122 of 446
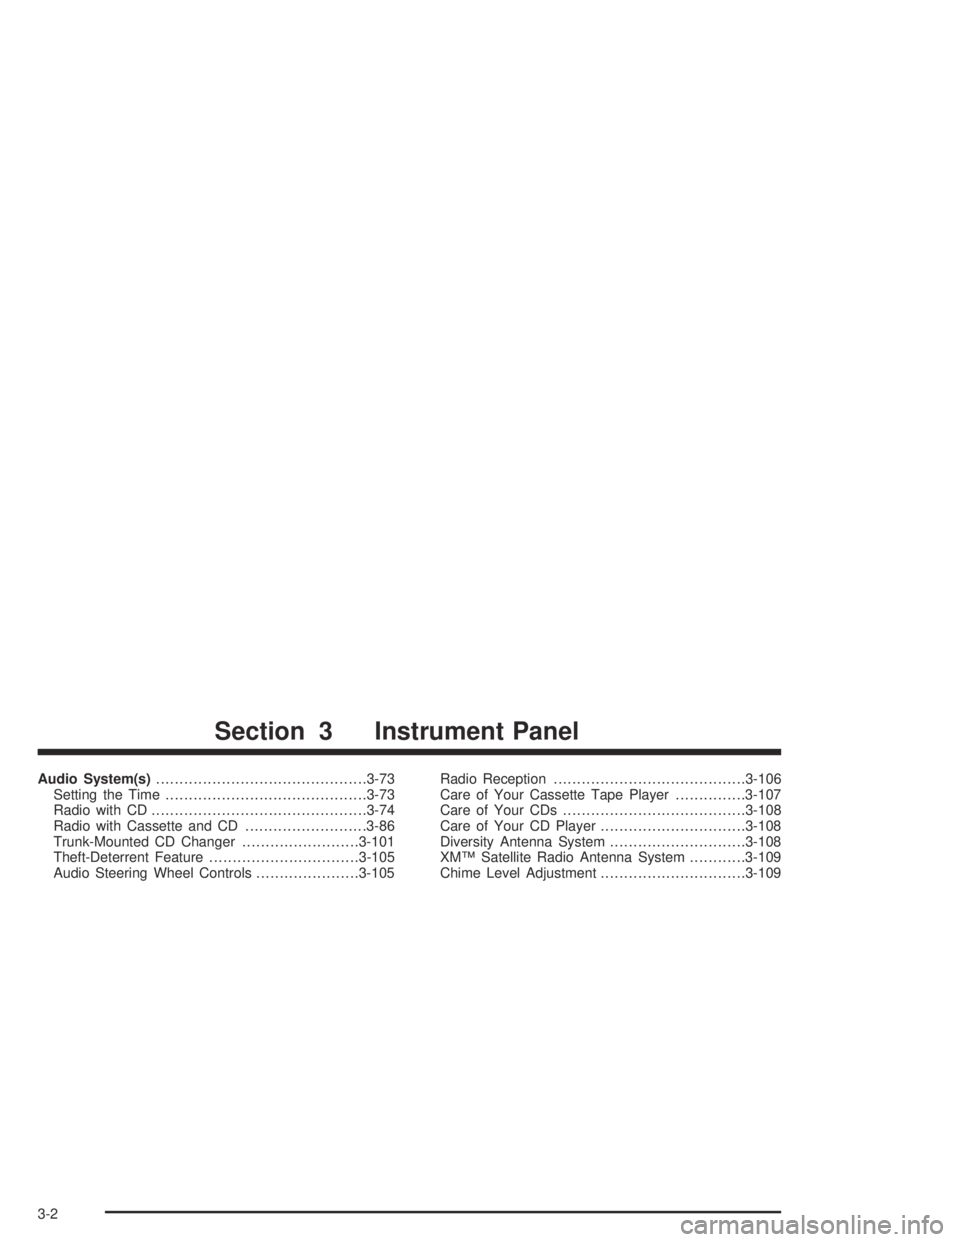
Audio System(s).............................................3-73
Setting the Time...........................................3-73
Radio with CD..............................................3-74
Radio with Cassette and CD..........................3-86
Trunk-Mounted CD Changer.........................3-101
Theft-Deterrent Feature................................3-105
Audio Steering Wheel Controls......................3-105Radio Reception.........................................3-106
Care of Your Cassette Tape Player...............3-107
Care of Your CDs.......................................3-108
Care of Your CD Player...............................3-108
Diversity Antenna System.............................3-108
XM™ Satellite Radio Antenna System............3-109
Chime Level Adjustment...............................3-109
Section 3 Instrument Panel
3-2