mirror PONTIAC BONNEVILLE 2005 Owners Manual
[x] Cancel search | Manufacturer: PONTIAC, Model Year: 2005, Model line: BONNEVILLE, Model: PONTIAC BONNEVILLE 2005Pages: 438, PDF Size: 2.71 MB
Page 1 of 438
Seats and Restraint Systems........................... 1-1
Front Seats
............................................... 1-2
Safety Belts
.............................................. 1-7
Child Restraints
.......................................1-28
Airbag System
.........................................1-47
Restraint System Check
............................1-56
Features and Controls..................................... 2-1
Keys
........................................................ 2-2
Doors and Locks
....................................... 2-9
Windows
.................................................2-17
Theft-Deterrent Systems
............................2-19
Starting and Operating Your Vehicle
...........2-23
Mirrors
....................................................2-36
OnStar
®System
......................................2-39
HomeLink®Transmitter
.............................2-40
Storage Areas
.........................................2-44
Sunroof
..................................................2-45
Vehicle Personalization
.............................2-46
Instrument Panel............................................. 3-1
Instrument Panel Overview
.......................... 3-4
Climate Controls
......................................3-25
Warning Lights, Gages, and Indicators
........3-33
Systems Monitor
......................................3-58
Driver Information Center (DIC)
..................3-59Secondary Information Center (SIC)
............3-70
Audio System(s)
.......................................3-72
Driving Your Vehicle....................................... 4-1
Your Driving, the Road, and Your Vehicle
..... 4-2
Towing
...................................................4-34
Service and Appearance Care.......................... 5-1
Service
..................................................... 5-3
Fuel
......................................................... 5-5
Checking Things Under the Hood
...............5-10
Bulb Replacement
....................................5-67
Windshield Wiper Blade Replacement
.........5-73
Tires
......................................................5-74
Appearance Care
...................................5-101
Vehicle Identication
...............................5-110
Electrical System
....................................5-111
Capacities and Specications
...................5-121
Normal Maintenance Replacement Parts
....5-122
Maintenance Schedule..................................... 6-1
Maintenance Schedule
................................ 6-2
Customer Assistance and Information.............. 7-1
Customer Assistance and Information
........... 7-2
Reporting Safety Defects
...........................7-10
Index.................................................................1
2005 Pontiac Bonneville Owner ManualM
Page 65 of 438
Keys...............................................................2-2
Remote Keyless Entry System.........................2-4
Remote Keyless Entry System Operation...........2-5
Doors and Locks.............................................2-9
Door Locks....................................................2-9
Central Door Unlocking System......................2-10
Power Door Locks........................................2-10
Delayed Locking...........................................2-11
Programmable Automatic Door Locks..............2-12
Rear Door Security Locks..............................2-14
Lockout Protection........................................2-14
Trunk..........................................................2-15
Windows........................................................2-17
Power Windows............................................2-18
Sun Visors...................................................2-19
Theft-Deterrent Systems..................................2-19
Universal Theft-Deterrent...............................2-19
Content Theft-Deterrent.................................2-21
PASS-Key
®III ..............................................2-21
PASS-Key®III Operation...............................2-22
Starting and Operating Your Vehicle................2-23
New Vehicle Break-In....................................2-23
Ignition Positions..........................................2-24
Retained Accessory Power (RAP)...................2-24
Starting Your Engine.....................................2-25
Engine Coolant Heater..................................2-26
Automatic Transaxle Operation.......................2-27Parking Brake..............................................2-30
Shifting Into Park (P).....................................2-31
Shifting Out of Park (P).................................2-33
Parking Over Things That Burn.......................2-34
Engine Exhaust............................................2-34
Running Your Engine While You Are Parked.......2-35
Mirrors...........................................................2-36
Manual Rearview Mirror.................................2-36
Automatic Dimming Rearview Mirror................2-36
Outside Power Mirrors...................................2-37
Outside Curb View Assist Mirror.....................2-38
Outside Convex Mirror...................................2-38
Outside Heated Mirrors..................................2-38
OnStar
®System.............................................2-39
HomeLink®Transmitter...................................2-40
Programming the HomeLink®Transmitter.........2-41
Storage Areas................................................2-44
Glove Box...................................................2-44
Front Storage Area.......................................2-45
Center Console Storage Area.........................2-45
Rear Seat Pass Through...............................2-45
Convenience Net..........................................2-45
Sunroof.........................................................2-45
Vehicle Personalization...................................2-46
Memory Seat and Mirrors..............................2-46
Section 2 Features and Controls
2-1
Page 70 of 438
Personalization Features
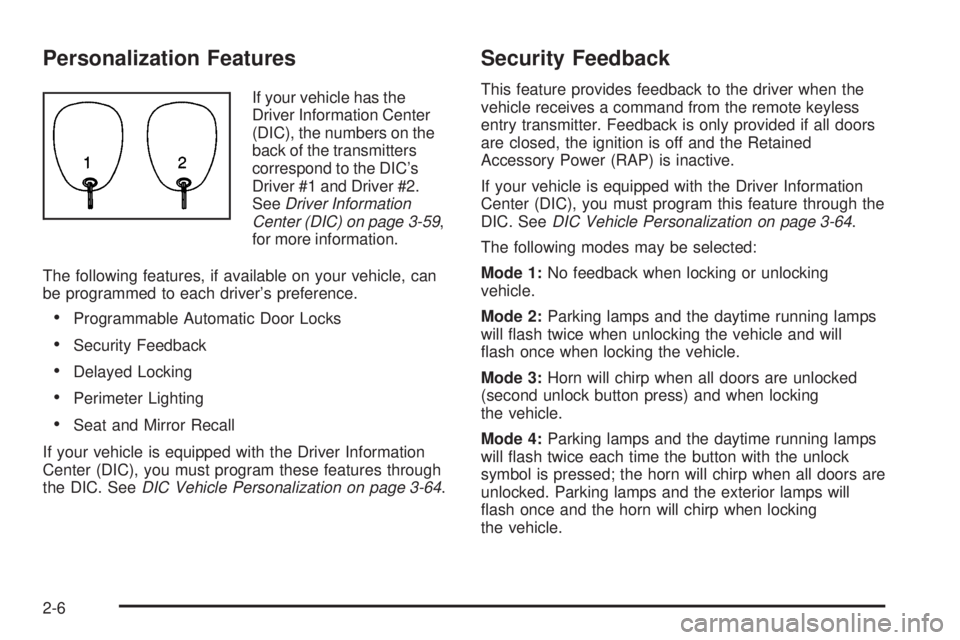
If your vehicle has the
Driver Information Center
(DIC), the numbers on the
back of the transmitters
correspond to the DIC’s
Driver #1 and Driver #2.
SeeDriver Information
Center (DIC) on page 3-59,
for more information.
The following features, if available on your vehicle, can
be programmed to each driver’s preference.
Programmable Automatic Door Locks
Security Feedback
Delayed Locking
Perimeter Lighting
Seat and Mirror Recall
If your vehicle is equipped with the Driver Information
Center (DIC), you must program these features through
the DIC. SeeDIC Vehicle Personalization on page 3-64.
Security Feedback
This feature provides feedback to the driver when the
vehicle receives a command from the remote keyless
entry transmitter. Feedback is only provided if all doors
are closed, the ignition is off and the Retained
Accessory Power (RAP) is inactive.
If your vehicle is equipped with the Driver Information
Center (DIC), you must program this feature through the
DIC. SeeDIC Vehicle Personalization on page 3-64.
The following modes may be selected:
Mode 1:No feedback when locking or unlocking
vehicle.
Mode 2:Parking lamps and the daytime running lamps
will ash twice when unlocking the vehicle and will
ash once when locking the vehicle.
Mode 3:Horn will chirp when all doors are unlocked
(second unlock button press) and when locking
the vehicle.
Mode 4:Parking lamps and the daytime running lamps
will ash twice each time the button with the unlock
symbol is pressed; the horn will chirp when all doors are
unlocked. Parking lamps and the exterior lamps will
ash once and the horn will chirp when locking
the vehicle.
2-6
Page 83 of 438
Sun Visors
To block out glare, you can swing down the visors.
You can also remove them from the center mount and
swing them to the side.
Visor Vanity Mirror
Open the cover to expose the vanity mirror.
If your vehicle has the optional lighted vanity mirrors,
the lamps come on when you open the cover.
Theft-Deterrent Systems
Vehicle theft is big business, especially in some cities.
Although your vehicle has a number of theft-deterrent
features, we know that nothing we put on it can make it
impossible to steal.
Universal Theft-Deterrent
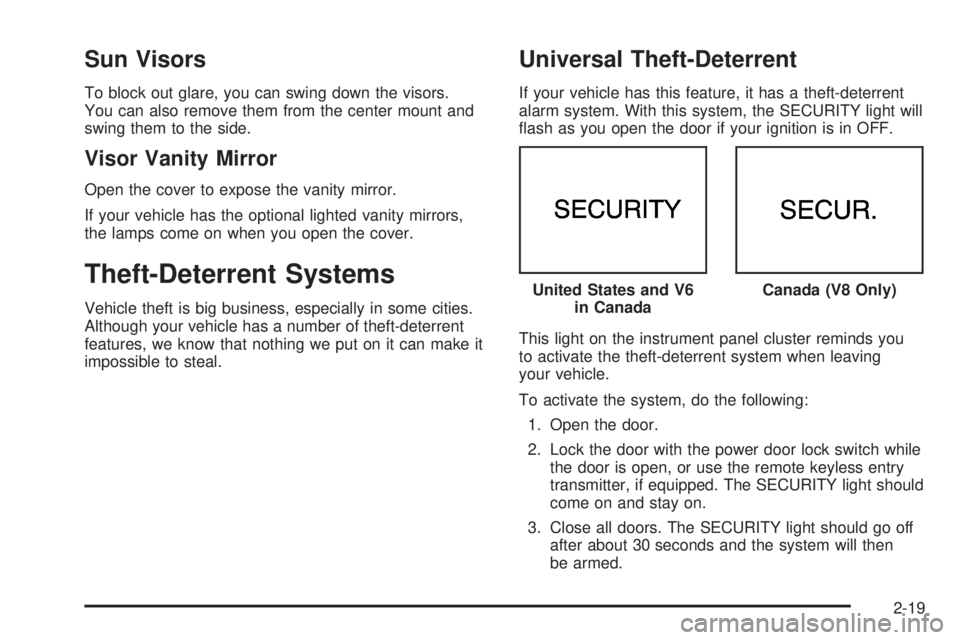
If your vehicle has this feature, it has a theft-deterrent
alarm system. With this system, the SECURITY light will
ash as you open the door if your ignition is in OFF.
This light on the instrument panel cluster reminds you
to activate the theft-deterrent system when leaving
your vehicle.
To activate the system, do the following:
1. Open the door.
2. Lock the door with the power door lock switch while
the door is open, or use the remote keyless entry
transmitter, if equipped. The SECURITY light should
come on and stay on.
3. Close all doors. The SECURITY light should go off
after about 30 seconds and the system will then
be armed. United States and V6
in Canada
Canada (V8 Only)
2-19
Page 100 of 438
Mirrors
Manual Rearview Mirror
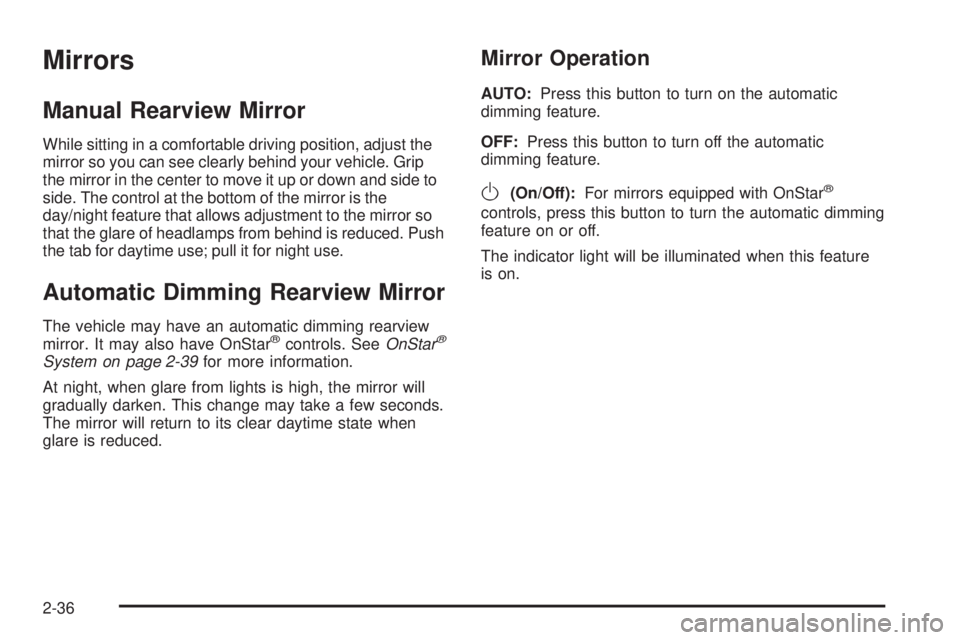
While sitting in a comfortable driving position, adjust the
mirror so you can see clearly behind your vehicle. Grip
the mirror in the center to move it up or down and side to
side. The control at the bottom of the mirror is the
day/night feature that allows adjustment to the mirror so
that the glare of headlamps from behind is reduced. Push
the tab for daytime use; pull it for night use.
Automatic Dimming Rearview Mirror
The vehicle may have an automatic dimming rearview
mirror. It may also have OnStar®controls. SeeOnStar®
System on page 2-39for more information.
At night, when glare from lights is high, the mirror will
gradually darken. This change may take a few seconds.
The mirror will return to its clear daytime state when
glare is reduced.
Mirror Operation
AUTO:Press this button to turn on the automatic
dimming feature.
OFF:Press this button to turn off the automatic
dimming feature.
O(On/Off):For mirrors equipped with OnStar®
controls, press this button to turn the automatic dimming
feature on or off.
The indicator light will be illuminated when this feature
is on.
2-36
Page 101 of 438
Outside Power Mirrors
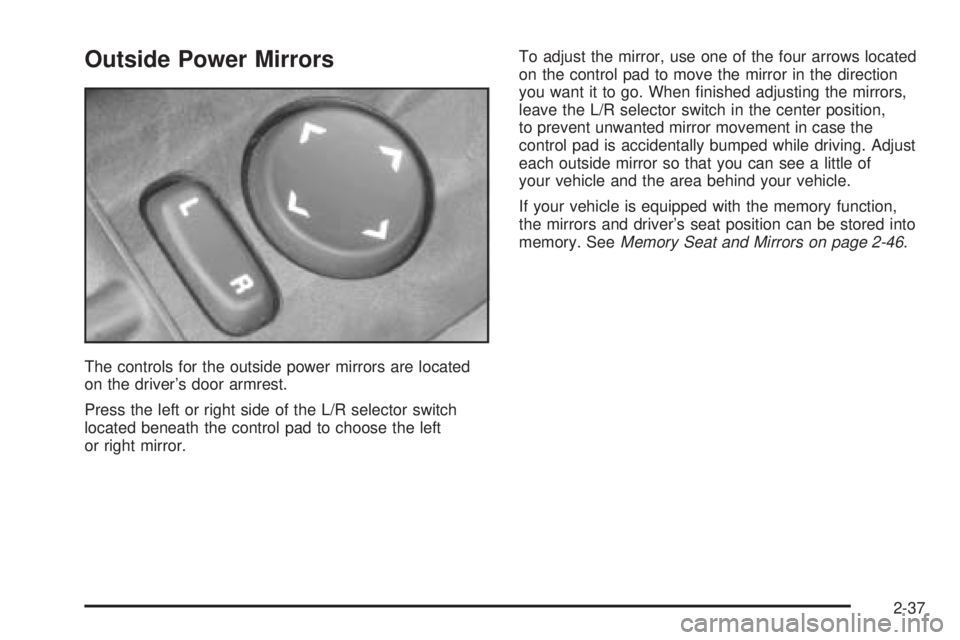
The controls for the outside power mirrors are located
on the driver’s door armrest.
Press the left or right side of the L/R selector switch
located beneath the control pad to choose the left
or right mirror.To adjust the mirror, use one of the four arrows located
on the control pad to move the mirror in the direction
you want it to go. When nished adjusting the mirrors,
leave the L/R selector switch in the center position,
to prevent unwanted mirror movement in case the
control pad is accidentally bumped while driving. Adjust
each outside mirror so that you can see a little of
your vehicle and the area behind your vehicle.
If your vehicle is equipped with the memory function,
the mirrors and driver’s seat position can be stored into
memory. SeeMemory Seat and Mirrors on page 2-46.
2-37
Page 102 of 438
Outside Curb View Assist Mirror
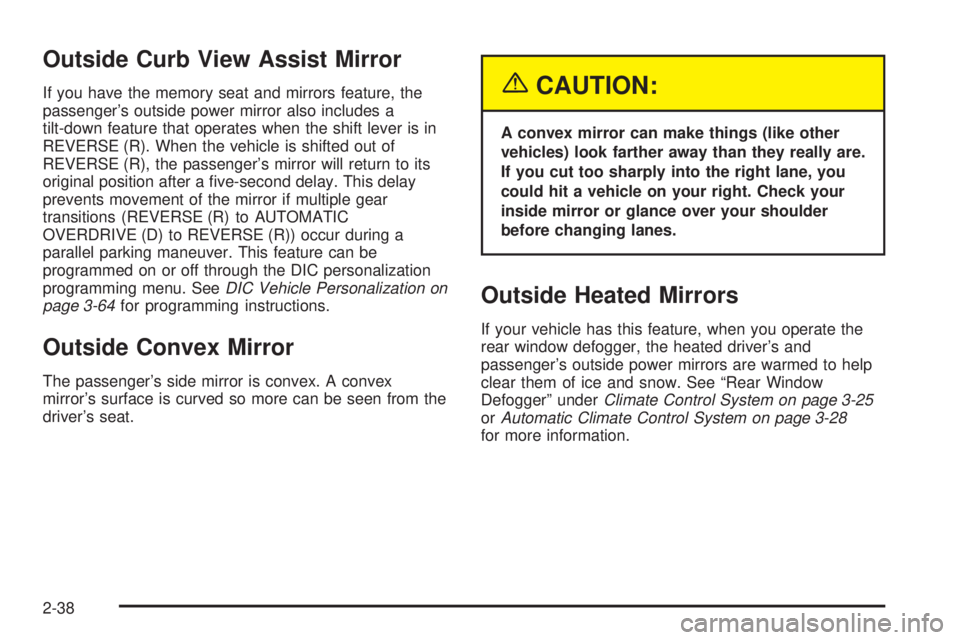
If you have the memory seat and mirrors feature, the
passenger’s outside power mirror also includes a
tilt-down feature that operates when the shift lever is in
REVERSE (R). When the vehicle is shifted out of
REVERSE (R), the passenger’s mirror will return to its
original position after a ve-second delay. This delay
prevents movement of the mirror if multiple gear
transitions (REVERSE (R) to AUTOMATIC
OVERDRIVE (D) to REVERSE (R)) occur during a
parallel parking maneuver. This feature can be
programmed on or off through the DIC personalization
programming menu. SeeDIC Vehicle Personalization on
page 3-64for programming instructions.
Outside Convex Mirror
The passenger’s side mirror is convex. A convex
mirror’s surface is curved so more can be seen from the
driver’s seat.
{CAUTION:
A convex mirror can make things (like other
vehicles) look farther away than they really are.
If you cut too sharply into the right lane, you
could hit a vehicle on your right. Check your
inside mirror or glance over your shoulder
before changing lanes.
Outside Heated Mirrors
If your vehicle has this feature, when you operate the
rear window defogger, the heated driver’s and
passenger’s outside power mirrors are warmed to help
clear them of ice and snow. See “Rear Window
Defogger” underClimate Control System on page 3-25
orAutomatic Climate Control System on page 3-28
for more information.
2-38
Page 110 of 438
Comfort Stop:Press and release the switch rearward
to the second position to express open the glass
panel to the comfort stop position. The comfort stop
position is designed to help reduce noise and make
passengers more comfortable.
Express Open:When the glass panel is express
opening, pressing the switch in any direction will stop it
in a partially-opened position. The glass panel may
be fully opened by pressing the switch rearward again.
If you press and hold the switch in the express open
position for more than one and a half seconds, the
express open operation will be overridden and
the sunroof will operate manually.
Close:To close the glass panel, press and hold the
switch forward. As the glass panel reaches the closed
position, it will open slightly toward the vent position and
then drop down to the closed position to provide a
better seal. The sunshade must be closed manually.
Vent:Once the sunroof is closed, it can be opened to
the vent position by pushing the switch upward. To
close the glass panel, pull the switch downward. The
sunshade must be opened and closed manually for vent
operation.Vehicle Personalization
Memory Seat and Mirrors
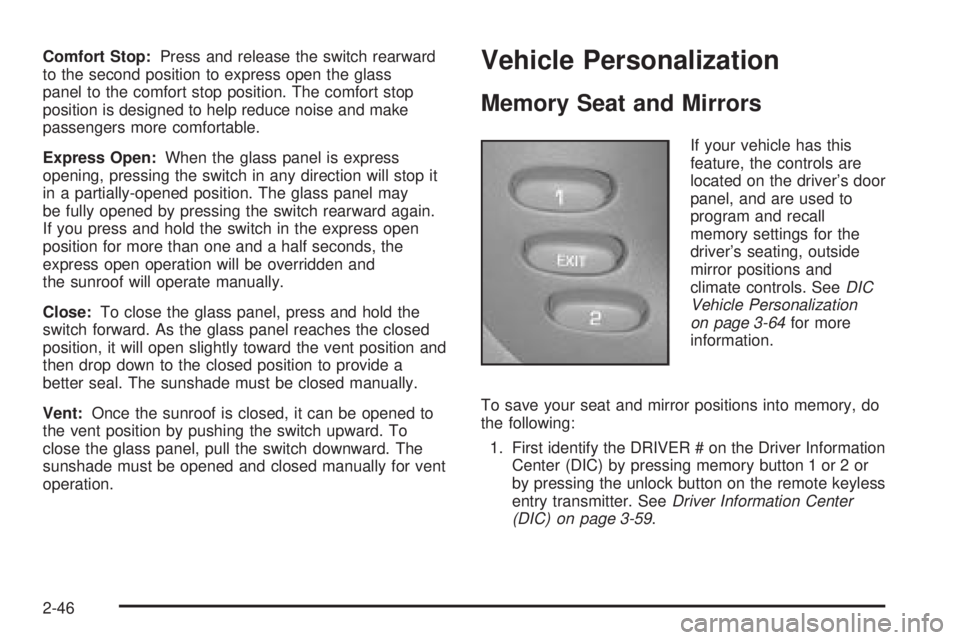
If your vehicle has this
feature, the controls are
located on the driver’s door
panel, and are used to
program and recall
memory settings for the
driver’s seating, outside
mirror positions and
climate controls. SeeDIC
Vehicle Personalization
on page 3-64for more
information.
To save your seat and mirror positions into memory, do
the following:
1. First identify the DRIVER # on the Driver Information
Center (DIC) by pressing memory button 1 or 2 or
by pressing the unlock button on the remote keyless
entry transmitter. SeeDriver Information Center
(DIC) on page 3-59.
2-46
Page 111 of 438
2. Adjust the driver’s seat and lumbar position to a
safe and comfortable driving position. Adjust both
outside mirrors to suit you. SeeDIC Vehicle
Personalization on page 3-64.
3. Press and hold the memory button corresponding
with your DRIVER # displayed on the DIC for
longer than three seconds. You will hear two beeps
conrming that the seat and mirror positions
have been entered into memory.
To set the seat and mirror positions for a second driver,
follow the previous steps, but start by pressing the unlock
button on the remote keyless entry transmitter that
displays the other DRIVER # on the DIC. Be sure to use
the memory button which corresponds to the DRIVER #
identied by the second remote keyless entry transmitter.
To recall your memory positions, your vehicle must be
in PARK (P). Press and release the memory button
corresponding to the desired driving position. The seat
and mirrors will move to the position previously
stored for the identied driver. You will hear one beep.
To store the exit position for an easy exit, do the
following:
1. First identify the DRIVER # by pressing memory
button 1 or 2 or by pressing the unlock button on
the remote keyless entry transmitter.2. Adjust the driver’s seat to the desired exit position.
3. Press and hold the EXIT button for longer than
three seconds. You will hear two beeps conrming
that the seat exit position has been entered into
memory.
To set the exit position for a second driver, follow the
previous steps, but start by pressing the unlock
button on the remote keyless entry transmitter that
displays the other DRIVER # on the DIC. Be sure to use
the memory button which corresponds to the DRIVER #
identied by the other remote keyless entry transmitter.
To recall the exit position, your vehicle must be in
PARK (P). Press and release the EXIT button and the
seat will move to the exit position previously stored
for the current identied driver. You will hear one beep.
If an exit position has not been stored for the current
identied driver, the seat will move all the way back.
To stop recall movement of the seat at any time, press
the driver’s power seat control located on the outboard
side of the front seat.
Mirrors and lumbar positions will not be stored or
recalled for the exit position.
If you would like your stored driving or exit position to
be recalled when unlocking your vehicle with the remote
keyless entry transmitter, seeDIC Vehicle
Personalization on page 3-64.
2-47
Page 132 of 438
Front Reading Lamps
The front reading lamps, located on the headliner, will
come on as courtesy lamps when you open any of
the doors while it is dark outside. They will also come
on as part of the interior lighting features listed
previously.
To turn on a reading lamp when the doors are closed,
press either button. Press it again to turn the lamp off.
To avoid draining your vehicle’s battery, be sure to
turn off the reading lamps when leaving your vehicle.
See “Inadvertent Power Battery Saver” later in this
section for more information.
Rear Reading Lamps
The rear reading lamps, located over each rear door,
will come on as courtesy lamps when you open
any of the doors while it is dark outside. They will also
come on as part of the interior lighting features listed
previously.
To turn on a reading lamp when the doors are closed,
press either button. Press it again to turn the lamp off.
Battery Load Management
The battery load management feature is designed to
monitor the vehicle’s electrical load and determine when
the battery is in a heavy discharge condition. During
times of high electrical loading, the engine may idle at
higher revolutions per minute (RPM) than normal to make
sure the battery charges. High electrical loads may occur
when several of the following are on: headlamps, high
beams, fog lamps, rear window defogger, fan on high
speed, heated seats, and engine cooling fans.
If your vehicle’s battery remains in a heavy discharge
condition for a long period of time, the fan, rear
defogger, heated seats and heated mirrors will be
disabled and the DIC will display BATTERY SAVER
ACTIVE. This can happen either under long periods of
idling or low speed driving with high electrical loading,
or in the event of a charging system fault.
Monitor the battery voltage when in the BATTERY
SAVER ACTIVE mode.
If the voltmeter remains in the shaded area, below
11 volts, when driving then have the charging
system serviced immediately.
If the voltage increases above 12 volts then the
battery needs to be recharged. Try driving on
the highway with as few electrical accessories on
as possible.
3-20