engine PONTIAC G5 2008 Owner's Manual
[x] Cancel search | Manufacturer: PONTIAC, Model Year: 2008, Model line: G5, Model: PONTIAC G5 2008Pages: 388, PDF Size: 2.22 MB
Page 117 of 388
Instrument Panel Overview...............................3-4
Hazard Warning Flashers................................3-6
Other Warning Devices...................................3-6
Horn.............................................................3-6
Tilt Wheel.....................................................3-7
Turn Signal/Multifunction Lever.........................3-7
Turn and Lane-Change Signals........................3-8
Headlamp High/Low-Beam Changer..................3-8
Flash-to-Pass.................................................3-8
Windshield Wipers..........................................3-9
Windshield Washer.......................................3-10
Cruise Control..............................................3-10
Headlamps..................................................3-14
Wiper Activated Headlamps............................3-14
Headlamps on Reminder................................3-15
Daytime Running Lamps (DRL).......................3-15
Fog Lamps..................................................3-16
Instrument Panel Brightness...........................3-16
Dome Lamp.................................................3-16
Entry/Exit Lighting.........................................3-17
Mirror Reading Lamps...................................3-17
Electric Power Management...........................3-17
Battery Run-Down Protection..........................3-18
Accessory Power Outlet(s).............................3-18
Ashtray(s) and Cigarette Lighter......................3-19Climate Controls............................................3-19
Climate Control System.................................3-19
Outlet Adjustment.........................................3-22
Passenger Compartment Air Filter...................3-23
Warning Lights, Gages, and Indicators............3-25
Instrument Panel Cluster................................3-26
Speedometer and Odometer...........................3-27
Tachometer.................................................3-27
Safety Belt Reminders...................................3-28
Airbag Readiness Light..................................3-29
Passenger Airbag Status Indicator...................3-30
Charging System Light..................................3-32
Up-Shift Light...............................................3-32
Brake System Warning Light..........................3-33
Anti-lock Brake System (ABS) Warning Light. . . .3-34
Enhanced Traction System Warning Light.........3-34
Electronic Stability Control (ESC)/Traction
Control System (TCS) Indicator/Warning
Light........................................................3-35
Engine Coolant Temperature Warning Light......3-36
Tire Pressure Light.......................................3-36
Malfunction Indicator Lamp.............................3-37
Oil Pressure Light.........................................3-40
Security Light...............................................3-40
Fog Lamp Light............................................3-40
Highbeam On Light.......................................3-41
Fuel Gage...................................................3-41
Section 3 Instrument Panel
3-1
Page 133 of 388

Entry/Exit Lighting
The lamps inside the vehicle will go on when any door
is opened. These lamps fade out about 20 seconds
after all of the doors have been closed or when
the ignition is turned to ON/RUN. These lamps will also
go on when pressing the trunk release, unlock symbol,
or the horn symbol button on the Remote Keyless Entry
System (RKE) Transmitter.
After the key is removed from the ignition, the lamps
inside the vehicle stay on for about 20 seconds to
provide an illuminated exit.
Mirror Reading Lamps
Your vehicle may have reading lamps on the rearview
mirror. Push the button to turn the reading lamps on
and off.
Electric Power Management
This vehicle has Electric Power Management (EPM),
an advanced control system. It estimates the battery’s
temperature and state of charge and then adjusts
the voltage for best performance and extended life of
the battery.When the battery’s state of charge is low, the voltage is
raised slightly to quickly put the charge back in. When
the state of charge is high, the voltage is lowered slightly
to prevent overcharging. If the vehicle has a voltmeter
gage or voltage display on the Driver Information
Center (DIC), you may see the voltage move up or
down. This is normal. If there is a problem, an alert will
be displayed.
The battery can be discharged at idle if the electrical
loads are very high. This is true for all vehicles. This is
because the generator (alternator) may not be
spinning fast enough at idle to produce all the power
that is needed for very high electrical loads.
A high electrical load occurs when several of the
following loads are on: headlamps, high beams, fog
lamps, rear window defogger, climate control fan at high
speed, heated seats, engine cooling fans, trailer
loads, and loads plugged into accessory power outlets.
EPM works to prevent excessive discharge of the
battery. It does this by balancing the generator’s output
and the vehicle’s electrical needs. It can increase
engine idle speed to generate more power, whenever
needed. It can temporarily reduce the power demands of
some accessories.
Normally, these actions occur in steps or levels, without
being noticeable. In rare cases at the highest levels
of corrective action, this action may be noticeable to
the driver.
3-17
Page 137 of 388
For quick cool down on hot days:
1. Select the
Hmode.
2. Select the
hmode.
3. Select
#.
4. Select the coolest temperature.
5. Select the highest fan speed.
Using these settings together for long periods of time
may cause the air inside of the vehicle to become
too dry. To prevent this from happening, after the air in
the vehicle has cooled, turn off the recirculation by
pressing the button again.
The air conditioning system removes moisture from the
air, so a small amount of water might drip underneath
the vehicle while idling or after turning off the engine.
This is normal.
The air conditioning compressor cannot be turned on
when the fan is off.
Defogging and Defrosting
Fog on the inside of windows is a result of high humidity
(moisture) condensing on the cool window glass.
This can be minimized if the climate control system is
used properly. There are two modes to clear fog or frost
from the windshield and side windows. When either
the defrost or defog mode is selected the system runs
the air conditioning compressor.
Turn the left knob to select the defog or defrost mode.
-(Defog):Use the defog mode to clear the windows
of fog or moisture and warm the passengers. Half of
the air is directed to the windshield and side window
outlets and the remaining to the �oor outlets. To defog
the windows faster, turn the temperature control
knob clockwise to the warmest setting.
0(Defrost):Use the defrost mode to remove fog or
frost from the windshield more quickly. Most of the
air is directed to the windshield, with some air directed
to the side window outlets and the �oor outlets.
To defrost the windows faster, turn the temperature
control knob clockwise to the warmest setting. For best
results, clear all snow and ice from the windshield
before defrosting.
3-21
Page 138 of 388
Rear Window Defogger
The rear window defogger uses a warming grid to
remove fog from the rear window.
The rear window defogger will only work when the
ignition is in ON/RUN.
<(Rear):Press the button to turn the rear window
defogger on or off. Be sure to clear as much snow from
the rear window as possible. An indicator light above
the button comes on to show that the rear window
defogger is activated.
The rear window defogger turns off about 15 minutes
after the button is pressed. If turned on again, the
defogger only runs for about seven minutes before
turning off. If the vehicle is moving faster than 50 mph
(80 kph), the rear defogger will stay on. The defogger
can also be turned off by pressing the button again or by
turning off the engine.
Notice:Do not use anything sharp on the inside
of the rear window. If you do, you could cut or
damage the warming grid, and the repairs would not
be covered by your warranty. Do not attach a
temporary vehicle license, tape, a decal or anything
similar to the defogger grid.
Outlet Adjustment
Use the thumbwheels located next to and below the air
outlets to change the direction of the air�ow and to
open and close the outlets.
Operation Tips
Clear away any ice, snow or leaves from the air
inlets at the base of the windshield that may
block the �ow of air into your vehicle.
Use of non-GM approved hood de�ectors may
adversely affect the performance of the system.
Keep the path under the front seats clear of objects
to help circulate the air inside of your vehicle more
effectively.
3-22
Page 141 of 388
Warning Lights, Gages, and
Indicators
This section describes the warning lights and gages on
your vehicle.
Warning lights and gages can signal that something is
wrong before it becomes serious enough to cause
an expensive repair or replacement. Paying attention to
the warning lights and gages could also save you or
others from injury.
Warning lights come on when there may be or is a
problem with one of your vehicle’s functions. Some
warning lights come on brie�y when you start the engine
just to let you know they are working. If you are
familiar with this section, you should not be alarmed
when this happens.Gages can indicate when there may be or is a problem
with one of your vehicle’s functions. Often gages
and warning lights work together to let you know when
there is a problem with your vehicle.
When one of the warning lights comes on and stays on
as you are driving, or when one of the gages shows
there may be a problem, check the section that tells you
what to do about it. Follow this manual’s advice.
Waiting to do repairs can be costly and even dangerous.
3-25
Page 143 of 388

Speedometer and Odometer
Your speedometer lets you see your speed in both
miles per hour (mph) and kilometers per hour (km/h).
Your vehicle’s odometer works together with the
driver information center. You can set a Trip A and
Trip B odometer. See “Trip Information” underDIC
Operation and Displays on page 3-42.
The odometer mileage can be checked without the
vehicle running. Simply open the driver’s door and the
mileage will be displayed brie�y.
If your vehicle ever needs a new odometer installed, the
new one will be set to the correct mileage total of the
old odometer.
Tachometer
The tachometer displays
the engine speed in
revolutions per
minute (rpm).
Notice:If you operate the engine with the
tachometer in the shaded warning area, your vehicle
could be damaged, and the damages would not
be covered by your warranty. Do not operate
the engine with the tachometer in the shaded
warning area.
3-27
Page 144 of 388
Safety Belt Reminders
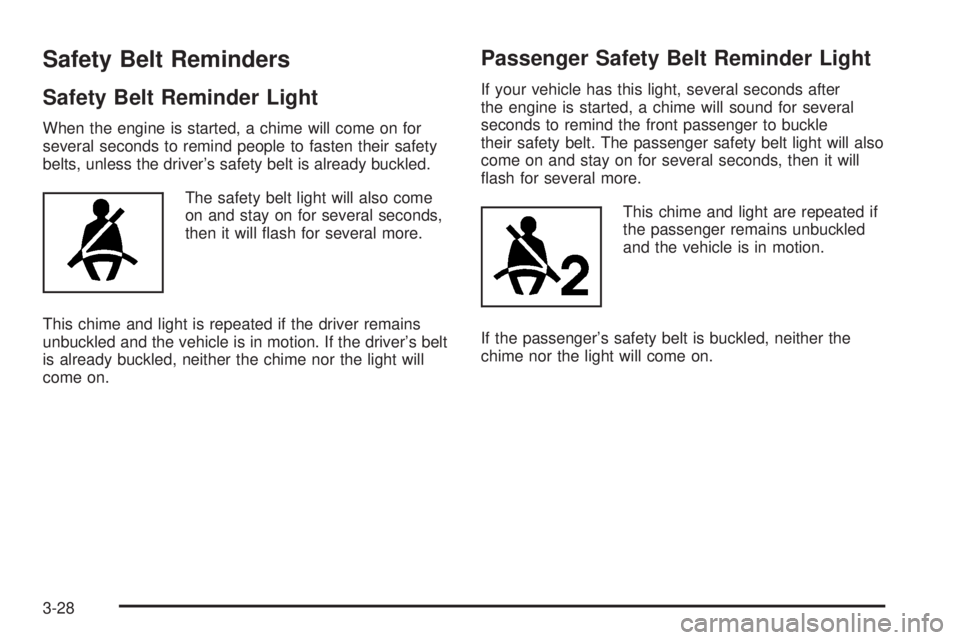
Safety Belt Reminder Light
When the engine is started, a chime will come on for
several seconds to remind people to fasten their safety
belts, unless the driver’s safety belt is already buckled.
The safety belt light will also come
on and stay on for several seconds,
then it will �ash for several more.
This chime and light is repeated if the driver remains
unbuckled and the vehicle is in motion. If the driver’s belt
is already buckled, neither the chime nor the light will
come on.
Passenger Safety Belt Reminder Light
If your vehicle has this light, several seconds after
the engine is started, a chime will sound for several
seconds to remind the front passenger to buckle
their safety belt. The passenger safety belt light will also
come on and stay on for several seconds, then it will
�ash for several more.
This chime and light are repeated if
the passenger remains unbuckled
and the vehicle is in motion.
If the passenger’s safety belt is buckled, neither the
chime nor the light will come on.
3-28
Page 145 of 388
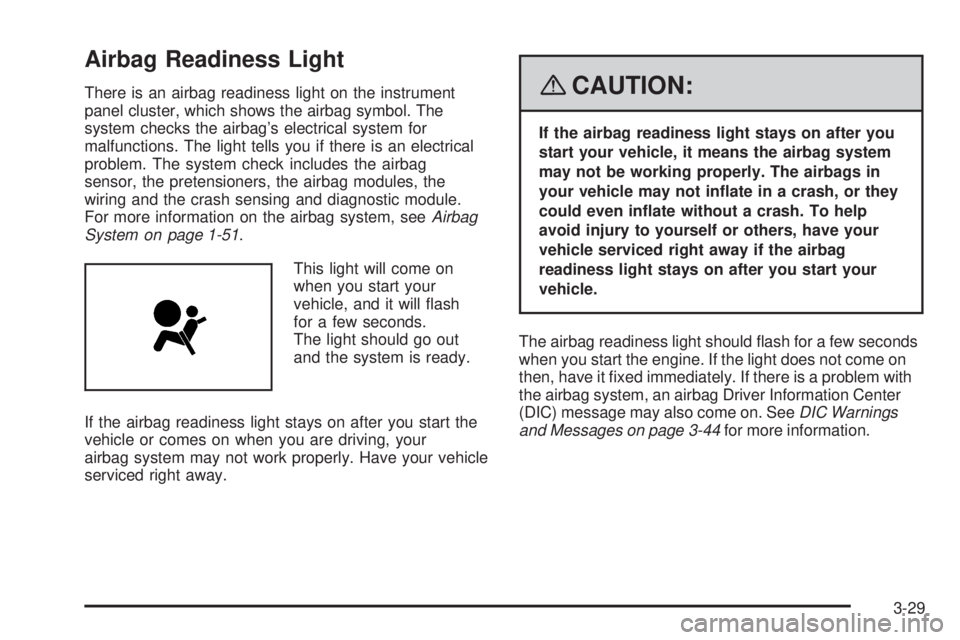
Airbag Readiness Light
There is an airbag readiness light on the instrument
panel cluster, which shows the airbag symbol. The
system checks the airbag’s electrical system for
malfunctions. The light tells you if there is an electrical
problem. The system check includes the airbag
sensor, the pretensioners, the airbag modules, the
wiring and the crash sensing and diagnostic module.
For more information on the airbag system, seeAirbag
System on page 1-51.
This light will come on
when you start your
vehicle, and it will �ash
for a few seconds.
The light should go out
and the system is ready.
If the airbag readiness light stays on after you start the
vehicle or comes on when you are driving, your
airbag system may not work properly. Have your vehicle
serviced right away.{CAUTION:
If the airbag readiness light stays on after you
start your vehicle, it means the airbag system
may not be working properly. The airbags in
your vehicle may not in�ate in a crash, or they
could even in�ate without a crash. To help
avoid injury to yourself or others, have your
vehicle serviced right away if the airbag
readiness light stays on after you start your
vehicle.
The airbag readiness light should �ash for a few seconds
when you start the engine. If the light does not come on
then, have it �xed immediately. If there is a problem with
the airbag system, an airbag Driver Information Center
(DIC) message may also come on. SeeDIC Warnings
and Messages on page 3-44for more information.
3-29
Page 148 of 388
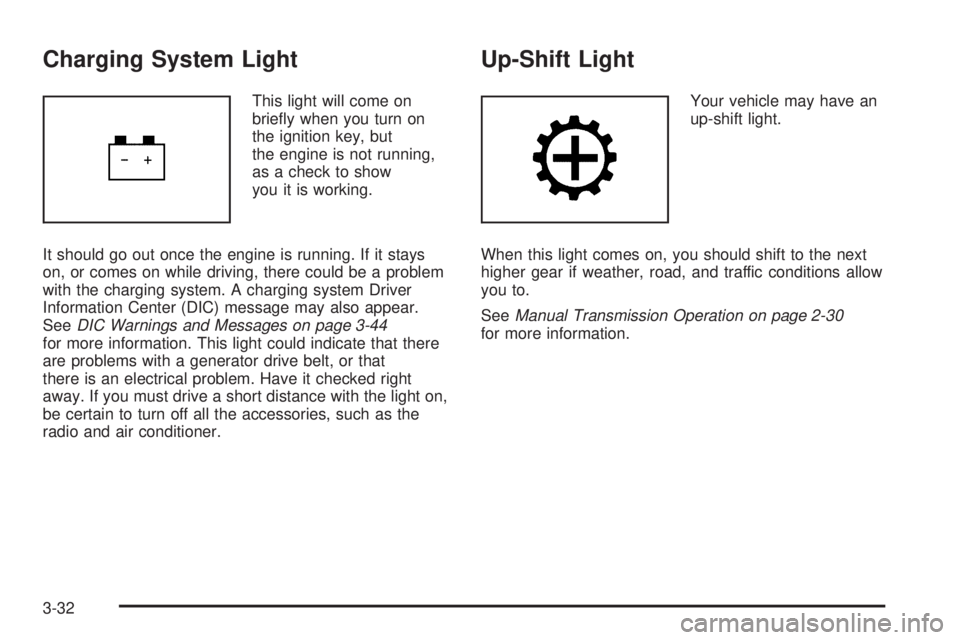
Charging System Light
This light will come on
brie�y when you turn on
the ignition key, but
the engine is not running,
as a check to show
you it is working.
It should go out once the engine is running. If it stays
on, or comes on while driving, there could be a problem
with the charging system. A charging system Driver
Information Center (DIC) message may also appear.
SeeDIC Warnings and Messages on page 3-44
for more information. This light could indicate that there
are problems with a generator drive belt, or that
there is an electrical problem. Have it checked right
away. If you must drive a short distance with the light on,
be certain to turn off all the accessories, such as the
radio and air conditioner.
Up-Shift Light
Your vehicle may have an
up-shift light.
When this light comes on, you should shift to the next
higher gear if weather, road, and traffic conditions allow
you to.
SeeManual Transmission Operation on page 2-30
for more information.
3-32
Page 149 of 388
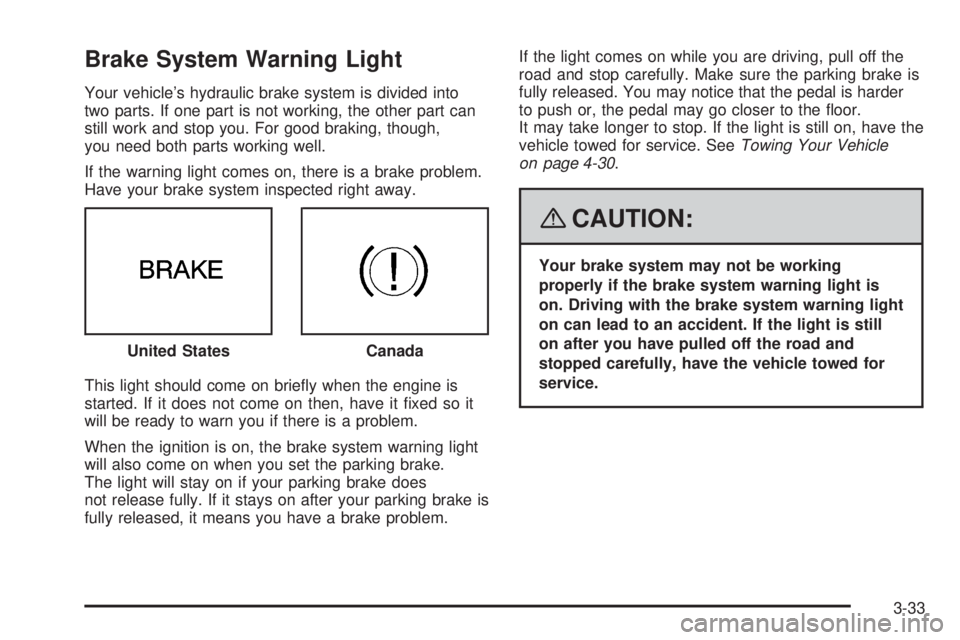
Brake System Warning Light
Your vehicle’s hydraulic brake system is divided into
two parts. If one part is not working, the other part can
still work and stop you. For good braking, though,
you need both parts working well.
If the warning light comes on, there is a brake problem.
Have your brake system inspected right away.
This light should come on brie�y when the engine is
started. If it does not come on then, have it �xed so it
will be ready to warn you if there is a problem.
When the ignition is on, the brake system warning light
will also come on when you set the parking brake.
The light will stay on if your parking brake does
not release fully. If it stays on after your parking brake is
fully released, it means you have a brake problem.If the light comes on while you are driving, pull off the
road and stop carefully. Make sure the parking brake is
fully released. You may notice that the pedal is harder
to push or, the pedal may go closer to the �oor.
It may take longer to stop. If the light is still on, have the
vehicle towed for service. SeeTowing Your Vehicle
on page 4-30.
{CAUTION:
Your brake system may not be working
properly if the brake system warning light is
on. Driving with the brake system warning light
on can lead to an accident. If the light is still
on after you have pulled off the road and
stopped carefully, have the vehicle towed for
service. United States
Canada
3-33