headlamp PONTIAC G5 2008 Owner's Manual
[x] Cancel search | Manufacturer: PONTIAC, Model Year: 2008, Model line: G5, Model: PONTIAC G5 2008Pages: 388, PDF Size: 2.22 MB
Page 276 of 388
Bulb Replacement
For the proper type of replacement bulbs, see
Replacement Bulbs on page 5-47.
For any bulb changing procedure not listed in this
section, contact your dealer/retailer.
Halogen Bulbs
{CAUTION:
Halogen bulbs have pressurized gas inside and
can burst if you drop or scratch the bulb. You or
others could be injured. Be sure to read and
follow the instructions on the bulb package.
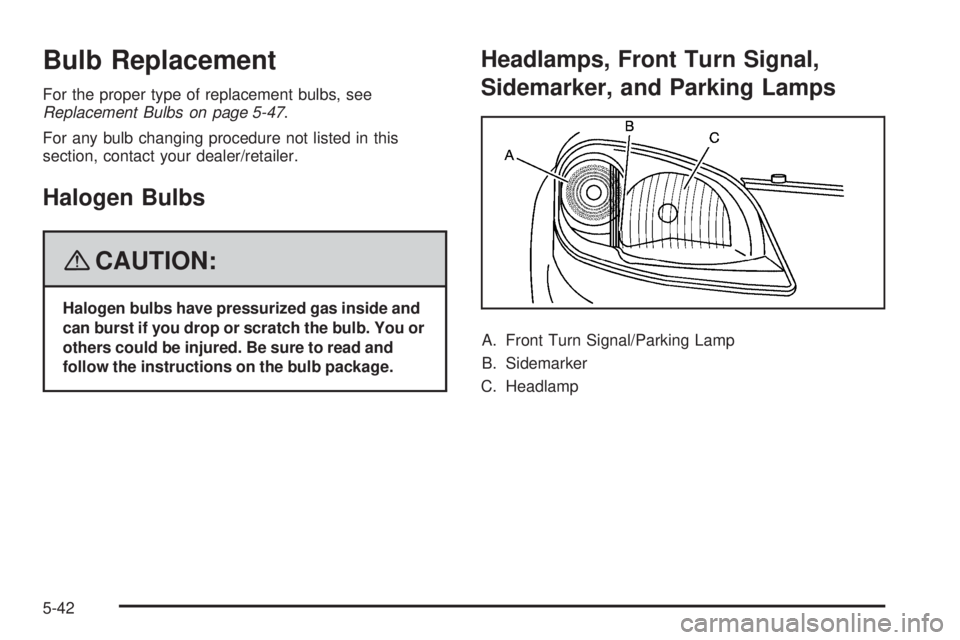
Headlamps, Front Turn Signal,
Sidemarker, and Parking Lamps
A. Front Turn Signal/Parking Lamp
B. Sidemarker
C. Headlamp
5-42
Page 277 of 388
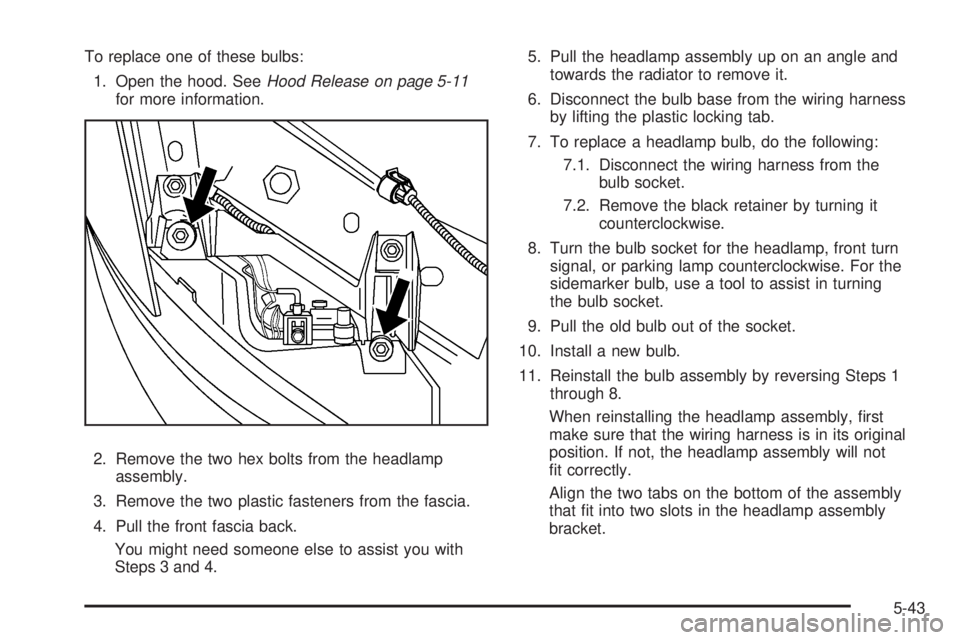
To replace one of these bulbs:
1. Open the hood. SeeHood Release on page 5-11
for more information.
2. Remove the two hex bolts from the headlamp
assembly.
3. Remove the two plastic fasteners from the fascia.
4. Pull the front fascia back.
You might need someone else to assist you with
Steps 3 and 4.5. Pull the headlamp assembly up on an angle and
towards the radiator to remove it.
6. Disconnect the bulb base from the wiring harness
by lifting the plastic locking tab.
7. To replace a headlamp bulb, do the following:
7.1. Disconnect the wiring harness from the
bulb socket.
7.2. Remove the black retainer by turning it
counterclockwise.
8. Turn the bulb socket for the headlamp, front turn
signal, or parking lamp counterclockwise. For the
sidemarker bulb, use a tool to assist in turning
the bulb socket.
9. Pull the old bulb out of the socket.
10. Install a new bulb.
11. Reinstall the bulb assembly by reversing Steps 1
through 8.
When reinstalling the headlamp assembly, �rst
make sure that the wiring harness is in its original
position. If not, the headlamp assembly will not
�t correctly.
Align the two tabs on the bottom of the assembly
that �t into two slots in the headlamp assembly
bracket.
5-43
Page 281 of 388
Replacement Bulbs
Exterior Lamps Bulb Number
Back-Up Lamps 921
Center High-Mounted
Stoplamp (CHMSL)912
Front Parking/Turn Signal Lamps 3157KX
Halogen Headlamps,
High/Low-Beam9007 LL
License Plate Lamp and
Sidemarker194
Stoplamp, Taillamp and
Turn Signal Lamps3057KX
For replacement bulbs not listed here, contact your
dealer/retailer.
Windshield Wiper Blade
Replacement
Windshield wiper blades should be inspected for wear
or cracking. SeeScheduled Maintenance on page 6-4
for more information on wiper blade inspection.Replacement blades come in different types and are
removed in different ways. For proper type and length,
seeMaintenance Replacement Parts on page 6-14.
Here is how to remove the wiper blades:
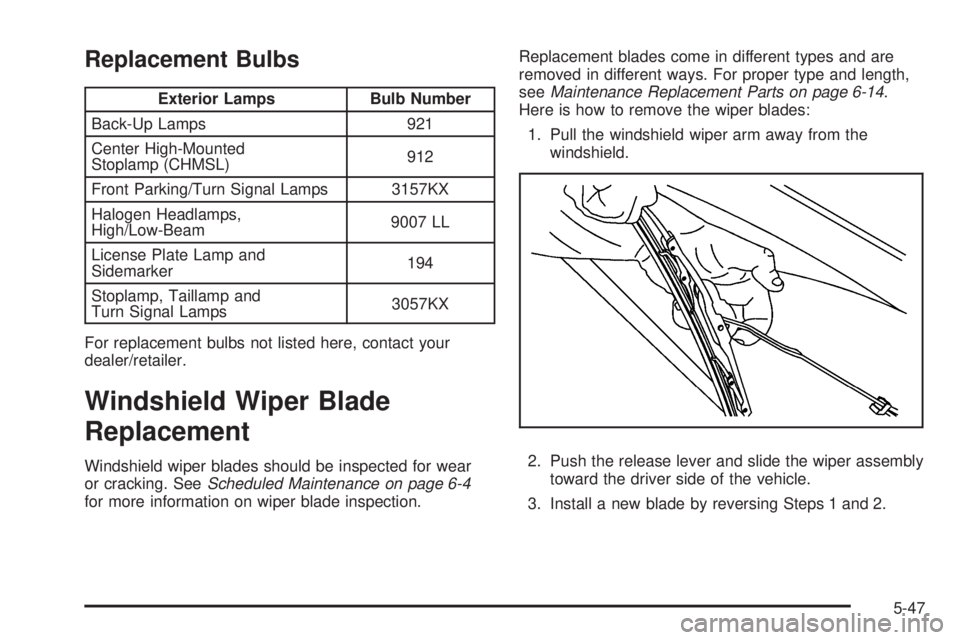
1. Pull the windshield wiper arm away from the
windshield.
2. Push the release lever and slide the wiper assembly
toward the driver side of the vehicle.
3. Install a new blade by reversing Steps 1 and 2.
5-47
Page 303 of 388
If you need to replace any of your wheels, wheel bolts,
wheel nuts, or Tire Pressure Monitor System (TPMS)
sensors, replace them only with new GM original
equipment parts. This way, you will be sure to have the
right wheel, wheel bolts, wheel nuts, and TPMS
sensors for your vehicle.
{CAUTION:
Using the wrong replacement wheels, wheel
bolts, or wheel nuts on your vehicle can be
dangerous. It could affect the braking and
handling of your vehicle, make your tires lose
air and make you lose control. You could have
a collision in which you or others could be
injured. Always use the correct wheel, wheel
bolts, and wheel nuts for replacement.Notice:The wrong wheel can also cause problems
with bearing life, brake cooling, speedometer or
odometer calibration, headlamp aim, bumper height,
vehicle ground clearance, and tire or tire chain
clearance to the body and chassis.
SeeChanging a Flat Tire on page 5-72for more
information.
Used Replacement Wheels
{CAUTION:
Putting a used wheel on your vehicle is
dangerous. You cannot know how it has been
used or how far it has been driven. It could fail
suddenly and cause a crash. If you have to
replace a wheel, use a new GM original
equipment wheel.
5-69
Page 330 of 388
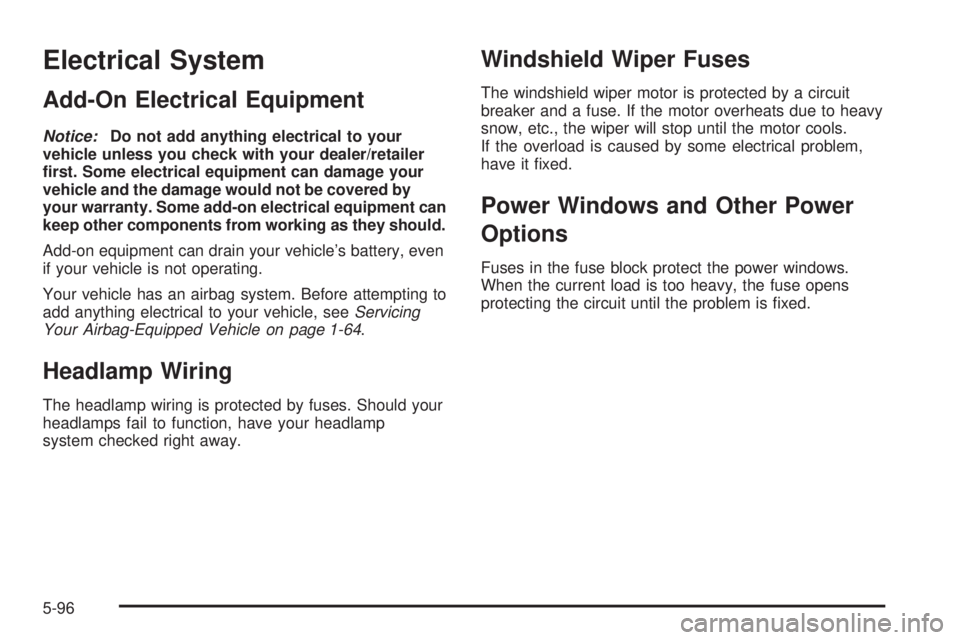
Electrical System
Add-On Electrical Equipment
Notice:Do not add anything electrical to your
vehicle unless you check with your dealer/retailer
�rst. Some electrical equipment can damage your
vehicle and the damage would not be covered by
your warranty. Some add-on electrical equipment can
keep other components from working as they should.
Add-on equipment can drain your vehicle’s battery, even
if your vehicle is not operating.
Your vehicle has an airbag system. Before attempting to
add anything electrical to your vehicle, seeServicing
Your Airbag-Equipped Vehicle on page 1-64.
Headlamp Wiring
The headlamp wiring is protected by fuses. Should your
headlamps fail to function, have your headlamp
system checked right away.
Windshield Wiper Fuses
The windshield wiper motor is protected by a circuit
breaker and a fuse. If the motor overheats due to heavy
snow, etc., the wiper will stop until the motor cools.
If the overload is caused by some electrical problem,
have it �xed.
Power Windows and Other Power
Options
Fuses in the fuse block protect the power windows.
When the current load is too heavy, the fuse opens
protecting the circuit until the problem is �xed.
5-96
Page 376 of 388
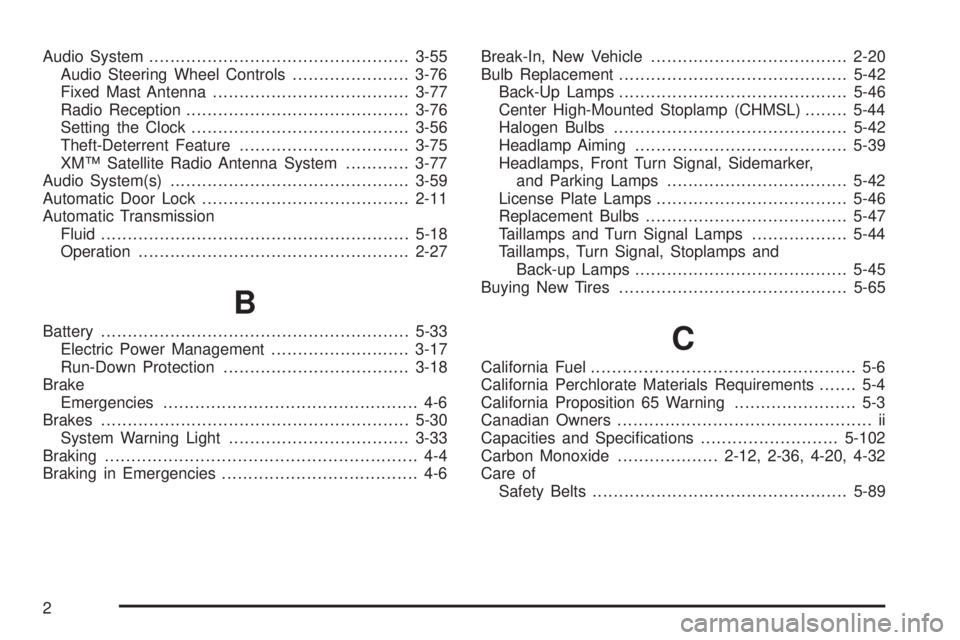
Audio System.................................................3-55
Audio Steering Wheel Controls......................3-76
Fixed Mast Antenna.....................................3-77
Radio Reception..........................................3-76
Setting the Clock.........................................3-56
Theft-Deterrent Feature................................3-75
XM™ Satellite Radio Antenna System............3-77
Audio System(s).............................................3-59
Automatic Door Lock.......................................2-11
Automatic Transmission
Fluid..........................................................5-18
Operation...................................................2-27
B
Battery..........................................................5-33
Electric Power Management..........................3-17
Run-Down Protection...................................3-18
Brake
Emergencies................................................ 4-6
Brakes..........................................................5-30
System Warning Light..................................3-33
Braking........................................................... 4-4
Braking in Emergencies..................................... 4-6Break-In, New Vehicle.....................................2-20
Bulb Replacement...........................................5-42
Back-Up Lamps...........................................5-46
Center High-Mounted Stoplamp (CHMSL)........5-44
Halogen Bulbs............................................5-42
Headlamp Aiming........................................5-39
Headlamps, Front Turn Signal, Sidemarker,
and Parking Lamps..................................5-42
License Plate Lamps....................................5-46
Replacement Bulbs......................................5-47
Taillamps and Turn Signal Lamps..................5-44
Taillamps, Turn Signal, Stoplamps and
Back-up Lamps........................................5-45
Buying New Tires...........................................5-65C
California Fuel.................................................. 5-6
California Perchlorate Materials Requirements....... 5-4
California Proposition 65 Warning....................... 5-3
Canadian Owners................................................ ii
Capacities and Speci�cations..........................5-102
Carbon Monoxide...................2-12, 2-36, 4-20, 4-32
Care of
Safety Belts................................................5-89
2
Page 379 of 388
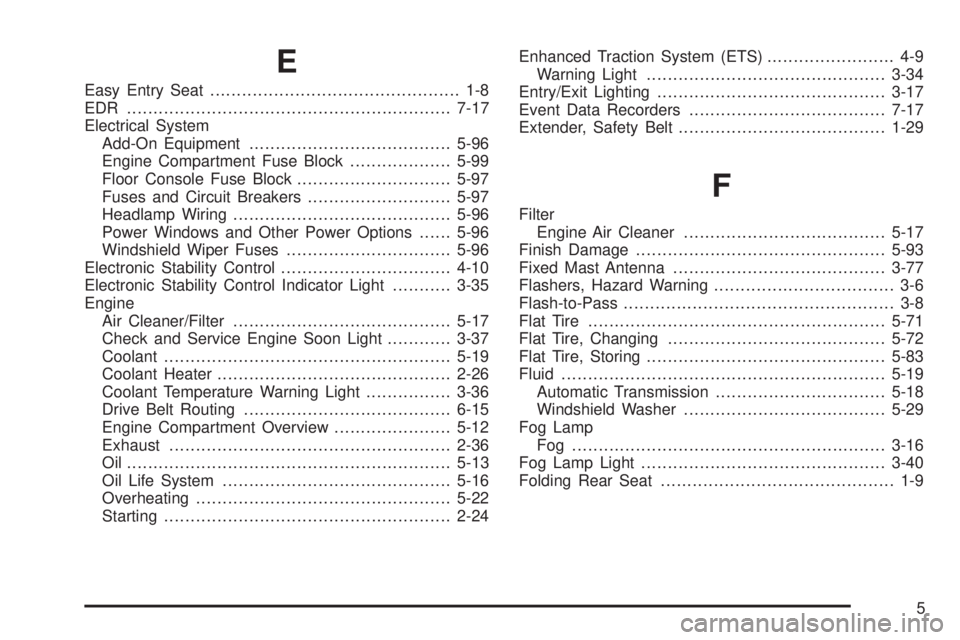
E
Easy Entry Seat............................................... 1-8
EDR .............................................................7-17
Electrical System
Add-On Equipment......................................5-96
Engine Compartment Fuse Block...................5-99
Floor Console Fuse Block.............................5-97
Fuses and Circuit Breakers...........................5-97
Headlamp Wiring.........................................5-96
Power Windows and Other Power Options......5-96
Windshield Wiper Fuses...............................5-96
Electronic Stability Control................................4-10
Electronic Stability Control Indicator Light...........3-35
Engine
Air Cleaner/Filter.........................................5-17
Check and Service Engine Soon Light............3-37
Coolant......................................................5-19
Coolant Heater............................................2-26
Coolant Temperature Warning Light................3-36
Drive Belt Routing.......................................6-15
Engine Compartment Overview......................5-12
Exhaust.....................................................2-36
Oil .............................................................5-13
Oil Life System...........................................5-16
Overheating................................................5-22
Starting......................................................2-24Enhanced Traction System (ETS)........................ 4-9
Warning Light.............................................3-34
Entry/Exit Lighting...........................................3-17
Event Data Recorders.....................................7-17
Extender, Safety Belt.......................................1-29
F
Filter
Engine Air Cleaner......................................5-17
Finish Damage...............................................5-93
Fixed Mast Antenna........................................3-77
Flashers, Hazard Warning.................................. 3-6
Flash-to-Pass................................................... 3-8
Flat Tire........................................................5-71
Flat Tire, Changing.........................................5-72
Flat Tire, Storing.............................................5-83
Fluid.............................................................5-19
Automatic Transmission................................5-18
Windshield Washer......................................5-29
Fog Lamp
Fog ...........................................................3-16
Fog Lamp Light..............................................3-40
Folding Rear Seat............................................ 1-9
5
Page 380 of 388

Fuel............................................................... 5-5
Additives...................................................... 5-6
California Fuel.............................................. 5-6
Filling a Portable Fuel Container....................5-10
Filling the Tank............................................. 5-8
Fuels in Foreign Countries.............................. 5-7
Gage.........................................................3-41
Gasoline Octane........................................... 5-5
Gasoline Speci�cations.................................. 5-6
Running Out of...........................................2-37
Fuses
Engine Compartment Fuse Block...................5-99
Floor Console Fuse Block.............................5-97
Fuses and Circuit Breakers...........................5-97
Windshield Wiper.........................................5-96
G
Gage
Fuel..........................................................3-41
Speedometer..............................................3-27
Tachometer.................................................3-27
Gasoline
Octane........................................................ 5-5
Speci�cations............................................... 5-6
Glove Box.....................................................2-43
GM Mobility Reimbursement Program.................. 7-6
H
Hazard Warning Flashers................................... 3-6
Head Restraints............................................... 1-7
Headlamp
Aiming.......................................................5-39
Headlamp Wiring............................................5-96
Headlamps....................................................3-14
Bulb Replacement.......................................5-42
Daytime Running Lamps...............................3-15
Flash-to-Pass............................................... 3-8
Halogen Bulbs............................................5-42
Headlamps, Front Turn Signal, Sidemarker,
and Parking Lamps..................................5-42
High/Low Beam Changer................................ 3-8
On Reminder..............................................3-15
Wiper Activated...........................................3-14
Heated Seats................................................... 1-4
Heater...........................................................3-19
Height Adjuster, Driver Seat............................... 1-3
Highbeam On Light.........................................3-41
Highway Hypnosis...........................................4-18
Hill and Mountain Roads..................................4-19
Hood
Checking Things Under................................5-10
Release.....................................................5-11
Horn............................................................... 3-6
How to Wear Safety Belts Properly...................1-15
Hydraulic Clutch.............................................5-19
6
Page 388 of 388
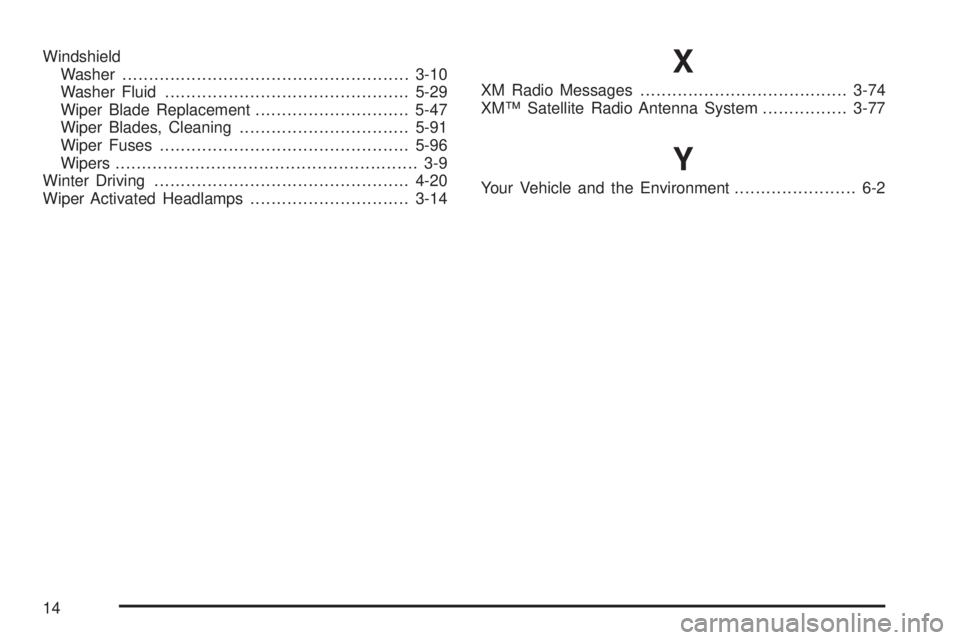
Windshield
Washer......................................................3-10
Washer Fluid..............................................5-29
Wiper Blade Replacement.............................5-47
Wiper Blades, Cleaning................................5-91
Wiper Fuses...............................................5-96
Wipers......................................................... 3-9
Winter Driving................................................4-20
Wiper Activated Headlamps..............................3-14X
XM Radio Messages.......................................3-74
XM™ Satellite Radio Antenna System................3-77
Y
Your Vehicle and the Environment....................... 6-2
14