light PONTIAC G5 2010 Owner's Manual
[x] Cancel search | Manufacturer: PONTIAC, Model Year: 2010, Model line: G5, Model: PONTIAC G5 2010Pages: 422, PDF Size: 2.22 MB
Page 106 of 422
Q(Lock):Press to lock all the doors. The interior
lamps turn off after all of the doors are closed. If enabled
through the Driver Information Center (DIC), the
remote lock feedback can be programmed to have the
horn chirp and/or the turn signals flash to confirm
locking. See “LOCK HORN” and “LIGHT FLASH” under
DIC Vehicle Personalization on page 4-43 .
Pressing
Qmay also arm the content theft-deterrent
system. See Content Theft-Deterrent on page 3-15 .
K(Unlock):Press to unlock the driver door. IfKis
pressed again within five seconds, all remaining
doors unlock. The interior lamps turn on and stay on for
20 seconds or until the ignition is turned on. If enabled
through the DIC, the remote unlock feedback can
be programmed to have the horn chirp and/or the turn
signals flash to confirm unlocking. See “UNLOCK
HORN” and “LIGHT FLASH” under DIC Vehicle
Personalization on page 4-43 .
The high-beam headlamps, parking lamps, and back-up
lamps may turn on when
Kis pressed. See “EXT
(Exterior) LIGHTS” under DIC Vehicle Personalization
on page 4-43. Pressing
Kon the RKE transmitter disarms the content
theft-deterrent system. See Content Theft-Deterrent
on page 3-15.
V(Remote Trunk Release): Press and hold for
approximately one second to open the trunk. The trunk
will open using the transmitter when the vehicle
speed is less than 3 km/h (2 mph), when the ignition is
off, or when the vehicle shift lever is in P (Park).
L(Vehicle Locator/Panic Alarm): Press to locate
the vehicle. The horn sounds three times and the
headlamps and turn signals flash three times.
Press and hold
Lfor approximately three seconds to
sound the panic alarm. The horn sounds and the
headlamps and turn signals flash for 30 seconds. Press
Lagain to cancel the panic alarm.
3-4
Page 109 of 422
The engine will shut off automatically after 10 minutes,
unless a time extension has been done or the
vehicle’s key is inserted into the ignition switch and
turned to ON/RUN.
To manually shut off a remote start, do any of the
following. The parking lamps will turn off to indicate the
engine is off.
•Aim the RKE transmitter at the vehicle and press
and release the remote start button.
•Turn on the hazard warning flashers.
•Turn the ignition switch to ON/RUN and then
LOCK/OFF.
Your vehicle’s engine can be started two times, per
ignition cycle, using the transmitter’s remote start
feature.
If the remote start procedure is used again before the
first 10 minute time frame has ended, the first
10 minutes will immediately expire and the second
10 minute time frame will start. The remote vehicle start feature will not operate if any
of the follow occur:
•The remote start system is disabled through the DIC.
•The vehicle’s key is in the ignition.
•The vehicle’s hood is open.
•The hazard warning flashers are on.
•The check engine light is on. See
Malfunction
Indicator Lamp on page 4-30 .
•The engine coolant temperature is too high.
•The oil pressure is low.
•Two remote vehicle starts have already been
provided for that ignition cycle.
Vehicles that have the remote vehicle start feature are
shipped from the factory with the remote start system
enabled. The system may be enabled or disabled
through the DIC. See “REMOTE START” under DIC
Vehicle Personalization on page 4-43 for additional
information.
3-7
Page 114 of 422
Remote Trunk Release
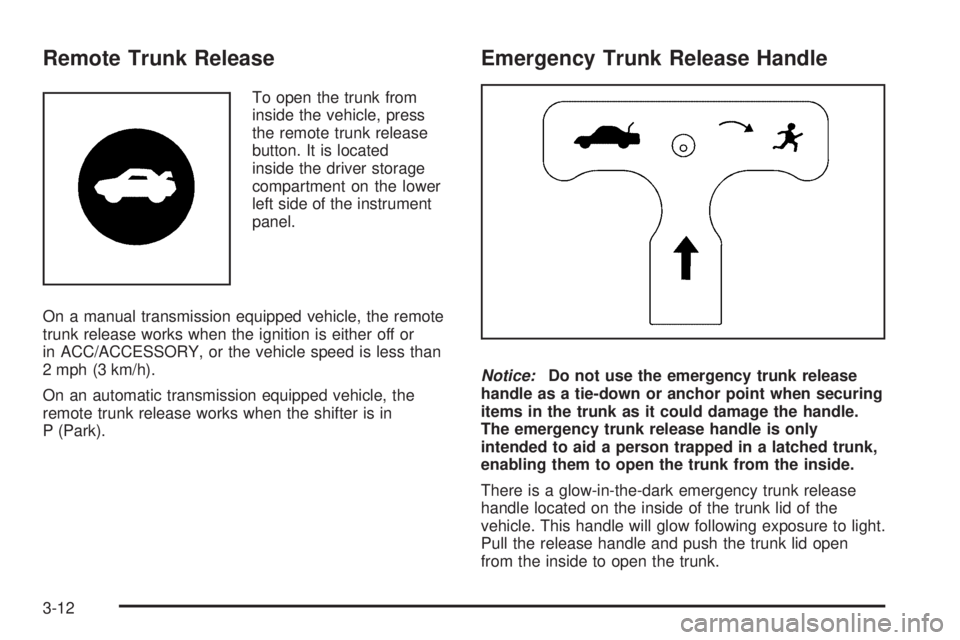
To open the trunk from
inside the vehicle, press
the remote trunk release
button. It is located
inside the driver storage
compartment on the lower
left side of the instrument
panel.
On a manual transmission equipped vehicle, the remote
trunk release works when the ignition is either off or
in ACC/ACCESSORY, or the vehicle speed is less than
2 mph (3 km/h).
On an automatic transmission equipped vehicle, the
remote trunk release works when the shifter is in
P (Park).
Emergency Trunk Release Handle
Notice: Do not use the emergency trunk release
handle as a tie-down or anchor point when securing
items in the trunk as it could damage the handle.
The emergency trunk release handle is only
intended to aid a person trapped in a latched trunk,
enabling them to open the trunk from the inside.
There is a glow-in-the-dark emergency trunk release
handle located on the inside of the trunk lid of the
vehicle. This handle will glow following exposure to light.
Pull the release handle and push the trunk lid open
from the inside to open the trunk.
3-12
Page 118 of 422

If you press the lock button on the transmitter a
second time while all the doors are closed, the system
will arm immediately. The system will still arm in
60 seconds if a door is open. When the open door is
closed, it will also become armed.
The security light, located on the instrument panel
cluster, will turn on to indicate that arming has been
initiated. Once the system is armed, the security light will
flash once every three seconds.
If the security light is flashing twice per second, this
means that a door is open.
If you do not want to arm the system, you may lock the
car with the manual lock knobs, or the power door
lock switch, if equipped, on the doors.
Disarming the System
You can disarm the system by doing any one of the
following:
•Press the remote keyless entry transmitter unlock
button.
•Turn the ignition on.If the system is armed and the trunk is opened using
the trunk release button on the transmitter, the system
will temporarily disarm itself and re-arm when the
trunk has been closed. This allows you to exit the
vehicle, lock the doors using the transmitter, and open
the trunk using the transmitter without having to
disarm and re-arm the system.
Once the system is disarmed, the security light will stop
flashing.
How the System Alarm is Activated
If the system is armed, it can be activated by either:
•Opening the driver’s door or trunk. This will
cause a ten second pre-alarm chirp followed by a
thirty second full alarm of horn and lights.
•Opening any other door. This will immediately cause
a full alarm of horn and lights for
thirty seconds.
When an alarm event has finished, the system will
re-arm itself automatically.
3-16
Page 119 of 422

How to Turn Off the System Alarm
To turn off the system alarm, do one of the following:
•Press the lock button on the remote keyless
entry transmitter. The system will then re-arm itself.
•Press the unlock button on the remote keyless entry
transmitter. This will also disarm the system.
•Insert the key in the ignition and turn it on. This will
also disarm the system.
How to Detect a Tamper Condition
If you hear three chirps when you press the unlock, lock,
or trunk release buttons on the remote keyless
transmitter, it means that the content theft security
system alarm was previously activated.
PASS-Key®III+ Electronic
Immobilizer
See Radio Frequency Statement on page 8-18 for
information regarding Part 15 of the Federal
Communications Commission (FCC) Rules and
RSS-210/211 of Industry and Science Canada.
PASS-Key®III+ Electronic
Immobilizer Operation
Your vehicle has PASS-Key®III+ (Personalized
Automotive Security System) theft-deterrent system.
PASS-Key
®III+ is a passive theft-deterrent system.
The system is automatically armed when the key
is removed from the ignition.
You do not have to manually arm or disarm the system.
The security light will come on if there is a problem
with arming or disarming the theft-deterrent system.
When the PASS-Key
®III+ system senses that someone
is using the wrong key, it prevents the vehicle from
starting. Anyone using a trial-and-error method to start
the vehicle will be discouraged because of the high
number of electrical key codes.
When trying to start the vehicle if the engine does not
start and the security light comes on, there may be
a problem with your theft-deterrent system. Turn
the ignition off and try again.
3-17
Page 120 of 422

If the engine still does not start, and the key appears to
be undamaged, try another ignition key. At this time,
you may also want to check the fuse, seeFuses
and Circuit Breakers on page 6-103 . If the engine still
does not start with the other key, your vehicle needs
service. If your vehicle does start, the first key may be
faulty. See your dealer/retailer who can service the
PASS-Key
®III+ to have a new key made. In an
emergency, contact Roadside Assistance. See Roadside
Assistance Program on page 8-7 , for more information.
It may be possible for the PASS-Key
®III+ decoder
to “learn” the transponder value of a new or replacement
key. Up to 10 keys may be programmed for the
vehicle. The following procedure is for programming
additional keys only. If all the currently programmed
keys are lost or do not operate, you must see your
dealer/retailer or a locksmith who can service
PASS-Key
®III+ to have keys made and programmed to
the system.
See your dealer/retailer or a locksmith who can service
PASS-Key
®III+ to get a new key blank that is cut
exactly as the ignition key that operates the system.
To program the new key:
1. Verify that the new key has a
1stamped on it.
2. Insert the already programmed key in the ignition and start the engine. If the engine will not start,
see your dealer/retailer for service. 3. After the engine has started, turn the key to
LOCK/OFF, and remove the key.
4. Insert the key to be programmed and turn it to the ON/RUN position within five seconds of the original
key being turned to the LOCK/OFF position.
The security light will turn off once the key has
been programmed.
5. Repeat Steps 1 through 4 if additional keys are to be programmed.
If you are ever driving and the security light comes on
and stays on, you may be able to restart your engine if
you turn it off. Your PASS-Key
®III+ system, however,
is not working properly and must be serviced by
your dealer/retailer. Your vehicle is not protected by the
PASS-Key
®III+ system at this time.
If you lose or damage your PASS-Key
®III+ key, see
your dealer/retailer or a locksmith who can service
PASS-Key
®III+ to have a new key made.
Do not leave the key or device that disarms or
deactivates the theft deterrent system in the vehicle.
3-18
Page 122 of 422
On vehicles with an automatic transmission, the shift
lever must be in P (Park) to turn the ignition switch
to LOCK/OFF.
On vehicles with a manual transmission, the ignition
switch can be turned to LOCK/OFF in any shift
lever position.
The steering can bind with the wheel turned off center.
If this happens, move it from right to left while turning
the key to ACC/ACCESSORY. If this does not
work, then the vehicle needs service.
{WARNING:
If you have a manual transmission removing the
key from the ignition switch will lock the steering
column and result in a loss of ability to steer the
vehicle. This could cause a collision. If you need
to turn the engine off while the vehicle is moving,
turn the key to ACC/ACCESSORY.ACC (ACC/ACCESSORY):
This position operates
some of the electrical accessories. It unlocks the
steering wheel and ignition.
R(ON/RUN): This is the position in which you can
operate the electrical accessories and to display some
instrument panel cluster warning and indicator lights.
The switch stays in this position when the engine
is running.
If you leave the key in the ACC/ACCESSORY or
ON/RUN position with the engine off, the battery could
be drained. You may not be able to start the vehicle
if the battery is allowed to drain for an extended period
of time.
/(START): This position starts the engine. When the
engine starts, release the key. The ignition switch will
return to ON/RUN for driving.
A warning tone will sound when the driver door is
opened, the ignition is in LOCK/OFF or
ACC/ACCESSORY and the key is in the ignition.
3-20
Page 128 of 422

N (Neutral):In this position, the engine does not
connect with the wheels. To restart the engine when the
vehicle is already moving, use N (Neutral) only. Also,
use N (Neutral) when the vehicle is being towed.
{WARNING:
Shifting into a drive gear while the engine is
running at high speed is dangerous. Unless your
foot is firmly on the brake pedal, the vehicle could
move very rapidly. You could lose control and hit
people or objects. Do not shift into a drive gear
while the engine is running at high speed.
Notice: Shifting out of P (Park) or N (Neutral) with
the engine running at high speed may damage
the transmission. The repairs would not be covered
by the vehicle warranty. Be sure the engine is
not running at high speed when shifting the vehicle. D (Drive):
This position is for normal driving with the
automatic transmission. It provides the best fuel
economy. If you need more power for passing and
you are:
•Going less than about 35 mph (55 km/h), push the
accelerator pedal about halfway down.
•Going about 35 mph (55 km/h), push the accelerator
all the way down.
Downshifting the transmission in slippery road conditions
could result in skidding, see “Skidding” under Loss of
Control on page 5-15 .
I (Intermediate): This position is also used for normal
driving. However, it reduces vehicle speed without using
the brakes for slight downgrades where the vehicle
would otherwise accelerate due to steepness of grade.
If constant upshifting or downshifting occurs while
driving up steep hills, this position can be used to
prevent repetitive types of shifts. You might choose
I (Intermediate) instead of D (Drive) when driving
on hilly, winding roads and when towing a trailer, so that
there is less shifting between gears.
L (Low): This position reduces vehicle speed more
than I (Intermediate) without actually using the brakes.
You can use it on very steep hills, or in deep snow
or mud. If the shift lever is put in L (Low), the
transmission will not shift into a low gear until the
vehicle is going slowly enough.
3-26
Page 130 of 422
Shift Speeds
{WARNING:
If you skip a gear when you downshift, you could
lose control of the vehicle. You could injure
yourself or others. Do not shift down more than
one gear at a time when you downshift.
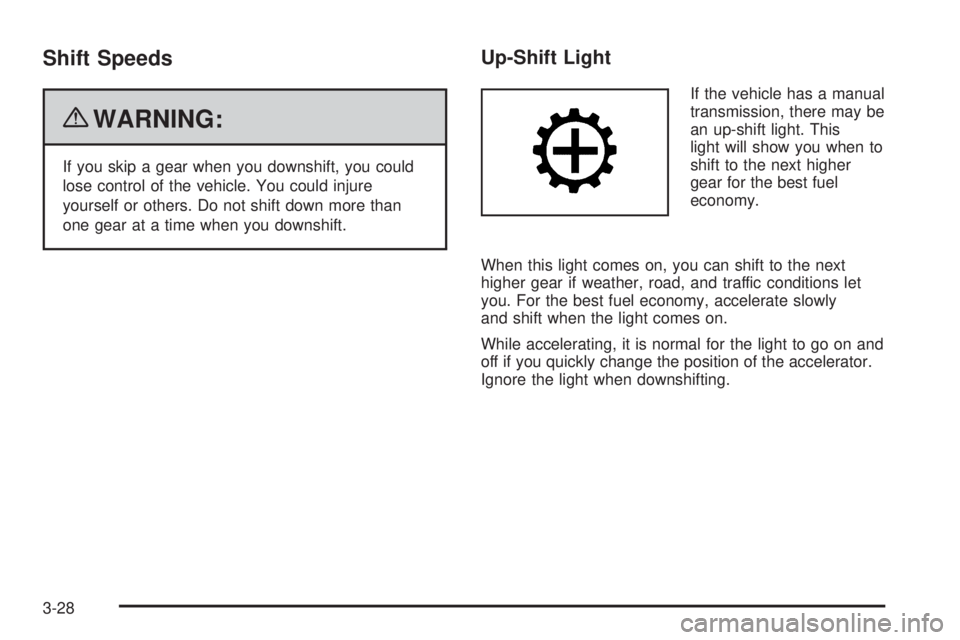
Up-Shift Light
If the vehicle has a manual
transmission, there may be
an up-shift light. This
light will show you when to
shift to the next higher
gear for the best fuel
economy.
When this light comes on, you can shift to the next
higher gear if weather, road, and traffic conditions let
you. For the best fuel economy, accelerate slowly
and shift when the light comes on.
While accelerating, it is normal for the light to go on and
off if you quickly change the position of the accelerator.
Ignore the light when downshifting.
3-28
Page 131 of 422
Parking Brake
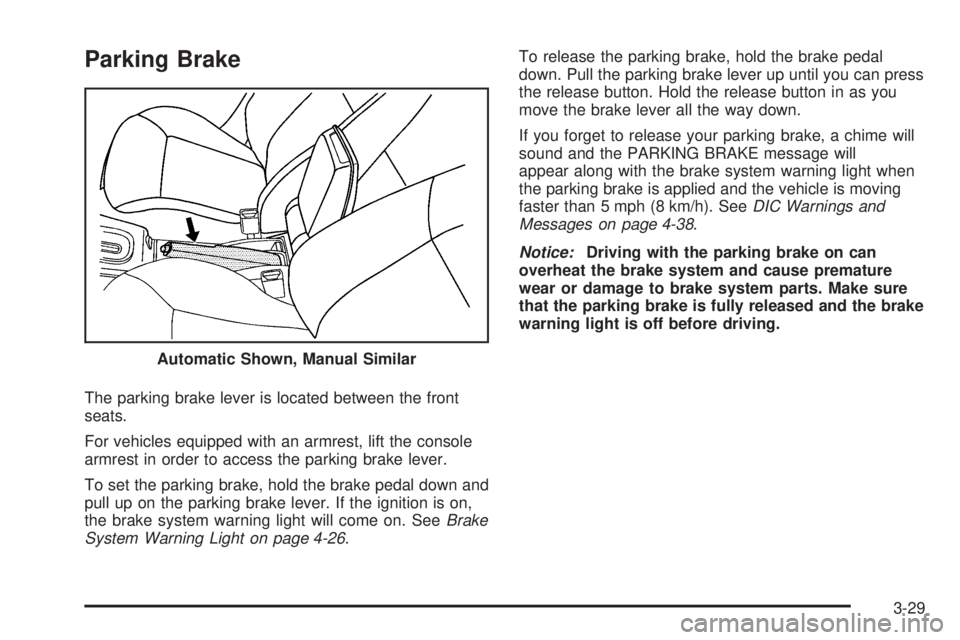
The parking brake lever is located between the front
seats.
For vehicles equipped with an armrest, lift the console
armrest in order to access the parking brake lever.
To set the parking brake, hold the brake pedal down and
pull up on the parking brake lever. If the ignition is on,
the brake system warning light will come on. SeeBrake
System Warning Light on page 4-26 .To release the parking brake, hold the brake pedal
down. Pull the parking brake lever up until you can press
the release button. Hold the release button in as you
move the brake lever all the way down.
If you forget to release your parking brake, a chime will
sound and the PARKING BRAKE message will
appear along with the brake system warning light when
the parking brake is applied and the vehicle is moving
faster than 5 mph (8 km/h). See
DIC Warnings and
Messages on page 4-38 .
Notice: Driving with the parking brake on can
overheat the brake system and cause premature
wear or damage to brake system parts. Make sure
that the parking brake is fully released and the brake
warning light is off before driving.
Automatic Shown, Manual Similar
3-29