maintenance PONTIAC GRAND AM 1997 Owners Manual
[x] Cancel search | Manufacturer: PONTIAC, Model Year: 1997, Model line: GRAND AM, Model: PONTIAC GRAND AM 1997Pages: 371, PDF Size: 18.14 MB
Page 2 of 371
7 The 1997 Pontiac Grand Am Owner’s Manual
1-1
2- 1
3-1
4- 1
5-1 6-1
7-1
8-1
9- 1
Seats and Restraint Systems
This section tells you how to use your seats and safety belts properly. It also explains the “SRS” system.
Features and Controls
This section explains how to start and operate your Pontiac.
Comfort Controls and Audio Systems
This section tells you how to adjust the ventilation and comfort controls and how to operate your audio system.
Your Driving and the Road
Here you’ll find helpful information and tips about the road and how to drive under different conditions.
Problems on the Road
This section tells what to do if you have a problem while driving, such as a flat tire or overheated engine, etc.
Service and Appearance Care
Here the manual tells you how to keep your Pontiac running properly and looking good.
Maintenance Schedule
This section tells you when to perform vehicle maintenance and what fluids and lubricants to use.
Customer Assistance Information
This section tells you how to contact Pontiac for assistance and how to get service and owner publications.
It also gives you information on “Reporting Safety Defects” on page
8- 10.
Index
Here’s an alphabetical listing of almost every subject in this manual. You can use it to quickly find
something you want to read.
i
Page 34 of 371
Servicing Your Air Bag-Equipped Pontiac
Air bags affect how your Pontiac should be serviced.
There are parts
of the air bag system in several places
around your vehicle. You don’t want the system to
inflate while someone is working on your vehicle. Your
Pontiac dealer and the Grand Am Service Manual have
information about servicing your vehicle and the air bag
system. To purchase a service manual, see “Service and
Owner Publications” in the Index.
I A I
/! CAUTION:
For up to 10 minutes after the ignition key is
turned off and the battery is disconnected, an air
bag can
still inflate during improper service. You
can be injured if you are close to an air bag when
it inflates. Avoid wires wrapped with yellow tape
or yellow connectors. They are probably part of
the
air bag system. Be sure to follow proper
service procedures, and make sure the person
performing work for you
is qualified to do so.
The air bag system does not need regular maintenance.
Rear Seat Passengers
It’s very important for rear seat passengers to buckle up!
Accident statistics show that unbelted people in the rear
seat are hurt more often in crashes than those who are
wearing safety belts.
Rear passengers who aren’t safety belted can be thrown
out of the vehicle in a crash. And they can strike others
in the vehicle who are wearing safety belts.
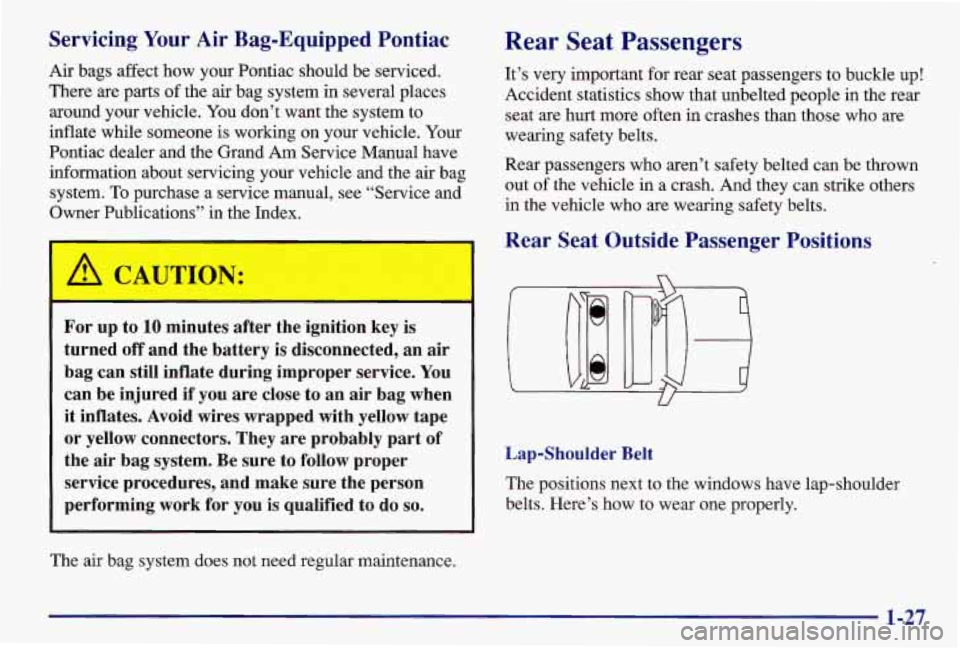
Rear Seat Outside Passenger Positions
U
Lap-Shoulder Belt
The positions next to the windows have lap-shoulder
belts. Here’s how to wear one properly.
1-27
Page 55 of 371

Safety Belt Extender
If the vehicle’s safety belt will fasten around you, you
should use it.
But if a safety belt isn’t long enough to fasten, your
dealer will order you an extender. It’s free. When you go
in to order it, take the heaviest coat you will wear,
so the
extender will be long enough for you. The extender will
be just for you, and just for the seat in your vehicle that
you choose. Don’t let someone else use it, and use
it
only for the seat it is made to fit. To wear it, just attach it
to the regular safety belt.
Checking Your Restraint Systems
Now and then, make sure the safety belt reminder light
and all your belts, buckles, latch plates, retractors and
anchorages are working properly.
Look for any other
loose or damaged safety belt system
parts. If you see
anything that might keep a safety belt system from
doing its job, have it repaired.
Torn or frayed safety belts may not protect you in a
crash. They can rip apart under impact forces. If a belt is
torn or frayed, get a new one right away.
Also look for any opened or broken air bag covers, and
have them repaired
or replaced. (The air bag system
does not need regular maintenance.)
Replacing Restraint System Parts
After a Crash
If you’ve had a crash, do you need new belts?
After a very minor collision, nothing may be neces
san 1-
But if the belts were stretched, as they would be if worn
during a more severe crash, then you need new belts.
If belts are cut or damaged, replace them. Collision
damage also may mean you will need to have safety belt
or seat parts repaired or replaced. New parts and repairs
may be necessary even if the belt wasn’t being used at
the time of the collision.
If your seat adjuster won’t work after a crash, the special
part of the safety belt that goes through the seat to the
adjuster may need to be replaced.
If an air bag inflates, you’ll need to replace air bag
system parts. See the part on the air bag system earlier in
this section,
Page 192 of 371
Parking on Hills
You really should not park your vehicle, with a trailer
attached, on a hill.
If something goes wrong, your rig
could start to move. People can be injured, and both
your vehicle and the trailer can be damaged.
But if you ever have to park your
rig on a hill, here’s
how to do it:
1. Apply your regular brakes, but don’t shift into
PARK
(P) yet, or into a gear for a manual transaxle.
2. Have someone place chocks under the trailer wheels.
3. When the wheel chocks are in place, release the
regular brakes until the chocks absorb the load.
4. Reapply the regular brakes. Then apply your parking
brake, and then shift to PARK
(P), or REVERSE (R)
for a manual transaxle.
5. Release the regular brakes.
When You Are Ready to Leave After
Parking
on a Hill
1. Apply your regular brakes and hold the pedal down
while you:
0 Start your engine;
Shift into a gear; and
0 Release the parking brake.
2. Let up on the brake pedal.
3. Drive slowly until the trailer is clear of the chocks.
4. Stop and have someone pick up and store the chocks.
Maintenance When Trailer Towing
Your vehicle will need service more often when you’re
pulling a trailer. See the Maintenance Schedule for more
on this. Things that are especially important in trailer
operation are automatic transaxle fluid (don’t overfill),
engine oil, belt, cooling system and brake adjustment.
Each
of these is covered in this manual, and the Index
will help you find them quickly.
If you’re trailering, it’s
a good idea to review these sections before you start
your trip.
Check periodically to see that all hitch nuts and bolts
are tight.
4-41
Page 228 of 371
Section 6 Service and Appearance Care
Here you will find information about the care of your Pontiac. This section begins with service and fuel information,
and then it shows how to check important fluid and lubricant levels. There is also technical information about your
vehicle, and a part devoted to its appearance care.
6-2
6-3
6-4
6-5
6-8
6- 12
6-18
6- 19
6-2 1
6-23
6-24
6-28
6-28
6-28
6-29
6-30
6-34 Service
Fuel
Fuels in Foreign Countries
Filling Your Tank
Checking Things Under the Hood
Engine Oil
Air Cleaner
Automatic Transaxle Fluid
Manual Transaxle Fluid
Hydraulic Clutch
Engine Coolant
Surge Tank Pressure Cap
Thermostat
Power Steering Fluid
Windshield Washer Fluid
Brakes
Battery Bulb
Replacement
Halogen Bulbs
Appearance Care
Cleaning the Inside of Your Pontiac
Cleaning the Outside of Your Pontiac
Aluminum Wheels
(If Equipped)
Cleaning Tires
Sheet Metal Damage
Finish Damage
Appearance Care Materials Chart
Vehicle Identification Number (VIN)
Electrical System
Replacement Bulbs
Capacities and Specifications
Air Conditioning Refrigerants
Normal Maintenance Replacement Parts
Dimensions
6-35
6-35
6-49
6-50
6-54 6-55
6-55
6-55
6-56
6-57
6-5
8
6-5 8
6-63
6-64
6-65
6-65
6-65
6-1
Page 229 of 371
Service
Your Pontiac dealer knows your vehicle best and wants
you to be happy with
it. We hope you’ll go to your
dealer for all your service needs. You’ll get genuine
GM
parts and GM-trained and supported service people.
We hope you’ll want to keep your GM vehicle all GM.
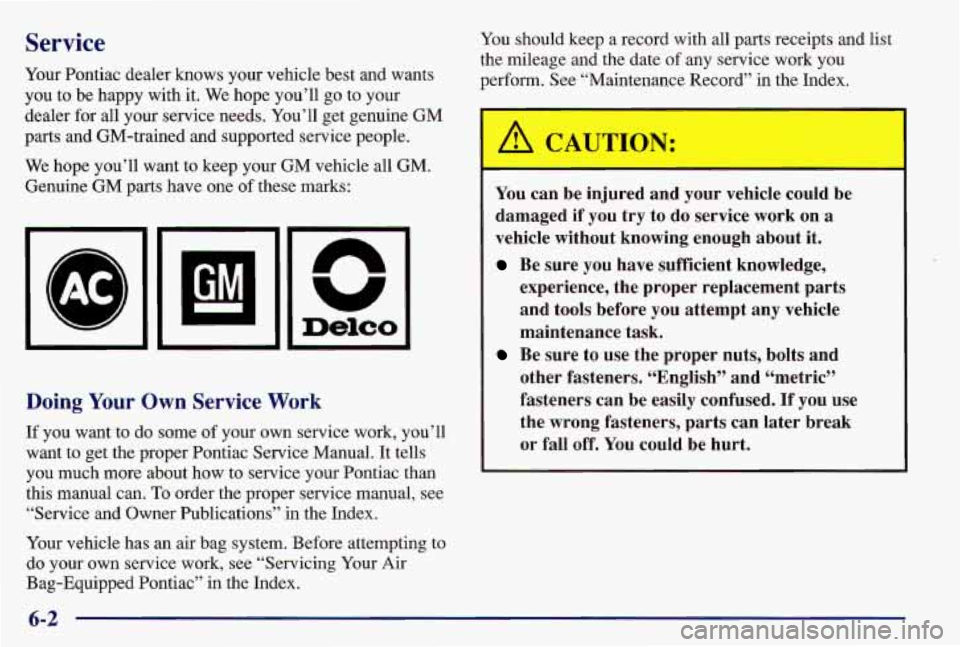
Genuine GM parts have one
of these marks: You
should keep a record with all parts receipts and list
the mileage and the date
of any service work you
perform. See “Maintenance Record” in the Index.
Delco
Doing Your Own Service Work
If you want to do some of your own service work, you’ll
want to get the proper Pontiac Service Manual. It tells
you much more about how to service your Pontiac than
this manual can.
To order the proper service manual, see
“Service and Owner Publications’’ in the Index.
A CAUTION:
You can be injured and your vehicle could be
damaged if you try to do service work on
a
vehicle without knowing enough about it.
Be sure you have sufficient knowledge,
experience, the proper replacement parts
and tools before
you attempt any vehicle
maintenance task.
Be sure to use the proper nuts, bolts and
other fasteners. “English” and “metric”
fasteners can be easily confused. If you use
the wrong fasteners, parts can later break
or fall off.
You could be hurt.
Your vehicle has an air bag system. Before attempting
to
do your own service work, see “Servicing Your Air
Bag-Equipped Pontiac” in the Index.
Page 244 of 371
Engine Oil Additives
Don’t add anything to your oil. Your Pontiac dealer is
ready to advise
if you think something should be added.
When to Change Engine Oil
If any one of these is true for you, use the short trip/city
maintenance schedule:
0
0
0
0
0
Most trips are less than 5 to 10 miles (8 to 16 km).
This is particularly important when outside
temperatures are below freezing.
Most trips include extensive idling (such as frequent
driving in stop-and-go traffic).
Most trips are through dusty areas.
You frequently tow a trailer or use a carrier on top of
your vehicle.
The vehicle is used for delivery service, police, taxi
or other commercial application.
Driving under these conditions causes engine oil to
break down sooner. If any one of these
is true for your
vehicle, then you need to change your oil and filter
every
3,000 miles (5 000 km) or 3 months -- whichever
occurs first.
If none of them is true, use the long triphighway
maintenance schedule. Change the oil and filter every
7,500 miles (12 500 km) or 12 months -- whichever
occurs first. Driving a vehicle with a fully warmed
engine under highway conditions causes engine oil to
break down slower.
What to Do with Used Oil
Did you know that used engine oil contains certain
elements that may be unhealthy for your skin and could
even cause cancer? Don’t let used oil stay on your skin
for very long. Clean your skin and nails with soap and
~
water, or a good hand cleaner. Wash or properly throw
away clothing or rags containing used engine oil. (See
the manufacturer’s warnings about the use and disposal
of oil products.)
Used oil can be a real threat to the environment.
If you
change your own oil, be sure to drain all free-flowing oil
from the filter before disposal. Don’t ever dispose
of oil
by putting
it in the trash, pouring it on the ground, into
sewers, or into streams or bodies of water. Instead,
recycle it by taking it to a place that collects used oil. If
you have a problem properly disposing of your used oil,
ask your dealer, a service station or a local recycling
center for help.
6-17
Page 245 of 371
Air Cleaner Refer to the Maintenance Schedule to determine when to
replace the air filter.
See “Scheduled Maintenance Services” in the Index.
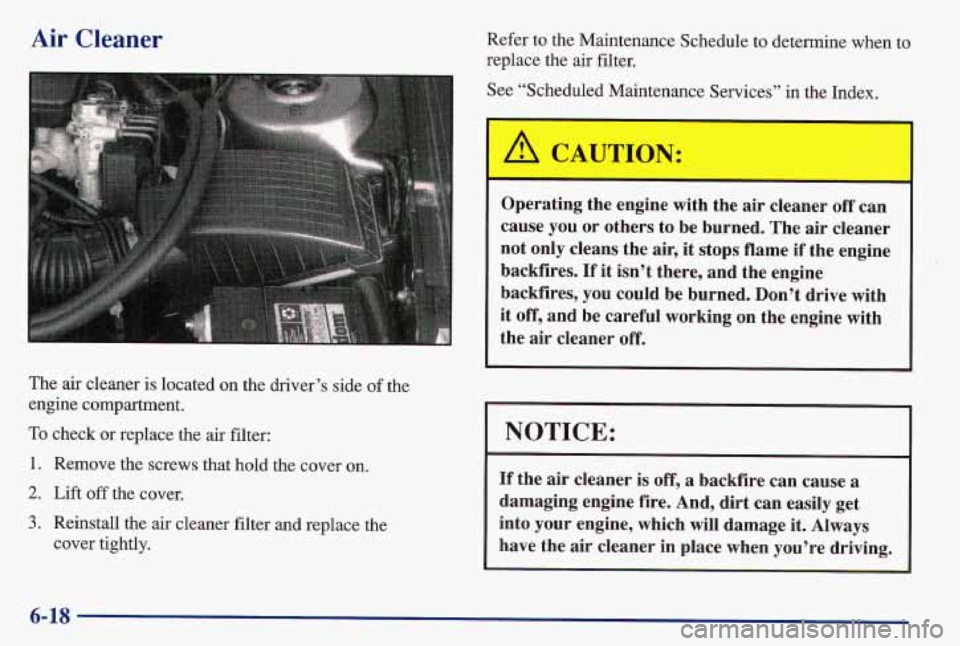
The air cleaner
is located on the driver’s side of the
engine compartment.
To check or replace the air filter:
1. Remove the screws that hold the cover on.
2. Lift off the cover.
3. Reinstall the air cleaner filter and replace the
cover tightly.
-
Operating the engine with the air cleaner off can
cause you or others to be burned. The air cleaner
not only cleans the air, it stops flame if the engine
backfires.
If it isn’t there, and the engine
backfires,
you could be burned. Don’t drive with
it off, and be careful working on the engine with
the air cleaner off.
L
A CAUTION:
NOTICE:
If the air cleaner is off, a backfire can cause a
damaging engine fire. And, dirt can easily get
into your engine, which will damage it. Always
have the air cleaner in place when you’re driving.
6-18
Page 246 of 371
Automatic Transaxle Fluid
When to Check and Change
A good time to check your automatic transaxle fluid
level is when the engine oil is changed.
Change both the fluid and filter every
50,000 miles
(83
000 lun) if the vehicle is mainly driven under one or
more of these conditions:
In heavy city traffic where the outside temperature
regularly reaches 90°F (32°C) or higher.
In hilly or mountainous terrain.
When doing frequent trailer towing.
Uses such as found in taxi, police or delivery service.
If you do not use your vehicle under any of these
conditions, the fluid and filter do not require changing.
See “Scheduled Maintenance Services” in the Index.
How to Check
Because this operation can be a little difficult, you may
choose to have this done at your Pontiac dealership
Service Department.
If you do it yourself, be sure to follow all the instructions
here, or you could get a false reading on the dipstick.
NOTICE:
Too much or too little fluid can damage your
transaxle.
Too much can mean that some of the
fluid could come out and fall on hot engine parts
or exhaust system parts, starting
a fire. Be sure to
get an accurate reading if you check your
transaxle fluid.
Wait at least 30 minutes before checking the transaxle
fluid level
if you have been driving:
When outside temperatures are above 90°F (32°C).
At high speed for quite a while.
In heavy traffic -- especially in hot weather.
While pulling a trailer.
To get the right reading, the fluid should be at normal
operating temperature, which is 180°F to
200°F (82°C
to 93°C).
Get the vehicle warmed up by driving about 15 miles
(24 km) when outside temperatures are above 50°F
(10°C). If it’s colder than 50°F (lO”C), you may have
to drive longer.
6-19
Page 248 of 371
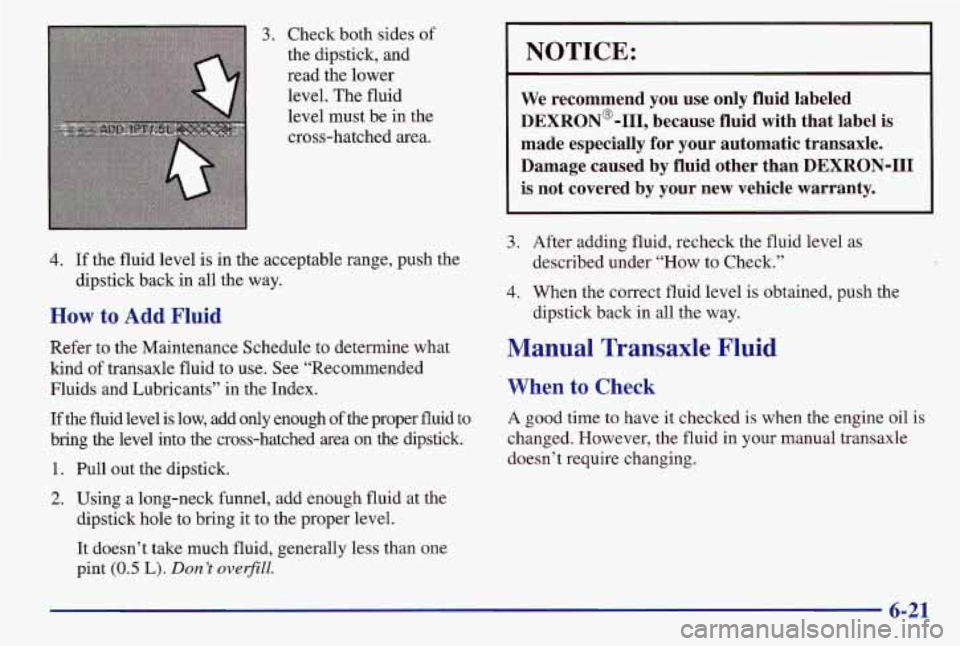
3. Check both sides of
the dipstick, and
read the lower
level. The fluid
level must be in the
cross-hatched area.
4. If the fluid level is in the acceptable range, push the
dipstick back in all the way.
How to Add Fluid
Refer to the Maintenance Schedule to determine what
kind
of transaxle fluid to use. See “Recommended
Fluids and Lubricants” in the Index.
If the fluid level is low, add only enough of the proper fluid to
bring the level into the cross-hatched area on the dipstick.
1. Pull out the dipstick.
2. Using a long-neck funnel, add enough fluid at the
dipstick hole to bring
it to the proper level.
It doesn’t take much fluid, generally less than one
pint
(0.5 L). Don’t overfill.
NOTICE:
We recommend you use only fluid labeled
DEXRON@-111, because fluid with that label
is
made especially for your automatic transaxle.
Damage caused by fluid other than DEXRON-I11
is not covered by your new vehicle warranty.
3. After adding fluid, recheck the fluid level as
described under
“How to Check.”
4. When the correct fluid level is obtained, push the
dipstick back in all the way.
Manual Transaxle Fluid
When to Check
A good time to have it checked is when the engine oil is
changed. However, the fluid in your manual transaxle
doesn’t require changing.
6-21