maintenance PONTIAC GRAND AM 1998 User Guide
[x] Cancel search | Manufacturer: PONTIAC, Model Year: 1998, Model line: GRAND AM, Model: PONTIAC GRAND AM 1998Pages: 370, PDF Size: 16.11 MB
Page 255 of 370
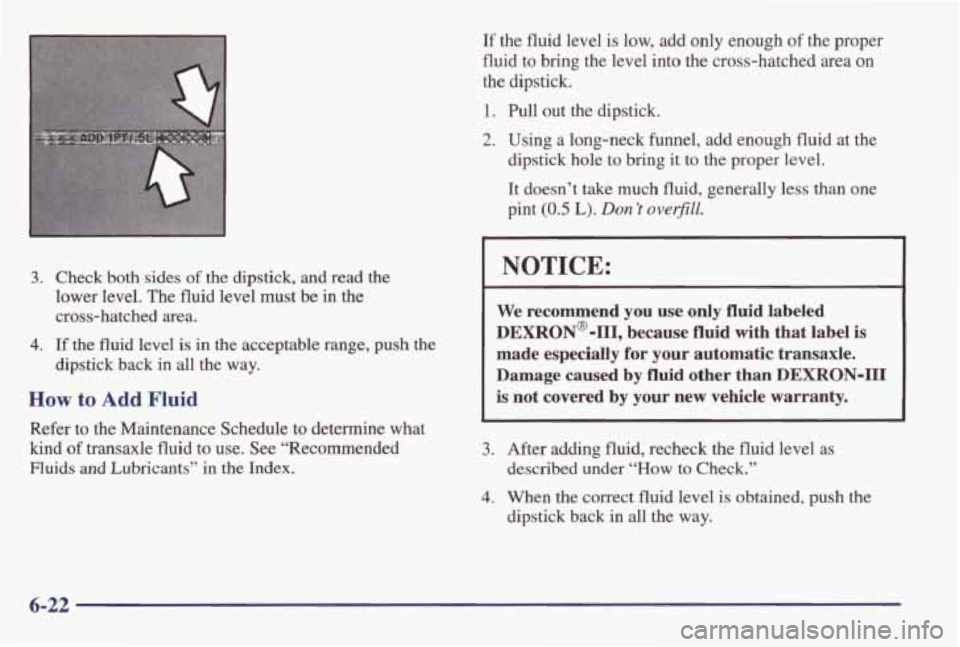
3. Check both sides of the dipstick, and read the
lower level. The fluid level must be
in the
cross-hatched area.
4. If the fluid level is in the acceptable range, push the
dipstick back
in all the way.
How to Add Fluid
Refer to the Maintenance Schedule to determine what
kind of transaxle fluid to use.
See “Recommended
Fluids and Lubricants” in the Index. If
the fluid level is low, add only enough
of the proper
fluid to
bring the level into the cross-hatched area on
the dipstick.
1. Pull out the dipstick.
2. Using a long-neck funnel, add enough fluid at the
dipstick hole to bring
it to the proper level.
It doesn’t
take much fluid, generally less than one
pint
(0.5 L). Don ’t overj?ZZ.
I 3
I NOTICE: I
We recommend you use only fluid labeled
DEXRON@-111, because fluid with that label is
made especially for your automatic transaxle.
Damage
caused by fluid other than DEXRON-III
is not covered by your new vehicle warranty.
3. After adding fluid, recheck the fluid level as
4. When the correct fluid level is obtained, push the
described under “How
to Check.”
dipstick back
in all the way.
6-22
Page 257 of 370
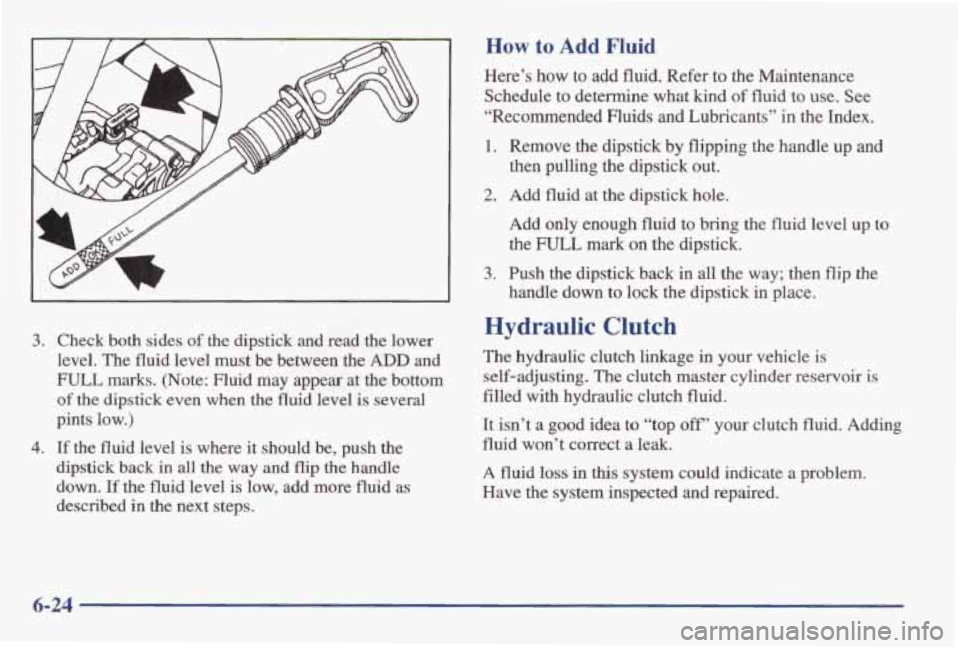
3. Check both sides of the dipstick and read the lower
level. The fluid level must be between the ADD and
FULL marks. (Note: Fluid may appear at the bottom
of the dipstick even when the fluid level is several
pints low.)
4. If the fluid level is where it should be, push the
dipstick back in all the way and flip the handle
down.
If the fluid level is low, add more fluid as
described in the next steps.
How to Add Fluid
Here’s how to add fluid. Refer to the Maintenance
Schedule to determine what kind
of fluid to use. See
“Recommended Fluids and Lubricants” in the Index.
1. Remove the dipstick by flipping the handle up and
then pulling the dipstick out.
2. Add fluid at the dipstick hole.
Add
only enough fluid to bring the fluid level up to
the FULL mark on the dipstick.
handle down to lock the dipstick in place.
3. Push the dipstick back in all the way; then flip the
Hydraulic Clutch
The hydraulic clutch linkage in your vehicle is
self-adjusting. The clutch master cylinder reservoir
is
filled with hydraulic clutch fluid.
It isn’t
a good idea to “top off’ your clutch fluid. Adding
fluid won’t correct
a leak.
A fluid
loss in this system could indicate a problem.
Have the system inspected and repaired.
6-24
Page 258 of 370
When to Check and What to Use
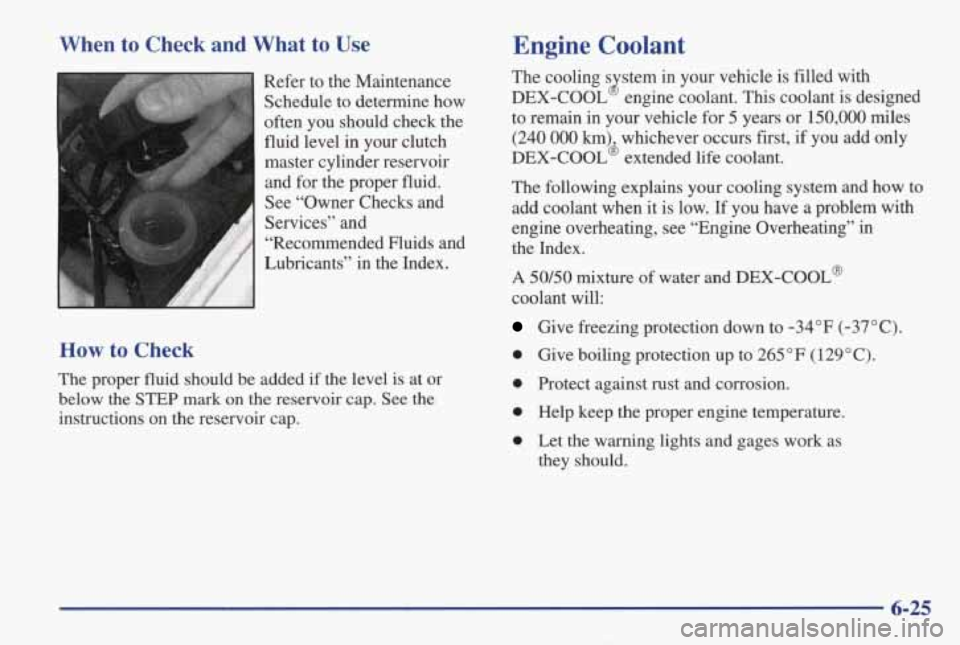
Refer to the Maintenance Schedule to determine how
often you should check the
fluid level in your clutch
master cylinder reservoir
and for the proper fluid.
See “Owner Checks and
Services” and
“Recommended Fluids and
Lubricants” in the Index.
How to Check
The proper fluid should be added if the level is at or
below the
STEP mark on the reservoir cap. See the
instructions on the reservoir cap.
Engine Coolant
The cooling s stem in your vehicle is filled with
DEX-COOL engine coolant. This coolant is designed
to remain in your vehicle for
5 years or 150,000 miles
(240 000 km) whichever occurs first, if you add only
DEX-COOL’ extended life coolant.
The following explains your cooling system and how to
add coolant when it is low. If you have
a problem with
engine overheating, see “Engine Overheating” in
the Index.
J
A 50/50 mixture of water and DEX-COOL@
coolant will:
Give freezing protection down to -34°F (-37°C).
0 Give boiling protection up to 265 OF (1 29 O C).
0 Protect against rust and corrosion.
0 Help keep the proper engine temperature.
0 Let the warning lights and gages work as
they should.
6-25
Page 267 of 370
Brake Wear
Your vehicle has front disc brakes and rear drum brakes.
Disc brake
pads have built-in wear indicators that make a
high-pitched warning sound when the brake pads are worn
and new pads are needed. The sound may come and go or
be heard all the time your vehicle is moving (except when
you
are pushing on the brake pedal firmly).
A
a CAUTION:
The brake wear warning sound means that soon
your brakes won’t work well. That could lead to
an accident. When you hear the brake
wear
warning sound, have your vehicle serviced.
NOTICE:
Continuing to drive with worn-out brake pads
could result
in costly brake repair.
Some driving conditions or climates may cause a brake
squeal when the brakes are first applied or lightly
applied.
This does not mean something is wrong with
your brakes.
See “CaliperKnuckle Maintenance Inspection’’
in
Section 7 of this manual under Part C “Periodic
Maintenance Inspections.”
Properly torqued wheel nuts are necessary
to help
prevent brake pulsation. When tires are rotated, inspect
brake pads for
wear and evenly torque wheel nuts in the
proper sequence to
GM specifications.
Your rear drum brakes don’t have wear indicators, but if
you ever hear a rear brake rubbing noise, have the rear
brake linings inspected immediately.
Also, the rear
brake drums should
be removed and inspected each time
the tires are removed for rotation or changing.
When
you have the front brake pads replaced, have the rear
brakes inspected, too.
Brake linings should always be replaced
as complete
axle sets.
See “Brake System Inspection” in Section 7 of this manual
under Part C “Periodic Maintenance Inspections.”
6-34
Page 276 of 370
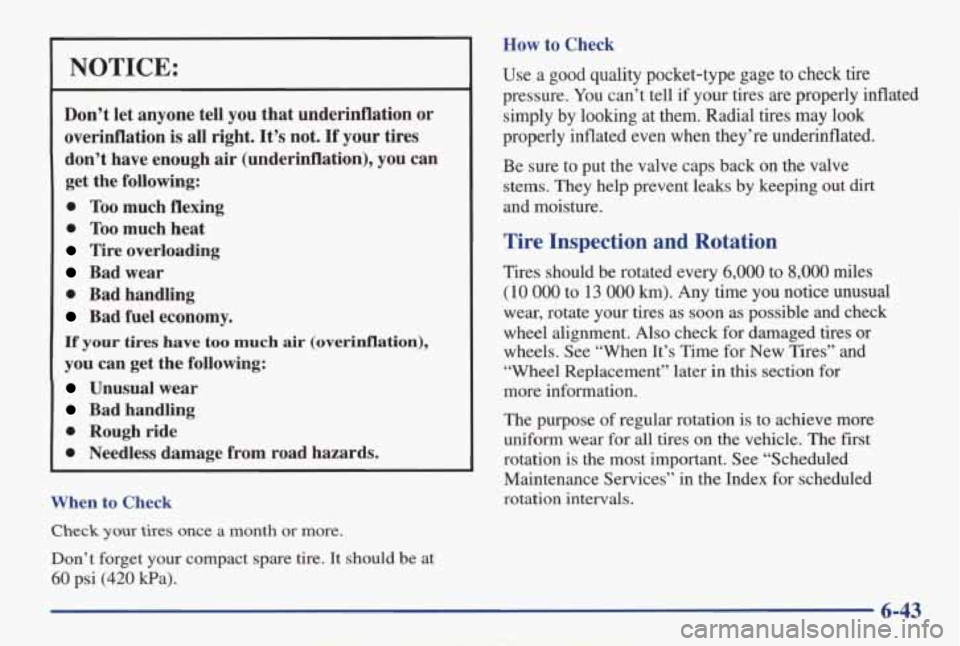
NOTICE:
Don’t let anyone tell you that underinflation or
overinflation is all right. It’s not. If your tires
don’t have enough
air (underinflation), you can
get the following:
0 Too much flexing
0 Too much heat
Tire overloading
Bad wear
0 Bad handling
Bad fuel economy.
If your tires have too much air (overinflation),
you can get the following:
Unusual wear
Bad handling
0 Rough ride
0 Needless damage from road hazards.
When
to Check
Check your tires once a month or more.
Don’t forget your compact spare
tire. It should be at
60 psi (420 Wa).
How to Check
Use a good quality pocket-type gage to check tire
pressure. You can’t tell if your tires
are properly inflated
simply by looking at them. Radial tires
may look
properly inflated even when they’re underinflated.
Be sure to put
the valve caps back on the valve
stems. They help prevent leaks by keeping out dirt
and moisture.
Tire Inspection and Rotation
Tires should be rotated every 6,000 to 8,000 miles
(10 000 to 13 000 km). Any time you notice unusual
wear, rotate your tires as soon as possible and check
wheel alignment. Also check for damaged tires or
wheels. See “When It’s Time for New Tires” and
“Wheel Replacement” later
in this section for
more information.
The purpose of regular rotation is to achieve more
uniform wear for all tires on the vehicle. The first
rotation is the most important. See “Scheduled
Maintenance Services” in the Index for scheduled
rotation intervals.
6-43
Page 289 of 370
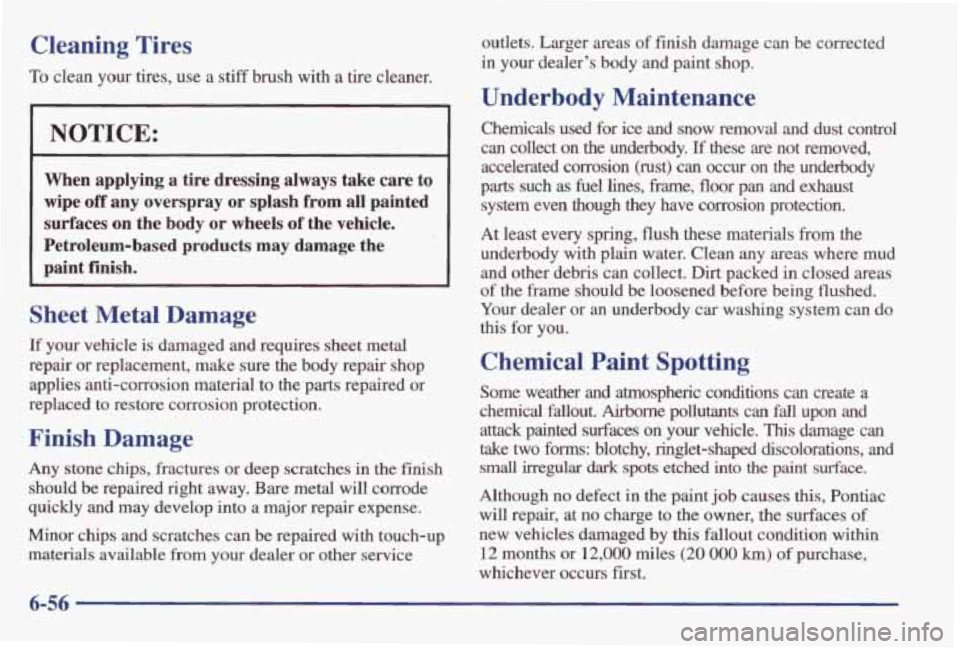
Cleaning Tires
To clean your tires, use a stiff brush with a tire cleaner.
NOTICE:
When applying a tire dressing always take care to
wipe
off any overspray or splash from all painted
surfaces on the body or wheels of the vehicle.
Petroleum-based products may damage the
paint finish.
Sheet Metal Damage
If your vehicle is damaged and requires sheet metal
repair
or replacement, make sure the body repair shop
applies anti-corrosion material to the parts repaired or
replaced to restore corrosion protection.
Finish Damage
Any stone chips, fractures or deep scratches in the finish
should be repaired right away. Bare
metal will corrode
quickly and may develop into a major repair expense.
Minor chips and scratches can be repaired
with touch-up
materials available from your dealer or other service outlets. Larger areas
of finish damage can be corrected
in your dealer’s body and paint shop.
Underbody Maintenance
Chemicals used for ice and snow removal and dust control
can collect on the underbody.
If these are not removed,
accelerated corrosion (rust) can occur on the underbody
parts such
as fuel lines, frame, floor pan and exhaust
system even though they have corrosion protection.
At least every spring, flush these materials from the
underbody with plain water. Clean any areas where mud and other debris can collect.
Dirt packed in closed areas
of the frame should be loosened before being flushed.
Your dealer or
an underbody car washing system can do
this for you.
Chemical Paint Spotting
Some weather and atmospheric conditions can create a
chemical fallout. Airborne pollutants can fall upon and attack painted
surfaces on your vehicle. This damage can
take
two forms: blotchy, ringlet-shaped discolorations, and
small irregular dark spots etched into the paint surface.
Although no defect in the paint job causes this, Pontiac
will repair, at no charge to the owner, the surfaces of
new vehicles damaged by
this fallout condition within
12 months or
12,000 miles (20 000 km) of purchase,
whichever occurs first.
6-56
Page 299 of 370
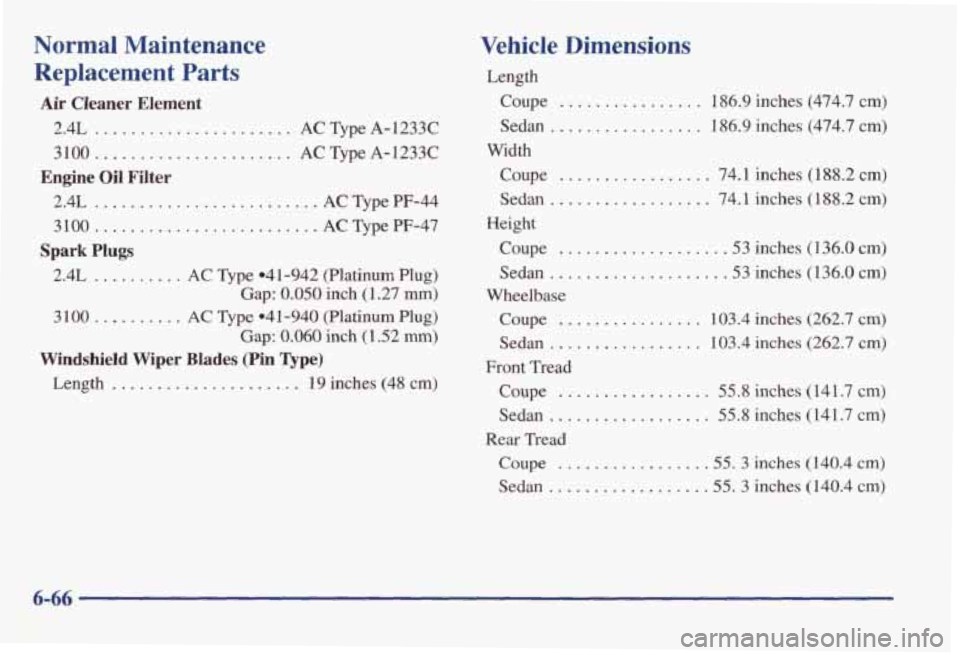
Normal Maintenance
Replacement Parts
Air Cfeaner Element
2.4L ...................... AC Type A-1233C
31 OO............----- ..... AC me A- 1233C
Engine Oil Filter
2.4L ....................... AC Type PF-44
3100 ......................... AC Type PF-47
Spark Plugs
2.4L .......... AC npe 041-942 (Platinum Plug)
Gap:
0.050 inch (1.27 mm)
Gap: 0.060 inch (1.52 mm)
3 100 .......... AC Type 04 1-940 (Platinum Plug)
Windshield Wiper Blades (Pin Type)
Length ..................... 19 inches (48 cm)
Vehicle Dimensions
Length
Coupe
................ 186.9 inches (474.7 cm)
Sedan
................. 186.9 inches (474.7 cm)
Coupe
....... ... 74.1 inches (188.2 cm)
Width
Sedan
.................. 74.1 inches (188.2 cm)
Coupe
.................. .53 inches (136.0 cm)
Sedan
................... .53 inches (136.0 cm)
Coupe
................ 103.4 inches (262.7 cm)
Sedan ................. 103.4 inches (262.7 cm)
Coupe
................. 55.8 inches (141.7 cm)
Sedan
.................. 55.8 inches (141.7 cm)
Coupe ................ .55.3 inches (140.4 cm)
Sedan
................. .55.3 inches (140.4 cm)
Height
Wheelbase
Front Tread Rear Tread
6-66
Page 302 of 370
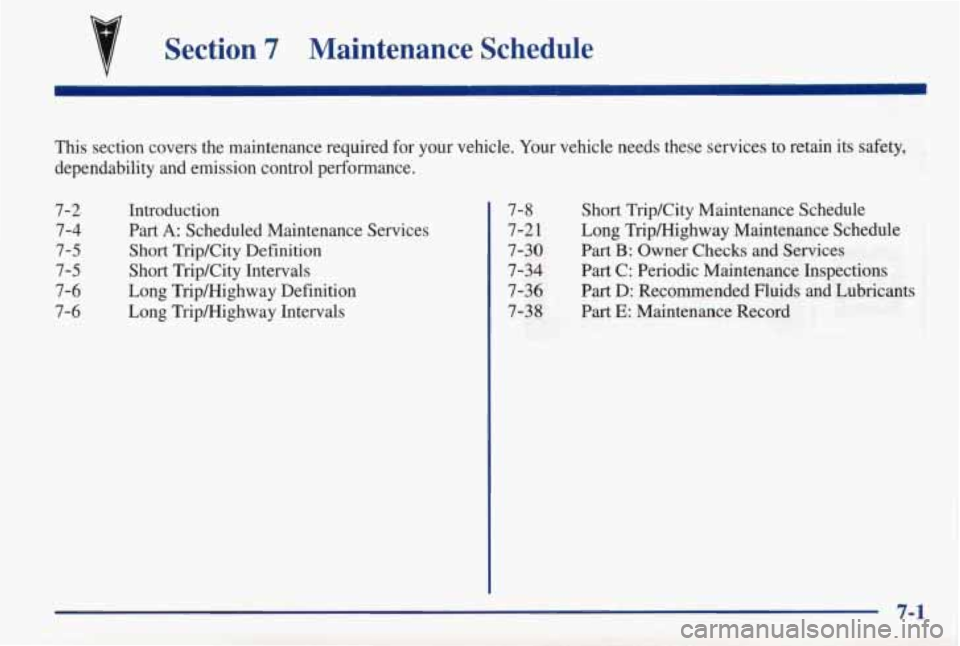
Section 7 Maintenance Schedule
This section covers the maintenance required for your vehicle. \
Your vehicle needs these services to retain its safety,
dependability
and emission control performance.
7-2 Introduction 7-4 Part
A: Scheduled Maintenance Services
7-5 Short TripKity Definition
7-5 Short TripKity Intervals
7-6 Long Tripmighway Definition
7-6 Long TripMighway Intervals 7-8
Short TripKity Maintenance Schedule
7-2
1 Long Tripmighway Maintenance Schedule
7-34 Part C: Periodic Maintenance Inspections
7-36 Part D: Recommended Fluids and Lubricants
7-38 Part
E: Maintenance Record
7-30 Part
B: Owner Checks and Services
7-1
Page 303 of 370
IMPORTANT:
K€EP ENGINE OIL
AT THE PROPER
LEVEL AND CHANGE AS
RECOMMENDED
- -
Protection
Plan
Have you purchased the GM Protection Plan? The Plan
supplements
your new vehicle warranties. See your
Warranty and Owner Assistance booklet, or your
Pontiac dealer for details.
Introduction
Your Vehicle and the Environment
Proper vehicle maintenance not only helps to keep your
vehicle in
good working condition, but also helps the
environment. All recommended maintenance procedures
are important. Improper vehicle maintenance can even
affect the quality
of the air we breathe. Improper fluid
levels
or the wrong tire inflation can increase the level
of emissions from your vehicle. To help protect our
environment, and to keep your vehicle in
good
condition, please maintain your vehicle properly.
7-2
Page 304 of 370
How This Section is Organized
The remainder of this section is divided into five parts:
“Part A: Scheduled Maintenance Services” shows
what to have done and how often. Some of these
services can be complex, so unless you are technically
qualified and have the necessary equipment, you should
let your dealer’s service department or another qualified
service center do these jobs.
I A CAUT’ON:
Performing maintenance work on a vehicle can
be dangerous.
In trying to do some jobs, you can
be seriously injured. Do your own maintenance
work only if you have the required know-how
and the proper tools and equipment for the
job.
If you have any doubt, have a qualified
technician do the work.
If you are skilled enough to do some work on your
vehicle, you will probably want to get the service
information. See “Service and Owner Publications” in
the Index.
“Part B: Owner Checks and Services” tells you
what should be checked and when. It also explains
what you can easily do to help keep your vehicle in
good condition.
“Part C: Periodic Maintenance Inspections”
explains important inspections that your dealer’s
service department or another qualified service center
should perform.
“Part D: Recommended Fluids and Lubricants” lists
some recommended products to help keep your vehicle
properly maintained. These products, or their equivalents, should be used whether you do the work
yourself or have it done.
“Part E: Maintenance Record” provides a place for
you to record the maintenance performed on your
vehicle. Whenever any maintenance
is performed, be
sure to write it down in this part. This will help you
determine when your next maintenance should be done.
In addition, it is a good
idea to keep your maintenance
receipts. They may be needed to qualify your vehicle for warranty repairs.
7-3