four wheel drive PONTIAC GRAND AM 2003 Owners Manual
[x] Cancel search | Manufacturer: PONTIAC, Model Year: 2003, Model line: GRAND AM, Model: PONTIAC GRAND AM 2003Pages: 354, PDF Size: 16.3 MB
Page 96 of 354
FIRST (1): This position gives you even more power
but lower fuel economy than SECOND
(2). You can use
it on very steep hills, or in deep snow or mud.
If the
shift lever is put in FIRST
(I), the transaxle won’t shift
into first gear until the vehicle
is going slowly enough.
Notice: If your front wheels won’t turn, don’t
try to drive. This might happen
id you were stuck in
very deep sand or mud or were up against a solid
object. You could damage your transaxle.
Also,
if you stop when going uphill, don’t hold your
vehicle there with only the accelerator pedal. This
could overheat and damage the transaxle. Use your
brakes to hold your vehicle in position on a hill.
Manual Transaxle Operation
Here’s how to operate your transaxle:
FIRST
(1): Press the clutch pedal and shift into
FIRST
(1). Then, slowly let up on the clutch pedal as
you press the accelerator pedal.
You can shift into FIRST
(1) when you are going less
that
20 mph (32 km/h). If you have come to a complete
stop and it
is hard to shift into FIRST (I), put the
shift lever into NEUTRAL and let up on the clutch. Press
the clutch pedal back down. Then shift into FIRST
(1).
SECOND (2): Press the clutch pedal as you let up
on the accelerator pedal and shift into SECOND
(2).
Then, slowly let up on the clutch pedal as you press the
accelerator pedal.
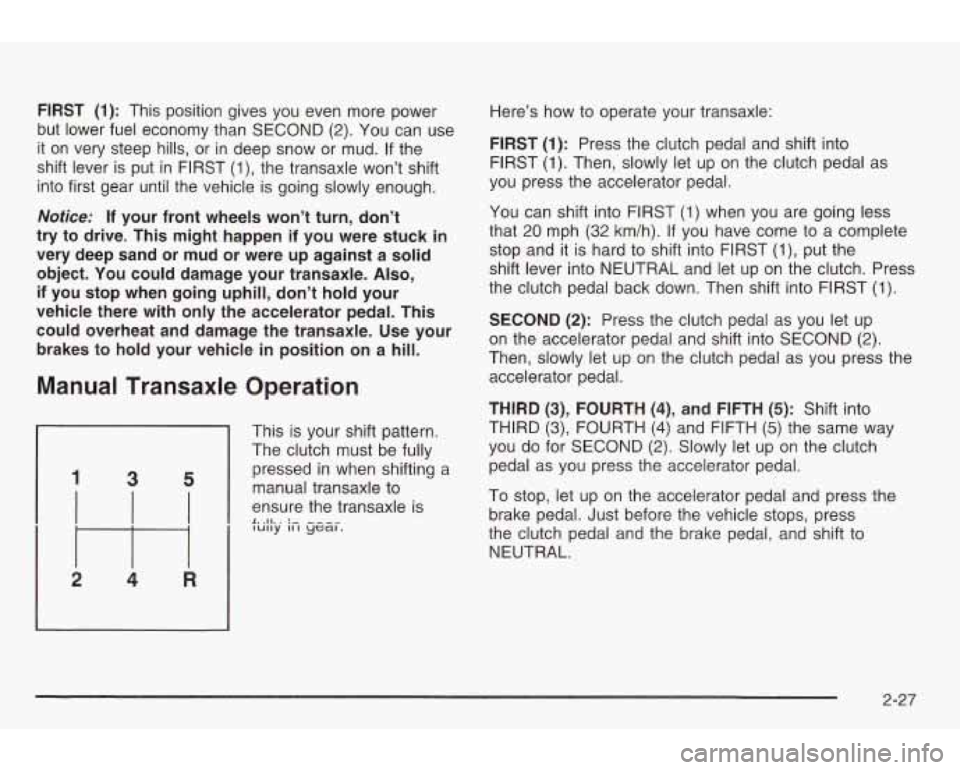
1 3 5
THIRD (3), FOURTH (4), and FIFTH (5): Shift into
This
is your shift pattern. THIRD (3), FOURTH (4) and FIFTH (5) the same way
The clutch must be fully you do for SECOND
(2). Slowly let up on the clutch
manual transaxle
to
ensure the transaxle is
pressed
in when shifting a pedal as
YOU press the accelerator pedal.
To stop, let up on the accelerator pedal and press the
the clutch pedal and the brake pedal, and shift to
NEUTRAL.
L. .II. I :- -^^“ brake pedal. Just before the vehicle stops, press lully Ill ycal.
2-27
Page 191 of 354
Suppose you’re steering through a sharp curve.
Then you suddenly accelerate. Both control
systems
- steering and braking - have to do their work
where the tires meet the road. Unless you have
four-wheel anti-lock brakes, adding the hard braking can
demand
too much of those places. You can lose
control.
The same thing can happen
if you’re steering through a
sharp curve and you suddenly accelerate. Those two
control systems
- steering and acceleration - can
overwhelm those places where the tires meet the road
and make you lose control. See
Enhanced Traction
System
(ETS) on page 4-9.
What should you do if this ever happens? Ease up on
the brake or accelerator pedal, steer the vehicle the way
you want it
to go, and slow down.
Speed limit signs near curves warn that you should
adjust your speed. Of course, the posted speeds
are based on good weather and road conditions. Under
less favorable conditions you’ll want
to go slower.
If you need
to reduce your speed as you approach a
curve, do it before you enter the curve, while your front
wheels are straight ahead.
Try to adjust your speed so you can “drive” through the
curve. Maintain a reasonable, steady speed. Wait
to
accelerate until you are out of the curve, and then
accelerate gently into the straightaway.
4-1 2
Steering in Emergencies
There are times when steering can be more effective
than braking. For example, you come over a hill and find
a truck stopped in your lane, or
a car suddenly pulls
out from nowhere, or a child darts out from between
parked cars and stops right in front of you. You
can avoid these problems by braking
- if you can stop
in time. But sometimes you can’t; there isn’t room.
That’s the time for evasive action
- steering around the
problem.
Your vehicle can perform very well in emergencies like
these. First apply your brakes
- but, unless you
have anti-lock, not enough
to lock your wheels.
See
Braking on page 4-6. It is better to remove as much
speed as you can from a possible collision. Then
steer around the problem,
to the left or right depending
on the space available.
Page 212 of 354
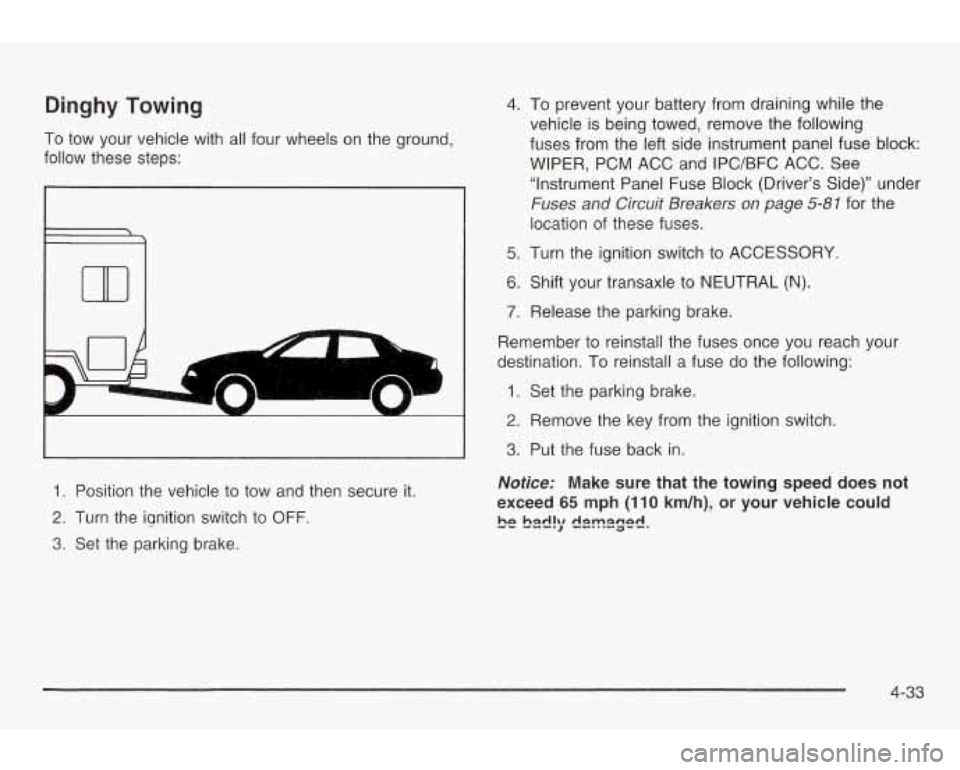
Dinghy Towing
To low your vehicle with all four wheels on the ground,
follow these steps:
ti
11701
1. Position the vehicle to tow and then secure it.
2. Turn the ignition switch to OFF.
3. Set the parking brake. 4.
To prevent your battery from draining while the
vehicle is being towed, remove the following
fuses from the left side instrument panel fuse block:
WIPER, PCM ACC and IPC/BFC ACC. See
“Instrument Panel Fuse Block (Driver’s Side)” under
Fuses and Circuit Breakers on page 5-81 for the
location of these fuses.
5. Turn the ignition switch to ACCESSORY.
6. Shift your transaxle to NEUTRAL (N).
7. Release the parking brake.
Remember to reinstall the fuses once you reach your
destination. To reinstall
a fuse do the following:
1. Set the parking brake.
2. Remove the key from the ignition switch.
3. Put the fuse back in.
Notice: Make sure that the towing speed does not
exceed
65 mph (1 10 km/h), or your vehicle could
be b2d!y dm2ge.r.
4-33
Page 264 of 354
Brake Wear
The GT Series has four-wheel disc brakes and the SE
Series has front disc brakes and rear drum brakes.
Disc brake pads have built-in wear indicators that make
a high-pitched warning sound when the brake pads
are worn and new pads are needed. The sound
may come and go or be heard all the time your vehicle
is moving (except when you are pushing on the
brake pedal firmly).
A CAUTION:
-
The brake wear warning sound means that
soon your brakes won’t work well. That could
lead to an accident. When you hear the brake
wear warning sound, have your vehicle
serviced.
Notice: Continuing to drive with worn-out brake
pads could result in costly brake repair.
Some driving conditions or climates may cause a brake
squeal when the brakes are first applied or lightly
applied. This does not mean something is wrong with
your brakes.
Properly torqued wheel nuts are necessary to help
prevent brake pulsation. When tires are rotated, inspect
brake pads for wear and evenly tighten wheel nuts in
the proper sequence to
GM torque specifications.
If you have rear drum brakes, they don’t have wear
indicators, but
if you ever hear a rear brake rubbing
noise, have the rear brake linings inspected immediately.
Also, the rear brake drums should be removed and
inspected each time the tires are removed for rotation or
changing. When you have the front brake pads
replaced, have the rear brakes inspected, too.
Brake linings should always be replaced as complete
axle sets.
See
Brake System Inspection on page 6-14.
5-4 1