fuse PONTIAC GRAND AM 2003 Owners Manual
[x] Cancel search | Manufacturer: PONTIAC, Model Year: 2003, Model line: GRAND AM, Model: PONTIAC GRAND AM 2003Pages: 354, PDF Size: 16.3 MB
Page 9 of 354
Front Seats
Manual Seats
You can lose control of the vehicle if you try to
adjust a manual driver’s seat while the vehicle
is moving. The sudden movement could startle
and confuse you,
or make you push a pedal
when
you don’t want to. Adjust the driver’s
seat only when the vehicle is not moving.
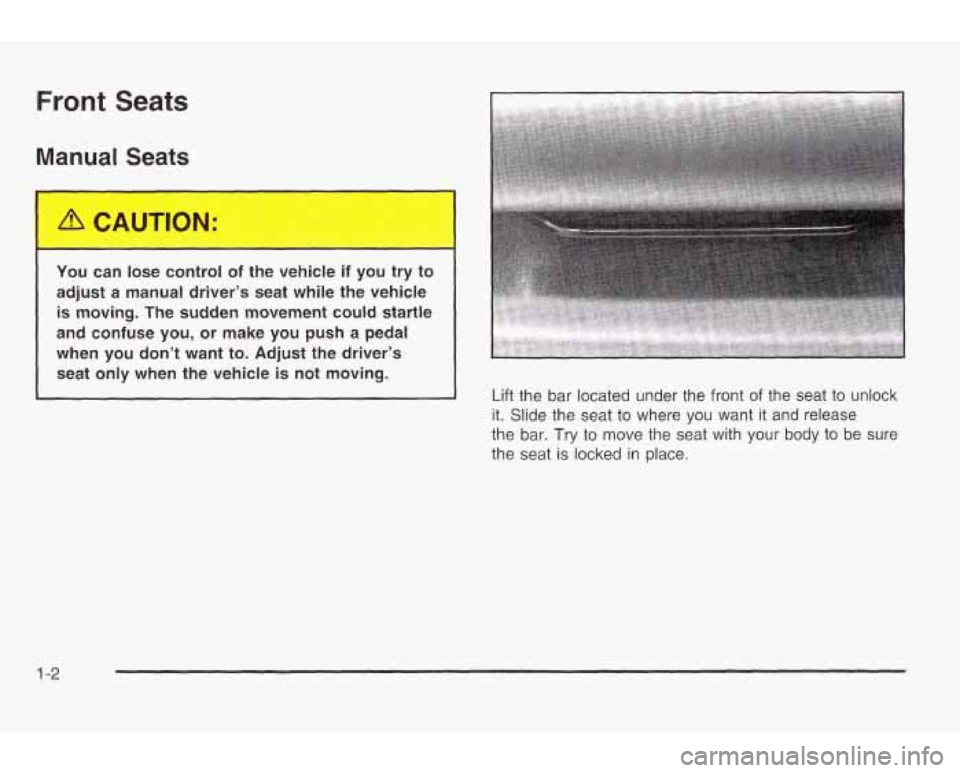
Lift the bar located under the front
of the seat to unlock
it. Slide the seat to where you want
it and release
the bar.
Try to move the seat with your body to be sure
the seat is locked in place.
1 -2
Page 110 of 354
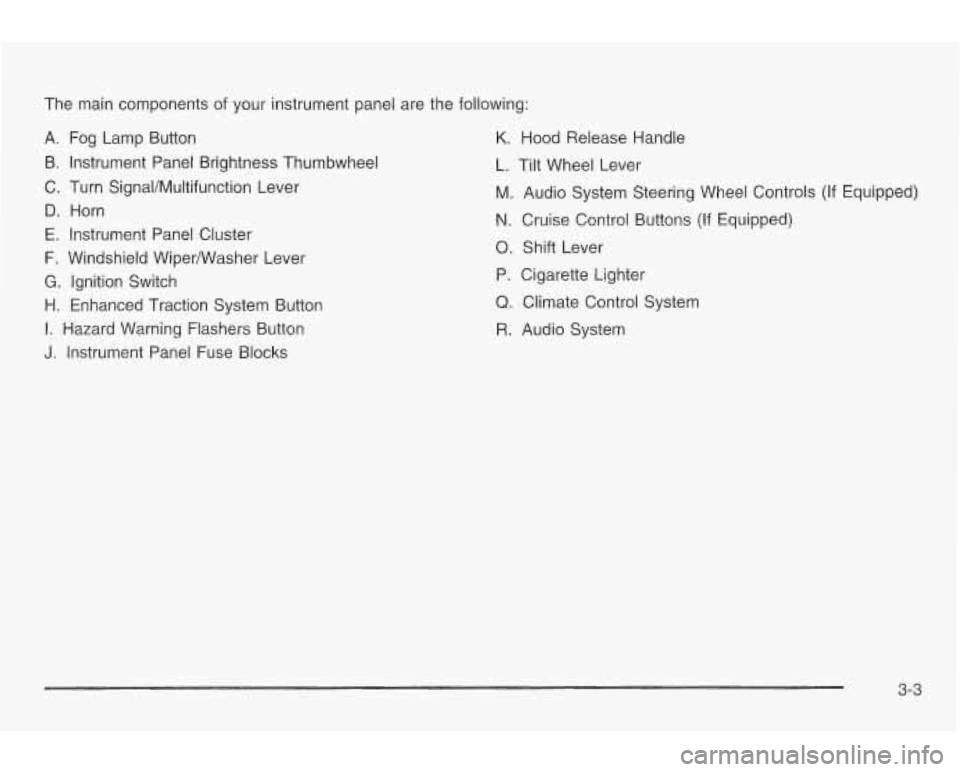
The main components of your instrument panel are the following:
A. Fog Lamp Button
B. Instrument Panel Brightness Thumbwheel
C. Turn SignaVMultifunction Lever
D. Horn
E. Instrument Panel Cluster
F. Windshield WiperNVasher Lever
G. Ignition Switch
H. Enhanced Traction System Button
I. Hazard Warning Flashers Button
J. Instrument Panel Fuse Blocks
K. Hood Release Handle
L. Tilt Wheel Lever
M. Audio System Steering Wheel Controls (If Equipped)
N. Cruise Control Buttons (If Equipped)
0. Shift Lever
P. Cigarette Lighter
Q. Climate Control System
R. Audio System
3-3
Page 114 of 354

An arrow on the instrument
panel cluster will flash in
the direction of the
turn or lane change. Headlamps On Reminder
If you open the driver’s door and turn off the ignition
while leaving the lamps on, you will hear a warning
chime.
Weadlamp High/low-Beam Changer
~~ ~~~
To signal a lane change, just raise or lower the lever
until the arrow starts to flash.
Hold it there until you
complete your lane change. The lever will return by itself
when you release it.
As you signal a turn or a lane change, if the arrows
flash rapidly, a signal bulb may be burned out and other
drivers won’t see your turn signal.
If a bulb is burned out, replace it to help avoid an
accident.
If the arrows don’t go on at all when you signal
a turn, check for burned-out bulbs and then check the
fuse. See
Fuses and Circuit Breakers on page 5-81.
To change the headlamps from low beam to
high beam, push the turn signaVmultifunction lever
away from you.
When the high beams are
on, a light on the
instrument panel cluster
also will be on
if the
ignition is in
ON.
To change the headlamps from high beam to low beam,
pull the turn signal lever toward you.
3-7
Page 124 of 354
Trunk Lamp Battery Run-Down Protection
The trunk lamp comes on when you open your trunk.
Your vehicle has a battery run-down feature designed
to
protect your vehicle’s battery.
When any interior lamp (trunk, reading lamps, dome
lamp or glove box) is left on when the ignition is turned
off, the battery run-down protection system will
automatically shut the lamp
off after 20 minutes. This
will avoid draining the battery.
To reactivate the interior lamps, do one of the following:
Lift the driver’s door handle,
open any door or
press any remote keyless entry transmitter button
(if equipped),
press the power door lock switch,
~r~~~ rei-,-iGte ti-Ufik Gr
turn the lamp that was left on to off and then to on
again.
Ashtrays and Cigarette Lighter
To use the lighter, just push it in all the way and
Nofices Don’t put papers or other flammable
items into your ashtrays. Hot cigarettes or otl let
go.
her
smoking materials could ignite them, causing
SI damaging fire.
Nofice: Don’t hold a cigarette lighter in with your
hand while
it is heating. If you do, it won’t be able to
back away from the heating element when
it’s
ready. That can make it overheat, damaging the
lighter and
the heating element. It can also blow
the fuse.
3-1 7
Page 212 of 354
Dinghy Towing
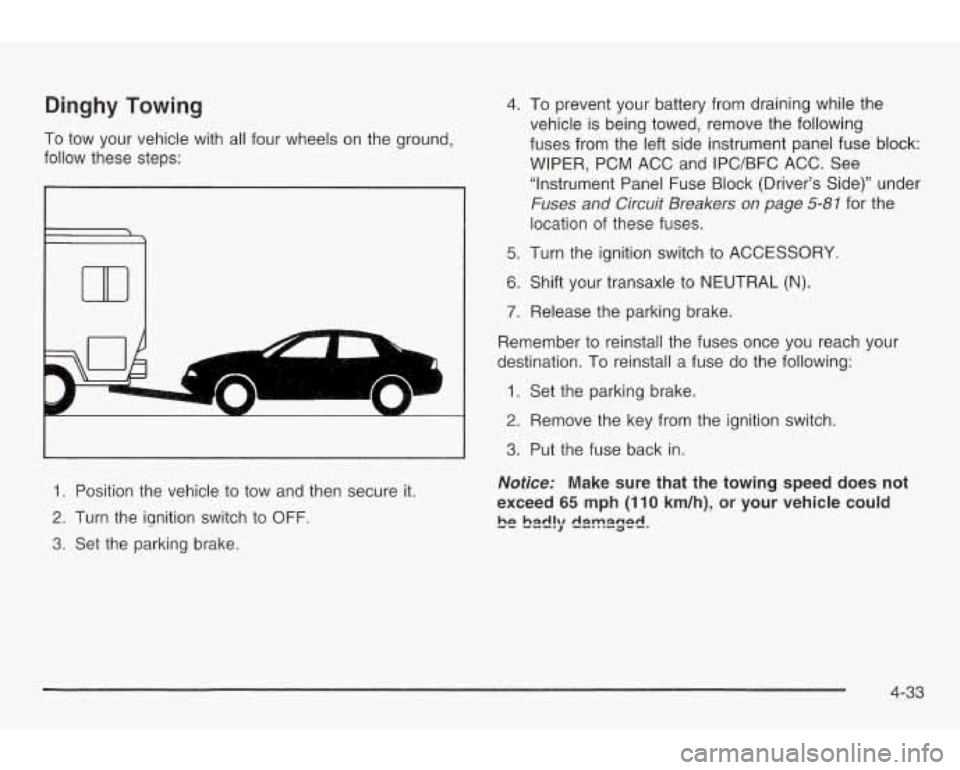
To low your vehicle with all four wheels on the ground,
follow these steps:
ti
11701
1. Position the vehicle to tow and then secure it.
2. Turn the ignition switch to OFF.
3. Set the parking brake. 4.
To prevent your battery from draining while the
vehicle is being towed, remove the following
fuses from the left side instrument panel fuse block:
WIPER, PCM ACC and IPC/BFC ACC. See
“Instrument Panel Fuse Block (Driver’s Side)” under
Fuses and Circuit Breakers on page 5-81 for the
location of these fuses.
5. Turn the ignition switch to ACCESSORY.
6. Shift your transaxle to NEUTRAL (N).
7. Release the parking brake.
Remember to reinstall the fuses once you reach your
destination. To reinstall
a fuse do the following:
1. Set the parking brake.
2. Remove the key from the ignition switch.
3. Put the fuse back in.
Notice: Make sure that the towing speed does not
exceed
65 mph (1 10 km/h), or your vehicle could
be b2d!y dm2ge.r.
4-33
Page 225 of 354
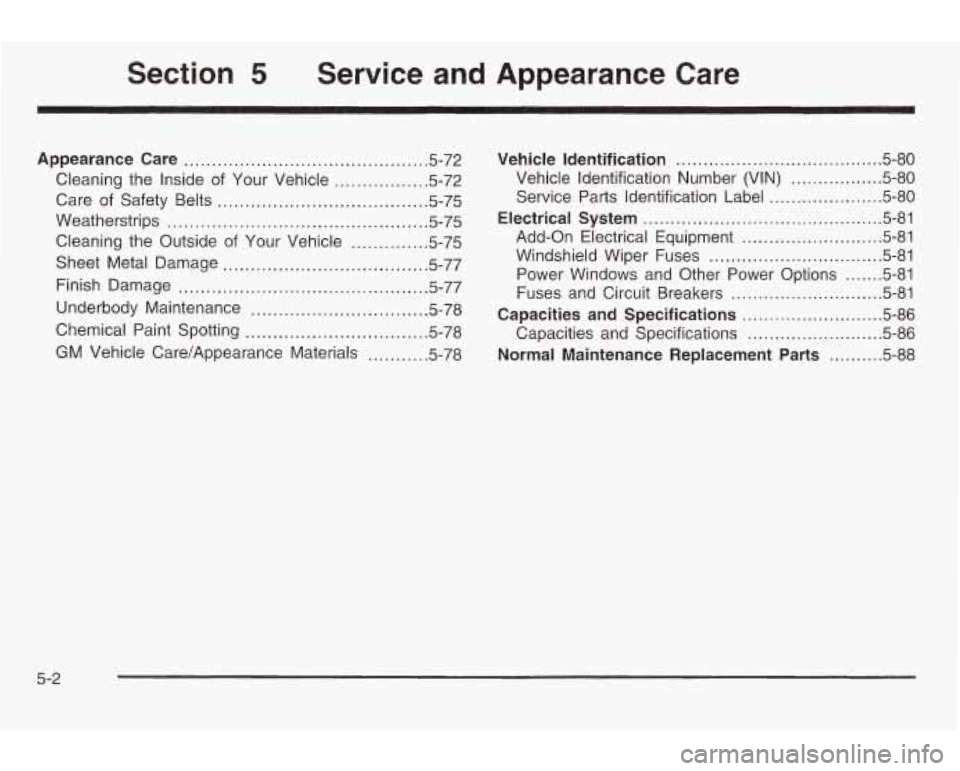
Section 5 Service and Appearance Care
Appearance Care ............................................ 5.72
Cleaning the Inside
of Your Vehicle ................. 5-72
Care of Safety Belts
...................................... 5.75
Weatherstrips
............................................... 5.75
Cleaning the Outside of Your Vehicle
.............. 5-75
Sheet Metal Damage
..................................... 5.77
Finish Damage
............................................. 5.77
Underbody Maintenance
................................ 5.78
Chemical Paint Spotting
................................. 5.78
GM Vehicle Care/Appearance Materials ........... 5.78 Vehicle
Identification
...................................... 5.80
Vehicle Identification Number (VIN)
................. 5.80
Service Parts Identification Label
..................... 5.80
Electrical System
............................................ 5.81
Add-on Electrical Equipment
.......................... 5.81
Windshield Wiper Fuses
................................ 5-81
Power Windows and Other Power Options
....... 5-81
Capacities and Specifications
.......................... 5-86
Capacities and Specifications
......................... 5-86
Fuses and Circuit
Breakers
............................ 5-81
Normal Maintenance Replacement Parts
.......... 5-88
5-2
Page 227 of 354
You should keep a record with all parts receipts and list Adding Equipment to the Outside of
the mileage and the date of any service work you
perform. See Part E: Maintenance Record on page 6- 16. Your Vehicle
You can be injured and your vehicle could be
damaged if you try to do service work on a
vehicle without knowing enough about
it.
Be sure you have sufficient knowledge,
experience, the proper replacement parts
and tools before you attempt any vehicle maintenance task.
Be sure to use the proper nuts, bolts and
other fasteners. “English” and “metric”
fasteners can be easily confused.
If you
use the wrong fasteners, parts can later
break or fall off. You could be
hurt.
Things you might add to the outside of your vehicle can
affect the airflow around it. This may cause wind
noise and affect windshield washer performance. Check
with your dealer before adding equipment
to the
outside
of your vehicle.
5-4
Page 236 of 354
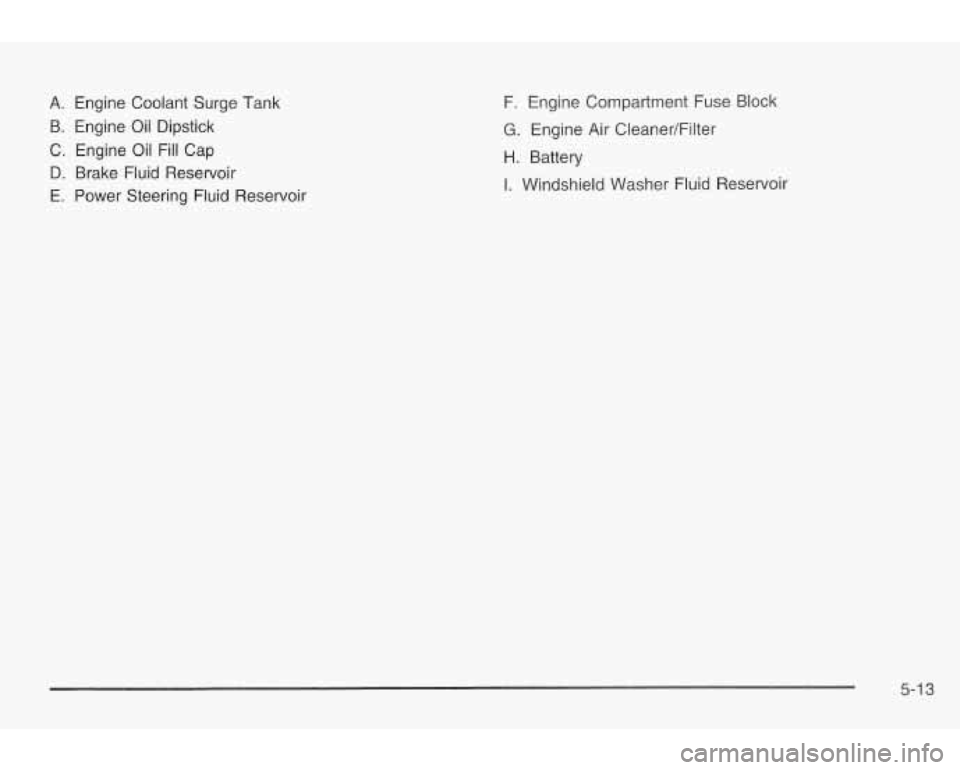
A. Engine Coolant Surge Tank
B. Engine Oil Dipstick
C. Engine
Oil Fill Cap
D. Brake Fluid Reservoir
E. Power Steering Fluid Reservoir F. Engine Compartment Fuse
Block
G. Engine Air Cleaner/Filter
H. Battery
I. Windshield Washer Fluid Reservoir
5-1 3
Page 243 of 354
How to Reset the Change Oil Light
The GM Oil Life SystemTM calculates when to change
your engine oil and filter based on vehicle use. Anytime
your oil is changed, reset the system
so it can
calculate when the next oil change is required.
If a
situation occurs where you change your oil prior
to a
CHANGE OIL light being turned on, reset the system.
After changing the engine oil, the system must be reset.
To reset the oil life indicator, do the following steps:
1. With the ignition key in ON (a short time after
turning
off the engine), press the RESET button
located in the driver’s side instrument panel
fuse block. See “Instrument Panel Fuse Block”
under
Fuses and Circuit Breakers on page 5-81.
2. When the CHANGE OIL light starts to flash, press
and hold the RESET button again.
The reset is complete when you hear the chimes and
the CHANGE OIL light goes out.
If your vehicle is equipped with a 2.2L L4 ECOTEC
engine, it has a unique oil filter element. When
reinstalling the filter cap do not exceed
18 Ib ft (25 N*m ).
Inspect the condition of the O-ring and replace if
damaged.
What to Do with Used Oil
Used engine oil contains certain elements that may be
unhealthy for your skin and could even cause cancer.
Don’t let used oil stay on your skin for very long. Clean
your skin and nails with soap and water, or a
good
hand cleaner. Wash or properly dispose of clothing or
rags containing used engine oil. See the manufacturer’s
warnings about the use and disposal of oil products.
Used oil can be a threat
to the environment. If you
change your own oil, be sure to drain all the oil from the
filter before disposal. Never dispose of oil by putting it
in the trash, pouring it on the ground, into sewers, or into
streams or bodies of water. Instead, recycle it by
taking it to a place that collects used oil. If you have a
problem properly disposing of your used oil, ask
your dealer, a service station or a local recycling center
for help.
See your dealer for additional information.
5-20
Page 304 of 354
Electrical System
Add-On Electrical Equipment
Notice: Don’t add anything electrical to your
vehicle unless you check with your dealer first.
Some electrical equipment can damage your vehicle
and the damage wouldn’t be covered by your
warranty. Some add-on electrical equipment can
keep other components from working as they
should.
Your vehicle has an air bag system. Before attempting
to add anything electrical to your vehicle, see
Servicing Your Air Bag-Equipped Vehicle on page 1-59.
Windshield Wiper Fuses
The windshield wiper motor is protected by a circuit
breaker and a fuse. If the motor overheats due to heavy
the overload is caused by some electrical problem, have
it fixed.
SXLY, ek., the vvipec vviii Sup urliii iikle I~IIU~WI cuuis. ii
Power Windows and Qther Power
Options
A circuit breaker in the fuse panel protects the power
windows. When the current load is
too heavy, the circuit
breaker opens and closes, protecting the circuit until
the problem is fixed.
Fuses and Circuit Breakers
The wiring circuits in your vehicle are protected from
short circuits by a combination
of fuses, circuit breakers
and fusible links. This greatly reduces the chance of
damage caused by electrical problems.
Look at the silver-colored band inside the fuse.
If the
band is broken or melted, replace the fuse. Be sure
to
replace a bad fuse with a new one of the identical
size and rating.
There are three fuse blocks in your vehicle: two
instrument panel fuse blocks and the engine
rmpsrtment !LE? h!r\Ck.
There are four spare fuses located in the driver’s side
instrument panel end cap for your use.
Instrument Panel Fuse Blocks
There are two fuse panels for your vehic!~. One Is
located on the driver’s side of the instrument panel
the other
is located on the passenger’s side. and
5-81