maintenance PONTIAC GRAND-PRIX 1993 Owners Manual
[x] Cancel search | Manufacturer: PONTIAC, Model Year: 1993, Model line: GRAND-PRIX, Model: PONTIAC GRAND-PRIX 1993Pages: 338, PDF Size: 17.3 MB
Page 2 of 338
BPontiac Grand Prix 1993 Owner’s Manual
Table of Contents
Introduction How to Use this Manual .............................. 3
Part 1 Seats & Safety Belts ................................... 9
Part 2 Features & Controls ................................. 43
Part 3 Comfort Controls & Audio Systems ...... 115
Part 4 Your Driving and the Road .................... 137
Part 5
Part 6
Part 7
Part 8
Part B
Problems on the Road ........................... 183
U
t
ti
II
Service & Appearance Care .................. 211
Maintenance Schedule .......................... 287
Customer Assistance Information ........ 309
Index ....................................................... 325
Includes “Reporting Safety Defects” on page 314
Service Station Information .......... Last Page
II
n
Printed in USA 101 93594 B Second Printing . .
ProCarManuals.com
Page 4 of 338
How to Use this Manual
b
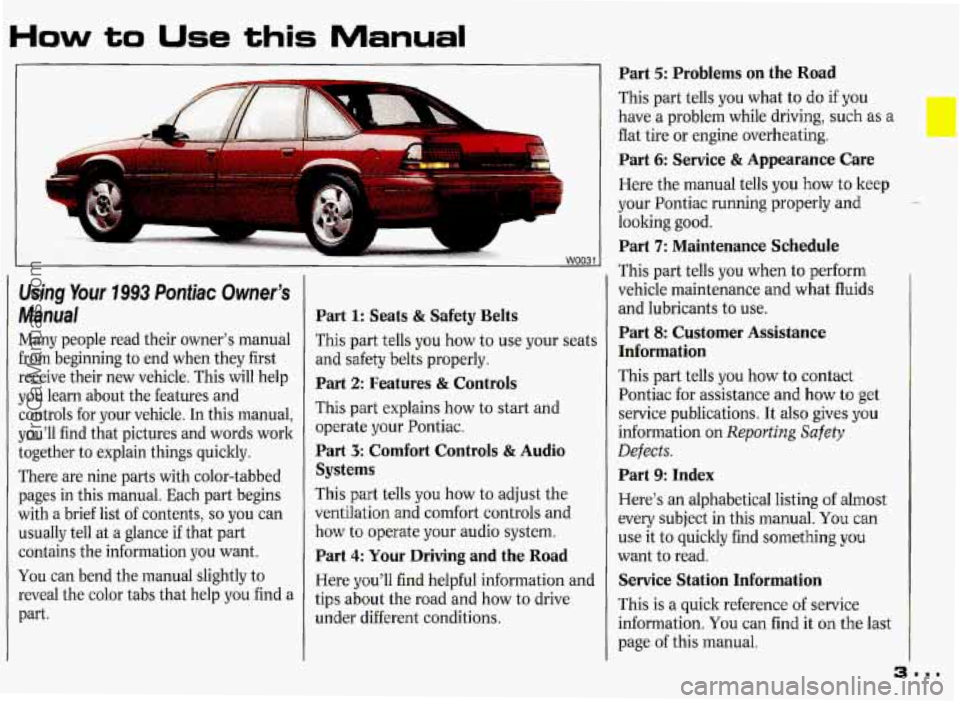
Using Your 1993 Pontiac Owner’s
Manual
Many people read their owner’s manual
from beginning to end when they first
receive their new vehicle. This will help
you learn about the features and
controls for your vehicle. In this manual,
you’ll find that pictures and words work
together to explain things quicltly.
There are nine parts with color-tabbed pages in this manual. Each part begins
with a brief list of contents,
so you can
usually tell at a glance if that part
contains the information you want.
You can bend the manual slightly to
reveal the color tabs that help you find a
part.
Part 1: Seats & Safety Belts
This part tells you how to use your seat:
and safety belts properly.
Part 2: Features 8z Controls
This part explains how to start and
operate your Pontiac.
Part 3: Comfort Controls & Audio
Systems
This part tells you how to adjust the
ventilation
and comfort controls and
how to operate your audio system.
Part 4: Your Driving and the Road
Here you’ll find helpful information anc
tips about the road and how to drive
under different conditions.
Part 5: Problems on the Road
This part tells you what to do if you
have a problem while driving, such as a
flat tire or engine overheating.
Part 6: Service & Appearance Care
Here the manual tells you how to keep
your Pontiac running properly and
looking good.
Part 7: Maintenance Schedule
This part tells you when to perform
vehicle maintenance and what fluids
and lubricants to use.
Part 8: Customer Assistance
Information
This part tells you how to contact
Pontiac for assistance and how
to get
service publications. It also gives you
information on
Reporting Safety
Defects.
Part 9: Index
Here’s an alphabetical listing of almost
every subject in this manual.
You can
use it to quicltly find something
you
want to read.
Service Station Information
This is a quick reference of service
information.
You can find it on the last
page of this manual.
~~.
ProCarManuals.com
Page 140 of 338
![PONTIAC GRAND-PRIX 1993 Owners Manual STOP]
LOW SHOULDER WORKERS AHEAD FLAGGER AHEAD
Orange indicates road construction or
maintenance. Youll want to slow down
when you see an orange sign, as part
of
the road may be clo PONTIAC GRAND-PRIX 1993 Owners Manual STOP]
LOW SHOULDER WORKERS AHEAD FLAGGER AHEAD
Orange indicates road construction or
maintenance. Youll want to slow down
when you see an orange sign, as part
of
the road may be clo](/img/50/58389/w960_58389-139.png)
STOP]
LOW SHOULDER WORKERS AHEAD FLAGGER AHEAD
Orange indicates road construction or
maintenance. You'll want to slow down
when you see an orange sign, as part
of
the road may be closed off or torn up.
And there may be workers and
maintenance vehicles around, too.
CANOEING SWIMMING
Brown signs point out recreation areas
or points of historic or cultural interest.
Shape of Road Signs
The shape of the sign will tell you
something, too.
An octagonal (eight-sided) sign means
Stop. It is always red with white letters.
A triangle, pointed downward, indicates
Yield. It assigns the right
of way to
traffic on certain approaches to an
intersection.
A diamond-shaped sign is a warning of
something ahead-for example, a curve,
steep hill,
soft shoulder, or a narrow
bridge.
A triangular sign also is used on two-
lane roads to indicate a No Passing
Zone. This sign will be on the left side
of the roadway.
ProCarManuals.com
Page 182 of 338
Parking on Hills
You really should not park your vehicle,
with a trailer attached, on a hill.
If
something goes wrong, your rig could
start to move. People can be injured,
and both your vehicle and the trailer
can be damaged.
But if you ever have to park your rig on
a hill, here’s how to do it:
1. Apply your regular brakes, but don’t
shift into
P (Park) yet.
2. Have someone place chocks under
the trailer wheels.
3. When the wheel chocks are in place,
release the regular brakes until the
chocks absorb the load.
4. Reapply the regular brakes. Then
apply your parking brake, and then
shift to
P (Park).
5. Release the regular brakes.
When You Are Ready to Leave After
Parking
on a Hill
1. Apply your regular brakes and hold
the pedal down while you:
Start your engine;
Shift into a gear; and
Release the parking brake.
2. Let up on the brake pedal.
3. Drive slowly until the trailer is clear
4. Stop and have someone pick up and
of
the chocks.
store the choclts.
Maintenance When Trailer Towing
Your vehicle will need service more
often when you’re pulling a trailer. See
the Maintenance Schedule for more on
this. Things that are especially
important in trailer operation
are
automatic transaxle fluid (don’t
overfill), engine oil, belts, cooling
system, and brake adjustment. Each
of
these is covered in this manual, and the
Index will help you find them quickly. If
you’re trailering, it’s a good idea to
review these sections before you start
your trip.
Check periodically to see that all hitch
nuts and bolts are tight.
IBI ...
ProCarManuals.com
Page 212 of 338
Part 6
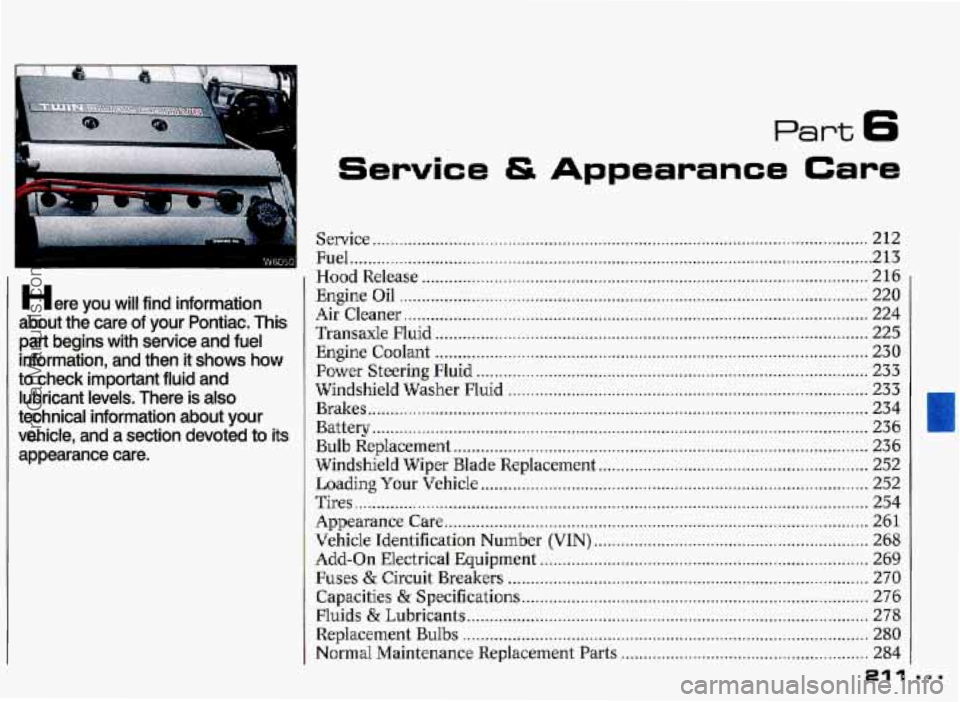
Here you will find information
about the care
of your Pontiac . This
part begins with service
and fuel
information. and then it
shows how
to check important fluid and lubricant levels
. There is also
technical information about your
vehicle. and a section devoted
to its
appearance care
.
81 1
Service & Appearance Care
Service ........................................................................\
...................................... 212
Fuel ........................................................................\
............................................ 213
Hood Release ........................................................................\
............................ 216
Engine Oil
........................................................................\
................................ 220
Air Cleaner ........................................................................\
............................... 224
Transaxle
Fluid ........................................................................\
........................ 225
Engine Coolant ........................................................................\
........................ 230
Power Steering Fluid ........................................................................\
............... 233
Windshield Washer
Fluid ........................................................................\
........ 233
Brakes
.......... .......................... ........................................................................\
... 234
Battery
........................................................................\
........................ .... .......... 236
Bulb Replacement ........................................................................\
.................... 236
Loading
Your Vehicle ........................................................................\
.............. 252
Vehicle Identification Number (VIN) ............................................................. 268
Capacities
& Specifications ........................................................................\
..... 276
Replacement
Bulbs ................................................................... .......- ............... 280
Windshield Wiper
Blade Replacement ............................................................ 252
Tires ........................................................................\
.......................................... 254
Appearance Care ........................................................................\
...................... 261
Add-on Electrical Equipment ........................................................................\
. 269
Fuses & Circuit Breakers ........................................................................\
........ 270
Fluids
& Lubricants ........................................................................\
................. 278
Normal Maintenance Replacement Parts ....................................................... 284
ProCarManuals.com
Page 213 of 338
Service & Appearance Care
Senrice
Your Pontiac dealer Imows your vehicle
best and wants you to be happy with it.
We hope you’ll go to your dealer for all
your service needs. You’ll get genuine
GM parts and GM-trained and
supported service people.
We hope you’ll want to keep your
GM
vehicle all GM. Genuine GM parts have
one
of these marks.
Doing Your Own Sewke Work
If you want to do mrne of yo,ur awn
service
work, you’ll want to get the
proper Pontiac Service Manual.
It tens
you
much more about ~QW to servke
your Pentiac than this manual caul. To
order the proper service manual, see the
Index under Seruice Publications.
You should keep a record with all parts
receipts and list the mileage
and th,e date
of my service work you perform. See the
In&x under Maintenance RGCQT~.
You can be injured if you try
,= to do senrice work on a
bl,icle without knowing enough
about it,
* Be sure you have sufficient
knowledge,
experience, and the
proper replacement parts and
tools before you attempt any
vehicle maintenance task.
Be sure to use the proper nuts,
bolts, and other fasteners.
“hglish” and “metric” fasteners
can be easily confused. If you use
the wrong fasteners, parts can
later break or fall off. You could
be hurt. I
ProCarManuals.com
Page 225 of 338
Service & Appearance Care
i
Air Cleaner
Refer to the Maintenance Schedule to
determine when to replace the
air filter
and the
PCV filter. See the Index under
Scheduled Maintenance Services.
CAUTlON
A Operating the engine with
1 L the air cleaner off can cause
ywu or others to be burned. The air
cleaner not only cleans the air, it
stops flame if the engine backfires.
If it isn’t there, and the engine
backfires, you could be burned.
Don’t drive with it off, and be
careful working on the engine with
the air clearier off.
-
If the air cleaner is off, a backfire
can cause a damaging engine fire.
And, dirt can easily get into your
engine, which will damage
i
Always have the air cleaner
place when you’re driv
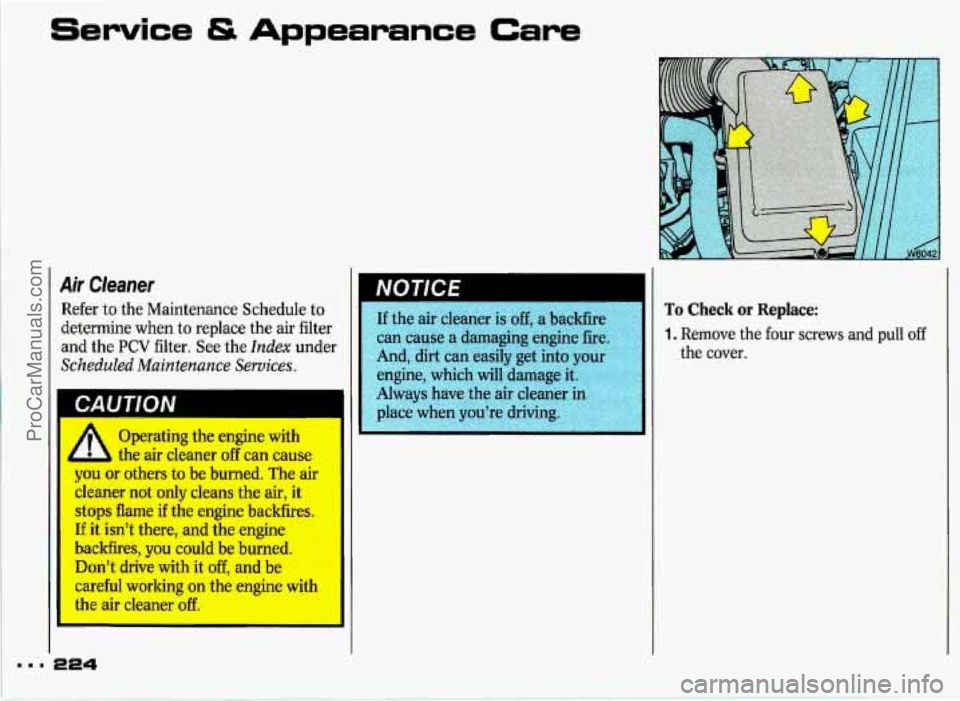
To Check or Replace:
1. Remove the four screws and pull off
the cover.
ProCarManuals.com
Page 226 of 338
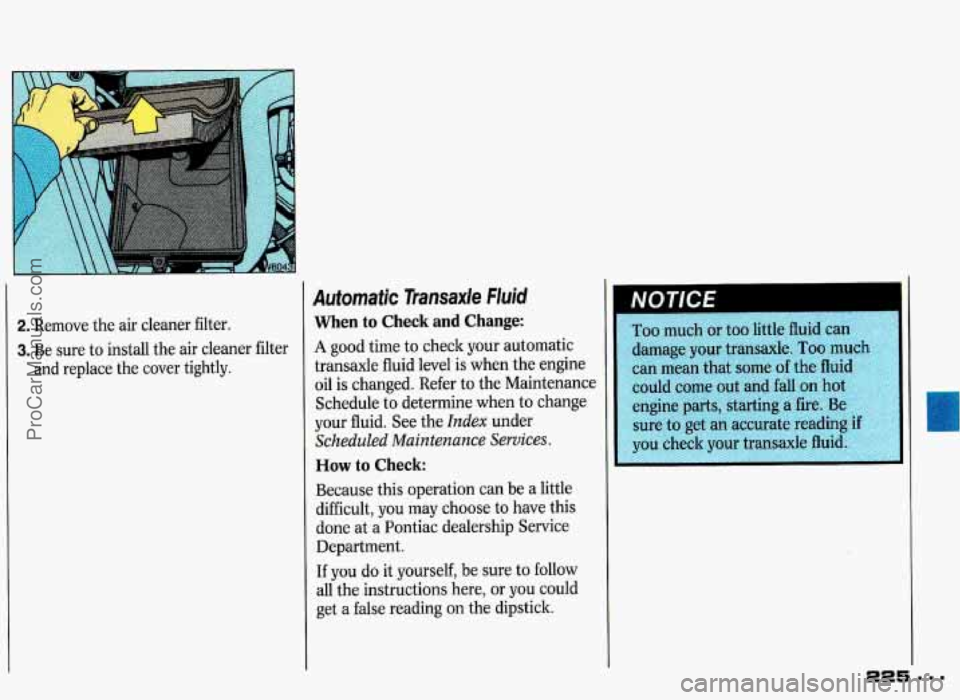
2. Remove the air cleaner filter.
3. Be sure to install the air cleaner filter
and replace the cover tightly.
Automatic Transaxle Fluid
When to Check and Change:
A good time to check your automatic
transaxle fluid level
is when the engine
oil is changed. Refer to the Maintenance
Schedule to determine when to change
your fluid. See the
Index under
Scheduled Maintenance Services.
How to Check:
Because this operation can be a little
difficult, you may choose to have this
done at a Pontiac dealership Service
Department.
If you do
it yourself, be sure to follow
all the instructions here, or you could
get a false reading on the dipstick.
NOTICE I
00 much or too little fluid
mage your transaxle.
Too
n mean that some of the flu
Id come out and fall on
ho
ine parts, starting a fi
I
225 . .
ProCarManuals.com
Page 228 of 338
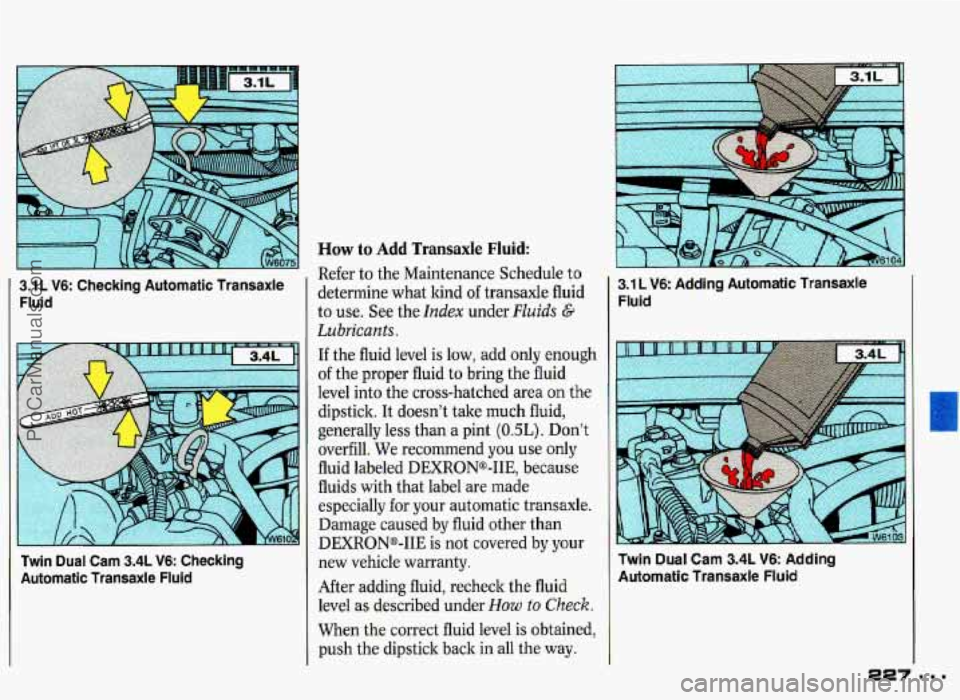
3.1 L V6: Checking Automatic Transaxle Fluid
Twin Dual Cam 3.4L V6: Checking
Automatic Transaxle Fluid
How to Add Transaxle Fluid:
Refer to the Maintenance Schedule to
determine what kind of transaxle fluid
to use. See the
Index under Fluids G
Lubricants.
If the fluid level is low, add only enough
of the proper fluid to bring the fluid
level into the cross-hatched area on the
dipstick. It doesn't take much fluid,
generally less than a pint
(0.5L). Don't
overfill. We recommend you use only
fluid labeled DEXRONQ-IIE, because
fluids with that label are made
especially for your automatic transaxle.
Damage caused by fluid other than
DEXRONB-IIE is not covered by your
new vehicle warranty.
After adding fluid, recheck the
fluid
level as described under How to Check.
When the correct fluid level is obtained,
push the dipstick back in all the
way.
3.1 L V6 Adding Automatic Transaxle
Fluid
Twin Dual Cam 3.4L V6: Adding
Automatic Transaxle Fluid
U
ProCarManuals.com
Page 230 of 338
3. Check both sides of the dipstick and
read the lower level. The fluid level
must be between the
ADD and
FULL marks. (Note: Fluid may
appear at the bottom
of the dipstick
even when the fluid level is several
pints low.)
4. If the fluid is where it should be, push
the dipstick back in all the way.
How to Add Fluid:
Here’s how to add fluid. Refer to the
Maintenance Schedule to determine
what kind of fluid
to use. See the Index
under Fluids G Lubricants.
1. Remove the dipstick by flipping the
handle
up and then pulling the
dipstick out.
2. Add fluid at the dipstick hole.
Add only enough fluid to bring the
fluid level
up to the FULL mark on
the dipstick
3. Push the dipstick back in all the way;
then flip the handle
down to lock the
dipstick in place.
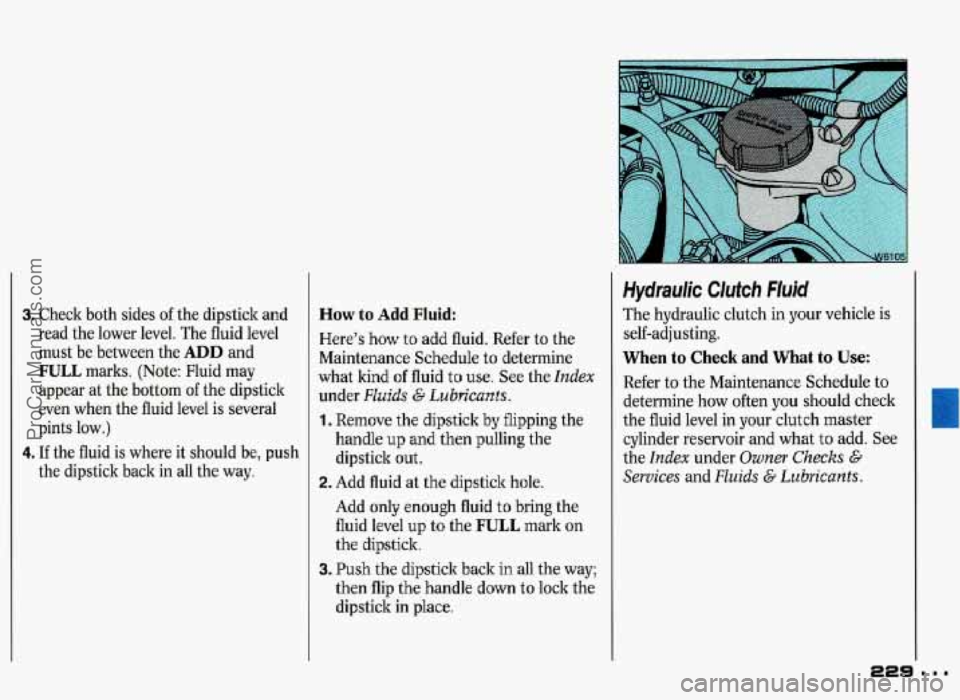
Hydraulic Clutch Flujd
The hydraulic clutch in your vehicle is
self-adjusting.
When to Check and What to Use:
Refer to the Maintenance Schedule to
determine how often you should check
the fluid level in your clutch master
cylinder reservoir and what
to add. See
the
Index under Owner Checks G
Services and Fluids G Lubricants.
ProCarManuals.com