PONTIAC GRAND PRIX 1998 Service Manual
GRAND PRIX 1998
PONTIAC
PONTIAC
https://www.carmanualsonline.info/img/50/40848/w960_40848-0.png
PONTIAC GRAND PRIX 1998 Service Manual
Trending: center console, manual transmission, inflate, weight, AUX, glove box, gas type
Page 41 of 402
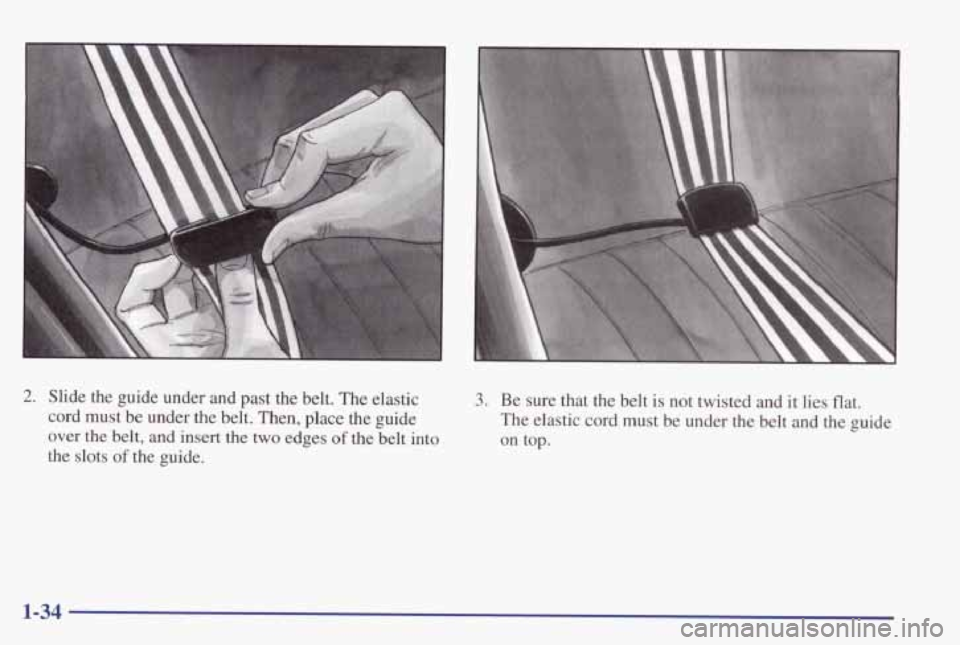
2. Slide the guide under and past the belt. The elastic
cord must
be under the belt. Then, place the guide
over the belt, and insert the two edges
of the belt into
the slots
of the guide.
3. Be sure that the belt is not twisted and it lies flat.
The elastic cord must be under the belt
and the guide
on top.
1-34
Page 42 of 402
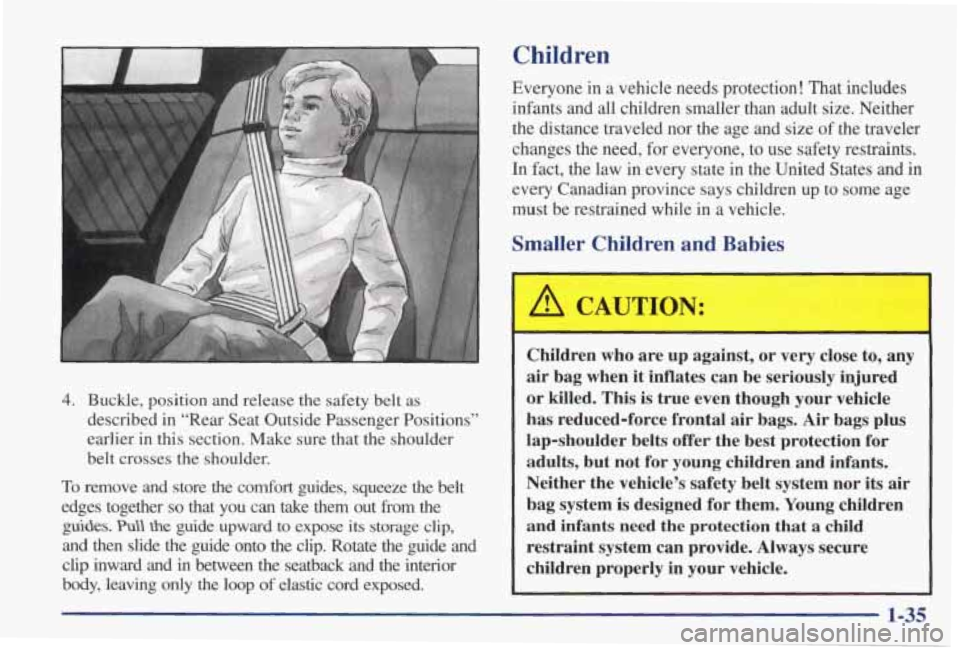
4. Buckle, position and release the safety belt as
described in “Rear Seat Outside Passenger Positions”
earlier
in this section. Make sure that the shoulder
belt crosses
the shoulder.
To remove and store the comfort guides, squeeze the belt
edges together
so that you can take them out from the
@des. Pull the guide upward to expose its storage clip,
and then slide the guide onto the clip. Rotate the guide and \
clip inward and in between the seatback and the interior
body, leaving only the
loop of elastic cord exposed.
Children
Everyone in a vehicle needs protection! That includes
infants and all children smaller
than adult size. Neither
the distance traveled nor the age and size
of the traveler
changes the need, for everyone, to use safety restraints.
In fact, the law in every state in the United States and
in
every Canadian province says children up to some age
must be restrained while in a vehicle.
Smaller Children and Babies
A CAUTION:
Children who are up against, or very close to, any
air bag when it inflates can be seriously injured
or killed. This is true even though your vehicle
has reduced-force frontal
air bags. Air bags plus
lap-shoulder belts offer the best protection for
adults, but not for young children and infants.
Neither the vehicle’s safety belt system nor
its air
bag system is designed for them. Young children
and infants need the protection
that a child
restraint system can provide. Always secure
children properly in your vehicle.
1-35
Page 43 of 402
,& CAUTION:
Smaller children and babies should always be
restrained in a child or infant restraint. The
instructions for the restraint will say whether it is
the right type and size for your child.
A very
young child’s hip bones are
so small that a
regular belt might not stay low on the hips, as it
should. Instead, the belt will likely be
over the
child’s
abdomen. In a crash, the belt would apply
force right on the child’s abdomen, which could
cause serious or fatal injuries.
So, be sure that
any child
small enough for one is always properly
restrained in
a child or infant restraint. Infants need complete
support, including support
for the
head and neck.
This is necessary because an infant’s
neck
is weak and its head weighs so much compared
with the rest of its body. In a crash, an infant in a
rear-facing restraint settles into the restraint, so the crash
forces can be distributed across the strongest
part of the
infant’s body, the back and shoulders.
A baby should be
secured in
an appropriate infant restraint. This is so
important that many hospitals today won’t release a
newborn infant to its parents unless there
is an infant
restraint available for
the baby’s first trip in a
motor vehicle.
1-36
Page 44 of 402
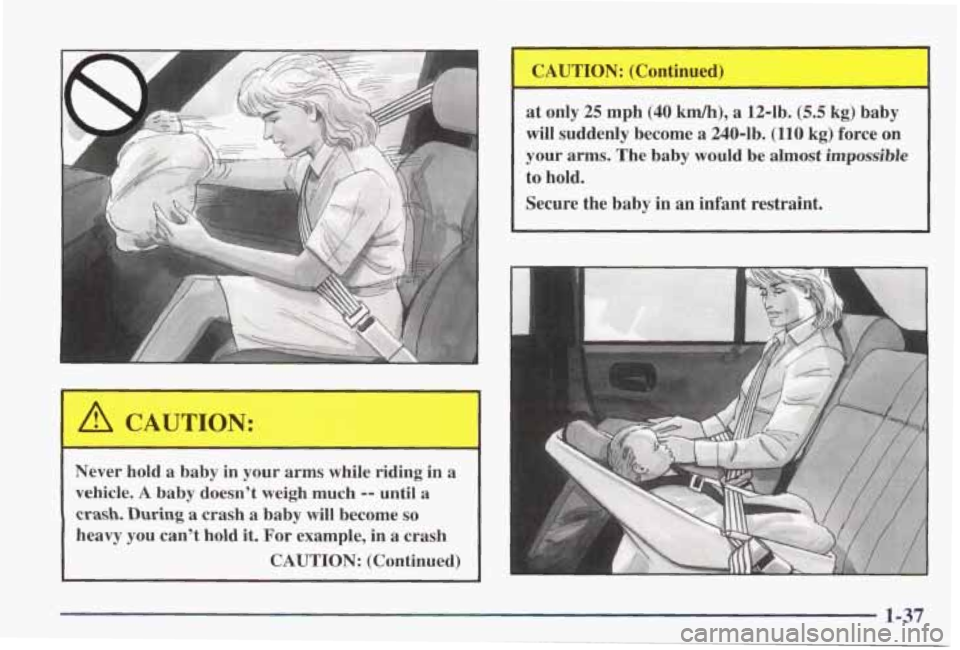
Never hold a baby in your arms while riding in a
vehicle.
A baby doesn’t weigh much -- until a
crash. During a crash a baby will become so
heavy you can’t hold it. For example, in a crash
CAUTION: (Continued)
I
at only 25 mph (40 km/h), a 12-lb. (5.5 kg) baby
will suddenly become
a 2404b. (110 kg) force on
your arms. The baby would be almost impossible
to hold.
Secure the baby in
an infant restraint.
I
1
Page 45 of 402
Built-in Child Restraint (Option)
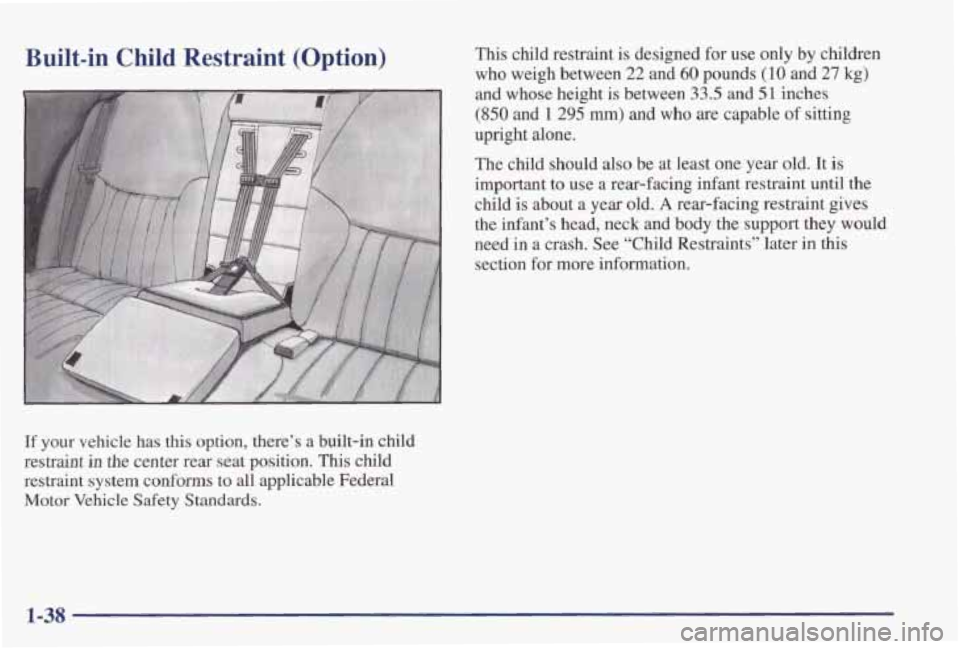
If your vehicle has this option, there’s a built-in child
restraint
in the center rear seat position. This child
restraint system conforms to
all applicable Federal
Motor Vehicle Safety Standards.
This child restraint is designed for use only by children
who weigh between
22 and 60 pounds (10 and 27 kg)
and whose height is between 33.5 and 51 inches
(850 and 1 295 mm) and who are capable of sitting
upright alone.
The child should
also be at least one year old. It is
important to use a rear-facing infant restraint until the
child is about a year old.
A rear-facing restraint gives
the infant’s head, neck and body the support they would
need
in a crash. See “Child Restraints” later in this
section for more information.
1-38
Page 46 of 402
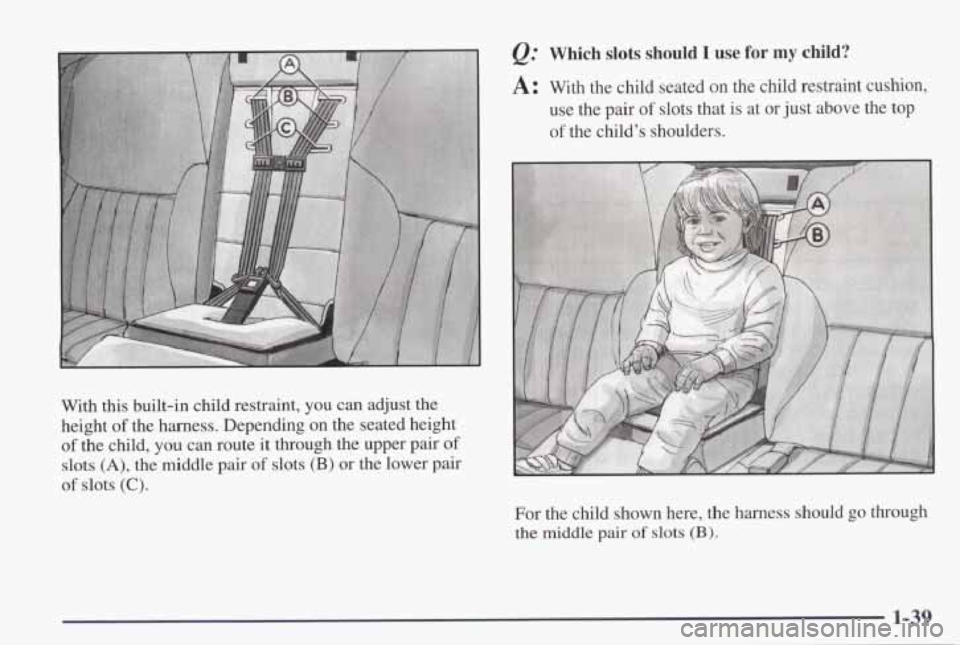
With this built-in child restraint, you can adjust the
height
of the harness. Depending on the seated height
of the child, you can route it through the upper pair of
slots (A), the middle pair of slots (B) or the lower pair
of slots (C).
@ Which slots should I use for my child?
A: With the child seated on the child restraint cushion,
use the pair
of slots that is at or just above the top
of the child’s shoulders.
I
For the child shown here, the harness should go through
the middle pair of slots (B).
1-39
Page 47 of 402
@ What if the top of my child’s shoulders is above
A: A child whose shoulders are above the highest slots
the highest pair of slots?
shouldn’t use this child restraint. Instead, the child
should sit on the vehicle’s seat cushion and use the
vehicle’s safety belts.
A CAUTION:
MAKE SURE THE TOP OF THE CHILD’S
SHOULDERS Is BELOW THE SLOTS THAT
THE HARNESS GOES THROUGH. A CHILD
WHOSE
SHOULDERS ARE ABOVE THOSE
SLOTS COULD BE INJURED DURING A
SUDDEN STOP OR CRASH. IF’ THE TOP OF
THE CHILD’S SHOULDERS IS ABOVE THE
SLOTS, DON’T USE THIS CHILD
RESTRAINT. INSTEAD, THE CHILD SHOULD
SIT ON THE VEHICLE’S REGULAR SEAT
AND USE THE REGULAR SAFETY BELTS.
Adjusting the Harness Height
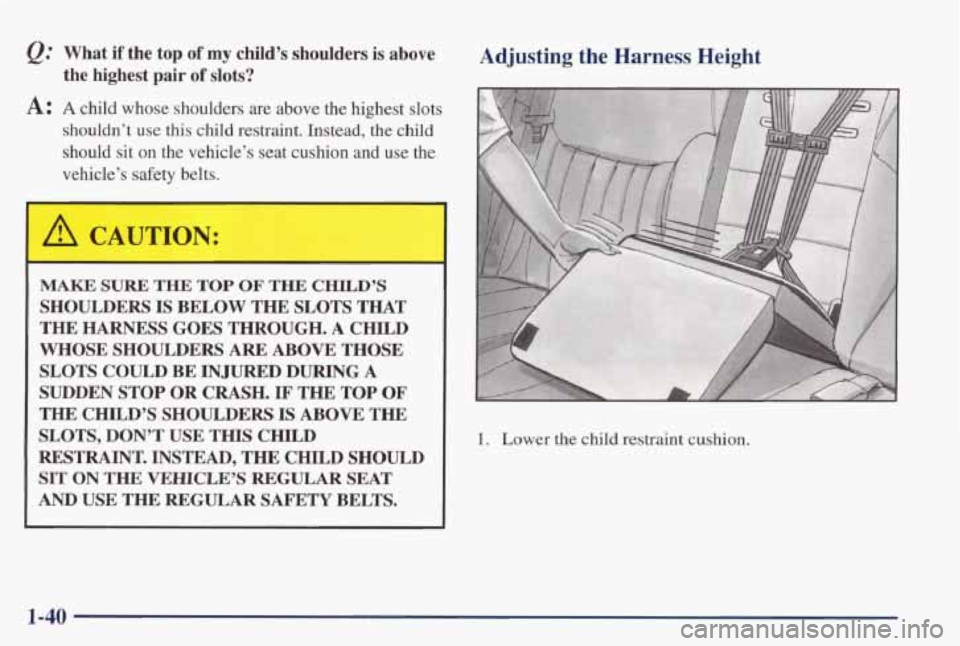
1. Lower the child restraint cushion.
1-40
Page 48 of 402
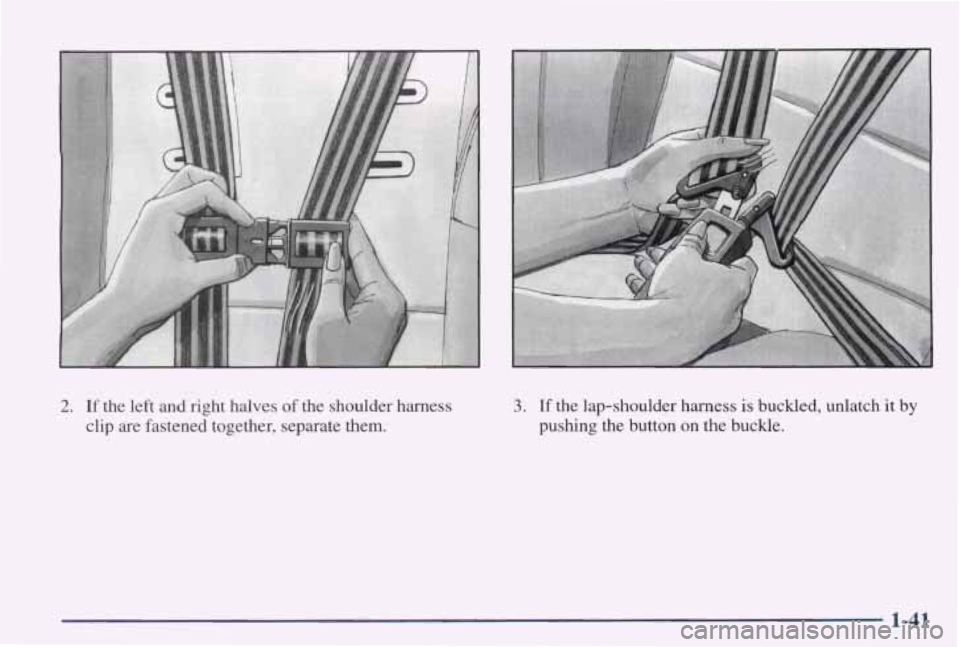
2. If the left and right halves of the shoulder harness
clip are fastened together, separate them. 3. If the lap-shoulder harness is buckled, unlatch it by
pushing the button on the buckle.
1-41
Page 49 of 402
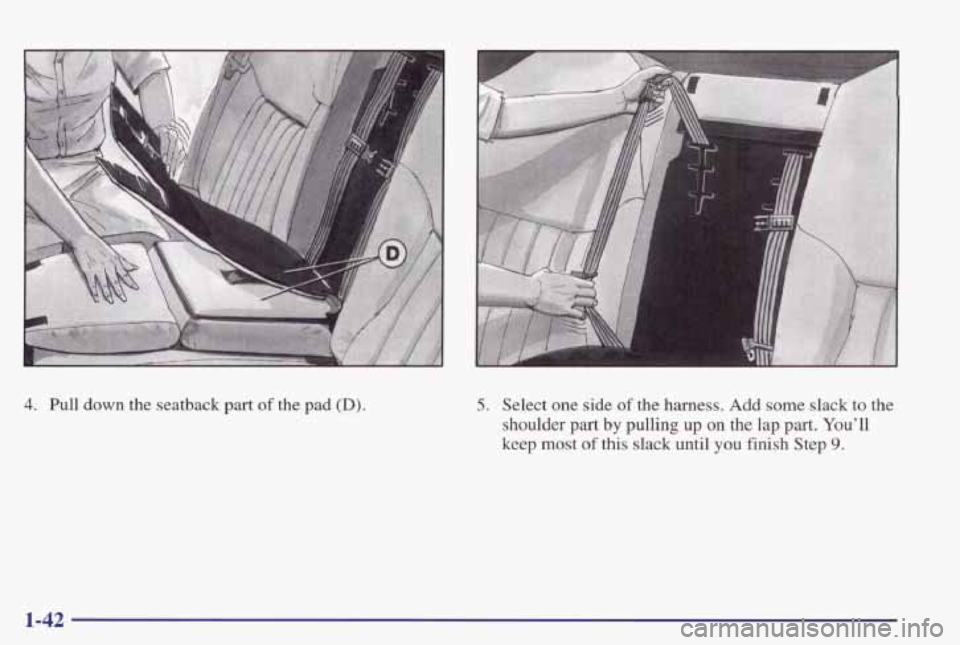
4. Pull down the seatback part of the pad (D). 5. Select one side of the harness. Add some slack to the
shoulder part
by pulling up on the lap part. You'll
keep most
of this slack until you finish Step 9.
1-42
Page 50 of 402
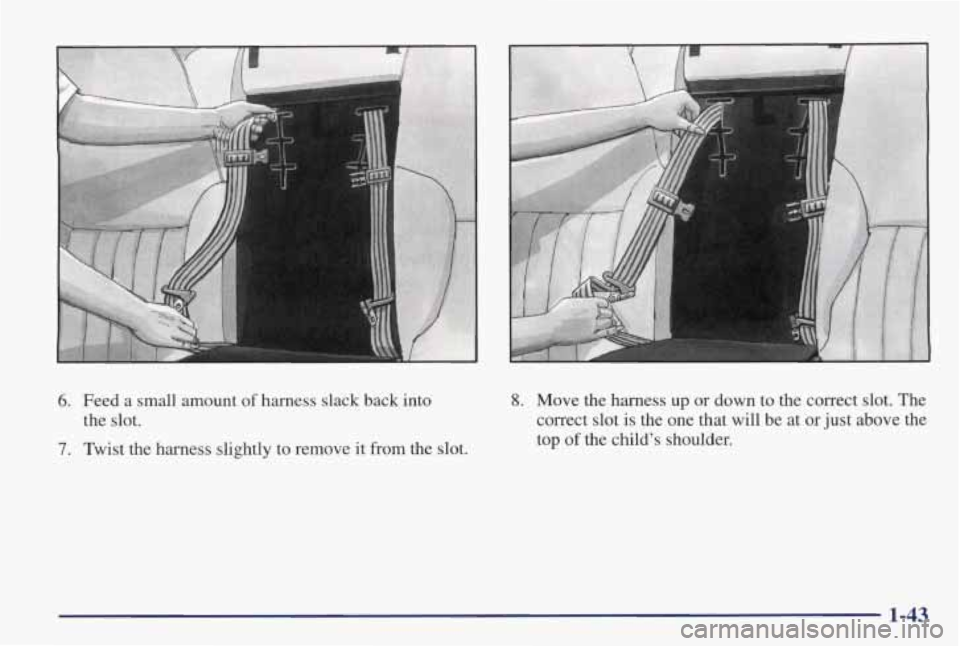
6. Feed a small amount of harness slack back into
the slot.
7. Twist the harness slightly to remove it from the slot.
F
8. Move the harness up or down to the correct slot. The
correct slot
is the one that will be at or just above the
top
of the child’s shoulder.
1-43
Trending: power steering, phone, service reset, ECU, radio, trailer, fuel filter
