change wheel PONTIAC GRAND PRIX 1998 Owners Manual
[x] Cancel search | Manufacturer: PONTIAC, Model Year: 1998, Model line: GRAND PRIX, Model: PONTIAC GRAND PRIX 1998Pages: 402, PDF Size: 17.96 MB
Page 109 of 402
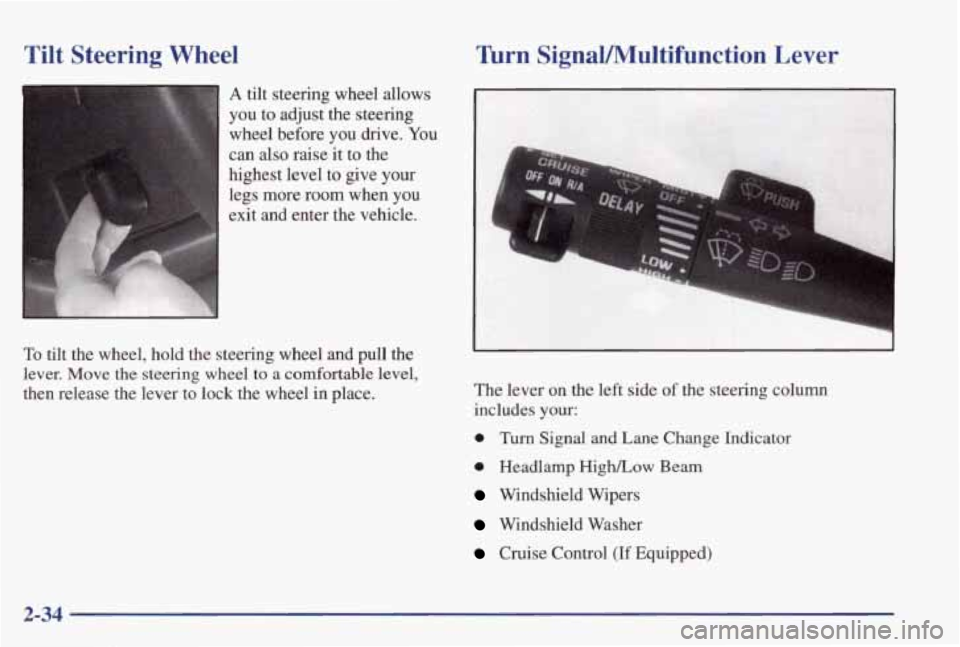
Tilt Steering Wheel
A tilt steering wheel allows
you to adjust the steering
wheel before you drive. You
can
also raise it to the
highest level to give your
legs more room when you
exit and enter the vehicle.
To tilt the wheel, hold the steering wheel and pull the
lever. Move the steering wheel to a comfortable level,
then release the lever to lock the wheel
in place.
&rn SignaVMultifunction Lever
--
--I
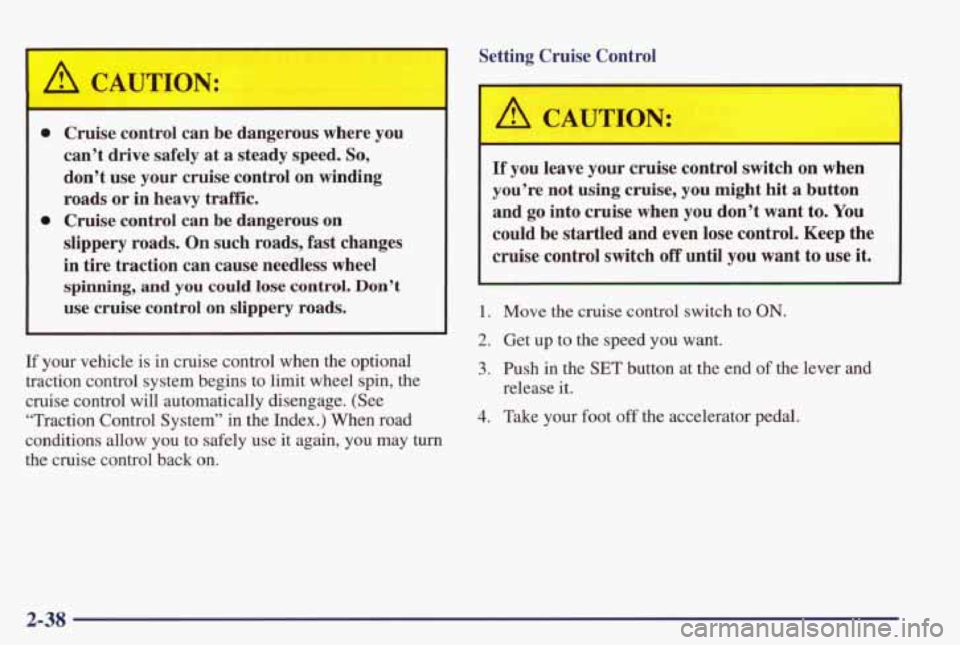
The lever on the left side of the steering column
includes
your:
0 Turn Signal and Lane Change Indicator
0 Headlamp HighLow Beam
Windshield Wipers
Windshield Washer
Cruise Control (If Equipped)
2-34
Page 113 of 402
A CAUTdN:
0 Cruise control can be dangerous where you
can’t drive safely at a steady speed.
So,
don’t use your cruise control on winding
roads
or in heavy traff“lc.
slippery roads.
On such roads, fast changes
in tire traction can cause needless wheel
spinning, and you could lose control. Don’t
use cruise control on slippery roads.
0 Cruise control can be dangerous on
If your vehicle is in cruise control when the optional
traction control system begins to limit wheel spin, the
cruise control will automatically disengage. (See
“Traction Control System” in the Index.)
When road
conditions allow you to safely use it again, you may turn
the cruise control back on.
Setting Cruise Control
-
/A CAUTION:
If you leave your cruise control switch on when
you’re not using cruise, you
might hit a button
and go into cruise when you don’t want to.
You
could be startled and even lose control. Keep the
cruise control
switch off until you want to use it.
1. Move the cruise control switch to ON.
2. Get up to the speed you want.
3. Push in the SET button at the end of the lever and
release it.
4. Take your foot off the accelerator pedal.
2-38
Page 152 of 402
Functions
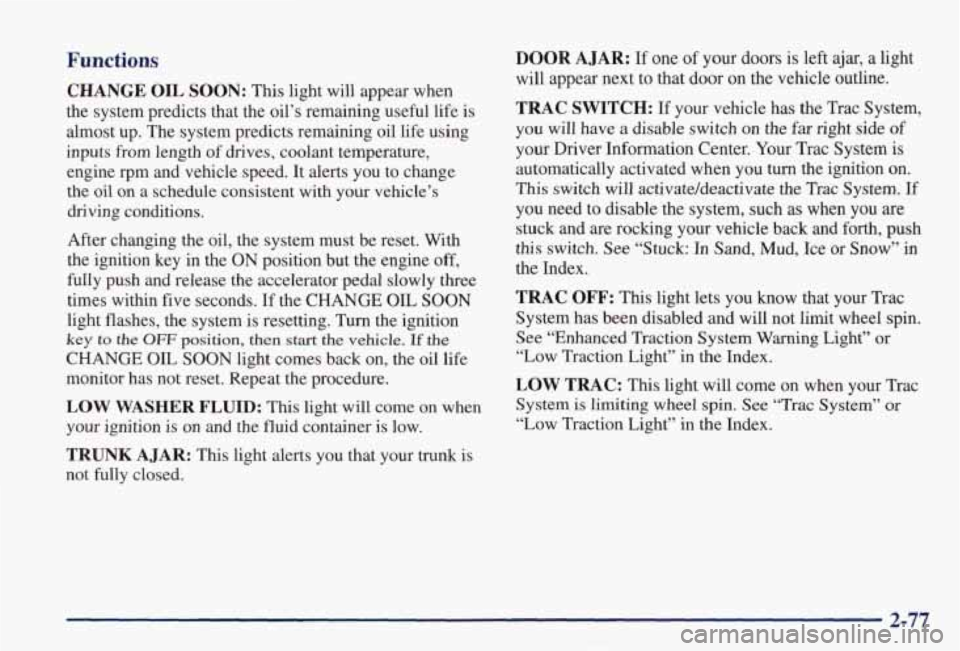
CHANGE OIL SOON: This light will appear when
the system predicts that the oil’s remaining useful life is \
almost up. The system predicts remaining oil life using
inputs from length of drives, coolant temperature, engine rpm and vehicle speed. It alerts you to change
the oil on a schedule consistent with your vehicle’s driving conditions.
After changing the oil, the system must be reset. With
the ignition key in the ON position but the engine
off,
fully push and release the accelerator pedal slowly three
times within five seconds. If the CHANGE
OIL SOON
light flashes, the system is resetting. Turn the ignition
key to the OFF position, then start the vehicle. If the
CHANGE OIL SOON light comes back on, the oil life
monitor has not reset. Repeat the procedure.
LOW WASHER FLUID: This light will come on when
your ignition is on and the fluid container is low.
TRUNK A JAR: This light alerts you that your trunk is
not fully closed.
DOOR AJAR: If one of your doors is left ajar, a light
will appear next to that door on the vehcle outline.
TRAC SWITCH: If your vehicle has the Trac System,
you will have
a disable switch on the far right side of
your Driver Information Center. Your Trac System is automatically activated when you turn the ignition on.
This switch will activate/deactivate the Trac System. If
you need to disable the system, such as when you are
stuck and are rocking your vehicle back and forth, push
this switch. See “Stuck: In Sand, Mud, Ice or Snow” in
the Index.
TRAC OFF: This light lets you know that your Trac
System has been disabled and will not limit wheel spin. See “Enhanced Traction System Warning Light”
or
“Low Traction Light” in the Index.
LOW TRAC: This light will come on when your Trac
System is limiting wheel spin. See “Trac System” or
“Low Traction Light”
in the Index.
2-77
Page 157 of 402
When the HUD is on, the speedometer reading will be displayed continually. The current radio station
or CD
track number will only be displayed for three seconds
after the radio or
CD track status changes. This will
happen whenever one
of the radio controls is pressed,
either on
the radio itself or on the optional steering
wheel controls.
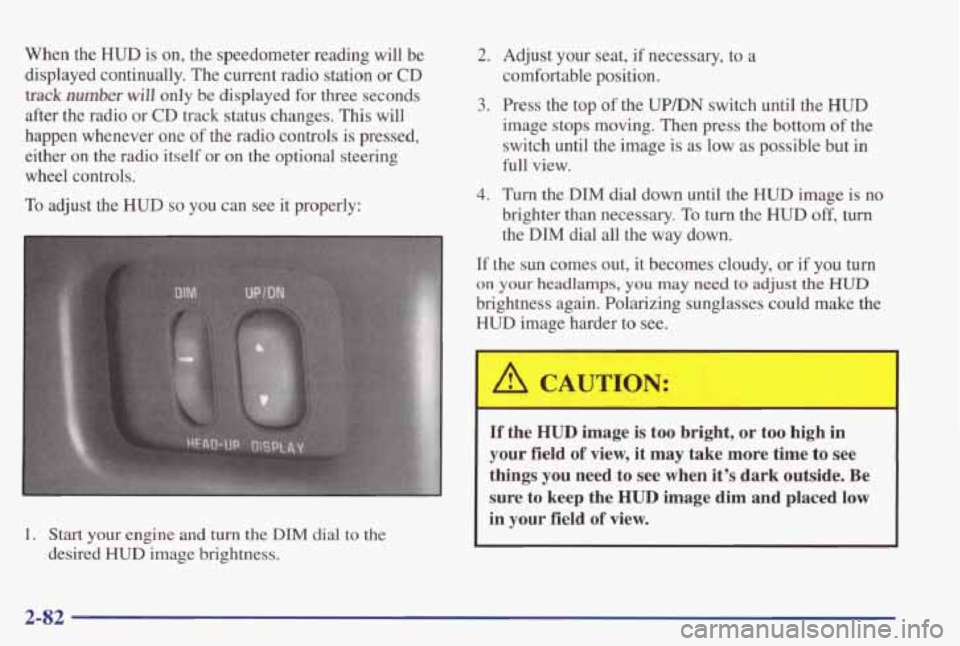
To adjust the HUD so you can see it properly:
1. Start your engine and turn the DIM dial to the
desired
HUD image brightness.
2. Adjust your seat, if necessary, to a
comfortable position.
3. Press the top of the UP/DN switch until the HUD
image stops moving. Then press the bottom of the
switch until the image is as low as possible but in
full view.
4. Turn the DIM dial down until the HUD image is no
brighter than necessary.
To turn the HUD off, turn
the
DIM dial all the way down.
If the sun comes out, it becomes cloudy, or if you turn
on your headlamps, you may need to adjust the HUD
brightness again. Polarizing sunglasses could make the
HUD image harder to see.
I
I A CAUTION:
If the HUD image is too bright, or too high in
your field of view, it may take more time to see
things
you need to see when it’s dark outside. Be
sure to keep the
HUD image dim and placed low
in your field of view.
2-82
Page 160 of 402
P
Section 3 Comfort Controls and Audio Systems
In this section, you’ll find out how to operate the comfort control \
and audio systems offered with your vehicle. Be
sure to read about the particular systems supplied with your v\
ehicle.
3-2
3-2
3-4
3-8
3-9
3-10
3-10
3- 10
3-1 1
3-12
3-16
Comfort Controls
Air Conditioning with Electronic Controls
Air Conditioning with Automatic and
Auxiliary Temperature Control
(If Equipped)
Ventilation System
Rear Window Defogger Audio System Setting the Clock for
AM-FM Stereo
Setting
the Clock for All Systems Except
AM-FM Stereo
AM-FM Stereo
AM-FM Stereo with Cassette Tape Player
(If Equipped)
AM-FM Stereo with Cassette Tape Player and
Equalizer (If Equipped) 3-19
3-22
3-24
3-27
3-29
3-30
3-30
3-3 1
3-32
3-32
3-32 3-32
AM-FM Stereo with Compact Disc Player
(If Equipped)
AM-FM Stereo with Compact Disc Player and
Equalizer
(If Equipped)
Trunk Mounted CD Changer (If Equipped)
Theft-Deterrent Feature
Audio Steering Wheel Controls
(If Equipped)
Understanding Radio Reception
Tips About Your Audio System
Care of
Your Cassette Tape Player
Care
of Your Compact Discs
Care
of Your Compact Disc Player
Fixed Mast Antenna
Backglass Antenna
(If Equipped)
Page 188 of 402
To unlock a secured radio, see “Unlocking the
Theft-Deterrent Feature After
a Power Loss” earlier in
this section.
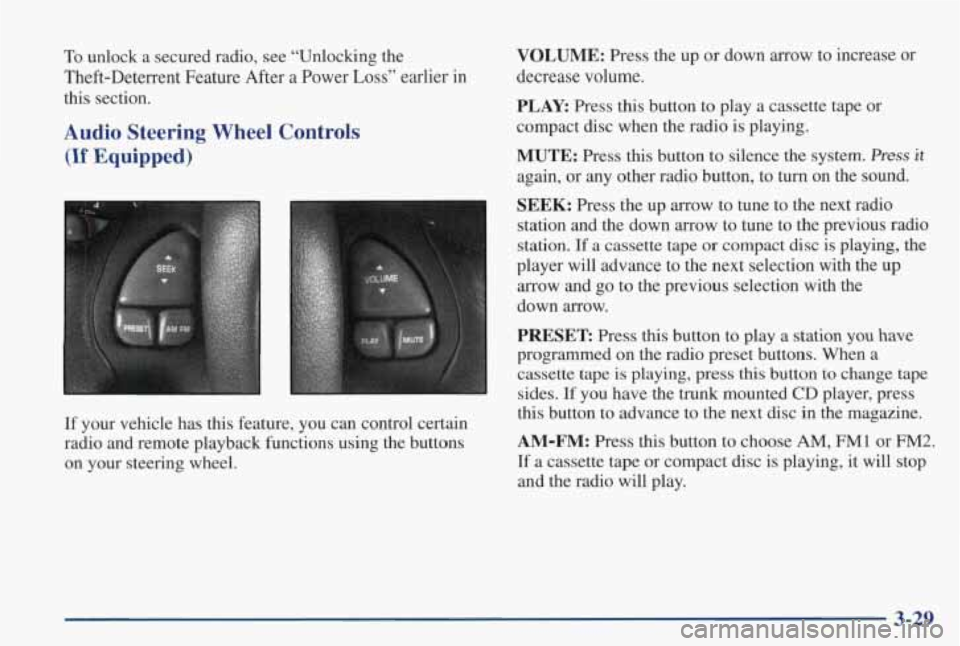
Audio Steering Wheel Controls
(If Equipped)
3
r.
If your vehicle has this feature, you can control certain
radio and remote playback functions using the buttons
on your steering wheel.
VOLUME: Press the up or down arrow to increase or
decrease volume.
PLAY: Press this button to play a cassette tape or
compact disc when the radio is playing.
MUTE: Press this button to silence the system. Press it
again, or any other radio button, to turn on the sound.
SEEK: Press the up arrow to tune to the next radio
station and the down
arrow to tune to the previous radio
station.
If a cassette tape or compact disc is playing, the
player will advance
to the next selection with the up
arrow and go to the previous selection with the
down arrow.
PRESET: Press this button to play a station you have
programmed on the radio preset buttons. When a cassette tape
is playing, press this button to change tape
sides.
If you have the trunk mounted CD player, press
this button to advance to
the next disc in the magazine.
AM-FM: Press this button to choose AM, FM1 or FM2.
If a cassette tape or compact disc is playing, it will stop
and the radio will play.
3-29
Page 201 of 402
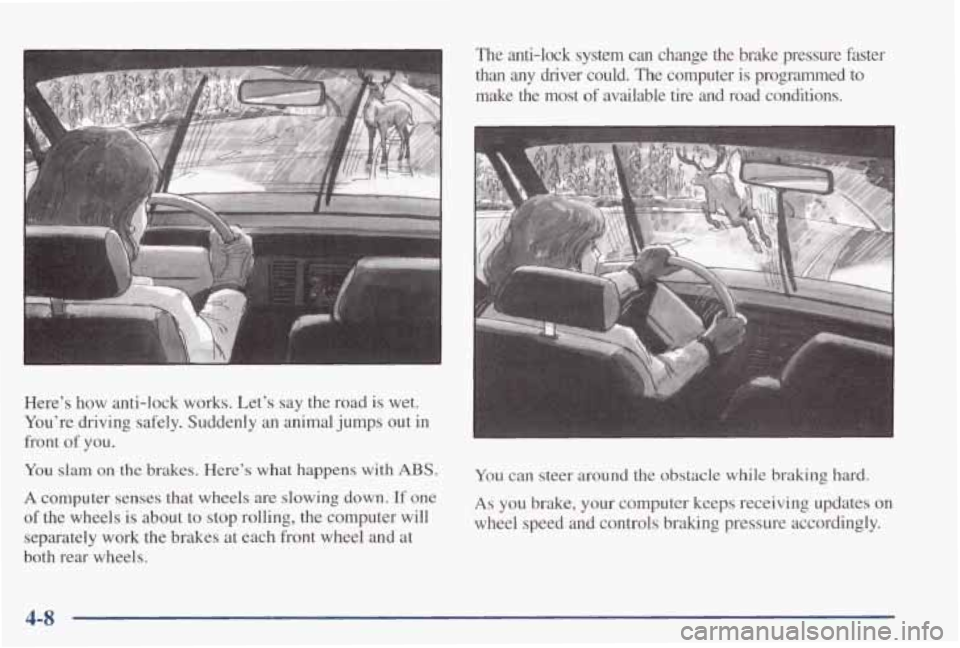
Here’s how anti-lock works. Let’s say the road is wet.
You’re driving safely. Suddenly an animal jumps out in
front
of you.
You slam on the brakes. Here’s what happens with ABS.
A computer senses that wheels are slowing down. If one
of the wheels is about to stop rolling, the computer will
separately work the brakes at each front wheel and at
both rear wheels.
The anti-lock system can change the brake pressure faster
than any driver could. The computer
is programmed to
make the most
of available tire and road conditions.
You can steer around the obstacle while braking
hard.
As you brake, your computer keeps receiving updates on
wheel speed and controls braking pressure accordingly.
4-8
Page 202 of 402
Remember: Anti-lock doesn’t change the time you need
to get your foot up to the brake pedal or always decrease
stopping distance. If you get too close to the vehicle
in
front of you, you won’t have time to apply your brakes
if that vehicle suddenly slows or stops. Always leave
enough room up ahead to
stop, even though you have
anti-lock brakes.
Using Anti-Lock
Don’t pump the brakes. Just hold the brake pedal down
firmly and let anti-lock work for you. You may feel a
slight brake pedal pulsation or notice some noise, but
this is normal.
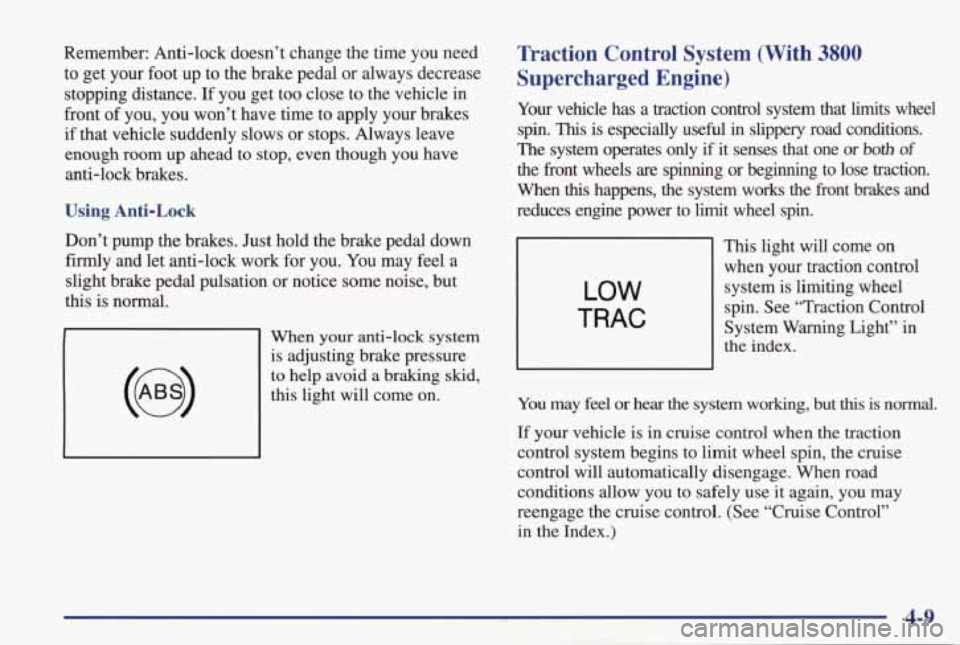
When your anti-lock system
is adjusting brake pressure
to help avoid a braking skid,
this light will come on.
Traction Control System (With 3800
Supercharged Engine)
Your vehicle has a traction control system that limits wheel
spin.
This is especially useful in slippery road conditions.
The system operates only if it senses that one or both of
the front wheels are spinning or beginning to lose traction.
When
this happens, the system works the front brakes and
reduces engine power to limit wheel spin.
LOW
TRAC
This light will come on
when your traction control system is limiting wheel
spin. See “Traction Control
System Warning Light” in
the index.
You may
feel or hear the system working, but this is normal.
If your vehicle is in cruise control when the traction
control system begins to limit wheel spin,
the cruise
control will automatically disengage. When road
conditions allow you to safely use it again, you may
reengage the cruise control. (See “Cruise Control” in the Index.)
Page 205 of 402
When you turn the system off, the Enhanced Traction
System warning light
will come on and stay on. If the
Enhanced Traction System is limiting wheel spin when
you press the button to turn the system off, the warning
light will come on
-- and the system will shut-off
instantly. It will
wait until there’s no longer a current
need
to limit wheel spin.
You can
turn the system back on at any time by pressing
the button again. The Enhanced Traction System
warning light should go off.
Braking in Emergencies
With anti-lock, you can steer and brake at the same
time.
In many emergencies, steering can help you more
than even the very best braking.
Steering
Power Steering
If you lose power steering assist because the engine
stops or the system
is not functioning, you can steer but
it will take much more effort.
Variable Effort Steering (Option)
This steering system provides lighter steering effort
for parking and when driving at speeds below
20 mph
(32 km/h). Steering effort will increase at higher speeds
for improved road feel.
Steering Tips
Driving on Curves
It’s important to take curves at a reasonable speed.
A lot of the “driver lost control” accidents mentioned on
the
news happen on curves. Here’s why:
Experienced driver or beginner, each
of us is subject to
the same laws
of physics when driving on curves. The
traction
of the tires against the road surface makes it
possible for the vehicle to change its path when you
turn
the front wheels. If there’s no traction, inertia will keep
the vehicle going
in the same direction. If you’ve ever
tried
to steer a vehicle on wet ice, you’ll understand this.
4-12
Page 209 of 402
0
0
0
0
Check your mirrors, glance over your shoulder, and
start your left lane change signal before moving out
of the right lane to pass. When you are far enough
ahead
of the passed vehicle to see its front in your
inside mirror, activate your right lane change signal and move back into the right lane. (Remember that
your right outside mirror
is convex. The vehicle you
just passed may seem to be farther away from you
than it really is.)
Try not to pass more than one vehicle at a time
on two-lane roads. Reconsider before passing the
next vehicle.
Don’t overtake a slowly moving vehicle too rapidly.
Even though the brake lamps are not flashing,
it may
be slowing down or starting to turn.
If you’re being passed, make it easy for the
following driver to get ahead of
you. Perhaps you
can ease a little to the right.
Loss of Control
Let’s review what driving experts say about what happens when the three control systems (brakes, steering
and acceleration) don’t have enough friction where the
tires meet the road to
do what the driver has asked.
In any emergency, don’t give up. Keep trying to steer and
constantly
seek an escape route or area of less danger.
Skidding
In a skid, a driver can lose control of the vehicle.
Defensive drivers avoid most skids
by taking reasonable
care suited to existing conditions, and
by not “overdriving”
those conditions. But skids are always possible.
The three types
of skids correspond to your vehicle’s
three control systems. In the braking skid, your wheels
aren’t rolling.
In the steering or cornering skid, too
much
speed or steering in a curve causes tires to slip and
lose cornering force. And in the acceleration skid, too
much throttle causes the driving wheels to spin.
A cornering skid is best handled by easing your foot off
the accelerator pedal.
If you have the Enhanced Traction System or ‘Traction
Control System”, remember: It helps avoid only the acceleration
skid.
If you do not have the Enhanced Traction System or
‘Traction Control System”, or
if the system is off, then
an acceleration skid is also best handled by easing your
foot
off the accelerator pedal.
4-16