warning lights PONTIAC GRAND PRIX 2003 Owners Manual
[x] Cancel search | Manufacturer: PONTIAC, Model Year: 2003, Model line: GRAND PRIX, Model: PONTIAC GRAND PRIX 2003Pages: 378, PDF Size: 17.64 MB
Page 2 of 378
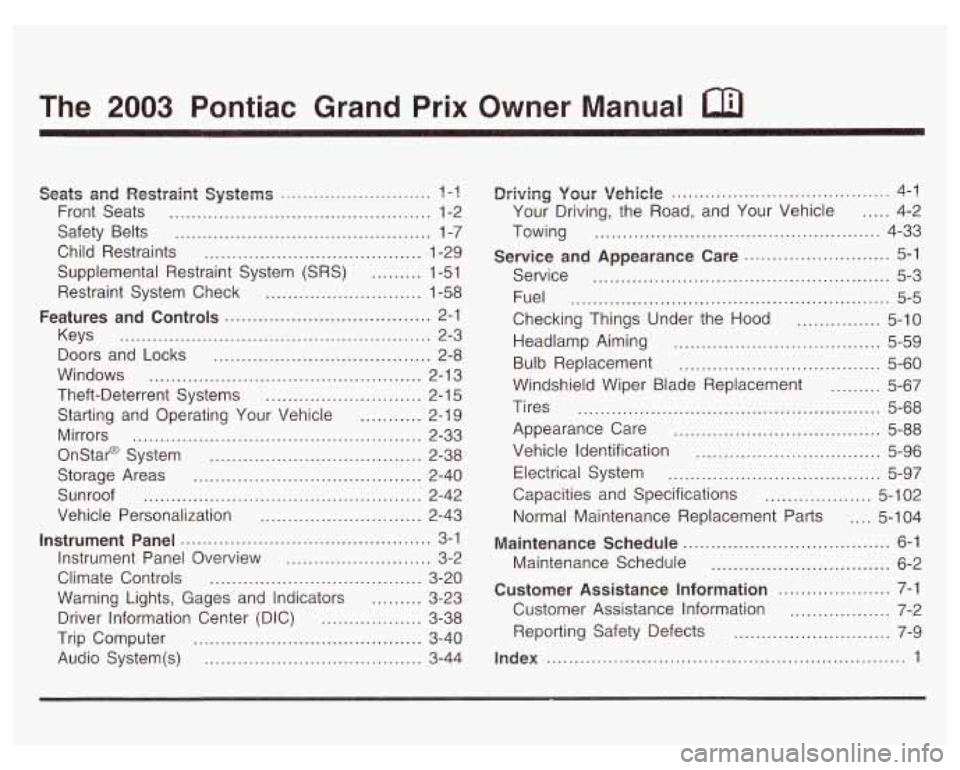
The 2003 Pontiac Grand Prix Owner Manual a
Seats and Restpaint Systems ........................... ? -1
Front Seats ............................................... 1-2
Safety Belts
.............................................. 1-7
Child Restraints
....................................... 1-29
Supplemental Restraint System
(SRS) ......... 1-51
Restraint System Check
............................ 1-58
Keys
........................................................ 2-3
Doors and Locks
....................................... 2-8
Windows
................................................. 2-1 3
Theft-Deterrent Systems
............................ 2-1 5
Starting and Operating Your Vehicle
........... 2-19
Mirrors
.................................................... 2-33
Onstar@ System
...................................... 2-38
Storage Areas
......................................... 2-40
Sunroof
.................................................. 2-42
Vehicle Personalization
............................. 2-43
Instrument Panel Overview
.......................... 3-2
Climate Controls
...................................... 3-20
Warning Lights, Gages and Indicators
......... 3-23
Driver Information Center (DIC)
.................. 3-38
Trip Computer
......................................... 3-40
Audio System(s)
....................................... 3-44
Features and Controls ..................................... 2-1
Instrument Panel ............................................. 3-1
~rivingi yoerr Vehicle ....................................... 4-1
Your Driving, the Road, and Your Vehicle
..... 4-2
Towing
................................................... 4-33
Service
..................................................... 5-3
Fuel
......................................................... 5-5
Checking Things Under the Hood
............... 5-10
Headlamp Aiming
..................................... 5-59
Bulb Replacement
.................................... 5-60
Windshield Wiper Blade Replacement
......... 5-67
Tires
...................................................... 5-68
Appearance Care
..................................... 5-88
Vehicle Identification
................................. 5-96
Electrical System
...................................... 5-97
Capacities and Specifications
................... 5-1 02
Normal Maintenance Replacement Parts .... 5-1 04
Maintenance Schedule ........................... ,6-1 ..
Maintenance Schedule ................................ 6-2
Customer Assistance Information .................... 7-1
Customer Assistance Information
.................. 7-2
Service and Appearance Care .......................... 5-1
Reporting Safety Defects
......................... 7-9
Index ........................................ ..... 1
Page 5 of 378
Vehicle Damage Warnings
Also, in this book you will find these notices:
Notice: These mean there is something that could
damage your vehicle.
A notice will tell you about something that can damage
your vehicle. Many times, this damage would not be
covered by your warranty, and it could be costly.
But the notice will tell you what to do to help avoid the
damage.
When you read other manuals, you might see
CAUTION and NOTICE warnings in different colors
or
in different words.
You’ll also see warning labels
on your vehicle. They
use the same words, CAUTION or NOTICE.
Vehicle Symbols
Your vehicle has components and labels that use
symbols instead of text. Symbols, used on your vehicle,
are shown along with the text describing the operation
or information relating to a specific component, control,
message, gage or indicator.
If you need help figuring out a specific name of a
component, gage or indicator reference the following
topics:
Seats and Restraint Systems in Section 1
Features and Controls in Section 2
Instrument Panel Overview in Section 3
Climate Controls in Section 3
Warning Lights, Gages and Indicators in Section 3
Audio System(s) in Section 3
Engine Compartment Overview in Section 5
iv
Page 87 of 378
Notice: If your key seems stuck in LOCK and you
can’t turn it, be sure you are using the correct key;
if
so, is it all the way in? Turn the key only with
your hand. Using a tool to force it could break the
key or the ignition switch. If none
of these works,
then your vehicle needs service.
B (LOCK): This position locks the ignition, steering
wheel and transaxle. It’s a theft-deterrent feature. It’s also
the only position from which you can remove the key.
C (OFF): This position lets you turn off the engine but
still turn the steering wheel. It doesn’t lock the
steering wheel like LOCK. Use
OFF if you must have
the vehicle pushed or towed.
D (RUN): This position is where the key returns to after
you start the vehicle. With the engine
off, you can use
RUN to display some of the warning and indicator lights.
E (START): This position starts the engine.
A warning chime will sound
if you open the driver’s door
while the ignition is in
OFF, LOCK or ACCESSORY
and the key is in the ignition.
Retained Accessory Power (RAP)
With Retained Accessory Power, (RAP), the power
windows, audio system and sunroof will continue to work
up to
10 minutes after the ignition key is turned to
OFF and none of the doors are opened.
Starting Your Engine
Move your shift lever to PARK (P) or NEUTRAL (N).
Your engine won’t start in any other position - that’s a
safety feature. To restart while you’re already moving,
use NEUTRAL
(N) only.
Nofice: Don’t try to shift to PARK (P) if your
vehicle is moving.
If you do, you could damage the
transaxle. Shift to
PARK (P) only when your
vehicle is stopped.
Shift Lock Release
This vehicle is equipped with an electric shift lock
release system. The shift lock release is designed to
do the following:
Prevent ignition key removal unless the shift lever is
in PARK (P) with the shift lever button fully released.
Prevent movement of the shift lever out of PARK (P)
unless the ignition is in a position other than
OFF or
LOCK. The shift lock release is always functional
except in the case
of a dead or low voltage
(less than
9 V) battery.
2-20
Page 122 of 378

Section 3 Instrument Panel
Instrument Panel Overview .......................... -3-2
Hazard Warning Flashers
-3-3
Other Warning Devices ................................... 3.4
Horn
............................................................. 3.4
Tilt Wheel
..................................................... 3.4
Turn Signal/Multifunction Lever
......................... 3.5
Exterior Lamps
............................................. 3.10
Interior Lamps
.............................................. 3.12
Head-Up Display (HUD)
................................. 3-15
Accessory Power Outlets
............................... 3.18
Auxiliary Power Connection (Power Drop)
......... 3.19
Ashtrays and Cigarette Lighter
........................ 3-19
Climate Controls ............................................ 3.20
Dual Climate Control System
.......................... 3.20
Outlet Adjustment
......................................... 3.22
Warning Lights, Gages and Indicators ............. 3.23
Instrument Panel Cluster
................................ 3.24
Speedometer and Odometer
........................... 3.25
Tachometer
................................................. 3.25
Safety Belt Reminder Light
............................. 3.26
Air Bag Readiness Light
................................ 3-26
Charging System Light
.................................. 3.27
Brake System Warning Light
......................... -3-28
Anti-Lock Brake System Warning Light
............. 3.29
Traction Control System (TCS) Warning Light
...... 3.29
Enhanced Traction System Warning Light
........ -3-30
.. ...............................
Low Traction Light ....................................... -3-30
Engine Coolant Temperature Gage
.................. 3-31
Malfunction Indicator Lamp
............................ -3-32
Oil Pressure Light
........................................ -3-35
Security Light
............................................... 3-36
Fuel Gage
................................................... 3-37
Low Fuel Warning Light
................................. 3-37
Driver Information Center (DE) ....................... 3-38
Trip Computer ................................... ..... 3-40
Control Buttons
............................................ 3-42
Functions
.................................................... 3-42
Audio System(s) ............................................. 3-44
Setting the Time
........................................... 3-44
Radio with Cassette
...................................... 3-45
Radio with CD (Base Level)
........................... 3-48
Radio with CD
(Up Level) .............................. 3-51
Theft-Deterrent Feature
.................................. 3-54
Engine
Coolant Temperature 'Warning Light
...... 3.31
Low Oil Level Light ....................................... 3-36
Audio Steering Wheel Controls
....................... 3-56
Understanding Radio Reception
...................... 3-57
Care of Your Cassette Tape Player
................. 3-58
Care
of Your CDs ......................................... 3-59
Care of Your CD Player
................................ 3-59
Backglass Antenna
....................................... 3-59
3-
1
Page 131 of 378
Ending Cruise Control
There are two ways to turn off the cruise control:
Step lightly on the brake pedal,
or move the cruise switch to OFF.
Erasing Speed Memory
When you turn off the cruise control or the ignition,
or shift into PARK
(P) or NEUTRAL (N), the cruise
control set speed memory is erased.
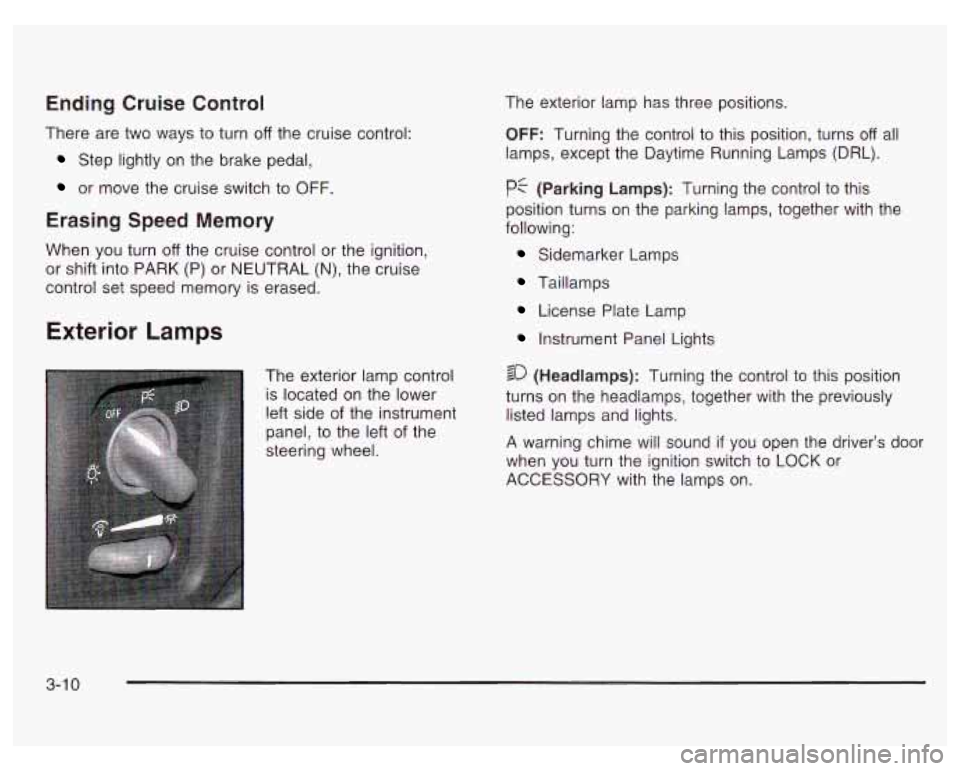
Exterior Lamps
The exterior lamp control
is located on the lower
left side of the instrument
panel, to the left of the
steering wheel. The
exterior lamp has three positions.
OFF: Turning the control to this position, turns off all
lamps, except the Daytime Running Lamps (DRL).
pf (Parking Lamps): Turning the control to this
position turns on the parking lamps, together with the
following:
Sidemarker Lamps
Taillamps
License Plate Lamp
Instrument Panel Lights
4 20 (Headlamps): Turning the control to this position
turns on the headlamps, together with the previously
listed lamps and lights.
A warning chime will sound
if you open the driver’s door
when you turn the ignition switch to LOCK or
ACCESSORY with the lamps on.
3-1 0
Page 137 of 378

The HUD also shows the following lights when they are
lit on the instrument panel cluster:
Turn Signal Indicators
High-Beam Indicator Symbol
Low Fuel Symbol
The HUD will display CHECK GAGES when the
following items are lit on the instrument panel cluster:
Oil Warning Symbol
Coolant Temperature Symbol
Charging System Symbol
When the ignition key is turned to RUN, the entire HUD
image will come on. Then the Head-Up Display will
operate normally.
Notice: Although the HUD image appears to be
near the front
of the vehicle, do not use it as
a parking aid. The
HUD was not designed for that
purpose.
If you try to use it as such, you may
misjudge the distance and damage your vehicle.
When the HUD is on, the speedometer reading will be
displayed continually. The current radio station
or
CD track number will only be displayed for three
seconds after the radio or CD track status changes.
This will happen whenever one of the radio controls is
pressed, either on the radio itself or on the optional
steering wheel controls. To
adjust the HUD
so you can see it properly do the
following:
1. Adjust your seat, if necessary, to a comfortable
position.
2. Start the engine and adjust the HUD controls
located on the instrument panel, to the right
of
the steering wheel. Move the DIM thumbwheel up
or down to adjust brightness.
3-1 6
Page 144 of 378
Warning Lights, Gages and
Indicators
This part describes the warning lights and gages
that
may be on your vehicle. The pictures will help you
locate them.
Warning lights and gages can signal that something is
wrong before it becomes serious enough to cause
an expensive repair or replacement. Paying attention to
your warning lights and gages could also save you
or others from injury.
Warning lights come on when there may be or is a
problem with one of your vehicle’s functions.
As you will
see in the details on the next few pages, some
warning lights come
on briefly when you start the
engine just to let you know they’re working.
If you are
familiar with this section, you should not be alarmed
when this happens. Gages can indicate
when there may be or is a problem
with one of your vehicle’s functions. Often gages
and warning lights work together to let you know when
there’s a problem with your vehicle.
When one
of the warning lights comes on and stays on
when you are driving, or when one
of the gages shows
there may be a problem, check the section that tells
you what to do about it. Please follow this manual’s
advice. Waiting to do repairs can be costly
- and even
dangerous.
So please get to know your warning lights
and gages. They’re a big help.
Your vehicle may also have a Driver Information
Center (DIC) that works along with the warning lights
and gages. See Driver Information Center (DIC)
on page 3-38.
3-23
Page 146 of 378
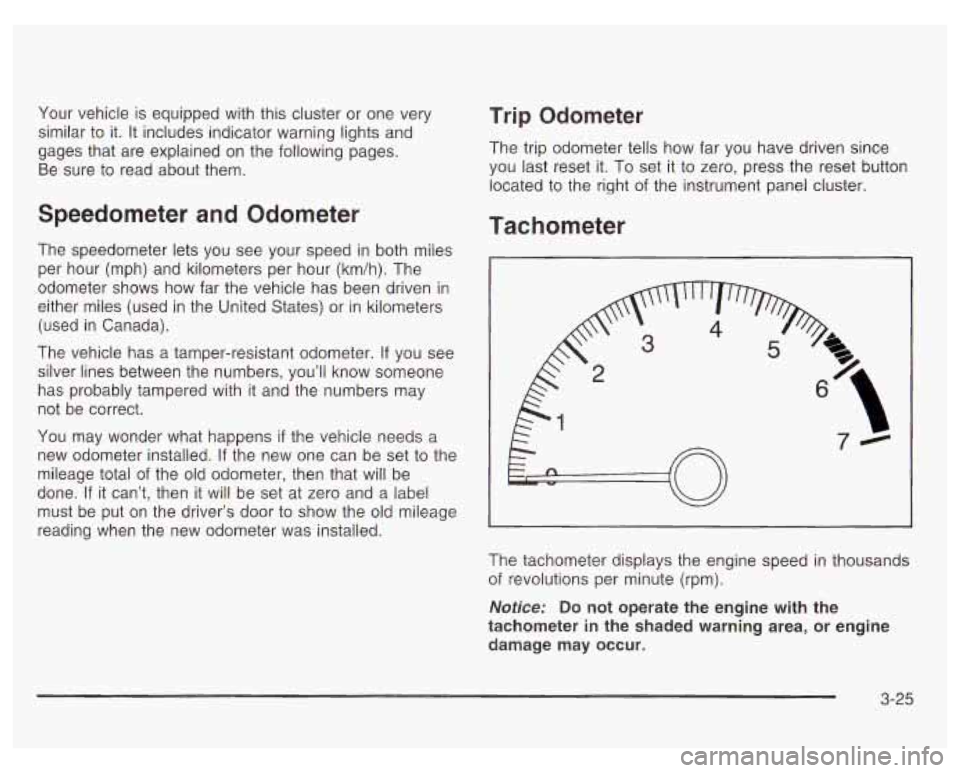
Your vehicle is equipped with this cluster or one very
similar to it. It includes indicator warning lights and
gages that are explained on the following pages.
Be sure to read about them.
Speedometer and Odometer
The speedometer lets you see your speed in both miles
per hour (mph) and kilometers per hour (km/h). The
odometer shows how far the vehicle has been driven in
either miles (used in the United States) or in kilometers
(used in Canada).
The vehicle has a tamper-resistant odometer.
If you see
silver lines between the numbers, you’ll know someone
has probably tampered with
it and the numbers may
not be correct.
You may wonder what happens
if the vehicle needs a
new odometer installed.
If the new one can be set to the
mileage total of the old odometer, then that will be
done.
If it can’t, then it will be set at zero and a label
must be put on the driver’s door to show the old mileage
reading when the new odometer was installed.
Trip Odometer
The trip odometer tells how far you have driven since
you last reset it.
To set it to zero, press the reset button
located to the right of the instrument panel cluster.
Tachometer
The tachometer displays the engine speed in thousands
of revolutions per minute (rpm).
Notice: Do not operate the engine with the
tachometer in the shaded warning area, or engine
damage may occur.
3-25
Page 160 of 378

The Driver Information Center (DIC) gives you important
safety and maintenance facts. When you turn the
ignition on, all of the DIC lights illuminate for a few
seconds. After this, the DIC will begin working.
Functions
__ (Door Ajar): If one of the doors is ajar, this light
will appear next to that door on the vehicle outline.
CHANGE OIL SOON: This light will appear when the
system indicates that it’s time for an oil change. The
system predicts remaining oil life using data from length
of drives, coolant temperature, engine rpm and
vehicle speed. It alerts you to change the oil on a
schedule consistent with the vehicle’s driving conditions.
After changing the oil, the system must be reset. See
How to Reset the GM
Oil Life SystemTM under
Engine
Oil on page 5- 18.
e LOW: This light will come on when the ignition is
on and the fluid in the washer fluid container is low.
AJAR: This light alerts you that the trunk is not
fully closed.
LOW TRAC (Low Traction): If your vehicle is equipped
with anti-lock brakes, this light will come on when the
enhanced traction system is limiting wheel spin. See Enhanced Traction System (ETS) on page 4-
I I or
Low Traction Light on page 3-30.
TRAC OFF (Traction Off): If your vehicle is equipped
with anti-lock brakes, this light lets you know that
the enhanced traction system has been disabled and
will not limit wheel spin. See Enhanced Traction System
Warning Light
on page 3-30 or Low Traction Light on
page 3-30.
TRAC (Traction): If the vehicle has anti-lock brakes
and the enhanced traction system, you will have a
disable button on the far right side of the DIC.
The enhanced traction system is automatically activated
when you turn the ignition on. This button will
activate/deactivate the system. If you need to disable
the system, such
as when you are stuck and are rocking
the vehicle back and forth, push this button. See If
You Are Stuck: in Sand, Mud, Ice or Snow on
page 4-32.
3-39
Page 223 of 378
Turn Signals When Towing a Trailer
When you tow a trailer, your vehicle may need a
different turn signal flasher and/or extra wiring. Check
with your dealer. The arrows on your instrument
panel will flash whenever you signal a turn or lane
change. Properly hooked up, the trailer lamps will also
flash, telling other drivers you’re about to turn,
change lanes or stop.
When towing a trailer, the arrows on your instrument
panel will flash for turns even
if the bulbs on the trailer
are burned out. Thus, you may think drivers behind
you are seeing your signal when they are not. It’s
important to check occasionally to be sure the trailer
bulbs are still working.
Your vehicle has bulb warning lights. When you plug a
trailer lighting system into your vehicle’s lighting
system, its bulb warning lights may not let you know
if
one of your lamps goes out. So, when you have a trailer
lighting system plugged in, be sure to check your
vehicle and trailer lamps from time to time to be sure
they’re all working. Once you disconnect the trailer
lamps, the bulb warning lights again can tell you
if one
of your vehicle lamps is out.
Driving On Grades
Reduce speed and shift to a lower gear before you start
down a long or steep downgrade.
If you don’t shift
down, you might have to use your brakes
so much that
they would get hot and no longer work well.
On a long uphill grade, shift down and reduce your
speed to around
45 mph (70 km/h) to reduce the
possibility of engine and transaxle overheating.
If you have overdrive, you may have to drive in
THIRD (3) instead of AUTOMATIC OVERDRIVE (D).
Parking on Hills
1 -J really should not ,,rk yo^, wG,kle, with a
trailer attached, on a hill.
If something goes
wrong, your rig could start to move. People
can be injured, and both your vehicle and the
trailer can be damaged.
4-42