Page 5 PONTIAC GRAND PRIX 2004 User Guide
[x] Cancel search | Manufacturer: PONTIAC, Model Year: 2004, Model line: GRAND PRIX, Model: PONTIAC GRAND PRIX 2004Pages: 432, PDF Size: 2.99 MB
Page 49 of 432
Securing a Child Restraint Designed
for the LATCH System
1. Find the anchors for the seating position you want
to use, where the bottom of the seatback meets the
back of the seat cushion.
2. Put the child restraint on the seat.
3. Attach the anchor points on the child restraint to the
anchors in the vehicle. The child restraint
instructions will show you how.
4. If the child restraint is forward-facing, attach the top
strap to the top strap anchor. See
Top Strap on
page 1-39. Tighten the top strap according to
the child restraint instructions.
5. Push and pull the child restraint in different
directions to be sure it is secure.
To remove the child restraint, simply unhook the top
strap from the top tether anchor and then disconnect the
anchor points.
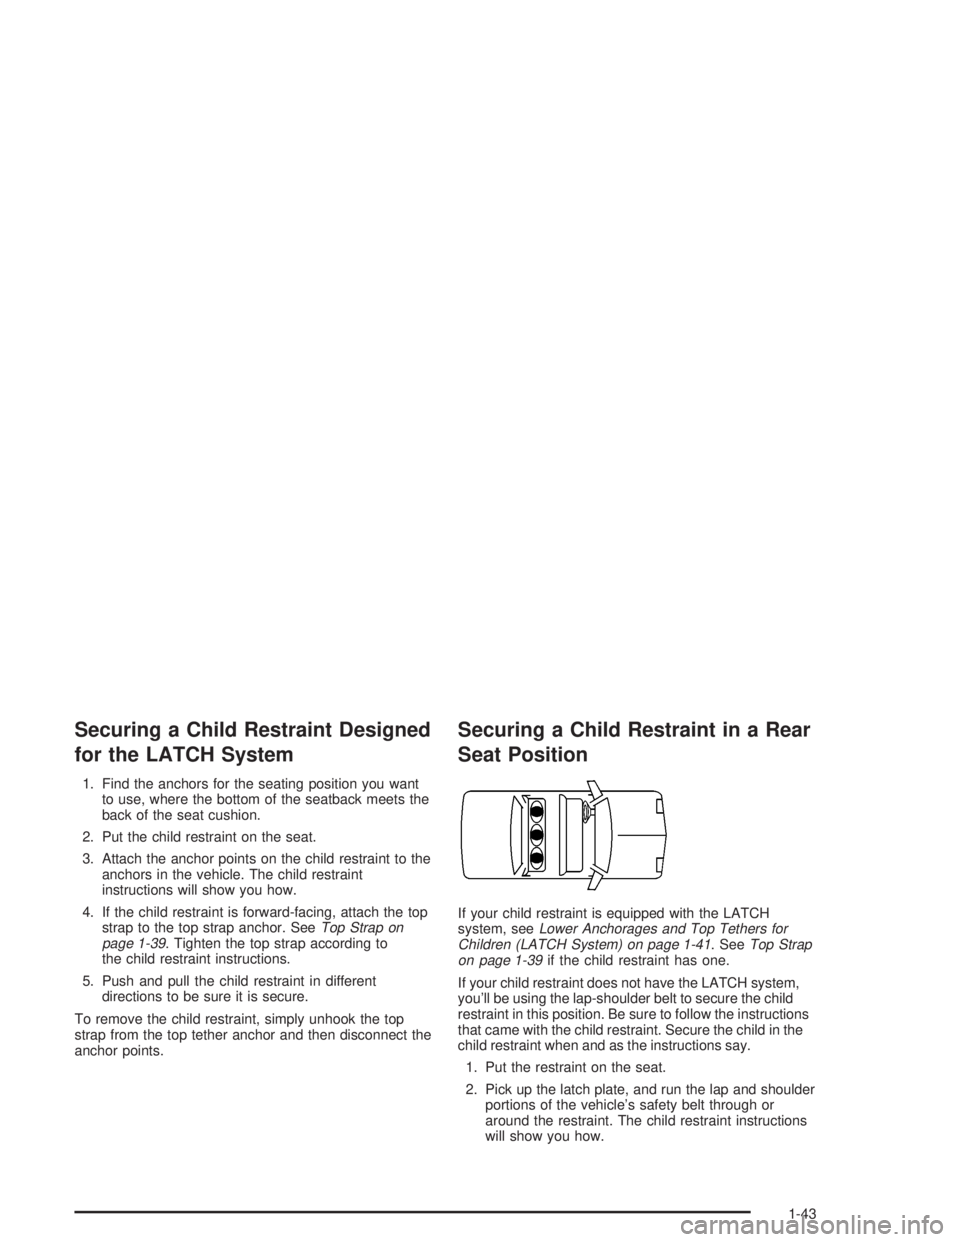
Securing a Child Restraint in a Rear
Seat Position
If your child restraint is equipped with the LATCH
system, seeLower Anchorages and Top Tethers for
Children (LATCH System) on page 1-41. SeeTop Strap
on page 1-39if the child restraint has one.
If your child restraint does not have the LATCH system,
you'll be using the lap-shoulder belt to secure the child
restraint in this position. Be sure to follow the instructions
that came with the child restraint. Secure the child in the
child restraint when and as the instructions say.
1. Put the restraint on the seat.
2. Pick up the latch plate, and run the lap and shoulder
portions of the vehicle's safety belt through or
around the restraint. The child restraint instructions
will show you how.
1-43
Page 51 of 432
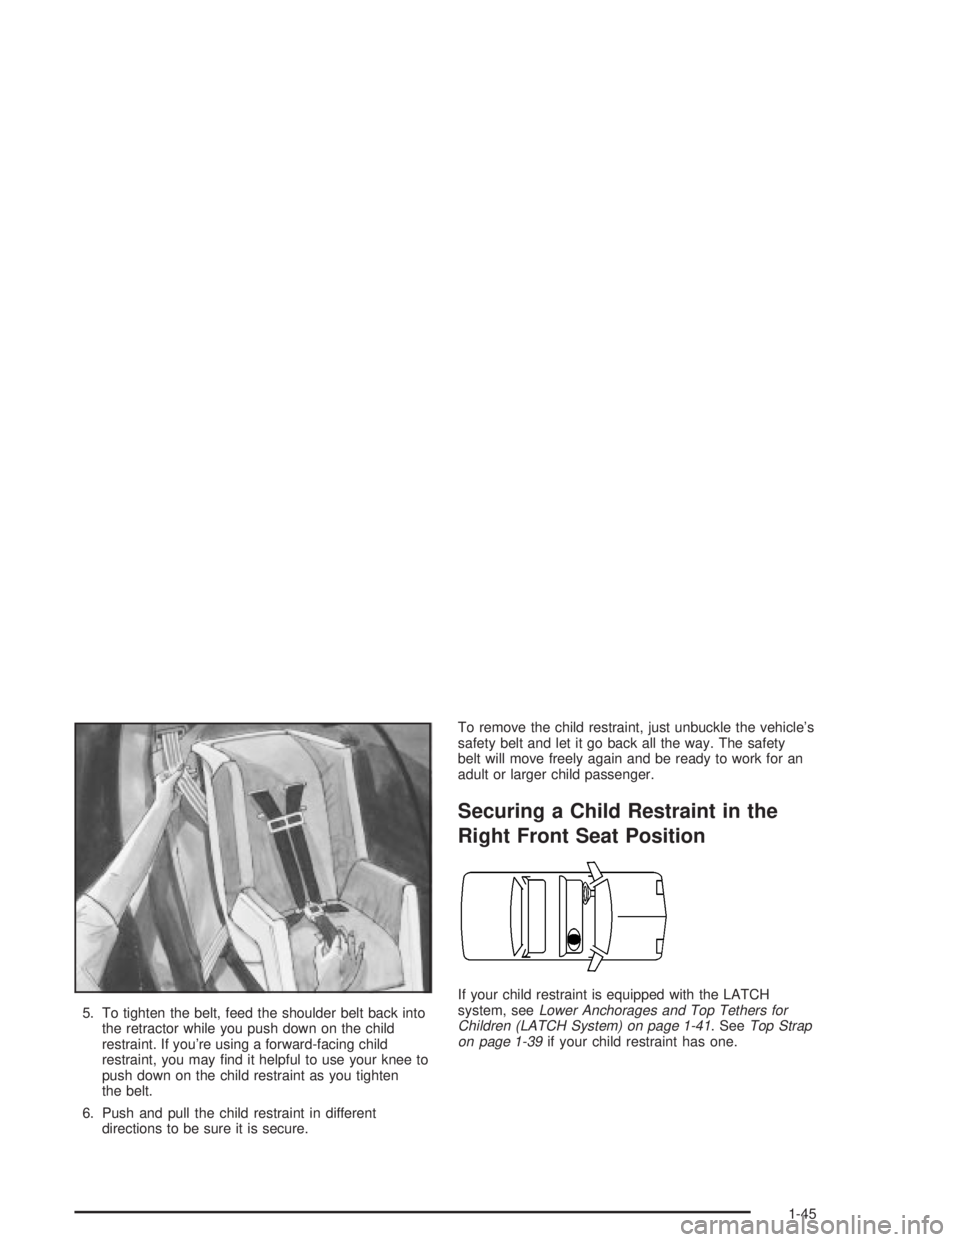
5. To tighten the belt, feed the shoulder belt back into
the retractor while you push down on the child
restraint. If you're using a forward-facing child
restraint, you may ®nd it helpful to use your knee to
push down on the child restraint as you tighten
the belt.
6. Push and pull the child restraint in different
directions to be sure it is secure.To remove the child restraint, just unbuckle the vehicle's
safety belt and let it go back all the way. The safety
belt will move freely again and be ready to work for an
adult or larger child passenger.
Securing a Child Restraint in the
Right Front Seat Position
If your child restraint is equipped with the LATCH
system, seeLower Anchorages and Top Tethers for
Children (LATCH System) on page 1-41. SeeTop Strap
on page 1-39if your child restraint has one.
1-45
Page 52 of 432

Your vehicle has a right front passenger air bag.Neverput a rear-facing child restraint in this seat. Here's why:
{CAUTION:
A child in a rear-facing child restraint can be
seriously injured or killed if the right front
passenger's air bag in¯ates. This is because
the back of the rear-facing child restraint
would be very close to the in¯ating air bag.
Always secure a rear-facing child restraint in a
rear seat.
Although a rear seat is a safer place, you can secure a
forward-facing child restraint in the right front seat.
If your child restraint does not have the LATCH system,
you'll be using the lap-shoulder belt to secure the child
restraint in this position. Be sure to follow the instructions
that came with the child restraint. Secure the child in the
child restraint when and as the instructions say.
1. Because your vehicle has a right front passenger's
air bag, always move the seat as far back as it will
go before securing a forward-facing child restraint.
See
Manual Seats on page 1-2.2. Put the restraint on the seat.
3. Pick up the latch plate and run the lap and shoulder
portions of the vehicle's safety belt through or
around the restraint. The child restraint instructions
will show you how.
4. Buckle the belt. Make sure the release button is
positioned so you would be able to unbuckle the
safety belt quickly if you ever had to.
1-46
Page 56 of 432
There is a air bag
readiness light on the
instrument panel which
shows the air bag symbol.
The system checks the air bag electrical system for
malfunctions. The light tells you if there is an electrical
problem. See
Air Bag Readiness Light on page 3-34for more information.
Where Are the Air Bags?
The driver's air bag is in the middle of the steering
wheel.
1-50
Page 62 of 432
Servicing Your Air Bag-Equipped
Vehicle
Air bags affect how your vehicle should be serviced.
There are parts of the air bag system in several places
around your vehicle. You don't want the system to
in¯ate while someone is working on your vehicle.
Your dealer and the service manual have information
about servicing your vehicle and the air bag system.
To purchase a service manual, see
Service Publications
Ordering Information on page 7-10.
{CAUTION:
For up to 10 seconds after the ignition key is
turned off and the battery is disconnected,
an air bag can still in¯ate during improper
service. You can be injured if you are close
to an air bag when it in¯ates. Avoid yellow
connectors. They are probably part of the air
bag system. Be sure to follow proper service
procedures, and make sure the person
performing work for you is quali®ed to do so.
The air bag system does not need regular maintenance.
Restraint System Check
Checking Your Restraint Systems
Now and then, make sure the safety belt reminder light
and all your belts, buckles, latch plates, retractors
and anchorages are working properly. Look for any other
loose or damaged safety belt system parts. If you see
anything that might keep a safety belt system from doing
its job, have it repaired.
Torn or frayed safety belts may not protect you in a
crash. They can rip apart under impact forces. If a belt
is torn or frayed, get a new one right away.
Also look for any opened or broken air bag covers, and
have them repaired or replaced. (The air bag system
does not need regular maintenance.)
1-56
Page 67 of 432
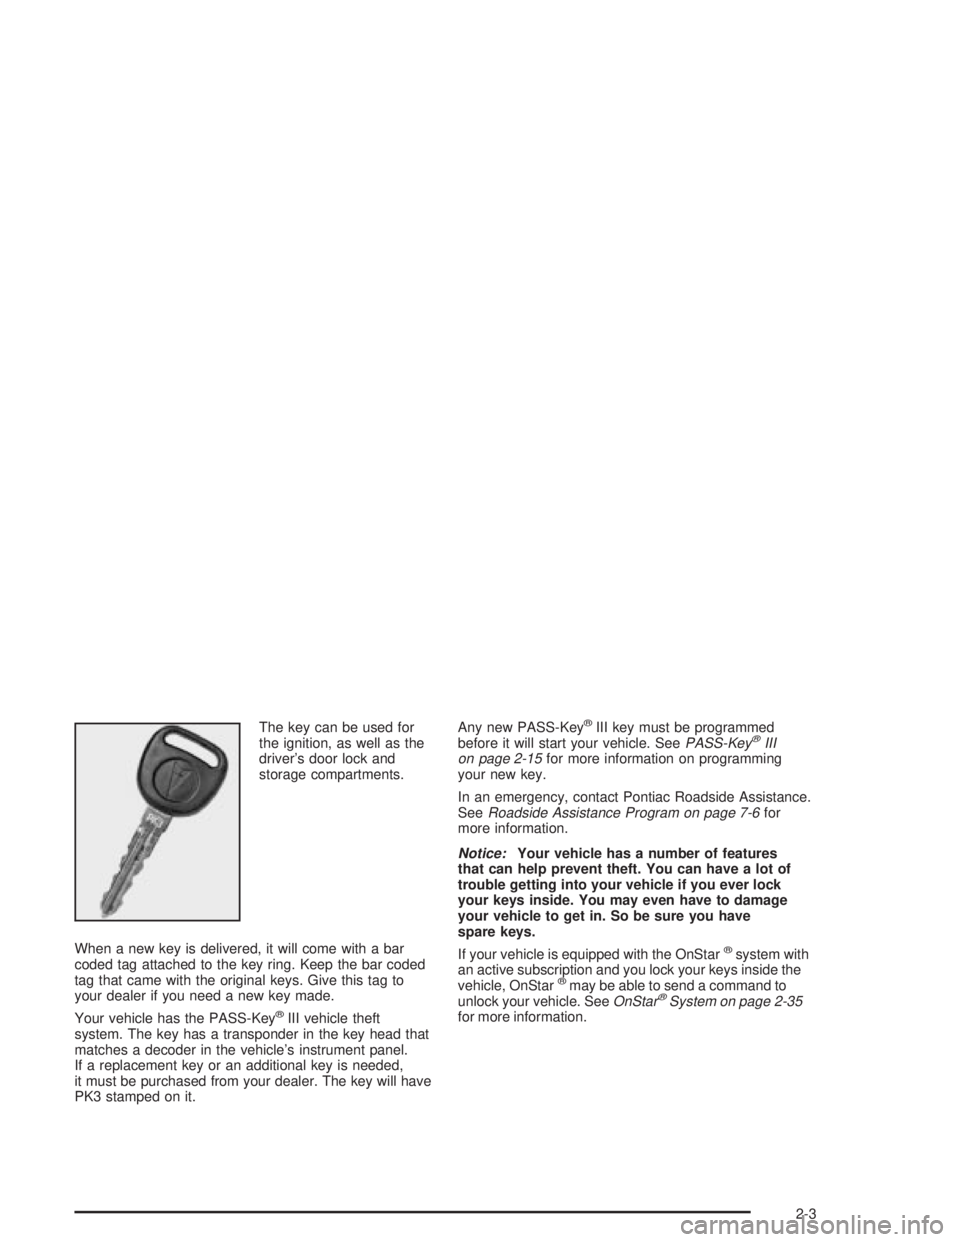
The key can be used for
the ignition, as well as the
driver's door lock and
storage compartments.
When a new key is delivered, it will come with a bar
coded tag attached to the key ring. Keep the bar coded
tag that came with the original keys. Give this tag to
your dealer if you need a new key made.
Your vehicle has the PASS-Key
žIII vehicle theft
system. The key has a transponder in the key head that
matches a decoder in the vehicle's instrument panel.
If a replacement key or an additional key is needed,
it must be purchased from your dealer. The key will have
PK3 stamped on it.Any new PASS-Key
žIII key must be programmed
before it will start your vehicle. SeePASS-KeyžIII
on page 2-15for more information on programming
your new key.
In an emergency, contact Pontiac Roadside Assistance.
See
Roadside Assistance Program on page 7-6for
more information.
Notice:Your vehicle has a number of features
that can help prevent theft. You can have a lot of
trouble getting into your vehicle if you ever lock
your keys inside. You may even have to damage
your vehicle to get in. So be sure you have
spare keys.
If your vehicle is equipped with the OnStar
žsystem with
an active subscription and you lock your keys inside the
vehicle, OnStar
žmay be able to send a command to
unlock your vehicle. SeeOnStaržSystem on page 2-35for more information.
2-3
Page 68 of 432
Remote Keyless Entry System
Your keyless entry system operates on a radio
frequency subject to Federal Communications
Commission (FCC) Rules and with Industry Canada.
This device complies with Part 15 of the FCC Rules.
Operation is subject to the following two conditions:
1. This device may not cause interference, and
2. This device must accept any interference received,
including interference that may cause undesired
operation of the device.
This device complies with RSS-210 of Industry Canada.
Operation is subject to the following two conditions:
1. This device may not cause interference, and
2. This device must accept any interference received,
including interference that may cause undesired
operation of the device.
Changes or modi®cations to this system by other than
an authorized service facility could void authorization to
use this equipment.At times you may notice a decrease in range. This is
normal for any remote keyless entry system. If the
transmitter does not work or if you have to stand closer
to your vehicle for the transmitter to work, try this:
·Check the distance. You may be too far from your
vehicle. You may need to stand closer during
rainy or snowy weather.
·Check the location. Other vehicles or objects may
be blocking the signal. Take a few steps to the
left or right, hold the transmitter higher, and
try again.
·Check to determine if battery replacement is
necessary. See ªBattery Replacementº under
Remote Keyless Entry System Operation on
page 2-5.
·If you are still having trouble, see your dealer or
a quali®ed technician for service.
2-4
Page 69 of 432
Remote Keyless Entry System
Operation
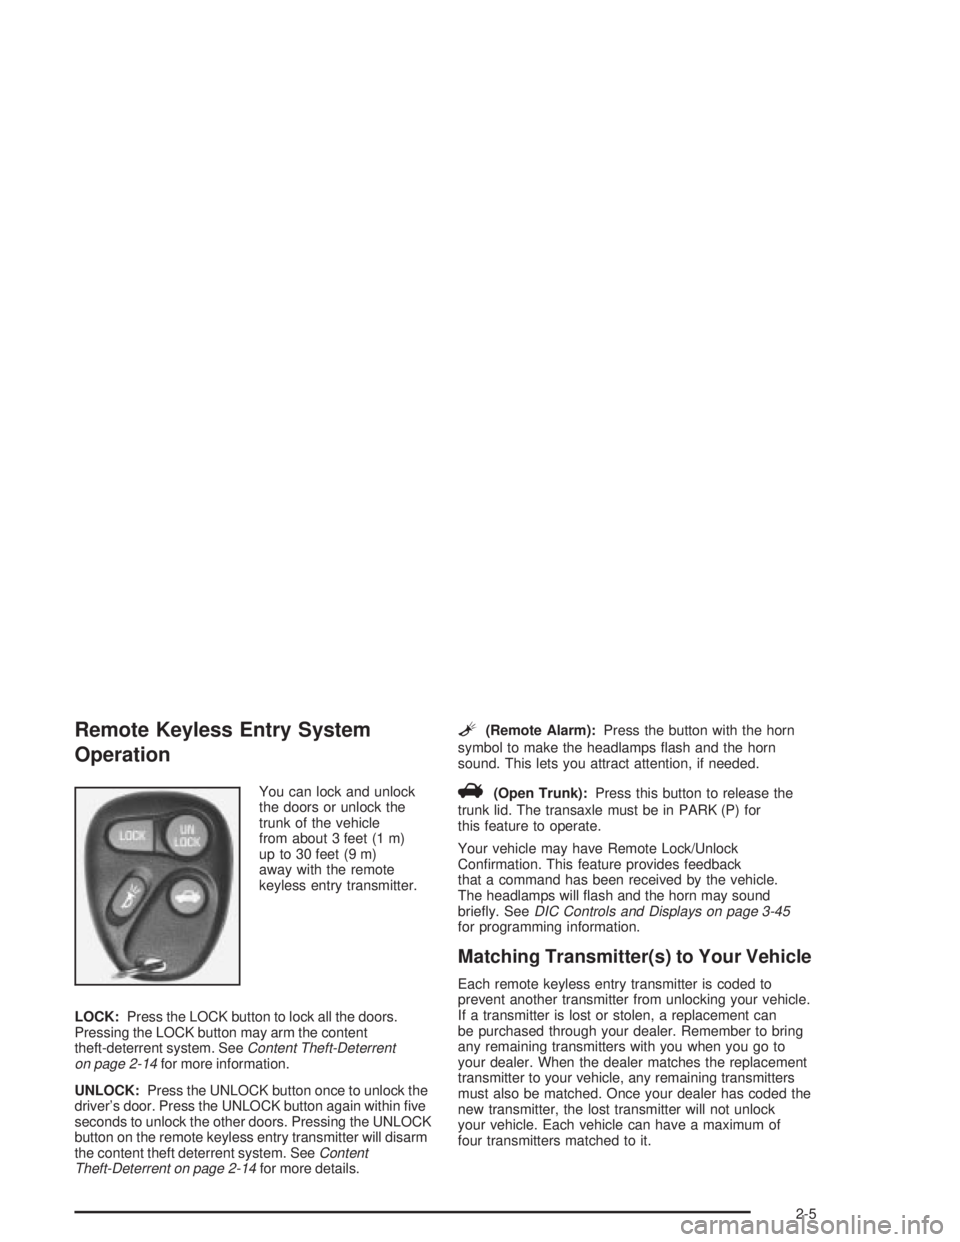
You can lock and unlock
the doors or unlock the
trunk of the vehicle
from about 3 feet (1 m)
up to 30 feet (9 m)
away with the remote
keyless entry transmitter.
LOCK:Press the LOCK button to lock all the doors.
Pressing the LOCK button may arm the content
theft-deterrent system. See
Content Theft-Deterrent
on page 2-14for more information.
UNLOCK:Press the UNLOCK button once to unlock the
driver's door. Press the UNLOCK button again within ®ve
seconds to unlock the other doors. Pressing the UNLOCK
button on the remote keyless entry transmitter will disarm
the content theft deterrent system. See
Content
Theft-Deterrent on page 2-14for more details.
L(Remote Alarm):Press the button with the horn
symbol to make the headlamps ¯ash and the horn
sound. This lets you attract attention, if needed.
V(Open Trunk):Press this button to release the
trunk lid. The transaxle must be in PARK (P) for
this feature to operate.
Your vehicle may have Remote Lock/Unlock
Con®rmation. This feature provides feedback
that a command has been received by the vehicle.
The headlamps will ¯ash and the horn may sound
brie¯y. See
DIC Controls and Displays on page 3-45for programming information.
Matching Transmitter(s) to Your Vehicle
Each remote keyless entry transmitter is coded to
prevent another transmitter from unlocking your vehicle.
If a transmitter is lost or stolen, a replacement can
be purchased through your dealer. Remember to bring
any remaining transmitters with you when you go to
your dealer. When the dealer matches the replacement
transmitter to your vehicle, any remaining transmitters
must also be matched. Once your dealer has coded the
new transmitter, the lost transmitter will not unlock
your vehicle. Each vehicle can have a maximum of
four transmitters matched to it.
2-5
Page 72 of 432
Power Door Locks
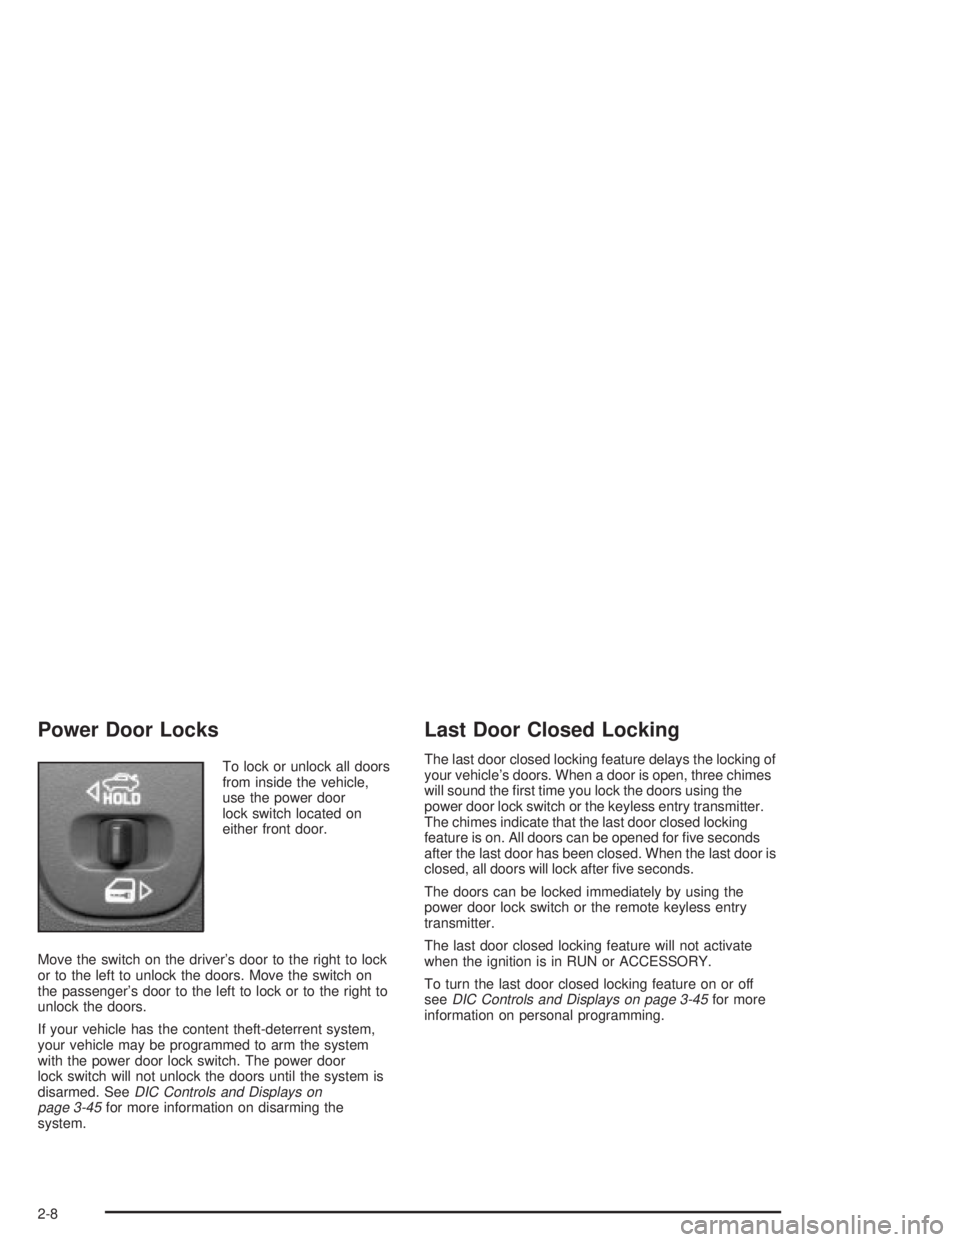
To lock or unlock all doors
from inside the vehicle,
use the power door
lock switch located on
either front door.
Move the switch on the driver's door to the right to lock
or to the left to unlock the doors. Move the switch on
the passenger's door to the left to lock or to the right to
unlock the doors.
If your vehicle has the content theft-deterrent system,
your vehicle may be programmed to arm the system
with the power door lock switch. The power door
lock switch will not unlock the doors until the system is
disarmed. See
DIC Controls and Displays on
page 3-45for more information on disarming the
system.
Last Door Closed Locking
The last door closed locking feature delays the locking of
your vehicle's doors. When a door is open, three chimes
will sound the ®rst time you lock the doors using the
power door lock switch or the keyless entry transmitter.
The chimes indicate that the last door closed locking
feature is on. All doors can be opened for ®ve seconds
after the last door has been closed. When the last door is
closed, all doors will lock after ®ve seconds.
The doors can be locked immediately by using the
power door lock switch or the remote keyless entry
transmitter.
The last door closed locking feature will not activate
when the ignition is in RUN or ACCESSORY.
To turn the last door closed locking feature on or off
see
DIC Controls and Displays on page 3-45for more
information on personal programming.
2-8
Page 73 of 432
Programmable Automatic
Door Locks
All of the doors will lock automatically when the shift
lever is moved out of PARK (P). All doors will unlock
automatically when the ignition is turned off while the shift
lever is in PARK (P). If you prefer to have your doors
unlocked automatically at any time, see
DIC Controls and
Displays on page 3-45for more information.
If someone needs to get in or out of the vehicle after
the doors have been automatically locked, place the shift
lever into PARK (P). Unlock all doors using the power
door lock switch or unlock the door you want using
the inside manual door lock pin. If you have
programmed the automatic door locks to unlock the
doors when the shift lever is shifted into PARK (P), then
the doors will automatically unlock for you. See
DIC
Controls and Displays on page 3-45for more information
on personal programming.
If you don't want the doors to unlock automatically when
you turn the ignition off see
DIC Controls and Displays
on page 3-45for more information on personal
programming.
Lockout Protection
The lockout protection feature makes it more difficult
to lock the key in the vehicle. If the driver's door is open
while the key is in the ignition, you will not be able to
use the power door lock switch to lock the door.
This feature cannot guarantee that you'll never be locked
out of the vehicle. If you don't leave the key in the ignition,
or if you use the manual door lock pin, you could still lock
the key inside the vehicle. Always remember to take the
key with you.
To turn this feature on or off see
DIC Controls and
Displays on page 3-45.
Leaving Your Vehicle
If you are leaving your vehicle, make sure that you
lock it and take the key with you.
2-9