section 5 PONTIAC GRAND PRIX 2004 User Guide
[x] Cancel search | Manufacturer: PONTIAC, Model Year: 2004, Model line: GRAND PRIX, Model: PONTIAC GRAND PRIX 2004Pages: 432, PDF Size: 2.99 MB
Page 157 of 432
Uplevel DIC with Trip Computer
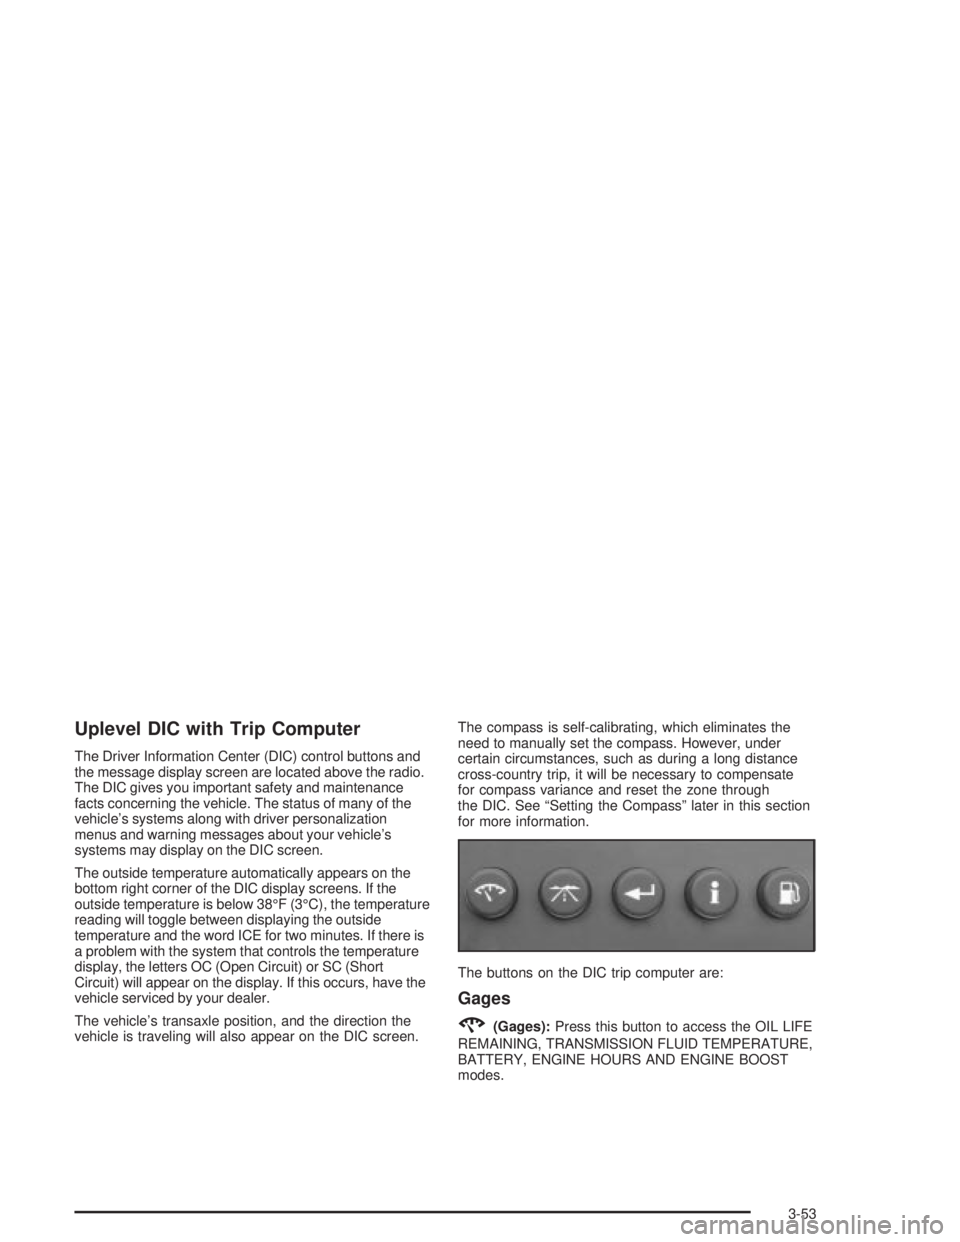
The Driver Information Center (DIC) control buttons and
the message display screen are located above the radio.
The DIC gives you important safety and maintenance
facts concerning the vehicle. The status of many of the
vehicle's systems along with driver personalization
menus and warning messages about your vehicle's
systems may display on the DIC screen.
The outside temperature automatically appears on the
bottom right corner of the DIC display screens. If the
outside temperature is below 38ÉF (3ÉC), the temperature
reading will toggle between displaying the outside
temperature and the word ICE for two minutes. If there is
a problem with the system that controls the temperature
display, the letters OC (Open Circuit) or SC (Short
Circuit) will appear on the display. If this occurs, have the
vehicle serviced by your dealer.
The vehicle's transaxle position, and the direction the
vehicle is traveling will also appear on the DIC screen.The compass is self-calibrating, which eliminates the
need to manually set the compass. However, under
certain circumstances, such as during a long distance
cross-country trip, it will be necessary to compensate
for compass variance and reset the zone through
the DIC. See ªSetting the Compassº later in this section
for more information.
The buttons on the DIC trip computer are:
Gages
2(Gages):Press this button to access the OIL LIFE
REMAINING, TRANSMISSION FLUID TEMPERATURE,
BATTERY, ENGINE HOURS AND ENGINE BOOST
modes.
3-53
Page 172 of 432
CHECK TIRE PRESSURE
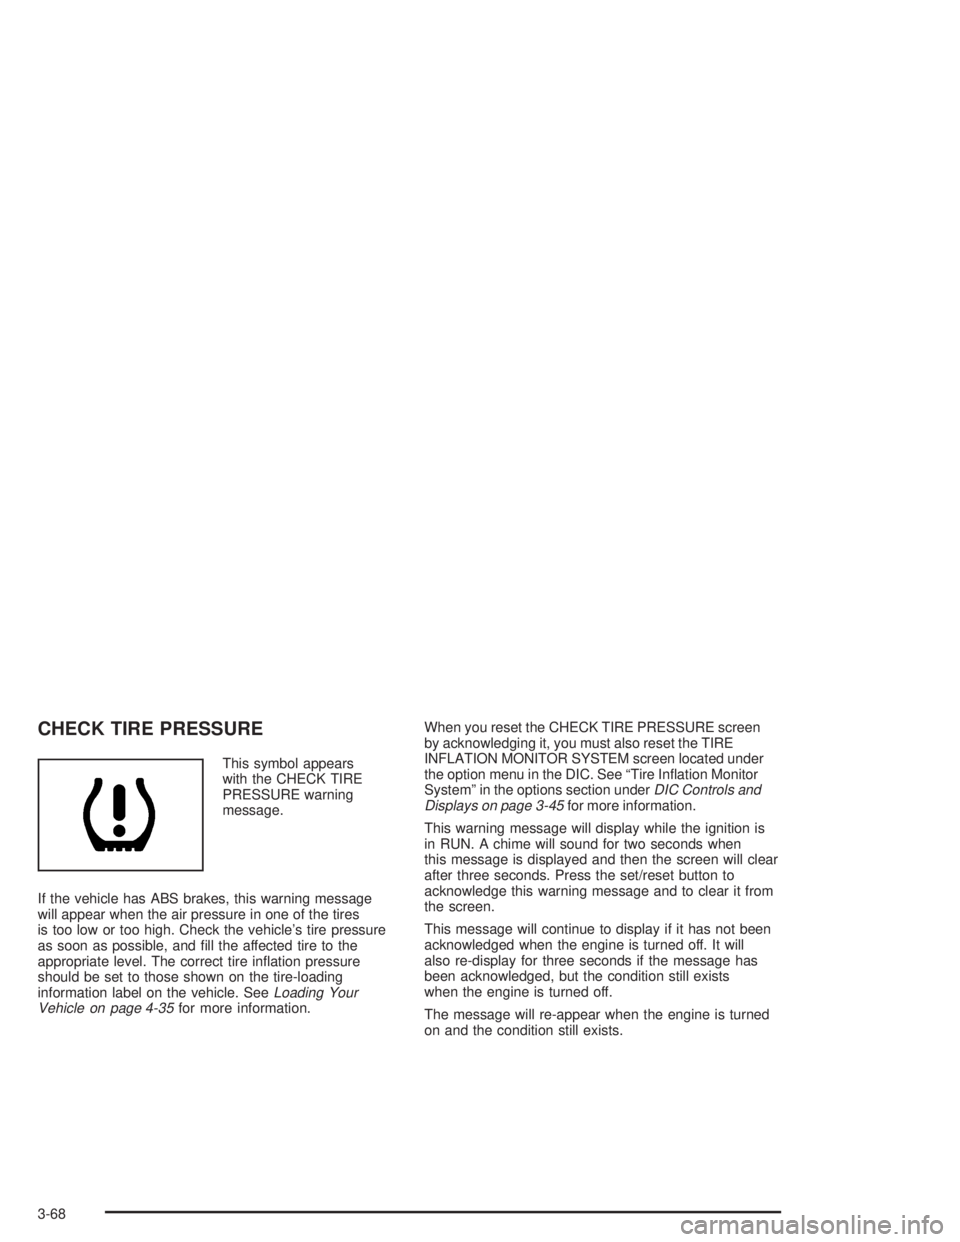
This symbol appears
with the CHECK TIRE
PRESSURE warning
message.
If the vehicle has ABS brakes, this warning message
will appear when the air pressure in one of the tires
is too low or too high. Check the vehicle's tire pressure
as soon as possible, and ®ll the affected tire to the
appropriate level. The correct tire in¯ation pressure
should be set to those shown on the tire-loading
information label on the vehicle. See
Loading Your
Vehicle on page 4-35for more information.When you reset the CHECK TIRE PRESSURE screen
by acknowledging it, you must also reset the TIRE
INFLATION MONITOR SYSTEM screen located under
the option menu in the DIC. See ªTire In¯ation Monitor
Systemº in the options section under
DIC Controls and
Displays on page 3-45for more information.
This warning message will display while the ignition is
in RUN. A chime will sound for two seconds when
this message is displayed and then the screen will clear
after three seconds. Press the set/reset button to
acknowledge this warning message and to clear it from
the screen.
This message will continue to display if it has not been
acknowledged when the engine is turned off. It will
also re-display for three seconds if the message has
been acknowledged, but the condition still exists
when the engine is turned off.
The message will re-appear when the engine is turned
on and the condition still exists.
3-68
Page 174 of 432
HEADLAMPS SUGGESTED
This message appears when the amount of available
light outside the vehicle is low and the exterior
lamps control is off. This message informs the driver
that turning on the exterior lamps is recommended even
though the Daytime Running Lamps (DRL) are still
illuminated and it has become dark enough outside to
require the headlamps and/or other exterior lamps.
This message will display while the ignition is in RUN.
A chime will sound for two seconds when this message
is displayed. Press the set/reset button to acknowledge
this warning message and to clear it from the screen.
This message will continue to display if it has not been
acknowledged when the engine is turned off. It will
also re-display for three seconds if the message has
been acknowledged, but the condition still exists
when the engine is turned off.
The message will re-appear when the engine is turned
on and the condition still exists.
HOT COOLANT
Notice:If the HOT COOLANT warning message
appears on the DIC display, stop the vehicle as soon
as possible. Do not increase the engine speed
above normal idling speed. Severe engine damage
can result from driving a vehicle with an overheated
engine. See ªEngine Overheatingº in the Service
and Appearance Care section for more information.
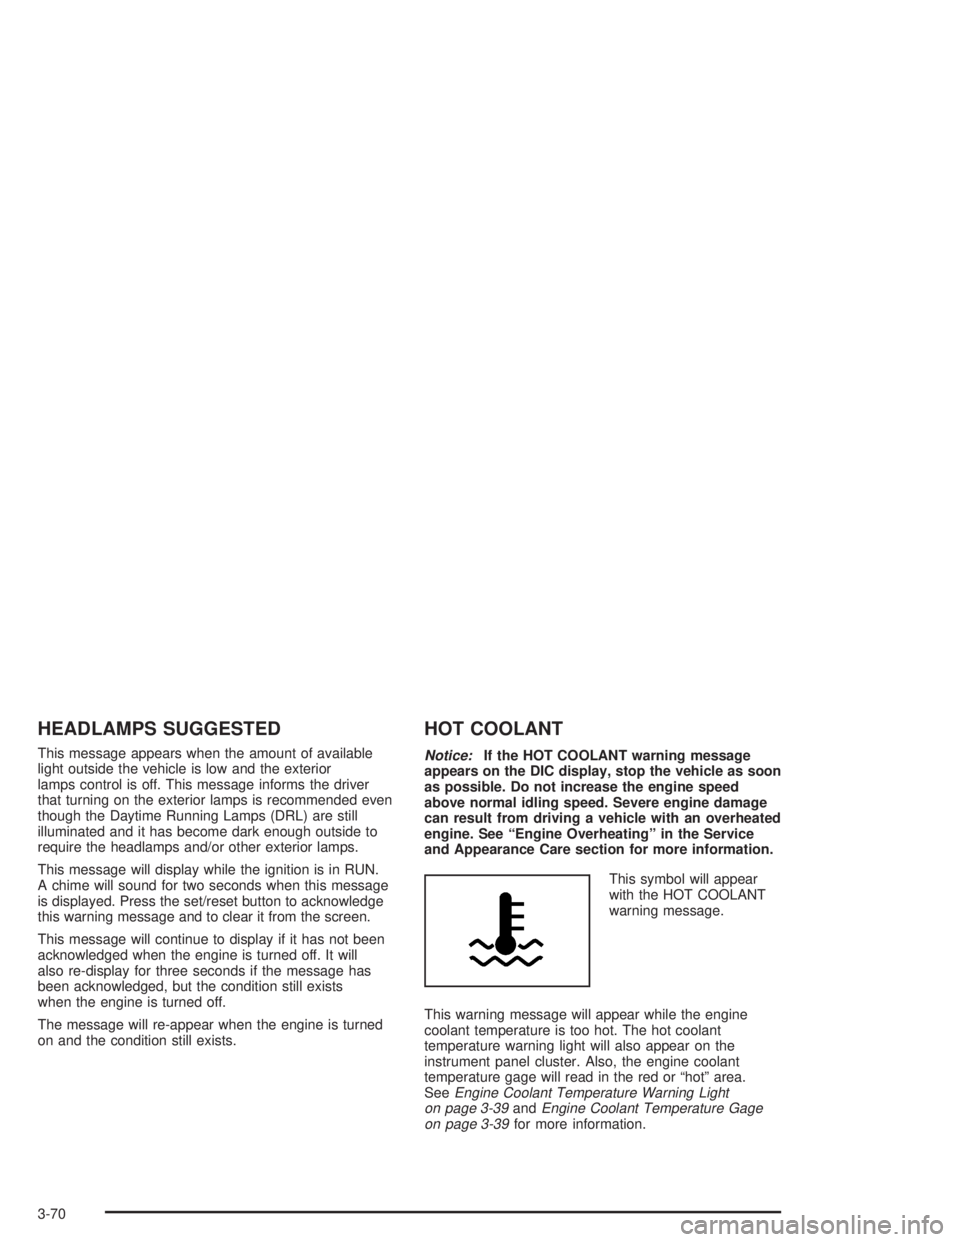
This symbol will appear
with the HOT COOLANT
warning message.
This warning message will appear while the engine
coolant temperature is too hot. The hot coolant
temperature warning light will also appear on the
instrument panel cluster. Also, the engine coolant
temperature gage will read in the red or ªhotº area.
See
Engine Coolant Temperature Warning Light
on page 3-39andEngine Coolant Temperature Gage
on page 3-39for more information.
3-70
Page 180 of 432
LOW OIL LEVEL
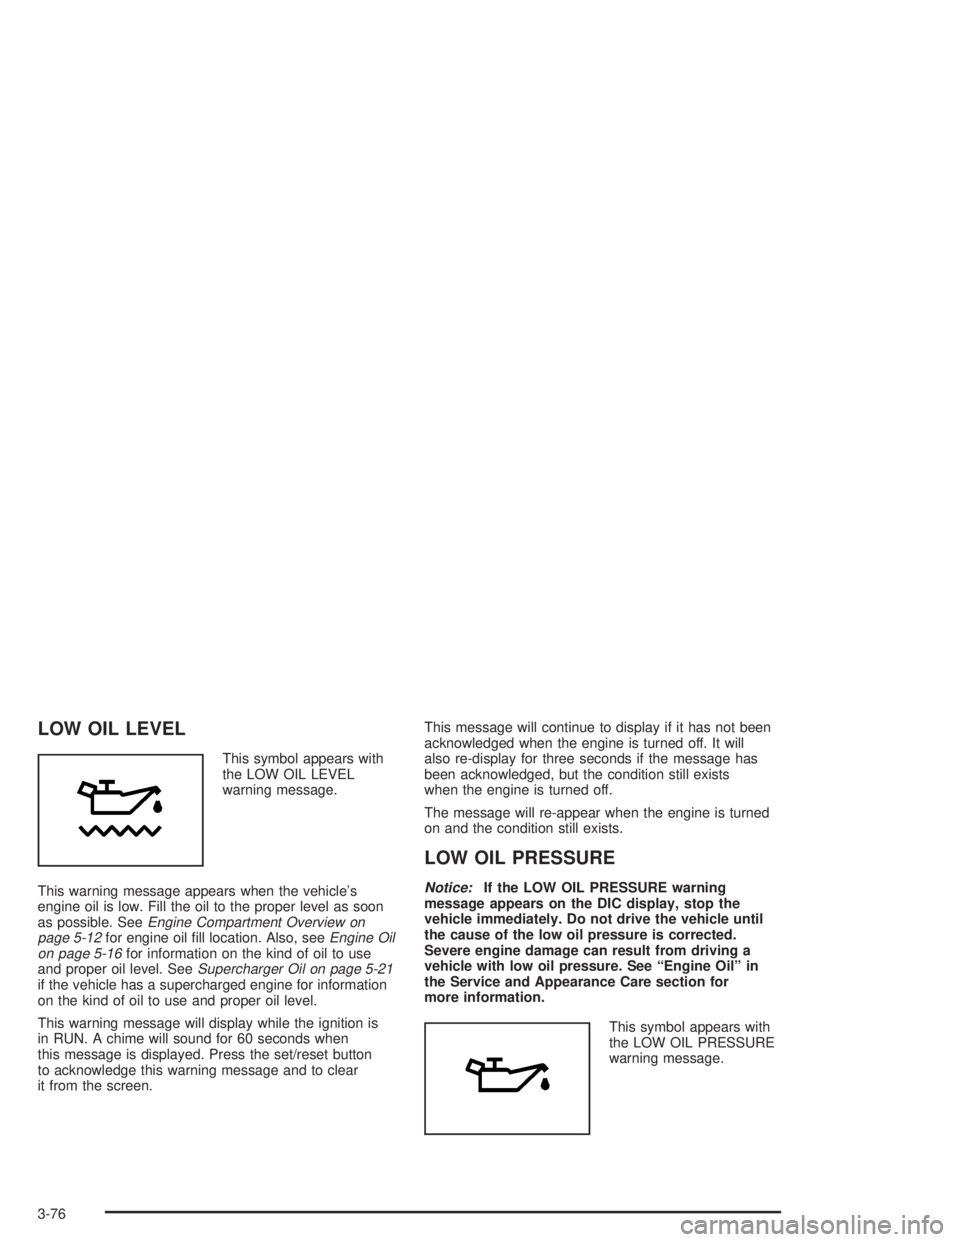
This symbol appears with
the LOW OIL LEVEL
warning message.
This warning message appears when the vehicle's
engine oil is low. Fill the oil to the proper level as soon
as possible. See
Engine Compartment Overview on
page 5-12for engine oil ®ll location. Also, seeEngine Oil
on page 5-16for information on the kind of oil to use
and proper oil level. SeeSupercharger Oil on page 5-21if the vehicle has a supercharged engine for information
on the kind of oil to use and proper oil level.
This warning message will display while the ignition is
in RUN. A chime will sound for 60 seconds when
this message is displayed. Press the set/reset button
to acknowledge this warning message and to clear
it from the screen.This message will continue to display if it has not been
acknowledged when the engine is turned off. It will
also re-display for three seconds if the message has
been acknowledged, but the condition still exists
when the engine is turned off.
The message will re-appear when the engine is turned
on and the condition still exists.
LOW OIL PRESSURE
Notice:If the LOW OIL PRESSURE warning
message appears on the DIC display, stop the
vehicle immediately. Do not drive the vehicle until
the cause of the low oil pressure is corrected.
Severe engine damage can result from driving a
vehicle with low oil pressure. See ªEngine Oilº in
the Service and Appearance Care section for
more information.
This symbol appears with
the LOW OIL PRESSURE
warning message.
3-76
Page 202 of 432
Playing a Compact Disc
With the ignition on, insert a disc partway into the slot,
label side up. The player will pull it in and the disc
should begin playing. If you want to insert a CD when
the ignition is off, ®rst press the eject symbol or push the
RCL knob. If you insert a CD with the radio off and
the ignition on, it will start to play.
When the disc is inserted, the CD symbol will be
displayed. If you select an EQ setting for your CD,
it will be activated each time you play a CD.
As each new track starts to play, the track number will
appear on the display.
The integral CD player can play the smaller 8 cm single
discs with an adapter ring. Full-size compact discs
and the smaller discs are loaded in the same manner.
If playing a CD-R the sound quality may be reduced due
to CD-R quality, the method of recording, the quality
of the music that has been recorded, and the way the
CD-R has been handled. You may experience an
increase in skipping, difficulty in ®nding tracks, and/or
difficulty in loading and ejecting. If these problems occur
try a known good CD.
Do not add paper labels to discs, they could get caught
in the CD player.
Do not play 3 inch discs without a standard adapter disc.If an error appears on the display, see ªCompact Disc
Messagesº later in this section.
\1 (Forward):Press and hold this pushbutton to
advance quickly within a track. You will hear sound
at a reduced volume. Release it to play the passage.
The display will show elapsed time.
RDM 3 (Random):Press this pushbutton to hear
the tracks in random, rather than sequential, order.
RDM and the track number will appear on the display.
4
s(Reverse):Press and hold this pushbutton
to reverse quickly within a track. You will hear sound
at a reduced volume. Release it to play the passage.
The display will show elapsed time.
EQ (Equalizer):Press EQ to select the desired
customized equalization setting while playing a compact
disc. The equalization will be automatically set whenever
you play a compact disc. See ªEQº listed previously for
more information.
wSEEKx:Press the down arrow while playing a
CD to go to the start of the current track if more
than eight seconds have played. Press the up arrow to
go to the next track. If you press either arrow more
than once, the player will continue moving backward or
forward through the disc.
3-98
Page 213 of 432
Playing a Cassette Tape
Your tape player is built to work best with tapes that are
up to 30 to 45 minutes long on each side. Tapes longer
than that are so thin they may not work well in this player.
The longer side with the tape visible should face to the
right. If the ignition is on, but the radio is off, the tape can
be inserted and will begin playing. If you hear nothing
but a garbled sound, the tape may not be in squarely.
Press the eject button to remove the tape and start over.
While the tape is playing, use the VOL, BAL, FADE,
TONE, EQ, and SEEK controls just as you do for the
radio. The display will show TAPE and an arrow showing
which side of the tape is playing. The tape player
automatically begins playing the other side when it
reaches the end of the tape.
Your tape bias is set automatically when a metal or
chrome tape is inserted. If you want to insert a
tape while the ignition is off, ®rst press the eject button
or push the RCL knob.
If an error appears on the display, see ªCassette Tape
Messagesº later in this section.
\1 (Forward):Press this pushbutton to advance
quickly to another part of the tape. Press this pushbutton
again to return to playing speed. The radio will play
while the tape advances. You may select stations during
forward operation by using TUNE, SEEK, and SCAN.
While in forward mode, the display will show FREQ
and FWD and two right arrows. If the radio is playing
a RDS station, the display will only show FREQ.
y2 (Side):Press this pushbutton to play the other
side of the tape.
4
s(Reverse):Press this pushbutton to reverse the
tape rapidly. Press it again to return to playing speed.
The radio will play the tape reverses. You may select
stations during reverse operation by using TUNE, SEEK,
and SCAN.
EQ (Equalizer):Press EQ to select the desired
customized equalization setting while playing a cassette.
The equalization will be automatically set whenever
you play a cassette tape. See ªEQº listed previously for
more information.
3-109
Page 216 of 432
Do not add paper labels to discs, they could get caught
in the CD player.
Do not play 3 inch discs without a standard adapter disc.
If an error appears on the display, see ªCompact Disc
Messagesº later in this section.
\1 (Forward):Press and hold this pushbutton to
advance quickly within a track. You will hear sound at
a reduced volume. Release it to play the passage.
The display will show elapsed time.
RDM 3 (Random):Press this pushbutton to hear the
tracks in random, rather than sequential, order.
RDM and the track number will appear on the display.
4
s(Reverse):Press and hold this pushbutton
to reverse quickly within a track. You will hear sound
at a reduced volume. Release it to play the passage.
The display will show elapsed time.
EQ (Equalizer):Press EQ to select the desired
customized equalization setting while playing a compact
disc. The equalization will be automatically set
whenever you play a compact disc. See ªEQº listed
previously for more information.
wSEEKx:Press the down arrow while playing a
CD to go to the start of the current track if more
than eight seconds have played. Press the up arrow to
go to the next track. If you press either arrow more
than once, the player will continue moving backward or
forward through the disc.
wSCANx:Press and hold one of the arrows for
more than two seconds until SCAN and the track
number appear on the display and you hear a beep.
The disc will go to the next track, play for a few seconds,
then go on to the next track. Press this button again
to stop scanning.
RCL (Recall):Press this knob to see how long the
current track has been playing. To change the default
on the display (track or elapsed time), press the
knob until you see the display you want, then hold the
knob until the display ¯ashes. The selected display
will now be the default. While elapsed time is showing,
CD TIME will appear on the display.
3-112
Page 227 of 432
Playing a Compact Disc
The integral CD player can play the smaller 8 cm single
discs with an adapter ring. Full-size compact discs
and the smaller discs are loaded in the same manner.
If playing a CD-R the sound quality may be reduced due
to CD-R quality, the method of recording, the quality
of the music that has been recorded, and the way the
CD-R has been handled. You may experience an
increase in skipping, difficulty in ®nding tracks, and/or
difficulty in loading and ejecting. If these problems occur
try a know good CD.
Do not add paper labels to discs, they could get caught
in the CD player.
Do not play 3 inch discs without a standard adapter disc.
If an error appears on the display, see ªCompact Disc
Messagesº later in this section.
LOAD CD
Z:Press the LOAD side of this button to
load CDs into the compact disc player. This compact
disc player will hold up to six discs.To insert one disc, do the following:
1. Turn the ignition on.
2. Press and release the LOAD side of the
LOAD CD button.
3. Wait for the light, located to the right of the slot,
to turn green.
4. Load a disc. Insert the disc partway into the slot,
label side up. The player will pull the disc in.
When a disc is inserted, the CD symbol will be displayed.
If you select an equalization setting for your disc, it will be
activated each time you play a disc.
If the radio is on or off, the disc will begin to play
automatically.
To insert multiple discs, do the following:
1. Turn the ignition on.
2. Press and hold the LOAD side of the LOAD CD
button for two seconds.
You will hear a beep and the light, located to the
right of the slot, will begin to ¯ash.
3-123
Page 228 of 432
3. Once the light stops ¯ashing and turns green,
load a disc. Insert the disc partway into the slot,
label side up. The player will pull the disc in.
Once the disc is loaded, the light will begin ¯ashing
again. Once the light stops ¯ashing and turns
green you can load another disc. The disc player
takes up to six discs. Do not try to load more
than six.
To load more than one disc but less than six, complete
Steps 1 through 3. When you have ®nished loading
discs, with the radio on or off, press the LOAD side of
the LOAD CD button to cancel the loading function.
The radio will begin to play the last CD loaded.
When a disc is inserted, the CD symbol will be
displayed. If more than one disc has been loaded, a
number for each disc will be displayed. If you select an
equalization setting for your disc, it will be activated
each time you play a disc.
If the radio is on or off, the last disc loaded will begin to
play automatically.
As each new track starts to play, the track number will
appear on the display.Playing a Speci®c Loaded
Compact Disc
For every CD loaded, a number will appear on the radio
display. To play a speci®c CD, ®rst press the CD AUX
button to start playing a CD. Then press the numbered
pushbutton that corresponds to the CD you want to
play. A small bar will appear under the CD number that
is playing, and the track number will appear.
If an error appears on the radio display, see ªCompact
Disc Messagesº later in this section.
LOAD CD
Z(Eject):Pressing the CD eject side of
this button will eject a single disc or multiple discs.
To eject the disc that is currently playing, press
and release this button. To eject multiple discs, press
and hold this button for two seconds. You will hear
a beep and the light will ¯ash to let you know when a
disc is being ejected.
REMOVE CD will be displayed. You can now remove
the disc. If the disc is not removed, after 25 seconds,
the disc will be automatically pulled back into the
receiver. If you try to push the disc back into the
receiver, before the 25 second time period is complete,
the receiver will sense an error and will try to eject
the disc several times before stopping.
3-124
Page 229 of 432
Do not repeatedly press the CD eject side of the
LOAD CD eject button to eject a disc after you have
tried to push it in manually. The receivers 25-second
eject timer will reset at each press of eject, which
will cause the receiver to not eject the disc until the
25-second time period has elapsed.
Once the player stops and the disc is ejected, remove the
disc. After removing the disc, press the PWR knob off and
then on again. This will clear the disc-sensing feature and
enable discs to be loaded into the player again.
{REV (Reverse):Press and hold this button to
reverse quickly within a track. You will hear sound at a
reduced volume. Release it to play the passage.
The display will show elapsed time.
FWD
|(Forward):Press and hold this button to
advance quickly within a track. You will hear sound
at a reduced volume. Release it to play the passage.
The display will show elapsed time.
RPT (Repeat):With repeat, you can repeat one track
or an entire disc. To use repeat, do the following:
·To repeat the track you are listening to, press and
release the RPT button. RPT will appear on the
display. Press RPT again to turn it off.
·To repeat the disc you are listening to, press and
hold the RPT button for two seconds. RPT will
appear on the display. Press RPT again to turn it off.RDM (Random):With random, you can listen to the
tracks in random, rather than sequential, order, on one
disc or on all of the discs. To use random, do one
of the following:
·To play the tracks on the disc you are listening to in
random order, press and release the RDM button.
You will hear a beep and RANDOM ONE will
appear on the display. Press RDM again to turn
it off.
·To play the tracks on all of the discs that are
loaded in random order, press and hold RDM
for more than two seconds. RANDOM ALL will
appear on the display. Press RDM again to
turn it off.
AUTO EQ (Automatic Equalization):Press AUTO EQ
to select the desired equalization setting while playing
a compact disc. The equalization will be automatically
set whenever you play a compact disc. For more
information on AUTO EQ, see ªAUTO EQº listed
previously in this section.
sSEEKt:Press the left arrow to go to the start of
the current track, if more than ten seconds have passed.
Press the right arrow to go to the next track. If you
press the button more than once, the player will continue
moving backward or forward through the disc.
3-125