CD changer PONTIAC GRAND PRIX 2004 Owners Manual
[x] Cancel search | Manufacturer: PONTIAC, Model Year: 2004, Model line: GRAND PRIX, Model: PONTIAC GRAND PRIX 2004Pages: 432, PDF Size: 2.99 MB
Page 117 of 432

Fog Lamps
Fog lamps provide brighter roadway lighting for better
vision in foggy or misty conditions.
-(Fog Lamps):Turn the second band on the exterior
lamps lever to this position to turn the fog lamps on.
The band will return to its original position.
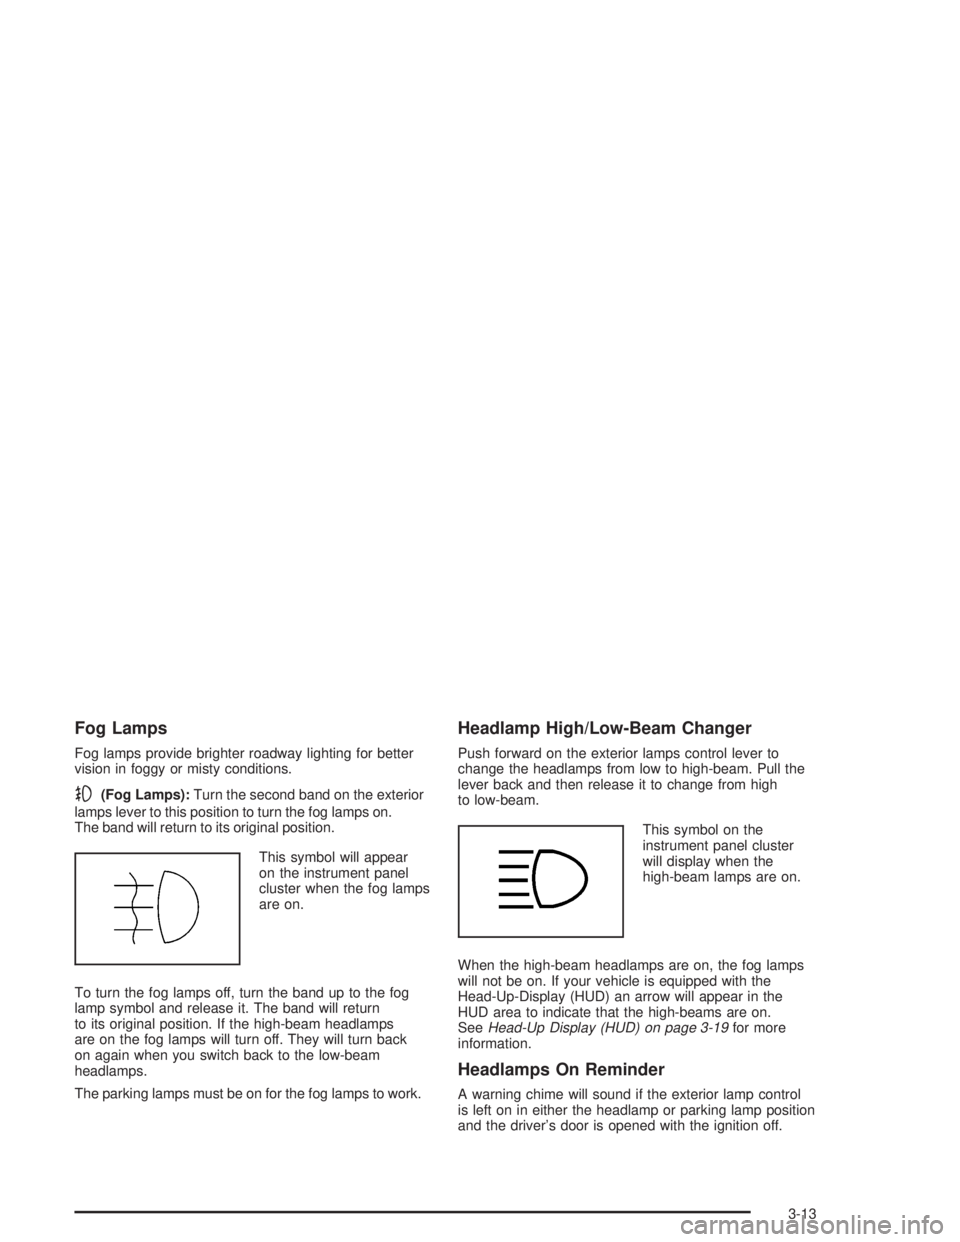
This symbol will appear
on the instrument panel
cluster when the fog lamps
are on.
To turn the fog lamps off, turn the band up to the fog
lamp symbol and release it. The band will return
to its original position. If the high-beam headlamps
are on the fog lamps will turn off. They will turn back
on again when you switch back to the low-beam
headlamps.
The parking lamps must be on for the fog lamps to work.
Headlamp High/Low-Beam Changer
Push forward on the exterior lamps control lever to
change the headlamps from low to high-beam. Pull the
lever back and then release it to change from high
to low-beam.
This symbol on the
instrument panel cluster
will display when the
high-beam lamps are on.
When the high-beam headlamps are on, the fog lamps
will not be on. If your vehicle is equipped with the
Head-Up-Display (HUD) an arrow will appear in the
HUD area to indicate that the high-beams are on.
See
Head-Up Display (HUD) on page 3-19for more
information.
Headlamps On Reminder
A warning chime will sound if the exterior lamp control
is left on in either the headlamp or parking lamp position
and the driver's door is opened with the ignition off.
3-13
Page 148 of 432

Fog Lamp Light
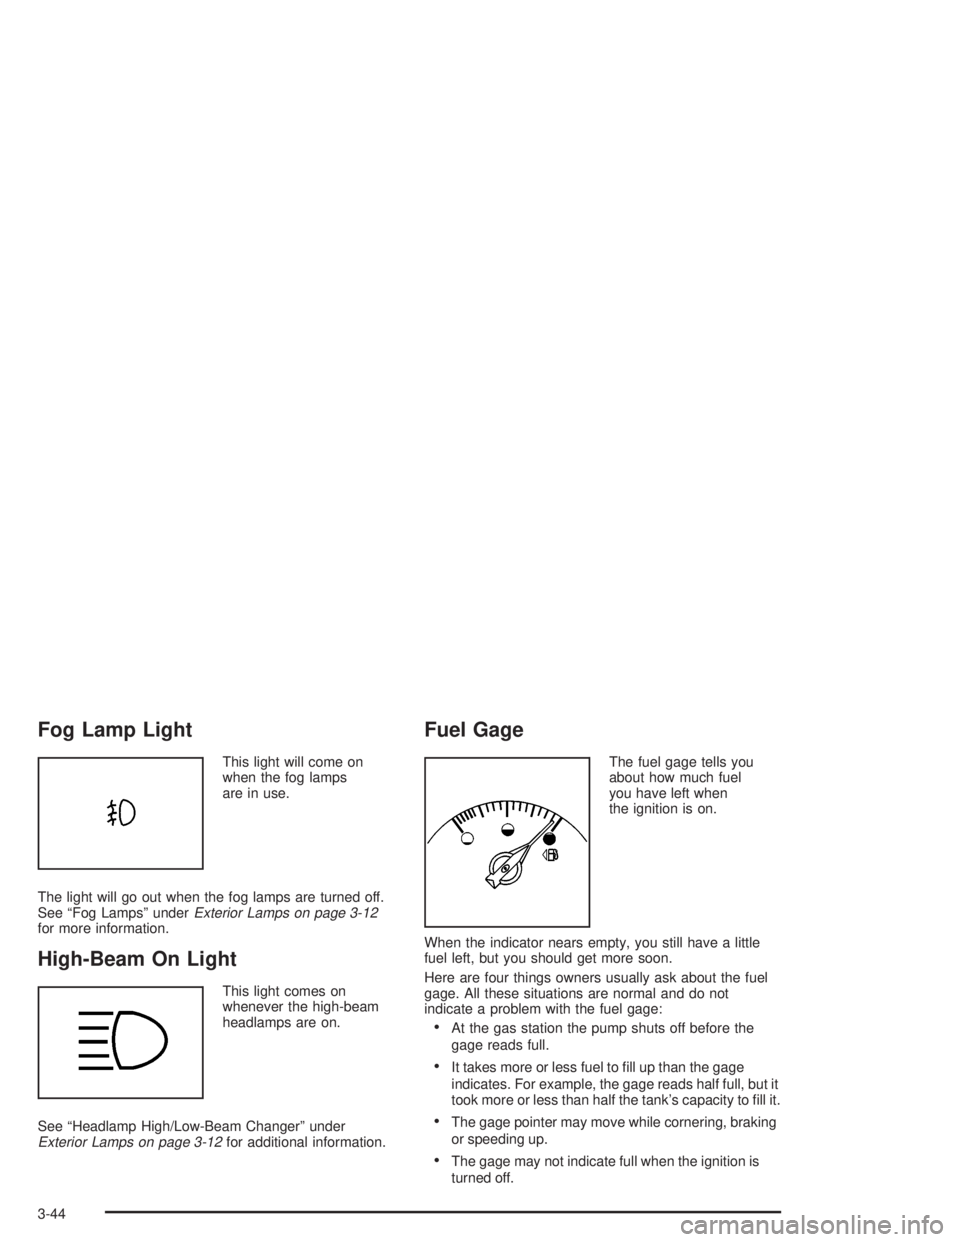
This light will come on
when the fog lamps
are in use.
The light will go out when the fog lamps are turned off.
See ªFog Lampsº under
Exterior Lamps on page 3-12for more information.
High-Beam On Light
This light comes on
whenever the high-beam
headlamps are on.
See ªHeadlamp High/Low-Beam Changerº under
Exterior Lamps on page 3-12for additional information.
Fuel Gage
The fuel gage tells you
about how much fuel
you have left when
the ignition is on.
When the indicator nears empty, you still have a little
fuel left, but you should get more soon.
Here are four things owners usually ask about the fuel
gage. All these situations are normal and do not
indicate a problem with the fuel gage:
·At the gas station the pump shuts off before the
gage reads full.
·It takes more or less fuel to ®ll up than the gage
indicates. For example, the gage reads half full, but it
took more or less than half the tank's capacity to ®ll it.
·The gage pointer may move while cornering, braking
or speeding up.
·The gage may not indicate full when the ignition is
turned off.
3-44
Page 230 of 432

sSCANt:To scan one disc, press and hold either
SCAN arrow for more than two seconds until SCAN
appears on the display and you hear a beep. Use this
feature to listen to 10 seconds of each track of the
currently selected disc. SCAN will appear on the display.
Press either SCAN arrow again, to stop scanning.
To scan all loaded discs, press and hold either SCAN
arrow for more than four seconds until DISC SCAN
appears on the display and you hear a beep. Use this
feature to listen to 10 seconds of the ®rst tracks of each
disc loaded. Press either SCAN arrow again, to stop
scanning.
RCL (Recall):Press this button to see how long the
current track has been playing. To change the default on
the display (track and elapsed time), press the button
until you see the display you want, then hold the button
until the display ¯ashes. The selected display will
now be the default.
BAND:Press this button to play the radio when a
disc(s) is in the player.Using Song List Mode
The integrated six-disc CD changer has a feature called
song list. This feature is capable of saving 20 track
selections.
To save tracks into the song list feature, perform the
following steps:
1. Turn the CD player on and load it with at least one
disc. See ªLOAD CDº listed previously in this section
for more information.
2. Check to see that the disc changer is not in song
list mode. S-LIST should not appear in the display.
If S-LIST is present, press the SONG LIST
button to turn it off.
3. Select the desired disc by pressing the numbered
pushbutton and then use the SEEK SCAN right
arrow button to locate the track that you want
to save. The track will begin to play.
4. Press and hold the SONG LIST button for two or
more seconds to save the track into memory.
When SONG LIST is pressed a beep will be
heard immediately. After two seconds of pressing
SONG LIST continuously, two beeps will sound
to con®rm that the track has been saved.
5. Repeat Steps 3 and 4 for saving other selections.
If you attempt to save more than 20 selections,
S-LIST FULL will appear on the display.
3-126