oil pressure PONTIAC GRAND PRIX 2004 Owners Manual
[x] Cancel search | Manufacturer: PONTIAC, Model Year: 2004, Model line: GRAND PRIX, Model: PONTIAC GRAND PRIX 2004Pages: 432, PDF Size: 2.99 MB
Page 105 of 432
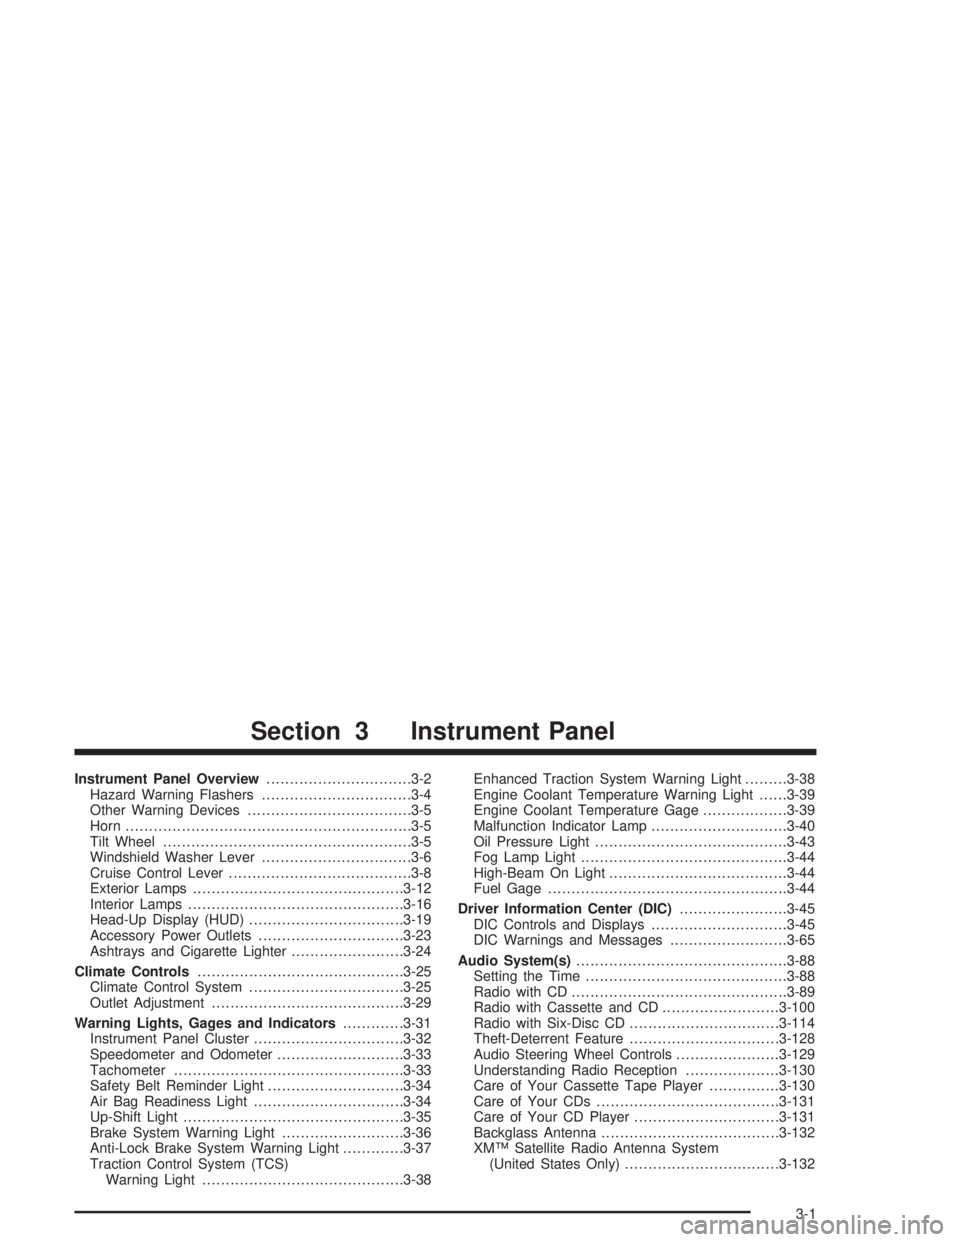
Instrument Panel Overview...............................3-2
Hazard Warning Flashers................................3-4
Other Warning Devices...................................3-5
Horn.............................................................3-5
Tilt Wheel.....................................................3-5
Windshield Washer Lever................................3-6
Cruise Control Lever.......................................3-8
Exterior Lamps.............................................3-12
Interior Lamps..............................................3-16
Head-Up Display (HUD).................................3-19
Accessory Power Outlets...............................3-23
Ashtrays and Cigarette Lighter........................3-24
Climate Controls............................................3-25
Climate Control System.................................3-25
Outlet Adjustment.........................................3-29
Warning Lights, Gages and Indicators.............3-31
Instrument Panel Cluster................................3-32
Speedometer and Odometer...........................3-33
Tachometer.................................................3-33
Safety Belt Reminder Light.............................3-34
Air Bag Readiness Light................................3-34
Up-Shift Light...............................................3-35
Brake System Warning Light..........................3-36
Anti-Lock Brake System Warning Light.............3-37
Traction Control System (TCS)
Warning Light...........................................3-38Enhanced Traction System Warning Light.........3-38
Engine Coolant Temperature Warning Light......3-39
Engine Coolant Temperature Gage..................3-39
Malfunction Indicator Lamp.............................3-40
Oil Pressure Light.........................................3-43
Fog Lamp Light............................................3-44
High-Beam On Light......................................3-44
Fuel Gage...................................................3-44
Driver Information Center (DIC).......................3-45
DIC Controls and Displays.............................3-45
DIC Warnings and Messages.........................3-65
Audio System(s).............................................3-88
Setting the Time...........................................3-88
Radio with CD..............................................3-89
Radio with Cassette and CD.........................3-100
Radio with Six-Disc CD................................3-114
Theft-Deterrent Feature................................3-128
Audio Steering Wheel Controls......................3-129
Understanding Radio Reception....................3-130
Care of Your Cassette Tape Player...............3-130
Care of Your CDs.......................................3-131
Care of Your CD Player...............................3-131
Backglass Antenna......................................3-132
XMŸ Satellite Radio Antenna System
(United States Only).................................3-132
Section 3 Instrument Panel
3-1
Page 147 of 432
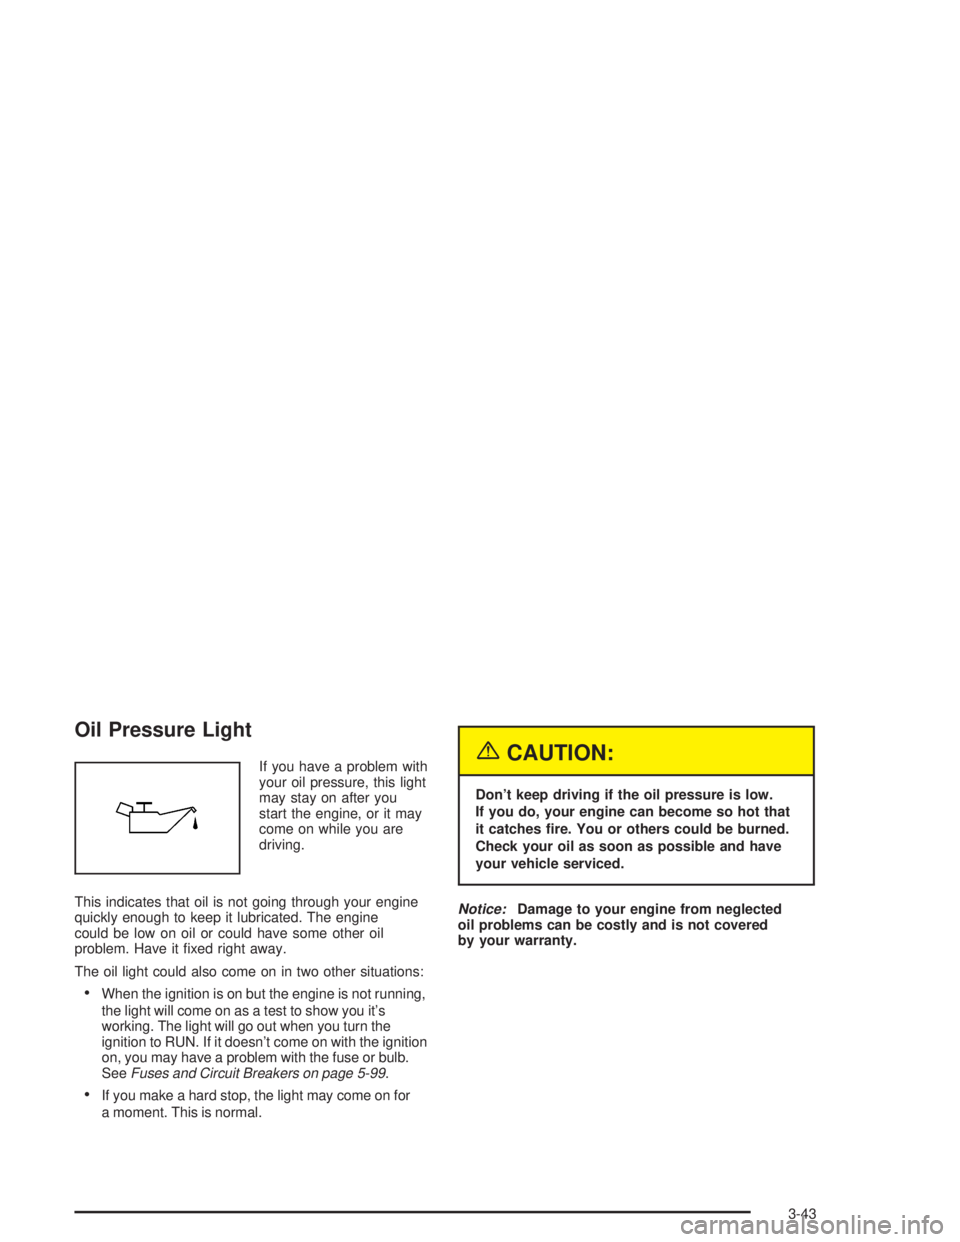
Oil Pressure Light
If you have a problem with
your oil pressure, this light
may stay on after you
start the engine, or it may
come on while you are
driving.
This indicates that oil is not going through your engine
quickly enough to keep it lubricated. The engine
could be low on oil or could have some other oil
problem. Have it ®xed right away.
The oil light could also come on in two other situations:
·When the ignition is on but the engine is not running,
the light will come on as a test to show you it's
working. The light will go out when you turn the
ignition to RUN. If it doesn't come on with the ignition
on, you may have a problem with the fuse or bulb.
See
Fuses and Circuit Breakers on page 5-99.
·If you make a hard stop, the light may come on for
a moment. This is normal.
{CAUTION:
Don't keep driving if the oil pressure is low.
If you do, your engine can become so hot that
it catches ®re. You or others could be burned.
Check your oil as soon as possible and have
your vehicle serviced.
Notice:Damage to your engine from neglected
oil problems can be costly and is not covered
by your warranty.
3-43
Page 152 of 432
ENGINE OIL MONITOR SYSTEM:This menu lets you
reset the engine oil monitor system for the vehicle.
See ªWhen to Change Engine Oil (GM Oil LIfe System)º
under
Engine Oil on page 5-16.
To reset the engine oil monitor system use the following
procedure:
1. Press the set/reset button after an oil change to
reset the engine oil monitor system. The
con®rmation, ENGINE OIL MONITOR HAS BEEN
RESET, will appear on the next screen.
2. Press the options button again to advance to the
next screen.
Tire In¯ation Monitor System:If the vehicle has ABS,
this menu lets you set the tire in¯ation monitor system.
See ªTire In¯ation Monitor Systemº under
In¯ation ± Tire
Pressure on page 5-69for more information.
To set or reset the tire in¯ation monitor system, use the
following procedure:
1. Press the set/reset button to reset the tire in¯ation
monitor system.TIRE INFLATION HAS BEEN SET
will appear on the next screen to con®rm this
system has been set.
2. Press the options button again to advance to the
next screen.
Select the set/reset button to return to the main (date)
screen.PERSONAL PROGRAMMING MODE:This menu
lets you customize the time the exterior and interior
lamps are left on, and, when the automatic door locks
are activated after the vehicle is turned off and the doors
are closed. These adjustments can only be made
while the vehicle is in PARK (P). Press the set/reset
button to display the ®rst screen.
Personal Programming Mode Screens
Press the options button to access these modes:
EXTERIOR LIGHTING DELAY:This screen lets you
turn this feature off, or lets you select the number
of seconds the headlamps, sidelamps and taillamps, fog
lamps and back-up lamps are turned on after the key
is removed from the ignition or the vehicle is unlocked
using the remote keyless entry transmitter.
If OFF is selected, the exterior lamps will not turn on.
If a time delay is selected, the lamps will turn on
(for the time selected), when the key is removed from
the ignition, or when the vehicle is unlocked using
the remote keyless entry transmitter.
To program this mode use the following procedure:
1. Press and release the set/reset button to scroll to
the selection you want to program. Choose from
OFF or 15, 30, 60 or 90 seconds.
2. Press the options button again to advance to the
next screen.
3-48
Page 162 of 432
ENGINE OIL MONITOR SYSTEM:This menu lets you
reset the engine oil monitor system for the vehicle.
See ªWhen to Change Engine Oil (GM Oil LIfe System)º
under
Engine Oil on page 5-16.
To reset the engine oil monitor system use the following
procedure:
1. Press the set/reset button to reset the engine oil
monitor system. The con®rmation, ENGINE OIL
MONITOR HAS BEEN RESET, will appear on the
next screen.
2. Press the options button again to advance to the
next screen.
Tire In¯ation Monitor System:If the vehicle has ABS,
this menu lets you set the tire in¯ation monitor system.
See ªTire In¯ation Monitor Systemº under
In¯ation ± Tire
Pressure on page 5-69for more information.
To set or reset the tire in¯ation monitor system use the
following procedures:
1. Press the set/reset button to reset the tire in¯ation
monitor system. TIRE INFLATION HAS BEEN SET
will appear on the next screen to con®rm this
system has been set.
2. Press the options button again to advance to the
next screen.
Select the set/reset button to return to the main
(date) screen.COMPASS CALIBRATION MODE:
Setting the Compass
The compass is self-calibrating, which eliminates the
need to manually set the compass.
However, under certain circumstances, such as during a
long distance cross-country trip, it will be necessary
to compensate for compass variance and reset the zone
through the DIC.
Compass variance is the difference between earth's
magnetic north and true geographic north. If not
adjusted to account for compass variance, the compass
in your vehicle could give you false readings.
In order to do this, you will have to set or calibrate the
compass to the variance zone in which you are located.
3-58
Page 180 of 432
LOW OIL LEVEL
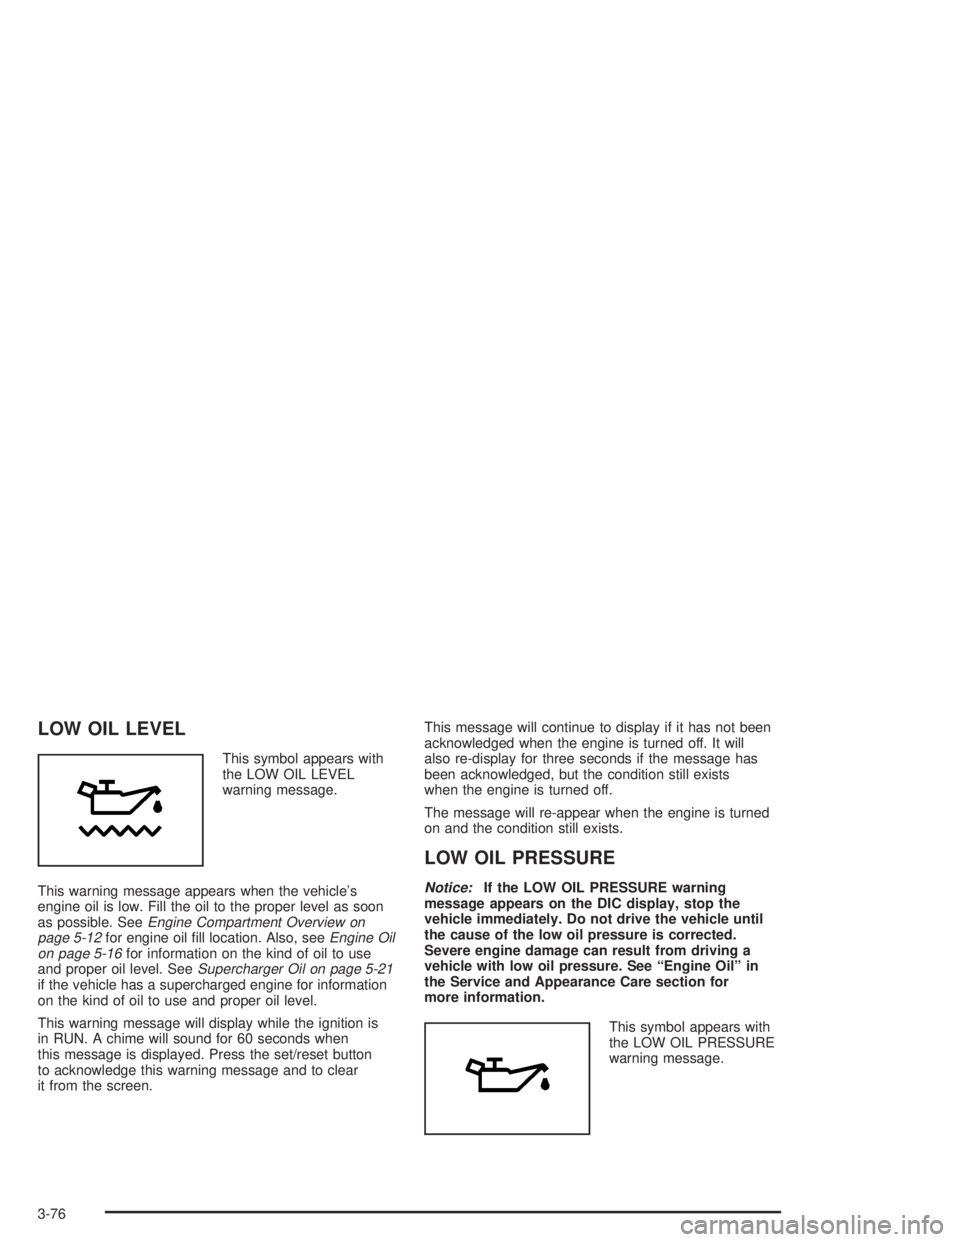
This symbol appears with
the LOW OIL LEVEL
warning message.
This warning message appears when the vehicle's
engine oil is low. Fill the oil to the proper level as soon
as possible. See
Engine Compartment Overview on
page 5-12for engine oil ®ll location. Also, seeEngine Oil
on page 5-16for information on the kind of oil to use
and proper oil level. SeeSupercharger Oil on page 5-21if the vehicle has a supercharged engine for information
on the kind of oil to use and proper oil level.
This warning message will display while the ignition is
in RUN. A chime will sound for 60 seconds when
this message is displayed. Press the set/reset button
to acknowledge this warning message and to clear
it from the screen.This message will continue to display if it has not been
acknowledged when the engine is turned off. It will
also re-display for three seconds if the message has
been acknowledged, but the condition still exists
when the engine is turned off.
The message will re-appear when the engine is turned
on and the condition still exists.
LOW OIL PRESSURE
Notice:If the LOW OIL PRESSURE warning
message appears on the DIC display, stop the
vehicle immediately. Do not drive the vehicle until
the cause of the low oil pressure is corrected.
Severe engine damage can result from driving a
vehicle with low oil pressure. See ªEngine Oilº in
the Service and Appearance Care section for
more information.
This symbol appears with
the LOW OIL PRESSURE
warning message.
3-76
Page 181 of 432
This warning message will appear when the vehicle's
engine oil pressure is low. The low oil pressure warning
light will also appear on the instrument panel.
Stop the vehicle immediately, as engine damage can
result from driving a vehicle with low oil pressure.
Have the vehicle serviced as soon as possible when
this warning message is displayed.
This warning message will display only while the ignition
is in RUN. A chime will sound continuously when this
message is displayed. Press the set/reset button
to acknowledge this warning message and to clear it
from the screen.
This message will continue to display if it has not been
acknowledged when the engine is turned off. It will
also re-display for three seconds if the message has
been acknowledged, but the condition still exists
when the engine is turned off.
The message will re-appear when the engine is turned
on and the condition still exists.LOW WASHER FLUID
This symbol will appear
with the LOW WASHER
FLUID warning message.
This warning message appears when the windshield
washer ¯uid is low. Fill the windshield washer reservoir
as soon as possible. See
Engine Compartment
Overview on page 5-12for location of the windshield
washer reservoir. Also, seeWindshield Washer Fluid on
page 5-43for more information.
This warning message will display only while the ignition
is in RUN. A chime will sound continuously when this
message is displayed. Press the set/reset button
to acknowledge this warning message and to clear it
from the screen.
This message will continue to display if it has not been
acknowledged when the engine is turned off. It will
also re-display for three seconds if the message has
been acknowledged, but the condition still exists
when the engine is turned off.
The message will re-appear when the engine is turned
on and the condition still exists.
3-77
Page 261 of 432
When you want to leave the freeway, move to the
proper lane well in advance. If you miss your exit,
do not, under any circumstances, stop and back up.
Drive on to the next exit.
The exit ramp can be curved, sometimes quite sharply.
The exit speed is usually posted. Reduce your speed
according to your speedometer, not to your sense
of motion. After driving for any distance at higher
speeds, you may tend to think you are going slower
than you actually are.
Before Leaving on a Long Trip
Make sure you're ready. Try to be well rested. If you
must start when you're not fresh Ð such as after a day's
work Ð don't plan to make too many miles that ®rst
part of the journey. Wear comfortable clothing and shoes
you can easily drive in.
Is your vehicle ready for a long trip? If you keep it
serviced and maintained, it's ready to go. If it needs
service, have it done before starting out. Of course,
you'll ®nd experienced and able service experts in
GM dealerships all across North America. They'll be
ready and willing to help if you need it.Here are some things you can check before a trip:
·Windshield Washer Fluid:Is the reservoir full?
Are all windows clean inside and outside?
·Wiper Blades:Are they in good shape?
·Fuel, Engine Oil, Other Fluids:Have you checked
all levels?
·Lamps:Are they all working? Are the lenses clean?
·Tires:They are vitally important to a safe,
trouble-free trip. Is the tread good enough for
long-distance driving? Are the tires all in¯ated to
the recommended pressure?
·Weather Forecasts:What's the weather outlook
along your route? Should you delay your trip a
short time to avoid a major storm system?
·Maps:Do you have up-to-date maps?
4-25
Page 281 of 432
Service............................................................5-3
Doing Your Own Service Work.........................5-3
Adding Equipment to the Outside
of Your Vehicle...........................................5-4
Fuel................................................................5-4
Gasoline Octane............................................5-4
Gasoline Speci®cations....................................5-5
California Fuel...............................................5-5
Additives.......................................................5-6
Fuels in Foreign Countries...............................5-7
Filling Your Tank............................................5-7
Filling a Portable Fuel Container.....................5-10
Checking Things Under the Hood....................5-10
Hood Release..............................................5-11
Engine Compartment Overview.......................5-12
Engine Oil...................................................5-16
Supercharger Oil..........................................5-21
Engine Air Cleaner/Filter................................5-22
Automatic Transaxle Fluid..............................5-24
Engine Coolant.............................................5-26
Radiator Pressure Cap..................................5-29
Engine Overheating.......................................5-29
Cooling System............................................5-32
Power Steering Fluid.....................................5-42
Windshield Washer Fluid................................5-43Brakes........................................................5-45
Battery........................................................5-48
Jump Starting...............................................5-49
Headlamp Aiming...........................................5-56
Bulb Replacement..........................................5-59
Halogen Bulbs..............................................5-59
Headlamps and Sidemarker Lamps.................5-60
Front Turn Signal, Parking and
Fog Lamps...............................................5-62
Center High-Mounted Stoplamp (CHMSL).........5-64
Taillamps, Turn Signal, and Stoplamps............5-64
Back-Up Lamps............................................5-65
Replacement Bulbs.......................................5-66
Windshield Wiper Blade Replacement..............5-67
Tires..............................................................5-68
In¯ation -- Tire Pressure................................5-69
Tire Pressure Monitor System.........................5-70
Tire Inspection and Rotation...........................5-71
When It Is Time for New Tires.......................5-72
Buying New Tires.........................................5-73
Uniform Tire Quality Grading..........................5-74
Wheel Alignment and Tire Balance..................5-75
Wheel Replacement......................................5-75
Tire Chains..................................................5-77
Section 5 Service and Appearance Care
5-1
Page 293 of 432
A. Windshield Washer Fluid Reservoir. (SeeWindshield
Washer Fluid on page 5-43.)
B. Remote Positive (+) Battery Terminal. (See
Jump
Starting on page 5-49.)
C. Battery. (See
Battery on page 5-48).
D. Underhood Fuse Block. (See
Fuses and Circuit
Breakers on page 5-99.)
E. Radiator Pressure Cap. (See
Cooling System on
page 5-32).
F. Engine Coolant Recovery Tank. (See ªChecking
Coolantº under
Cooling System on page 5-32.)
G. Power Steering Fluid Reservoir (low in engine
compartment). (See
Power Steering Fluid on
page 5-42.)H. Electric Cooling Fan. (See
Cooling System on
page 5-32.)
I. Engine Oil Dipstick. (See
Engine Oil on page 5-16.)
J. Engine Oil Fill Cap. See
Engine Oil on page 5-16.
K. Automatic Transaxle Fluid Dipstick. (See
Automatic
Transaxle Fluid on page 5-24.)
L. Engine Coolant Bleed Valve. (See ªHow to Add
Coolant to the Radiatorº under
Cooling System on
page 5-32.)
M. Brake Master Cylinder. (See ªBrake Fluidº under
Brakes on page 5-45.)
N. Engine Air Cleaner/Filter. (See
Engine Air
Cleaner/Filter on page 5-22.)
5-13
Page 295 of 432
A. Windshield Washer Fluid Reservoir. (SeeWindshield
Washer Fluid on page 5-43.)
B. Remote Positive (+) Battery Terminal. (See
Jump
Starting on page 5-49.)
C. Battery. (See
Battery on page 5-48.)
D. Underhood Fuse Block. (See
Fuses and Circuit
Breakers on page 5-99.)
E. Radiator Pressure Cap. (See
Cooling System on
page 5-32.)
F. Engine Coolant Recovery Tank. (See ªChecking
Coolantº under
Cooling System on page 5-32.)
G. Power Steering Fluid Reservoir (low in engine
compartment). (See
Power Steering Fluid on
page 5-42.)
H. Supercharger Oil Fill Location. (See
Supercharger
Oil on page 5-21.)I. Electric Cooling Fan. (See
Cooling System on
page 5-32.)
J. Engine Oil Dipstick. (See
Engine Oil on page 5-16.)
K. Engine Oil Fill Cap. (See
Engine Oil on page 5-16.)
L. Engine Coolant Bleed Valve. (See ªHow to Add
Coolant to the Radiatorº under
Cooling System on
page 5-32.)
M. Automatic Transaxle Fluid Dipstick. (See
Automatic
Transaxle Fluid on page 5-24.)
N. Brake Master Cylinder. (See ªBrake Fluidº under
Brakes on page 5-45.)
O. Engine Air Cleaner/Filter. (See
Engine Air
Cleaner/Filter on page 5-22.)
5-15