turn signal PONTIAC GTO 2004 User Guide
[x] Cancel search | Manufacturer: PONTIAC, Model Year: 2004, Model line: GTO, Model: PONTIAC GTO 2004Pages: 326, PDF Size: 2.24 MB
Page 131 of 326

Change Engine Oil Light
If the Service Engine Oil
message in the trip
computer is displayed
along with this symbol after
you start the engine, it
means that service
is required for your vehicle.
SeeScheduled Maintenance on page 6-4andEngine
Oil on page 5-13for more information.
Security Light
This light flashes when the
vehicle security system is
activated.
Fog Lamp Light
This light will come on
when the fog lamps are
in use.
The light will go out when the fog lamps are turned off.
SeeExterior Lamps on page 3-12for more information.
Highbeam On Light
This light will illuminate
when the headlamp high
beams are in use.
SeeTurn Signal/Multifunction Lever on page 3-5.
3-33
Page 139 of 326
Trip Computer Warning Messages
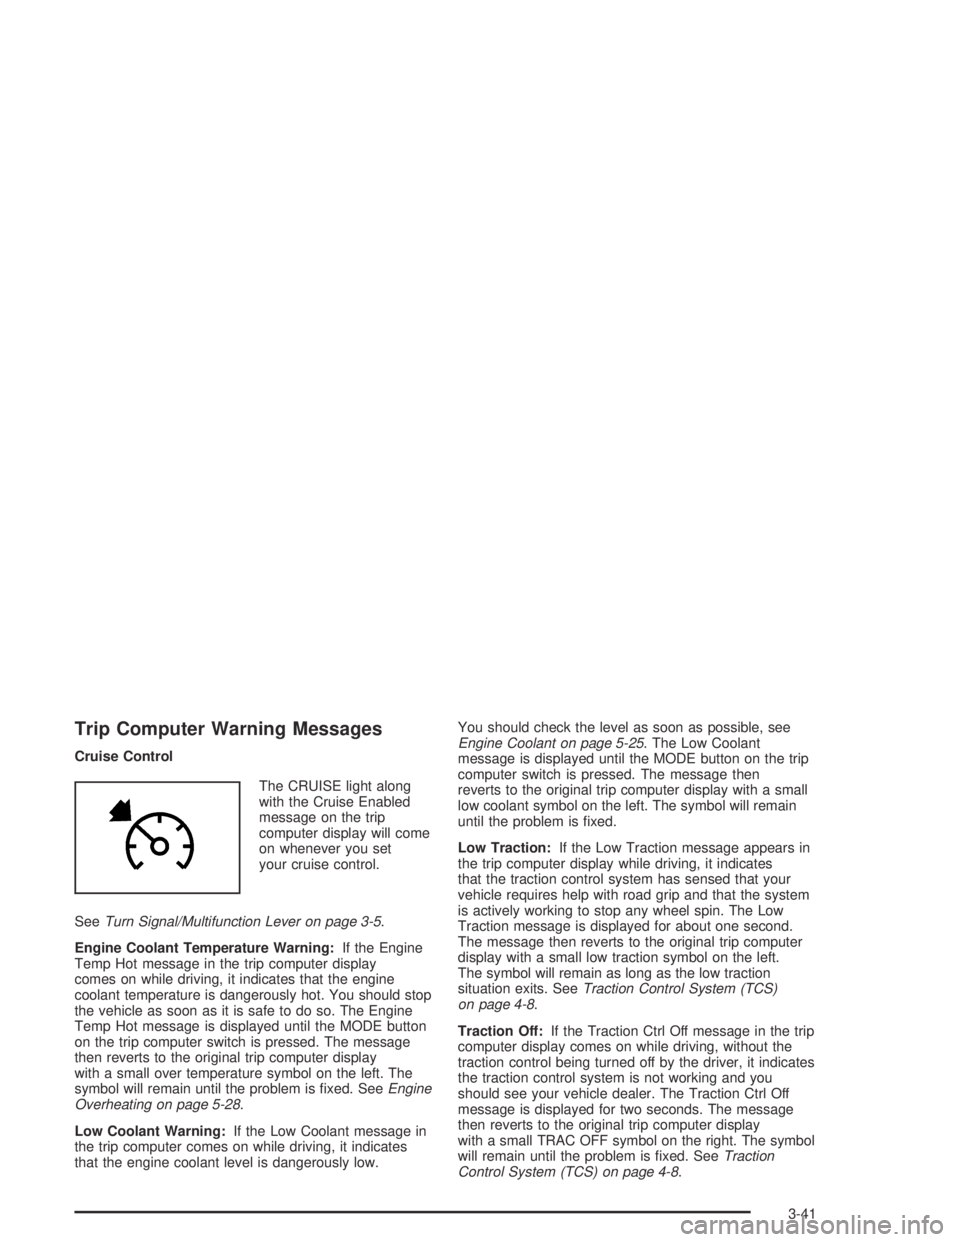
Cruise Control
The CRUISE light along
with the Cruise Enabled
message on the trip
computer display will come
on whenever you set
your cruise control.
SeeTurn Signal/Multifunction Lever on page 3-5.
Engine Coolant Temperature Warning:If the Engine
Temp Hot message in the trip computer display
comes on while driving, it indicates that the engine
coolant temperature is dangerously hot. You should stop
the vehicle as soon as it is safe to do so. The Engine
Temp Hot message is displayed until the MODE button
on the trip computer switch is pressed. The message
then reverts to the original trip computer display
with a small over temperature symbol on the left. The
symbol will remain until the problem is fixed. SeeEngine
Overheating on page 5-28.
Low Coolant Warning:If the Low Coolant message in
the trip computer comes on while driving, it indicates
that the engine coolant level is dangerously low.You should check the level as soon as possible, see
Engine Coolant on page 5-25. The Low Coolant
message is displayed until the MODE button on the trip
computer switch is pressed. The message then
reverts to the original trip computer display with a small
low coolant symbol on the left. The symbol will remain
until the problem is fixed.
Low Traction:If the Low Traction message appears in
the trip computer display while driving, it indicates
that the traction control system has sensed that your
vehicle requires help with road grip and that the system
is actively working to stop any wheel spin. The Low
Traction message is displayed for about one second.
The message then reverts to the original trip computer
display with a small low traction symbol on the left.
The symbol will remain as long as the low traction
situation exits. SeeTraction Control System (TCS)
on page 4-8.
Traction Off:If the Traction Ctrl Off message in the trip
computer display comes on while driving, without the
traction control being turned off by the driver, it indicates
the traction control system is not working and you
should see your vehicle dealer. The Traction Ctrl Off
message is displayed for two seconds. The message
then reverts to the original trip computer display
with a small TRAC OFF symbol on the right. The symbol
will remain until the problem is fixed. SeeTraction
Control System (TCS) on page 4-8.
3-41
Page 141 of 326
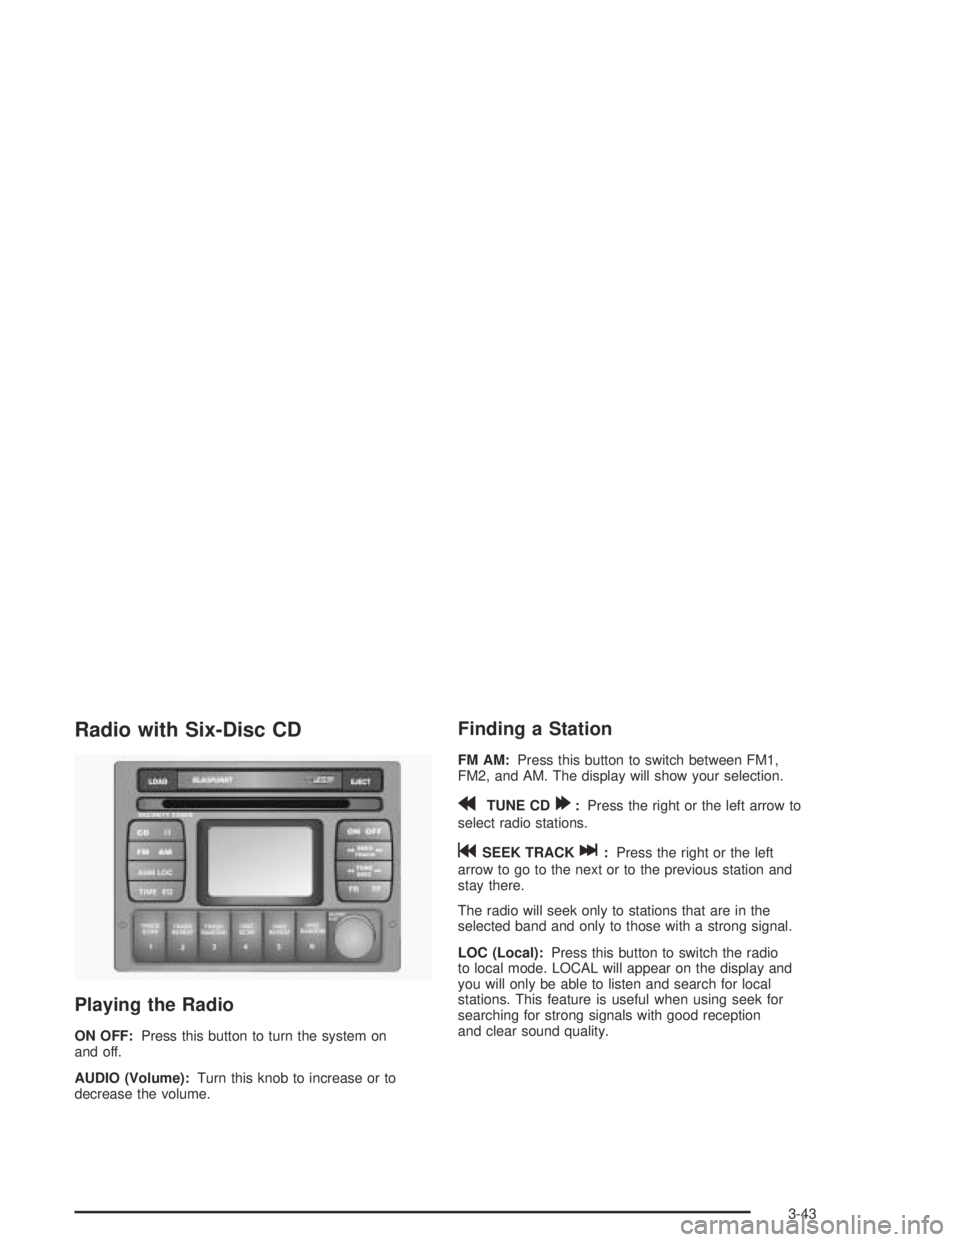
Radio with Six-Disc CD
Playing the Radio
ON OFF:Press this button to turn the system on
and off.
AUDIO (Volume):Turn this knob to increase or to
decrease the volume.
Finding a Station
FM AM:Press this button to switch between FM1,
FM2, and AM. The display will show your selection.
rTUNE CD[:Press the right or the left arrow to
select radio stations.
gSEEK TRACKl:Press the right or the left
arrow to go to the next or to the previous station and
stay there.
The radio will seek only to stations that are in the
selected band and only to those with a strong signal.
LOC (Local):Press this button to switch the radio
to local mode. LOCAL will appear on the display and
you will only be able to listen and search for local
stations. This feature is useful when using seek for
searching for strong signals with good reception
and clear sound quality.
3-43
Page 148 of 326

Speed Dependent Volume (SDV)
With SDV, your audio system adjusts automatically to
make up for road or wind noise as you drive.
This feature will never completely compensate for
driving noise. There are other factors such as road
surface, wind noise, windows open, and engine speed
that may alter the interior noise for any given road
speed.
You can select compensation rates between 0 (off) and
5 (maximum compensation) in the options menu.
See “Options Menu Adjustment” later in this section to
adjust SDV.
Dynamic Distortion Limiting (DDL)
Your radio has a feature that limits the amount of
amplifier distortion that you can hear. When this feature
is turned on, it continuously monitors the quality of
the signal to the speakers. When the signal distortion
exceeds the preset limits the radio will automatically limit
or reduce the volume until the distortion is minimized.
Under some circumstances, distortion may be heard for
a very short period of time until the system has taken
the necessary steps to limit it.
The main source of distortion in music is the low
frequency bass caused by drums or large instruments.
Music that features very strong bass may trigger the
distortion limiting system and the system will then
reduce the volume to minimize the distortion.Increasing the bass control or the EQ boost may also
result in a reduced volume level due to the emphasized
bass. See “Setting the Tone (Bass/Treble)” previously
in this section. The DDL can be turned off so that
the radio will deliver a higher volume level, but distortion
will also be increased.
See “Options Menu Adjustment” later in this section to
adjust DDL.
Options Menu Adjustment
Confirmation beeps, SDV, and DDL can all be adjusted
by doing the following:
1. Turn off the radio by pressing the OFF button.
2. Press the ON button and pushbutton 1 at the same
time until Options Menu appears on the display.
3. Push the AUDIO knob until the correct option
appears on the display.
4. Turn the AUDIO knob to adjust the setting of the
option being displayed.
5. Push the AUDIO knob to select another option or
press the OFF button to exit the options menu.
Your selection will be saved.
If no buttons are pressed or turned for eight
seconds, the radio will automatically exit the menu
and the radio will turn on.
3-50
Page 167 of 326
•Check your mirrors, glance over your shoulder, and
start your left lane change signal before moving out
of the right lane to pass. When you are far
enough ahead of the passed vehicle to see its front
in your inside mirror, activate your right lane
change signal and move back into the right lane.
(Remember that your right outside mirror is convex.
The vehicle you just passed may seem to be
farther away from you than it really is.)
•Try not to pass more than one vehicle at a time on
two-lane roads. Reconsider before passing the
next vehicle.
•Do not overtake a slowly moving vehicle too rapidly.
Even though the brake lamps are not flashing, it
may be slowing down or starting to turn.
•If you are being passed, make it easy for the
following driver to get ahead of you. Perhaps
you can ease a little to the right.
Loss of Control
Let us review what driving experts say about what
happens when the three control systems (brakes,
steering and acceleration) do not have enough friction
where the tires meet the road to do what the driver
has asked.
In any emergency, do not give up. Keep trying to
steer and constantly seek an escape route or area of
less danger.
4-13
Page 173 of 326
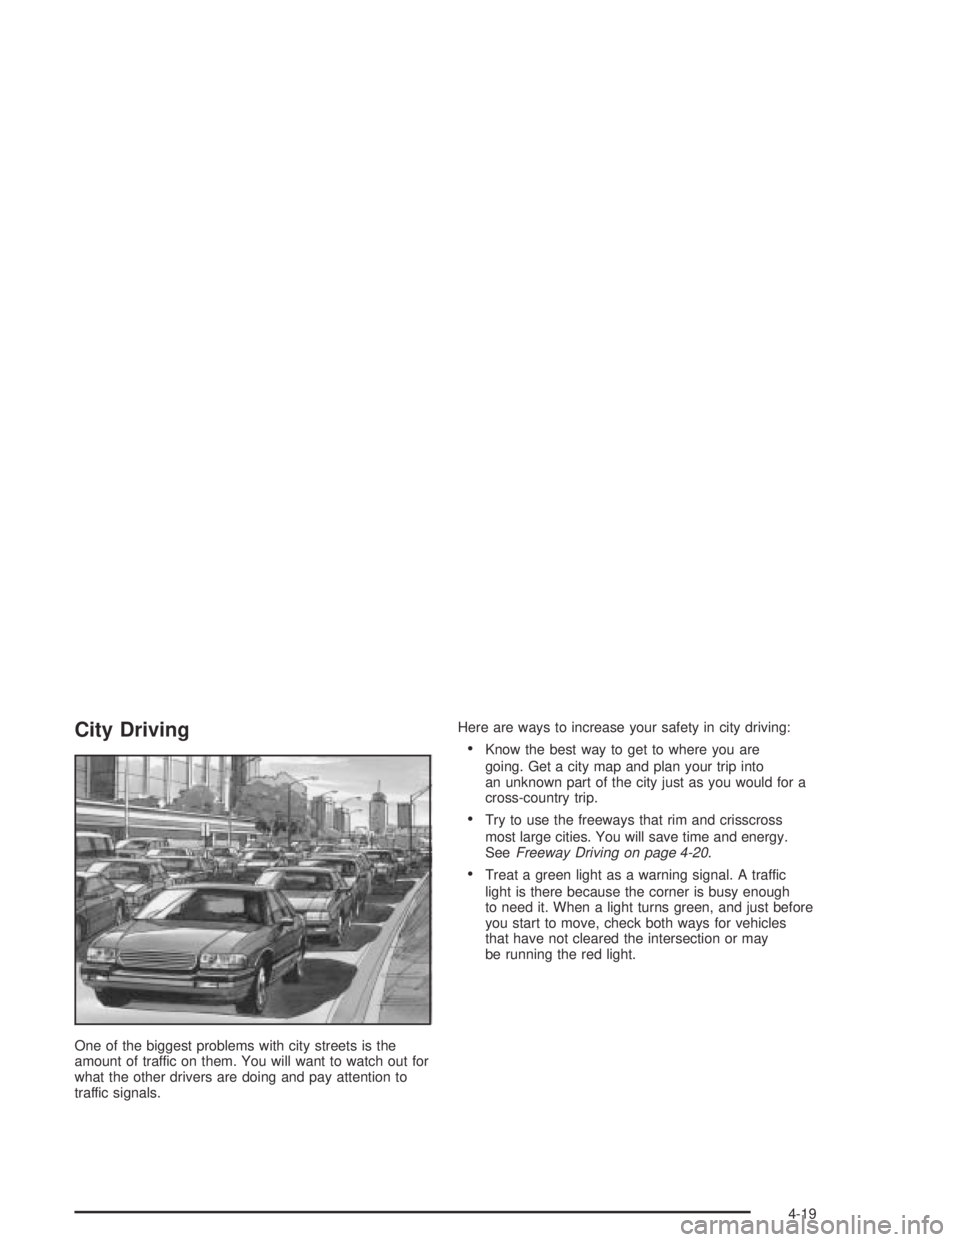
City Driving
One of the biggest problems with city streets is the
amount of traffic on them. You will want to watch out for
what the other drivers are doing and pay attention to
traffic signals.Here are ways to increase your safety in city driving:
•Know the best way to get to where you are
going. Get a city map and plan your trip into
an unknown part of the city just as you would for a
cross-country trip.
•Try to use the freeways that rim and crisscross
most large cities. You will save time and energy.
SeeFreeway Driving on page 4-20.
•Treat a green light as a warning signal. A traffic
light is there because the corner is busy enough
to need it. When a light turns green, and just before
you start to move, check both ways for vehicles
that have not cleared the intersection or may
be running the red light.
4-19
Page 174 of 326
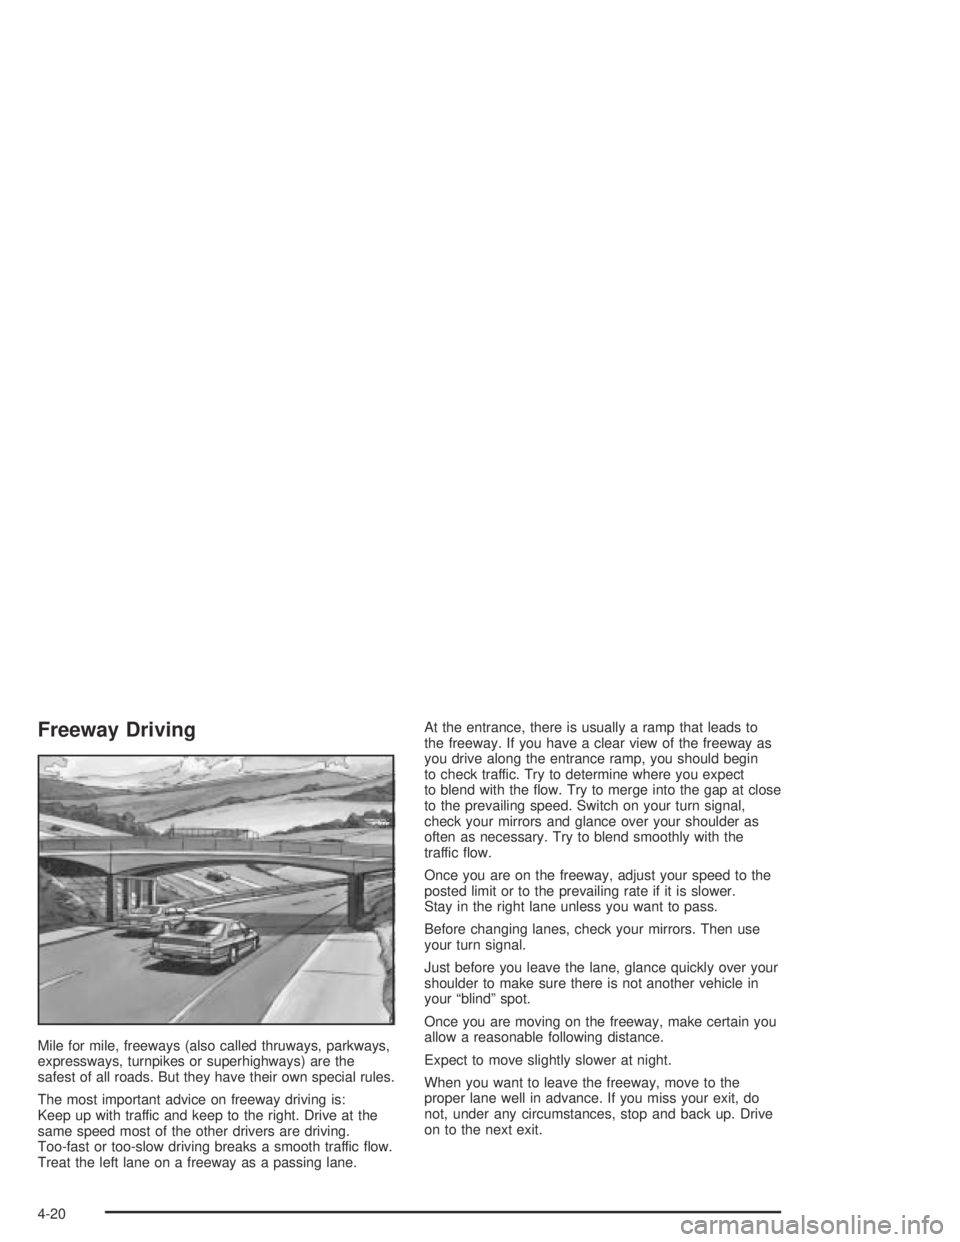
Freeway Driving
Mile for mile, freeways (also called thruways, parkways,
expressways, turnpikes or superhighways) are the
safest of all roads. But they have their own special rules.
The most important advice on freeway driving is:
Keep up with traffic and keep to the right. Drive at the
same speed most of the other drivers are driving.
Too-fast or too-slow driving breaks a smooth traffic flow.
Treat the left lane on a freeway as a passing lane.At the entrance, there is usually a ramp that leads to
the freeway. If you have a clear view of the freeway as
you drive along the entrance ramp, you should begin
to check traffic. Try to determine where you expect
to blend with the flow. Try to merge into the gap at close
to the prevailing speed. Switch on your turn signal,
check your mirrors and glance over your shoulder as
often as necessary. Try to blend smoothly with the
traffic flow.
Once you are on the freeway, adjust your speed to the
posted limit or to the prevailing rate if it is slower.
Stay in the right lane unless you want to pass.
Before changing lanes, check your mirrors. Then use
your turn signal.
Just before you leave the lane, glance quickly over your
shoulder to make sure there is not another vehicle in
your “blind” spot.
Once you are moving on the freeway, make certain you
allow a reasonable following distance.
Expect to move slightly slower at night.
When you want to leave the freeway, move to the
proper lane well in advance. If you miss your exit, do
not, under any circumstances, stop and back up. Drive
on to the next exit.
4-20
Page 191 of 326

Service............................................................5-3
Doing Your Own Service Work.........................5-4
Adding Equipment to the Outside of
Your Vehicle..............................................5-5
Fuel................................................................5-5
Gasoline Octane............................................5-5
Gasoline Specifications....................................5-5
California Fuel...............................................5-6
Additives.......................................................5-6
Fuels in Foreign Countries...............................5-7
Filling Your Tank............................................5-7
Filling a Portable Fuel Container.......................5-9
Checking Things Under the Hood....................5-10
Hood Release..............................................5-11
Engine Compartment Overview.......................5-12
Engine Oil...................................................5-13
Engine Air Cleaner/Filter................................5-18
Automatic Transmission Fluid.........................5-19
Manual Transmission Fluid.............................5-23
Hydraulic Clutch...........................................5-24
Engine Coolant.............................................5-25
Engine Overheating.......................................5-28
Cooling System............................................5-31
Power Steering Fluid.....................................5-36Windshield Washer Fluid................................5-37
Brakes........................................................5-38
Battery........................................................5-41
Jump Starting...............................................5-42
Bulb Replacement..........................................5-47
Halogen Bulbs..............................................5-47
Headlamps..................................................5-47
Front Turn Signal and Parking Lamps..............5-49
Rear Turn Signal, Stoplamps and
Back-Up Lamps........................................5-49
Replacement Bulbs.......................................5-50
Windshield Wiper Blade Replacement..............5-50
Tires..............................................................5-51
Inflation - Tire Pressure.................................5-58
Tire Inspection and Rotation...........................5-62
When It Is Time for New Tires.......................5-64
Buying New Tires.........................................5-65
Uniform Tire Quality Grading..........................5-66
Wheel Alignment and Tire Balance..................5-67
Wheel Replacement......................................5-68
Tire Chains..................................................5-69
If a Tire Goes Flat........................................5-70
Changing a Flat Tire.....................................5-71
Compact Spare Tire......................................5-77
Section 5 Service and Appearance Care
5-1
Page 239 of 326

Front Turn Signal and Parking
Lamps
1. Open the hood. To access the bulbs, see
Headlamps on page 5-47.
2. Disconnect the wiring harness connector from the
headlamp assembly.
3. Turn the bulb holder counterclockwise and remove.
4. Lightly press the bulb and twist counterclockwise
out of the holder.
5. Insert the new bulb and install the bulb holder.
The bulb should be colored orange.
6. Connect the wiring harness connector.
7. SeeHeadlamps on page 5-47to replace bulb
assembly.
8. Check light operation.
Rear Turn Signal, Stoplamps and
Back-Up Lamps
1. Open the trunk.
2. Remove the two screws that attach the taillamp
assembly to the vehicle.
3. Pull the assembly sideways out from the panel so
that the locating pegs on the side of the lamp
assembly snap free from the clips.
5-49
Page 240 of 326

4. While holding the assembly, turn the appropriate
bulb holder counterclockwise to release it from the
housing.
5. Remove the bulb from the holder by pushing it in
and turning it counterclockwise. The turn signal
bulb must have amber colored glass.
6. Install the new bulb into the bulb holder by pushing
it into the holder and turning it clockwise.
7. Insert the new bulb into the bulb holder and install
the bulb holder into the lamp housing, ensuring that
the holder locks securely into place.
8. Ensure that the lamp assembly clips are seated
correctly. Fit the housing to the body, ensuring
that the locating pegs snap into the clips and install
and tighten the attaching nuts to the correct
torque.
9. Check the light operation.Replacement Bulbs
Exterior Lamp Bulb Number
Back-up Lamp 1156
Front Sidemarker Lamp 168
Front Turn Signal and
Parking Lamp1157NA
Headlamps
High-Beam
Low-BeamH9
H11
Rear Turn Signal 1156NA
Stop/Taillamp 1157
For any bulb not listed here contact your dealer.
Windshield Wiper Blade
Replacement
Windshield wiper blades should be inspected at least
twice a year for wear or cracking. SeeOwner Checks
and Services on page 6-9for more information.
To replace the wiper blade assembly:
1. Lift the wiper up from the windshield and set into
the vertically-locked position.
2. Press the tab that holds the wiper blade to the arm.
3. Slide the blade down and off the arm.
4. Slide in the new blade and snap into place.
5-50