light PONTIAC GTO 2004 Service Manual
[x] Cancel search | Manufacturer: PONTIAC, Model Year: 2004, Model line: GTO, Model: PONTIAC GTO 2004Pages: 326, PDF Size: 2.24 MB
Page 130 of 326

Oil Pressure Light
If you have a low engine
oil pressure problem, a
Check Oil message in the
trip computer display
along with this symbol will
stay on after you start
your engine, or come on
when you are driving.
This indicates that your engine is not receiving enough
oil. The engine could be low on oil, or could have
some other oil problem. Have it fixed immediately.
When the ignition is on but the engine is not running,
the light will come on as a test to show you it is working,
but the light will go out when the engine is running. If
it doesn’t come on with the ignition on, you may have a
problem with the bulb. Have it fixed right away.{CAUTION:
Do not keep driving if the oil pressure is low. If
you do, your engine can become so hot that it
catches �re. You or others could be burned.
Check your oil as soon as possible and have
your vehicle serviced.
Notice:Lack of proper engine oil maintenance may
damage the engine. The repairs would not be
covered by your warranty. Always follow the
maintenance schedule in this manual for changing
engine oil.
3-32
Page 131 of 326

Change Engine Oil Light
If the Service Engine Oil
message in the trip
computer is displayed
along with this symbol after
you start the engine, it
means that service
is required for your vehicle.
SeeScheduled Maintenance on page 6-4andEngine
Oil on page 5-13for more information.
Security Light
This light flashes when the
vehicle security system is
activated.
Fog Lamp Light
This light will come on
when the fog lamps are
in use.
The light will go out when the fog lamps are turned off.
SeeExterior Lamps on page 3-12for more information.
Highbeam On Light
This light will illuminate
when the headlamp high
beams are in use.
SeeTurn Signal/Multifunction Lever on page 3-5.
3-33
Page 132 of 326
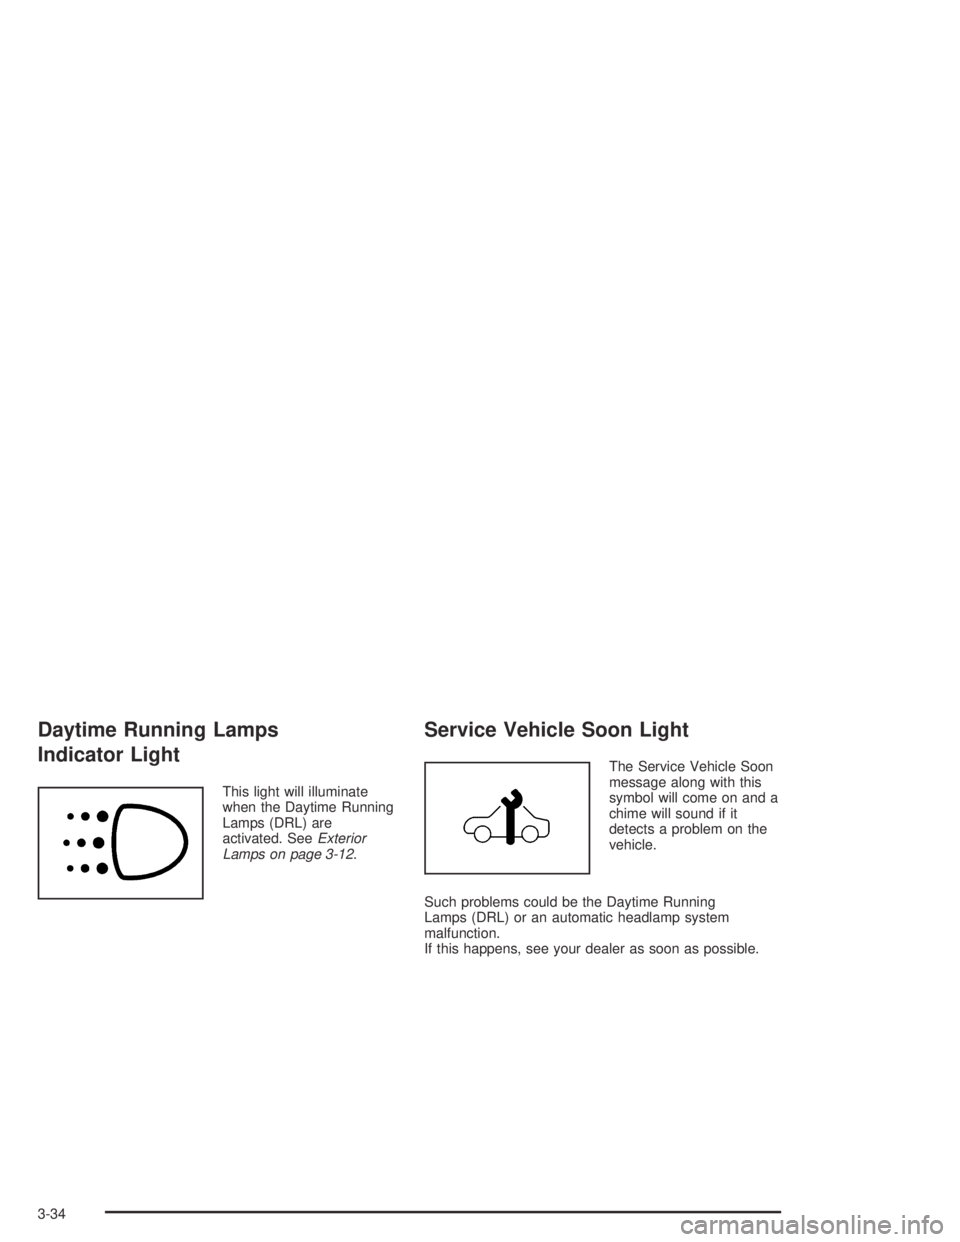
Daytime Running Lamps
Indicator Light
This light will illuminate
when the Daytime Running
Lamps (DRL) are
activated. SeeExterior
Lamps on page 3-12.
Service Vehicle Soon Light
The Service Vehicle Soon
message along with this
symbol will come on and a
chime will sound if it
detects a problem on the
vehicle.
Such problems could be the Daytime Running
Lamps (DRL) or an automatic headlamp system
malfunction.
If this happens, see your dealer as soon as possible.
3-34
Page 133 of 326
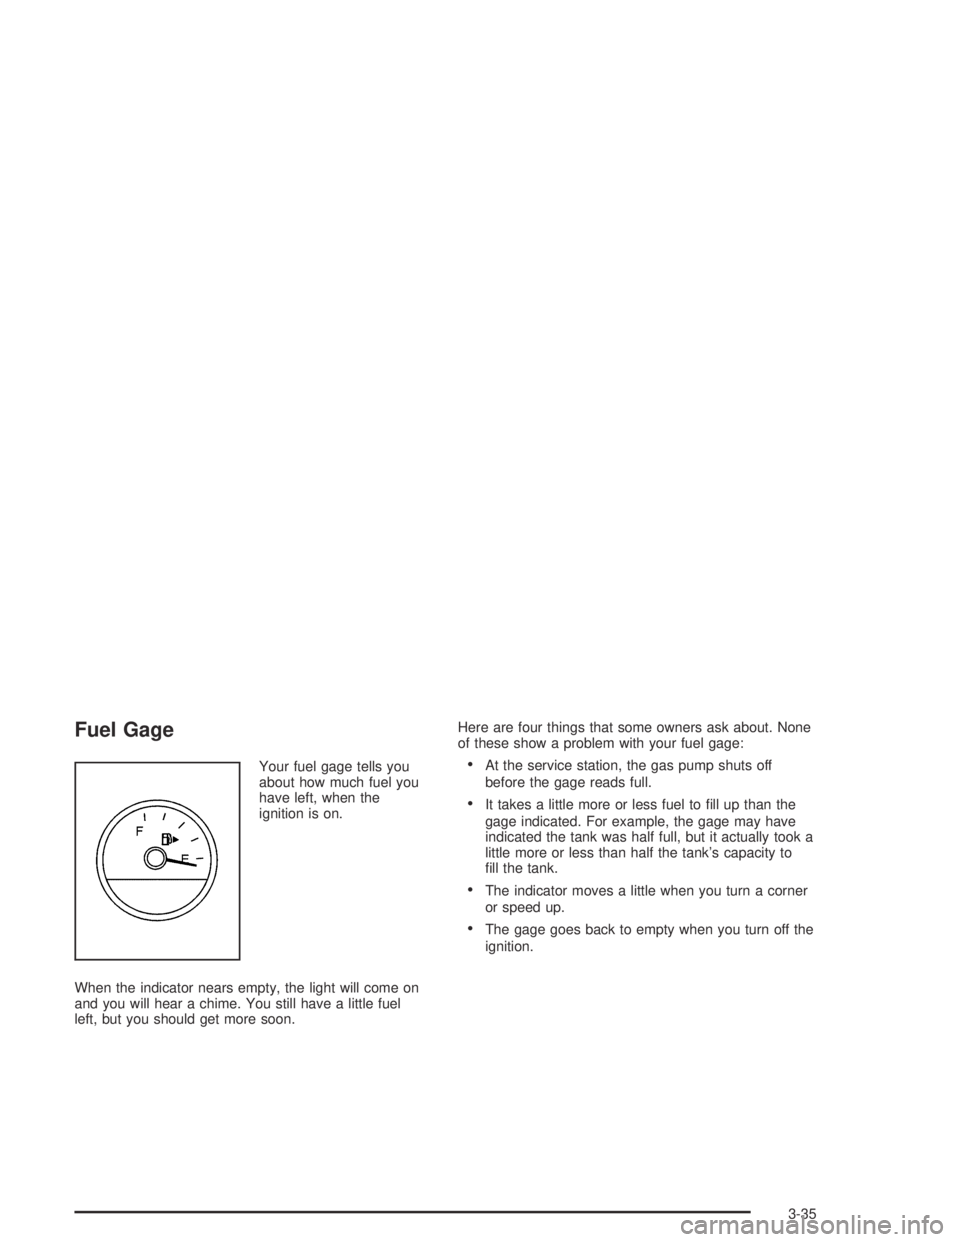
Fuel Gage
Your fuel gage tells you
about how much fuel you
have left, when the
ignition is on.
When the indicator nears empty, the light will come on
and you will hear a chime. You still have a little fuel
left, but you should get more soon.Here are four things that some owners ask about. None
of these show a problem with your fuel gage:•At the service station, the gas pump shuts off
before the gage reads full.
•It takes a little more or less fuel to fill up than the
gage indicated. For example, the gage may have
indicated the tank was half full, but it actually took a
little more or less than half the tank’s capacity to
fill the tank.
•The indicator moves a little when you turn a corner
or speed up.
•The gage goes back to empty when you turn off the
ignition.
3-35
Page 138 of 326
Trip A/B
When the Time to Arrival/Distance to Arrival/Fuel
Remaining set of windows are turned on, using vehicle
personalization, and are showing on the display,
hold the MODE button down for two seconds. Now,
instead of the Time to Arrival set of displays, the
trip computer shows Trip B details.
Press the MODE button to view your displays. You now
have two different sets of trip displays counting, your
original set of trip displays (labeled A while B is turned
on) and a new set of trip displays, labelled B. This is
useful on a long trip, as Trip B can be reset at the
beginning of the journey and then locked away
(by pressing the MODE button for two seconds when
Trip B is shown). Time to Arrival/Distance to
Arrival/Remaining Fuel will again be shown on the
display, but Trip B is still counting away in the
background and the original trip display can be used for
short distances during the journey. Trip B can be
viewed at any time by pressing the MODE button for
two seconds when Distance to Arrival is shown.
Trip A/B can also be enabled/disabled in vehicle
personalization, SeeVehicle Personalization on
page 2-32. If the Trip A and B function is selected,
the Average Speed and Average Fuel displays
indicate Trip A.
Trip Computer Notes:
•If the wrong buttons are accidentally pressed,
causing the window to show a display other
than normal, turn the ignition off then on again
when the vehicle is standing still.
•Several warning lights are linked to the trip
computer displays. SeeWarning Lights, Gages, and
Indicators on page 3-23.
•When the overspeed warning symbol is first shown,
the overspeed trip computer display is automatically
shown for 10 seconds. This is to show what your
pre-selected speed is and allow you to adjust
it if required. After 10 seconds, the trip computer
returns to its previous display.
•Some displays change the units of measurement
over time. For example, the Time to Arrival shows
hours only above 99 hours and 59 minutes,
and hours and minutes below. Time to Arrival also
shows 10 minute units above 2 hours, 5 minute
units below 2 hours and 1 minute units below
10 minutes.
•If the X symbol or a Service Error message is
shown in the display, it indicates a fault in the
trip computer and you should see your vehicle
dealer.
3-40
Page 139 of 326
Trip Computer Warning Messages
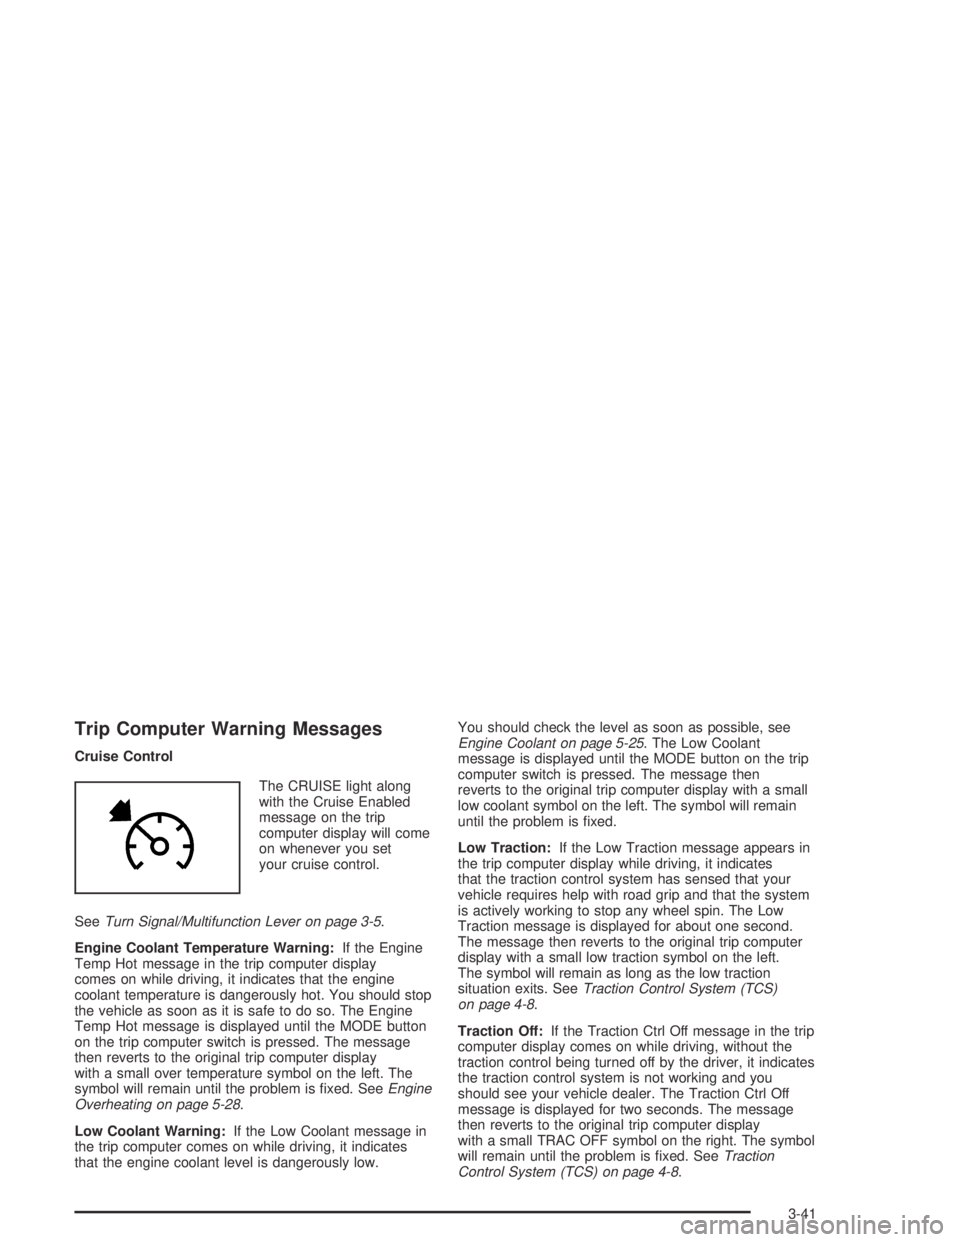
Cruise Control
The CRUISE light along
with the Cruise Enabled
message on the trip
computer display will come
on whenever you set
your cruise control.
SeeTurn Signal/Multifunction Lever on page 3-5.
Engine Coolant Temperature Warning:If the Engine
Temp Hot message in the trip computer display
comes on while driving, it indicates that the engine
coolant temperature is dangerously hot. You should stop
the vehicle as soon as it is safe to do so. The Engine
Temp Hot message is displayed until the MODE button
on the trip computer switch is pressed. The message
then reverts to the original trip computer display
with a small over temperature symbol on the left. The
symbol will remain until the problem is fixed. SeeEngine
Overheating on page 5-28.
Low Coolant Warning:If the Low Coolant message in
the trip computer comes on while driving, it indicates
that the engine coolant level is dangerously low.You should check the level as soon as possible, see
Engine Coolant on page 5-25. The Low Coolant
message is displayed until the MODE button on the trip
computer switch is pressed. The message then
reverts to the original trip computer display with a small
low coolant symbol on the left. The symbol will remain
until the problem is fixed.
Low Traction:If the Low Traction message appears in
the trip computer display while driving, it indicates
that the traction control system has sensed that your
vehicle requires help with road grip and that the system
is actively working to stop any wheel spin. The Low
Traction message is displayed for about one second.
The message then reverts to the original trip computer
display with a small low traction symbol on the left.
The symbol will remain as long as the low traction
situation exits. SeeTraction Control System (TCS)
on page 4-8.
Traction Off:If the Traction Ctrl Off message in the trip
computer display comes on while driving, without the
traction control being turned off by the driver, it indicates
the traction control system is not working and you
should see your vehicle dealer. The Traction Ctrl Off
message is displayed for two seconds. The message
then reverts to the original trip computer display
with a small TRAC OFF symbol on the right. The symbol
will remain until the problem is fixed. SeeTraction
Control System (TCS) on page 4-8.
3-41
Page 144 of 326
LOAD CDZ:Press the LOAD button to load CDs
into the CD player. This CD player will hold up to
six CDs.
To insert one CD, do the following:
1. Turn the ignition on.
2. Press and release the LOAD button.
3. Wait for INSERT CD to appear on the display, the
light located to the left of the slot to flash, and for
the radio to produce a beep, if beeps are turned on.
See “Confirmation Beeps” later in this section for
information about turning beeps on and off.
4. Load a CD. Insert the CD partway into the slot,
label side up. The player will pull the CD in.
When a CD is inserted, the CD number will appear in
the CD symbol on the display. If you select an
equalization setting for your CD, it will be activated each
time you play a CD.
Whether the radio is on or off, the CD will begin to play
automatically.
To insert multiple CDs, do the following:
1. Turn the ignition on.
2. Press and hold the LOAD button for two seconds.3. Wait for LOAD ALL to appear on the display, the
light located to the left of the slot to flash, and for
the radio to produce a beep, if beeps are turned on.
See “Confirmation Beeps” later in this section for
information about turning beeps on
and off.
4. Once the light stops flashing and turns green, load
a CD. Insert the CD partway into the slot, label side
up. The player will pull the CD in.
Once the CD is loaded, the light will begin flashing
again. Once the light stops flashing and turns
green, you can load another CD. The CD player
takes up to six CDs. Do not try to load more
than six.
To load more than one CD but less than six, complete
Steps 1 through 3. When you have finished loading
CDs, with the radio on or off, press the EJECT button to
cancel the loading function. The radio will begin to
play the last CD loaded.
When a CD is inserted, the CD number will appear in
the CD symbol on the display. If more than one CD has
been loaded, a number for each CD will be displayed.
If you select an equalization setting for your CD, it will be
activated each time you play a CD.
3-46
Page 146 of 326
rTUNE CD[:When more than one CD is loaded,
press the left or right arrow to go to the previous or
next CD loaded.
FR FF (Fast Reverse/ Fast Forward):Press and hold
FR to reverse quickly within a track. Press and hold
FF to advance quickly within a track. You will hear sound
at a reduced volume. Release the button to play the
passage. The elapsed time of the track will appear on
the display.
EJECT:Press this button to eject a single CD or
multiple CDs.
To eject the CD that is currently playing, press and
release this button. REMOVE CD will appear on
the display, the light located to the left of the slot will
flash, and the radio will produce a beep, if beeps
are turned on. See “Confirmation Beeps” later in this
section for information about turning beeps on and off.
You can now remove the CD. Press the LOAD
button to cancel the eject function.To eject multiple CDs, press and hold this button for two
seconds. EJECTING ALL will appear on the display,
the light located to the left of the slot will flash, and the
radio will produce a beep, if beeps are turned on.
See “Confirmation Beeps” later in this section for
information about turning beeps on and off. You can
now remove the CD. Press the LOAD button to cancel
the eject function.
If the CD is not removed, after 25 seconds, the CD will
be automatically pulled back into the player. If you
try to push the CD back into the player before the
25 second time period is complete, the player will sense
an error and will try to eject the CD several times
before stopping.
Do not repeatedly press the EJECT button to eject a
CD after you have tried to push it in manually. The
player’s 25-second eject timer will reset at each press of
eject, which will cause the player to not eject the CD
until the 25-second time period has elapsed.
Once the player stops and the CD is ejected, remove
the CD. After removing the CD, press the ON OFF
button off and then on again. This will clear the
CD-sensing feature and enable CDs to be loaded into
the player again.
3-48
Page 150 of 326

Theft-Deterrent Feature
Your radio has an electronically coded security system.
The system recognizes the vehicle which your radio
has been installed. If the radio is kept in the vehicle, the
PIN should not be required, even if the battery or the
radio has been removed and reinstalled.
If the link between your vehicle and the radio is
disrupted, the radio will prompt you for a 4-digit PIN
code to be entered.
The PIN is supplied on your security card. As the pin is
the only means of enabling operation of the radio,
place the security card in a safe place. Do not leave the
security card in your glovebox. The PIN should also
be written down and kept with other important
documents.
If your security card is lost and the PIN is not recorded,
the PIN can be requested from your dealer, after
supplying proof of ownership. There may be a charge
for this service.
When the radio and vehicle are turned off, the blinking
red light indicates that your radio is armed.
Security Release Procedure
To type in your PIN code, do the following:
1. Turn the ignition to ACCESSORY.
2. Turn the radio on. CODE____will appear on the
display.
3. Use the preset buttons to enter the PIN code.
If the wrong PIN code is entered, the radio will display
CODE ERR WAIT.
After a few seconds, the radio will display
CODE 2____,indicating that this is the second
attempt. The correct code should now be entered.
After three attempts, the radio will display
LOCK OUT 1 HR. After 1 hour, the radio will allow
another three attempts to enter the PIN.
3-52
Page 152 of 326
Radio Reception
AM
The range for most AM stations is greater than for FM,
especially at night. The longer range, however, can
cause stations to interfere with each other. AM can pick
up noise from things like storms and power lines. Try
reducing the treble to reduce this noise.
FM
FM stereo will give you the best sound, but FM signals
will reach only about 10 to 40 miles (16 to 65 km).
Tall buildings or hills can interfere with FM signals,
causing the sound to come and go.
Care of Your CDs
Handle CDs carefully. Store them in their original cases
or other protective cases and away from direct
sunlight and dust. If the surface of a CD is soiled,
dampen a clean, soft cloth in a mild, neutral detergent
solution and clean it, wiping from the center to the edge.
Be sure never to touch the side without writing when
handling CDs. Pick up CDs by grasping the outer edges
or the edge of the hole and the outer edge.
Care of Your CD Player
The use of CD lens cleaners for CD players is not
advised, due to the risk of contaminating the lens of the
CD optics with lubricants internal to the CD mechanism.
3-54