radio controls PONTIAC GTO 2004 Owners Manual
[x] Cancel search | Manufacturer: PONTIAC, Model Year: 2004, Model line: GTO, Model: PONTIAC GTO 2004Pages: 326, PDF Size: 2.24 MB
Page 99 of 326
Instrument Panel Overview...............................3-2
Hazard Warning Flashers................................3-4
Other Warning Devices...................................3-4
Horn.............................................................3-4
Tilt Wheel.....................................................3-5
Turn Signal/Multifunction Lever.........................3-5
Exterior Lamps.............................................3-12
Interior Lamps..............................................3-15
Accessory Power Outlets...............................3-17
Ashtrays and Cigarette Lighter........................3-18
Climate Controls............................................3-19
Climate Control System.................................3-19
Outlet Adjustment.........................................3-22
Warning Lights, Gages, and Indicators............3-23
Instrument Panel Cluster................................3-24
Speedometer...............................................3-25
Tachometer.................................................3-25
Safety Belt Reminder Light.............................3-25
Air Bag Readiness Light................................3-26
Charging System Light..................................3-27
Brake System Warning Light..........................3-27Anti-Lock Brake System Warning Light.............3-28
Engine Coolant Temperature Gage..................3-28
Malfunction Indicator Lamp.............................3-29
Oil Pressure Light.........................................3-32
Change Engine Oil Light................................3-33
Security Light...............................................3-33
Fog Lamp Light............................................3-33
Highbeam On Light.......................................3-33
Daytime Running Lamps Indicator Light...........3-34
Service Vehicle Soon Light............................3-34
Fuel Gage...................................................3-35
Trip Computer................................................3-36
Audio System(s).............................................3-42
Setting the Time...........................................3-42
Radio with Six-Disc CD.................................3-43
Theft-Deterrent Feature..................................3-52
Audio Steering Wheel Controls.......................3-53
Radio Reception...........................................3-54
Care of Your CDs.........................................3-54
Care of Your CD Player................................3-54
Backglass Antenna.......................................3-55
Section 3 Instrument Panel
3-1
Page 112 of 326

Fog Lamps
The dial to the left of the steering wheel on the
instrument panel also controls the fog lamps.
-(Fog Lamp):When using the fog lamps, the
ignition must be on as well as the parking lamps or the
low-beam headlamps. If the high-beam headlamps
are activated or flashed, the fog lamps will turn off.
Pull the exterior lamp adjuster dial out to turn the fog
lamps on, and push the dial in to turn the fog lamps off.
The indicator light in the knob will come on when the
fog lamps are working.
Headlamps and Dimming Instructions
When the headlamps are switched on, the instrument
panel is automatically illuminated. Once illuminated, you
can adjust their brightness. Some illuminated areas
of the vehicle have been linked to the brightness control,
such as the trip computer, headlamp switch, radio,
etc. This means that the interior lights can be adjusted
to your preference. When the headlamps are turned
off and back on again, the brightness level reverts to the
last adjusted setting. SeeInterior Lamps on page 3-15
for more information.
Headlamps On When Approaching the
Vehicle
Your vehicle is designed to provide additional security,
when returning to the vehicle at night. When the
UNLOCK or LOCK button on the key is used, the car’s
exterior lights will come on for a preset time or until
the car is relocked. This feature only works if the
headlamp control is in the AUTO or headlamp positions.
To set or adjust the time the headlamps stay on after
the UNLOCK button has been pressed, seeVehicle
Personalization on page 2-32.
3-14
Page 140 of 326
Audio System(s)
Notice:Before you add any sound equipment to
your vehicle – like a tape player, CB radio, mobile
telephone or two-way radio – be sure you can
add what you want. If you can, it’s very important to
do it properly. Added sound equipment may
interfere with the operation of your vehicle’s engine,
radio or other systems, and even damage them.
Your vehicle’s systems may interfere with the
operation of sound equipment that has been added
improperly.
So, before adding sound equipment, check with
your dealer and be sure to check federal rules
covering mobile radio and telephone units.
Your audio system has been designed to operate easily
and to give years of listening pleasure. You will get
the most enjoyment out of it if you acquaint yourself with
it first. Figure out which radio you have in your vehicle,
find out what your audio system can do, and how to
operate all of its controls to be sure you are getting
the most out of the advanced engineering that went
into it.
Setting the Time
When the time is displayed and the radio is on, do the
following:
1. Press the TIME button for more than two seconds.
TIME ADJ or SET TIME will appear on the display
and the time will flash.
2. Press either SEEK arrow to adjust the hour.
3. Press either TUNE arrow to adjust the minutes.
4. Press the TIME button again to save the new time.
The radio will automatically exit the time setting mode
if no adjustments are made for eight seconds.
3-42
Page 143 of 326
Setting the Tone (Bass/Treble)
AUDIO:Push the AUDIO knob until BASS or TREBLE
appears on the display. Turn the knob to increase or
to decrease. If a station is weak or noisy, you may want
to decrease the treble.
To adjust bass or treble to the middle position, select
BASS or TREB and push and hold the AUDIO knob.
The radio will produce one beep and adjust the display
level to zero.
To adjust all tone and speaker controls to the middle
position, push and hold the AUDIO knob when no tone
or speaker control is displayed. CENTERED will
appear on the display and you will hear a beep.
EQ (Equalization):Press this button to select
customized equalization settings designed for rock, pop,
jazz, classical, and vocal.
To turn equalization off, press this button until EQ OFF
appears on the display.
To give an equalization setting a boost, push the
AUDIO knob once while in any equalization setting.
BOOST will appear on the display. Turn the AUDIO
knob to select one of the available boost levels. Different
levels of boost can be set for each of the equalization
settings.
Adjusting the Speakers (Balance/Fade)
AUDIO:To adjust the balance between the right
and the left speakers, push the AUDIO knob until
BALANCE appears on the display. Turn the knob to
move the sound toward the left or the right speakers.
To adjust the fade between the front and the rear
speakers, push and hold the AUDIO knob until FADER
appears on the display. Turn the knob to move the
sound toward the front or the rear speakers.
Playing a CD
If playing a CD-R the sound quality may be reduced
due to CD-R quality, the method of recording, the quality
of the music that has been recorded and the way the
CD-R has been handled. You may experience an
increase in skipping, difficulty in finding tracks and/or
difficulty in loading and ejecting. If these problems occur
try a known good CD.
Do not add paper labels to CDs, they could get caught
in the CD player.
Do not play 3 inch (8 cm) CDs without a standard
adapter disc.
If an error appears on the display, see “CD Messages”
later in this section.
3-45
Page 151 of 326
Audio Steering Wheel Controls
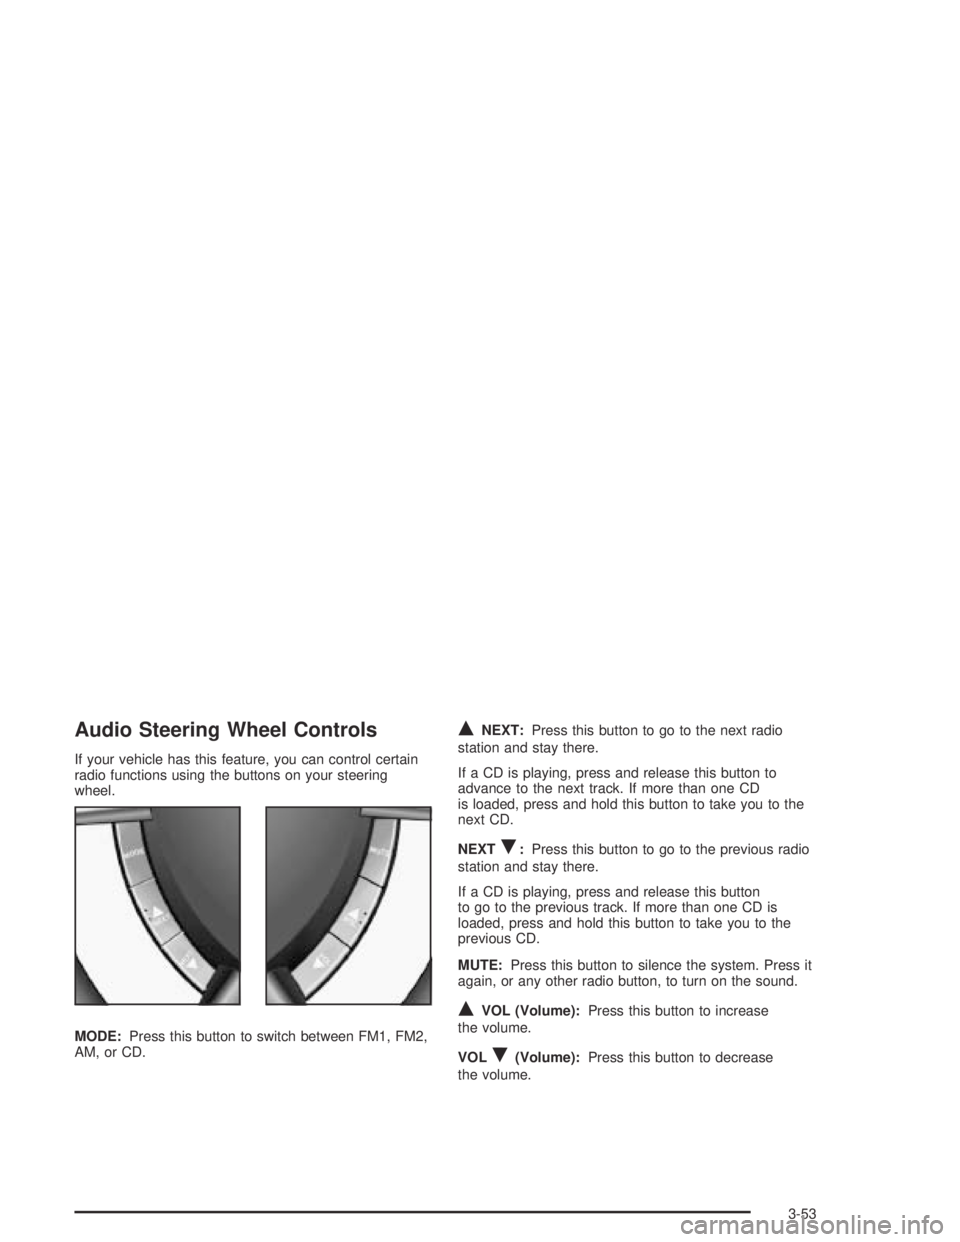
If your vehicle has this feature, you can control certain
radio functions using the buttons on your steering
wheel.
MODE:Press this button to switch between FM1, FM2,
AM, or CD.
QNEXT:Press this button to go to the next radio
station and stay there.
If a CD is playing, press and release this button to
advance to the next track. If more than one CD
is loaded, press and hold this button to take you to the
next CD.
NEXT
R:Press this button to go to the previous radio
station and stay there.
If a CD is playing, press and release this button
to go to the previous track. If more than one CD is
loaded, press and hold this button to take you to the
previous CD.
MUTE:Press this button to silence the system. Press it
again, or any other radio button, to turn on the sound.
QVOL (Volume):Press this button to increase
the volume.
VOL
R(Volume):Press this button to decrease
the volume.
3-53
Page 279 of 326

Fuses Usage
ACC HTR
CONT INST.
TRIP COMPHeater Controls, Trip Computer
CIGAR
LIGHTERCigarette Lighter
CRUISE CONT.
PWR STEER,
MIRRORSCruise Control System, Power
Steering, Power Mirrors
RADIO,
CELLPHONERadio System, Cellphone
ACC SOCKET Accessory Power Outlet
FRONT WIPER Front Windshield Wipers
SPARE Spare
PWR DOOR
LOCKS, ANT.
& WINDOWSPower Door Locks, Antenna, Power
Windows
INSTRUMENTS
THEFT HORNTheft System, Horn
HEATED REAR
WINDOWRear Window Defogger
RADIO Radio SystemFuses Usage
SUB WOOFER
& AMPLIFIERSub Woofer and Amplifier
SPARE Spare
AIRBAG Airbag
ABS Anti-Lock Brake System
SPARE Spare
SPARE Spare
SPARE Spare
Relays Usage
ACC RELAY Accessory Power Outlet
IGNITION
RELAYIgnition Switch
POWER
WINDOW
RELAYPower Windows
BLOWER
INHIBIT RELAYBlower
PARK LAMPS
RELAYParking Lamps
INTERIOR
ILLUM RELAYInterior Light Controls
5-89
Page 313 of 326
A
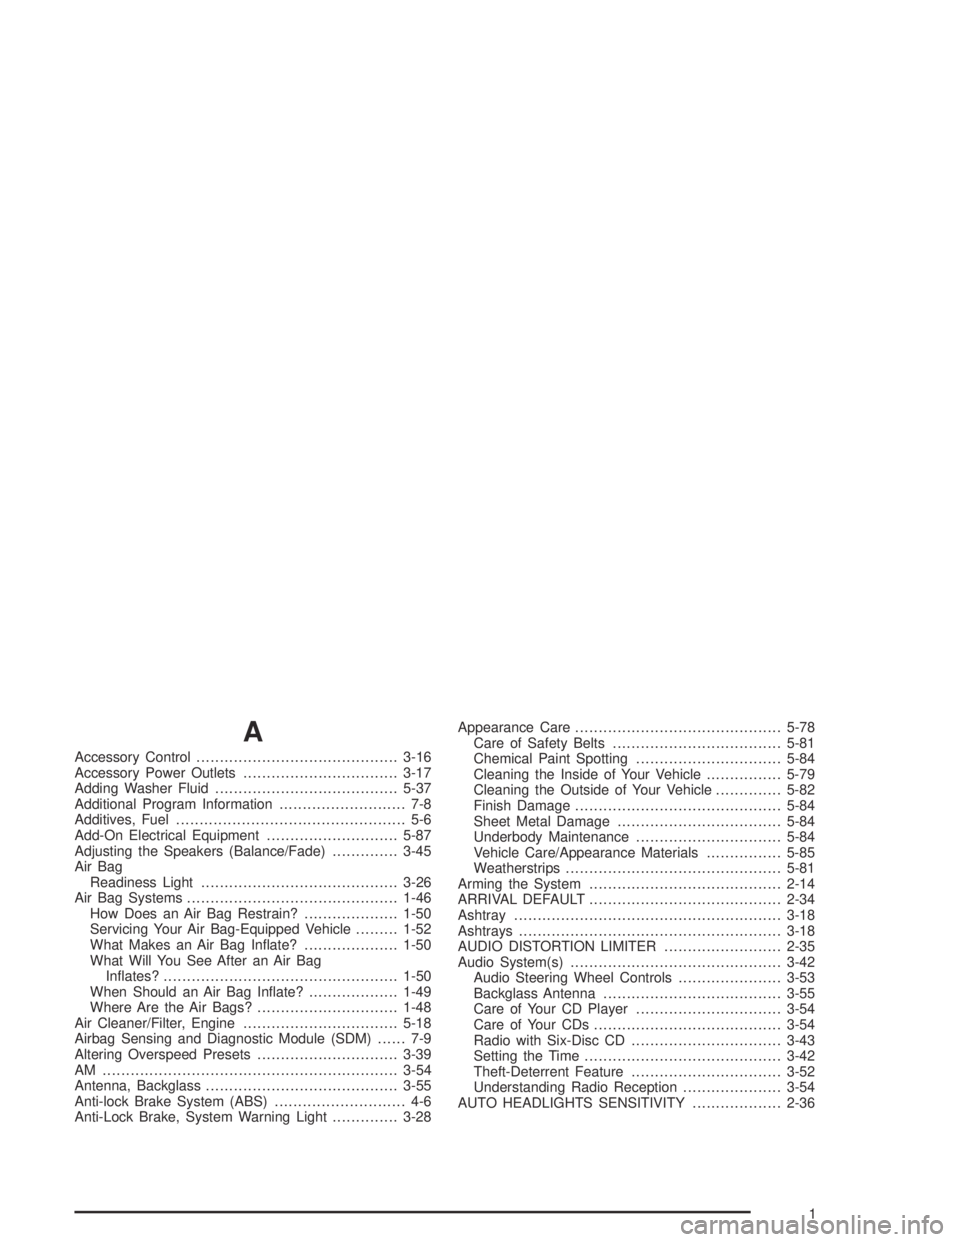
Accessory Control...........................................3-16
Accessory Power Outlets.................................3-17
Adding Washer Fluid.......................................5-37
Additional Program Information........................... 7-8
Additives, Fuel................................................. 5-6
Add-On Electrical Equipment............................5-87
Adjusting the Speakers (Balance/Fade)..............3-45
Air Bag
Readiness Light..........................................3-26
Air Bag Systems.............................................1-46
How Does an Air Bag Restrain?....................1-50
Servicing Your Air Bag-Equipped Vehicle.........1-52
What Makes an Air Bag Inflate?....................1-50
What Will You See After an Air Bag
Inflates?..................................................1-50
When Should an Air Bag Inflate?...................1-49
Where Are the Air Bags?..............................1-48
Air Cleaner/Filter, Engine.................................5-18
Airbag Sensing and Diagnostic Module (SDM)...... 7-9
Altering Overspeed Presets..............................3-39
AM ...............................................................3-54
Antenna, Backglass.........................................3-55
Anti-lock Brake System (ABS)............................ 4-6
Anti-Lock Brake, System Warning Light..............3-28Appearance Care............................................5-78
Care of Safety Belts....................................5-81
Chemical Paint Spotting...............................5-84
Cleaning the Inside of Your Vehicle................5-79
Cleaning the Outside of Your Vehicle..............5-82
Finish Damage............................................5-84
Sheet Metal Damage...................................5-84
Underbody Maintenance...............................5-84
Vehicle Care/Appearance Materials................5-85
Weatherstrips..............................................5-81
Arming the System.........................................2-14
ARRIVAL DEFAULT.........................................2-34
Ashtray.........................................................3-18
Ashtrays........................................................3-18
AUDIO DISTORTION LIMITER.........................2-35
Audio System(s).............................................3-42
Audio Steering Wheel Controls......................3-53
Backglass Antenna......................................3-55
Care of Your CD Player...............................3-54
Care of Your CDs........................................3-54
Radio with Six-Disc CD................................3-43
Setting the Time..........................................3-42
Theft-Deterrent Feature................................3-52
Understanding Radio Reception.....................3-54
AUTO HEADLIGHTS SENSITIVITY...................2-36
1
Page 324 of 326

Some Other Rainy Weather Tips.......................4-18
Special Fabric Cleaning Problems.....................5-80
Specifications, Capacities.................................5-92
SPEED DEPENDENT VOLUME........................2-35
Speedometer..................................................3-25
Starting Your Engine.......................................2-17
Steering.......................................................... 4-9
Steering in Emergencies..................................4-10
Steering Tips................................................... 4-9
Steering Wheel Controls, Audio.........................3-53
Steering Wheel, Tilt Wheel................................. 3-5
STOP WATCH ................................................2-34
Stop Watch....................................................3-39
Storage Areas
Center Console Storage Area........................2-31
Cupholder(s)...............................................2-31
Front Storage Area......................................2-31
Glove Box..................................................2-30
Storing the Flat Tire and Tools..........................5-77
Storing the Spare Tire and Tools.......................5-77
Stuck in Sand, Mud, Ice or Snow......................4-28
Sun Visors.....................................................2-12
T
Tachometer....................................................3-25
Telescopic Steering Column............................... 3-5
Theft-Deterrent, Radio.....................................3-52
Theft-Deterrent System....................................2-12Theft-Deterrent Systems
Content Theft-Deterrent................................2-14
Immobilizer.................................................2-12
Immobilizer Operation...................................2-13
Tilt Wheel........................................................ 3-5
TIME TO ARRIVAL.........................................3-37
Tire Inflation Check.........................................6-10
Tire Sidewall Labeling......................................5-52
Tire Size.......................................................5-55
Tire Terminology and Definitions........................5-56
Tires.............................................................5-51
Buying New Tires........................................5-65
Chains.......................................................5-69
Changing a Flat Tire....................................5-71
Compact Spare Tire.....................................5-77
If a Tire Goes Flat.......................................5-70
Inflation - Tire Pressure................................5-58
Inspection and Rotation................................5-62
Uniform Tire Quality Grading.........................5-66
Wheel Alignment and Tire Balance.................5-67
Wheel Replacement.....................................5-68
When It Is Time for New Tires......................5-64
Top Strap......................................................1-36
Top Strap Anchor Location...............................1-37
Torque Lock...................................................2-25
Towing
Recreational Vehicle.....................................4-30
Towing a Trailer..........................................4-35
Your Vehicle...............................................4-29
12