keyless PONTIAC GTO 2005 Owners Manual
[x] Cancel search | Manufacturer: PONTIAC, Model Year: 2005, Model line: GTO, Model: PONTIAC GTO 2005Pages: 318, PDF Size: 2.06 MB
Page 59 of 318

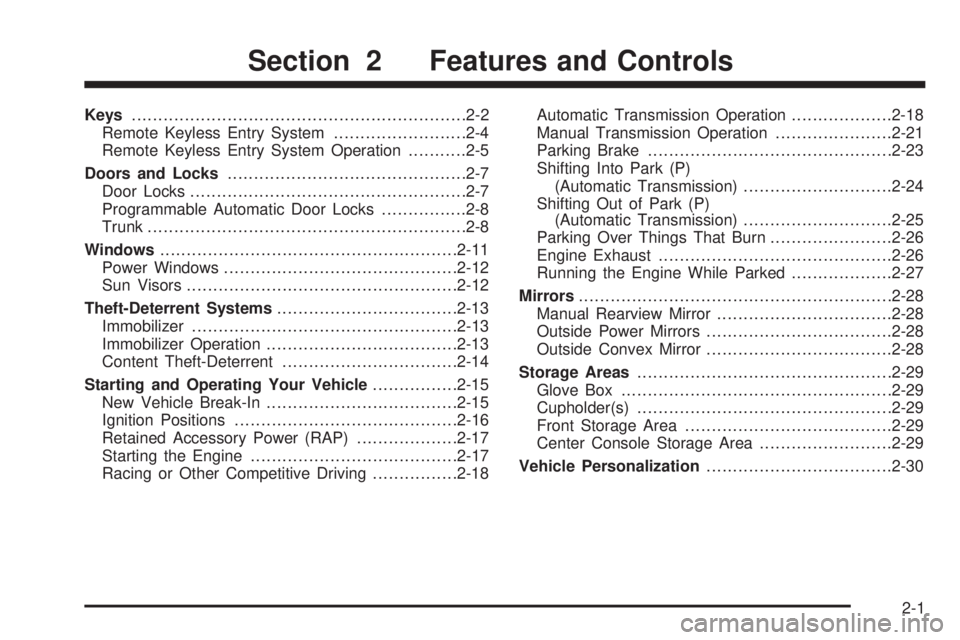
Keys...............................................................2-2
Remote Keyless Entry System.........................2-4
Remote Keyless Entry System Operation...........2-5
Doors and Locks.............................................2-7
Door Locks....................................................2-7
Programmable Automatic Door Locks................2-8
Trunk............................................................2-8
Windows........................................................2-11
Power Windows............................................2-12
Sun Visors...................................................2-12
Theft-Deterrent Systems..................................2-13
Immobilizer..................................................2-13
Immobilizer Operation....................................2-13
Content Theft-Deterrent.................................2-14
Starting and Operating Your Vehicle................2-15
New Vehicle Break-In....................................2-15
Ignition Positions..........................................2-16
Retained Accessory Power (RAP)...................2-17
Starting the Engine.......................................2-17
Racing or Other Competitive Driving................2-18Automatic Transmission Operation...................2-18
Manual Transmission Operation......................2-21
Parking Brake..............................................2-23
Shifting Into Park (P)
(Automatic Transmission)............................2-24
Shifting Out of Park (P)
(Automatic Transmission)............................2-25
Parking Over Things That Burn.......................2-26
Engine Exhaust............................................2-26
Running the Engine While Parked...................2-27
Mirrors...........................................................2-28
Manual Rearview Mirror.................................2-28
Outside Power Mirrors...................................2-28
Outside Convex Mirror...................................2-28
Storage Areas................................................2-29
Glove Box...................................................2-29
Cupholder(s)................................................2-29
Front Storage Area.......................................2-29
Center Console Storage Area.........................2-29
Vehicle Personalization...................................2-30
Section 2 Features and Controls
2-1
Page 62 of 318

Remote Keyless Entry System
Your keyless entry system operates on a radio
frequency subject to Federal Communications
Commission (FCC) Rules.
This device complies with Part 15 of the FCC Rules.
Operation is subject to the following two conditions:
1. This device may not cause interference.
2. This device must accept any interference received,
including interference that may cause undesired
operation of the device.
Changes or modifications to this system by other than
an authorized service facility could void authorization to
use this equipment.At times you may notice a decrease in range. This is
normal for any remote keyless entry system. If the
transmitter does not work or if you have to stand closer
to your vehicle for the transmitter to work, try this:
•Check the distance. You may be too far from your
vehicle. You may need to stand closer during
rainy or snowy weather.
•Check the location. Other vehicles or objects may
be blocking the signal. Take a few steps to the
left or right, hold the transmitter higher, and
try again.
•If you have to get close to your vehicle before the
key works, the battery may be weak or discharged.
The battery in the remote key should last about
five years. When the battery is weak or discharged,
the remote key will need to be replaced. There is
no battery replacement for the remote key
transmitter. SeeRemote Keyless Entry System
Operation on page 2-5.
•If you are still having trouble, see your dealer or a
qualified technician for service.
2-4
Page 63 of 318

Remote Keyless Entry System
Operation
The buttons on your key
allow you to lock and
unlock your doors
or unlock your trunk.
When pressing the key buttons, ensure that other keys
on the key ring are not between the main key and
the vehicle. Other keys can obscure the signal being
transmitted to the vehicle.When a button on the key is pressed, it sends a signal
to the vehicle. The receiver of the signal is a small
rectangle centered on top of the dashboard.
The receiver is also used to measure sunlight. It is
important that the receiver is clean, not covered, and
that there are no metal objects close by, as this
may block the signals.
LOCK:Press this button on the key to lock all the
doors, disable the engine, and set the alarm. The
vehicle’s turn signals will briefly flash.
If you prefer to have the turn signals flash accompanied
by the horn sounding, the LOCK feature can be
changed. SeeVehicle Personalization on page 2-30.
The LOCK button on the key will not work if the ignition
is turned on, or if the driver’s and/or passenger’s
door is open.
Prior to locking your vehicle, make sure all the doors are
closed completely. If the LOCK button is pressed when a
door is open, the horn will sound three times to indicate
that a door has not locked. Close the open door and reset
the remote system by first pressing the UNLOCK button
and then the LOCK button on the key.
2-5
Page 67 of 318

Trunk Lock
To unlock the trunk, press and hold the button with the
trunk symbol on the key. The vehicle must be moving
at less than 12 mph (20 km/h) for the trunk to open. See
Remote Keyless Entry System Operation on page 2-5.
When the trunk is unlocked, it can then be opened from
the outside. After partially opening the trunk lid, it will
automatically open the rest of the way on its own.
The trunk locks automatically when closed, so be careful
not to leave your key in the trunk.
Remote Trunk Release
This feature is used to unlock the trunk from inside the
vehicle.
Press the button inside the glovebox to unlock the trunk.
The vehicle must not be moving over 12 mph (20 km/h)
and the alarm system must be off. SeeContent
Theft-Deterrent on page 2-14. For added security, the
remote trunk release button will not operate when
the doors are locked, the engine is off, and the key is
removed from the ignition.
2-9
Page 93 of 318

AUTO HEADLIGHTS SENSITIVITY
This option is used to adjust the automatic headlights
on sensitivity. Use the up or down arrows to adjust
the sensitivity setting to Early, Normal, or Late.
The default selection is Normal. Press the MODE button
to continue. SeeHeadlamps on page 3-13.
COURTESY LAMP TIMEOUT
This option is used to adjust the length of time that
the interior courtesy lamp remains illuminated after
opening a door or unlocking the vehicle at night.
Use the up or down arrows to adjust the time setting
between zero and 255 seconds. The default selection is
30 seconds. Press the MODE button to continue.
IGNITION OFF COURTESY LAMP
This option is used to adjust the length of time that the
interior courtesy lamp remains illuminated after the
ignition is turned off, at night only. Use the up or down
arrows to adjust the time setting between zero and
255 seconds. The default selection is 30 seconds.
Press the MODE button to continue.
TWO STAGE UNLOCK
This option is used to enable or disable the two stage
door unlock function. Use the up or down arrows to select
Yes or No. The default selection is Yes. If Yes is selected,
the Two Stage Unlock function is activated. This means
that only the driver’s door will unlock on the first press of
the UNLOCK button on the key. If UNLOCK is pressed
and held a second time, or is held down for more than
half a second, all the doors will unlock. If No is selected,
all of the doors will unlock on the first press of the
UNLOCK button. SeeRemote Keyless Entry System
Operation on page 2-5for more information.
AUTO LOCK IN DRIVE
(Automatic Transmission Only)
This option is used to enable or disable the automatic
door locking when in Drive function. Use the up or down
arrows to select Yes or No. The default selection is
Yes. If Yes is selected, the Auto Lock In Drive function
is activated. This means that the doors will automatically
lock when the shift lever is moved out of PARK (P).
If No is selected, the doors will not automatically lock.
Press the MODE button to continue. SeeProgrammable
Automatic Door Locks on page 2-8for more information.
2-35
Page 94 of 318

DOOR LOCK INDICATION
This option is used to select the type of indication
provided to the driver upon locking and unlocking the
vehicle’s doors. Use the up or down arrows to select
Indicators or Indicators & Horn. The default selection is
Indicators. Press the MODE button to continue. See
Remote Keyless Entry System Operation on page 2-5
andDoor Locks on page 2-7for more information.
EXIT OPTIONS MENU
This option is used to either exit the personalization mode
options menu or to return to the start of the options menu.
Use the up or down arrows to select Yes or No. If Yes is
selected, the trip computer exits calibration mode and
returns to the previous trip computer display. If No is
selected, the menu returns to the start of the options
menu, RESTORE TO FACTORY SETTINGS display.
Press the MODE button to continue.
Exiting Programming Mode
To exit, do one of the following:
•Press the MODE button to scroll through to the
exit screen.
•Drive the vehicle at more than 6 mph (10 km/h).
•Turn the ignition to LOCK if the vehicle is stopped.
2-36
Page 312 of 318

Hood
Checking Things Under................................5-10
Release.....................................................5-11
Horn............................................................... 3-6
How to Use This Manual...................................... ii
How to Wear Safety Belts Properly...................1-11
Hydraulic Clutch.............................................5-22
I
Ignition Positions.............................................2-16
Immobilizer....................................................2-13
Immobilizer Operation......................................2-13
Infants and Young Children, Restraints...............1-28
Inflation -- Tire Pressure..................................5-59
Instrument Panel
Brightness..................................................3-15
Cluster.......................................................3-23
Overview..................................................... 3-4
J
Jump Starting.................................................5-40
K
Keyless Entry System....................................... 2-4
Keys............................................................... 2-2
L
Labelling, Tire Sidewall....................................5-54
Lamps
Battery Run-Down Protection.........................3-16
Courtesy....................................................3-15
Dome........................................................3-16
Exterior......................................................3-13
Fog ...........................................................3-15
Front Reading.............................................3-16
Trunk.........................................................3-16
LATCH System
Child Restraints...........................................1-37
Securing a Child Restraint Designed for the
LATCH System........................................1-39
Latches, Seatback............................................ 1-4
Light
Airbag Readiness........................................3-25
Anti-Lock Brake System Warning...................3-27
Brake System Warning.................................3-27
6
Page 315 of 318

Remote Keyless Entry System............................ 2-4
Remote Keyless Entry System, Operation............ 2-5
Removing the Flat Tire and Installing the
Spare Tire..................................................5-71
Removing the Spare Tire and Tools...................5-70
Replacement Bulbs.........................................5-51
Reporting Safety Defects
General Motors...........................................7-11
United States Government............................7-10
Restraint System Check
Checking the Restraint Systems....................1-50
Replacing Restraint System Parts
After a Crash..........................................1-51
Retained Accessory Power (RAP)......................2-17
Right Front Passenger Position, Safety Belts......1-19
Roadside
Assistance Program....................................... 7-6
Rocking Your Vehicle to Get it Out....................4-28
Running the Engine While Parked.....................2-27
S
Safety Belt
Pretensioners..............................................1-24
Reminder Light............................................3-24
Safety Belts
Care of......................................................5-79
Driver Position............................................1-12Safety Belts (cont.)
How to Wear Safety Belts Properly................1-11
Questions and Answers About Safety Belts.....1-10
Rear Safety Belt Comfort Guides for
Children and Small Adults.........................1-22
Rear Seat Passengers.................................1-19
Right Front Passenger Position......................1-19
Safety Belt Use During Pregnancy.................1-19
Safety Belts Are for Everyone......................... 1-6
Shoulder Belt Height Adjuster........................1-18
Safety Warnings and Symbols.............................. iii
Scheduled Maintenance..................................... 6-4
Seatback Latches............................................. 1-4
Seats
Head Restraints............................................ 1-4
Manual Lumbar............................................. 1-2
Power Seats................................................. 1-2
Reclining Seatbacks...................................... 1-3
Seatback Latches.......................................... 1-4
Securing a Child Restraint
Designed for the LATCH System...................1-39
Rear Seat Position......................................1-39
Right Front Seat Position..............................1-41
Security Light.................................................3-31
Service........................................................... 5-3
Adding Equipment to the Outside of Your
Vehicle..................................................... 5-5
Doing Your Own Work................................... 5-4
9