instrument panel PONTIAC PONTIAC 1995 User Guide
[x] Cancel search | Manufacturer: PONTIAC, Model Year: 1995, Model line: PONTIAC, Model: PONTIAC PONTIAC 1995Pages: 354, PDF Size: 17.27 MB
Page 96 of 354
1 Fog Lamps
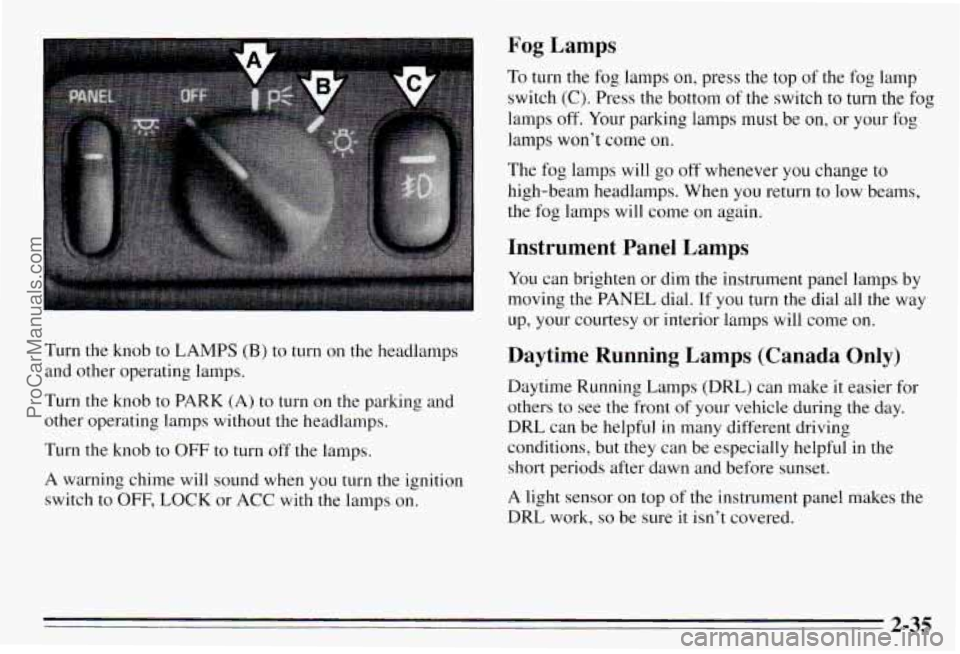
To turn the fog lamps on, press the top of the fog lamp
switch
(C). Press the bottom of the switch to turn the fog
lamps
off. Your parking lamps must be on, or your fog
lamps won't come
on.
The fog lamps will go off whenever you change to
high-beam headlamps. When you return
to low beams,
~ the fog lamps will come on again.
I Instrument Panel Lamps
You can brighten or dim the instrument panel lamps by
moving the PANEL dial. If you turn the dial all the way
up, your courtesy or interior lamps will come on.
Turn the knob to LAMPS
(B) to turn on the headlamps
and other operating lamps.
Turn the knob to PARK
(A) to turn on the parking and
other operating lamps without
the headlamps.
Turn the knob to
OFF to turn off the lamps.
A warning chime will sound when you turn the ignition switch to
OFF, LOCK or ACC with the lamps on.
Daytime Running Lamps (Canada Only)
Daytime Running Lamps (DRL) can make it easier for
others to see the front of
your vehicle during the day.
DRL can be helpful in many different driving conditions, but they can be especially helpful in the
short periods after dawn and before sunset.
A light sensor on top
of the instrument panel makes the
DRL work,
so be sure it isn't covered.
2-35
ProCarManuals.com
Page 97 of 354
The DlU system will make your low-beam headlamps
come on at a reduced brightness when:
0 The ignition is on,
The headlamp switch is off, and
The parking brake is released.
When the
DRL are on, only your low-beam headlamps
will be on. The taillamps, sidemarker and other lamps
won’t be on. Your instrument
I .-- won’t be lit up
either.
When it’s dark enough outside, your low-beam
headlamps will change to full brightness. The other
lamps that come on with your headlamps will also come
on.
When it’s bright enough outside, the regular lamps will go out, and your low-beam headlamps change to the
reduced brightness of DRL.
To idle your vehicle with the
DlU off, set the parking
brake while the ignition is in
OFF or LOCK. Then start
your vehicle. The
DRL will stay off until you release the
parking brake.
As with any vehicle, you should turn on the regular
headlamp system any time you need it.
Interior Lamps
When any door is opened, several lamps come on. These
lamps are courtesy lamps. They make it easy for you
to
enter and leave your vehicle. You can also turn these
larnps on by moving the PANEL dial all the way up.
Some of the lamps have switches
so you can turn them
on, even when the doors are closed. These lamps are
reading lamps. To avoid draining your battery, be sure to
turn
off all reading lamps when leaving your vehxle.
Battery Saver
Your vehicle has a feature to help prevent you from
draining the battery,
in case you accidentally leave the
courtesy lamps
on. If you leave the PANEL dial turned
all the way up, or
if you leave a door open, the lamps
will automatically turn
off after 10 minutes if the
ignition is
off.
This feature will not turn off the reading lamps, only the
lamps controlled by the
PANEL dial. Be sure to turn off
any reading lamps using the switch before you leave the
vehicle.
2-36
ProCarManuals.com
Page 105 of 354
To open the glass panel and sunshade, press the rear of Ashtrays and Lighter
the switch. Let go of the switch to stop the panel in any
position. Press the front
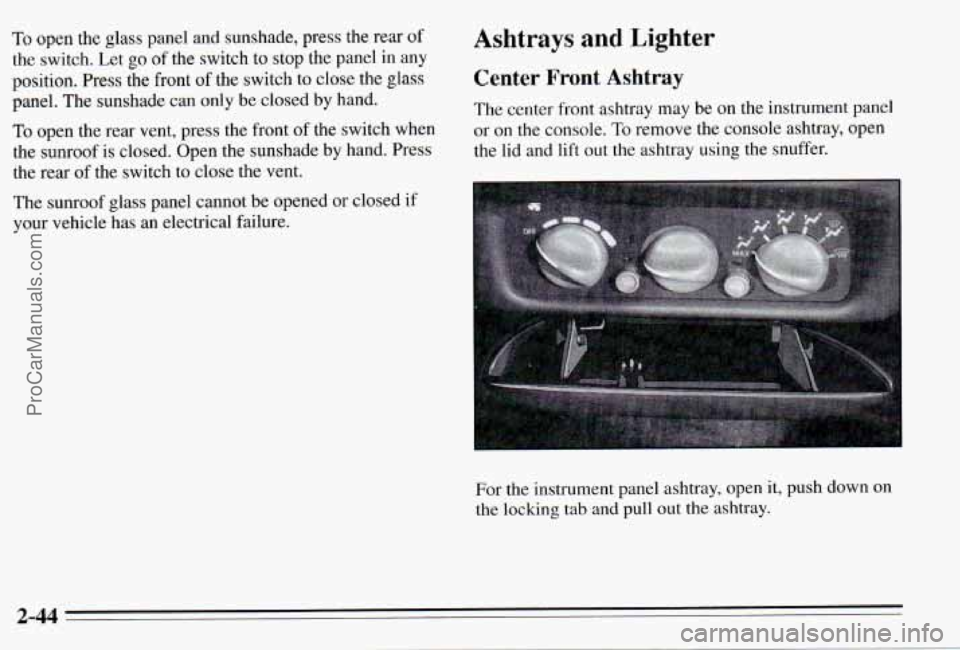
of the switch to close the glass Center Front Ashtray
panel. The sunshade can only be closed by hand.
TO open the rear vent, press the front of the switch when or on the console. To remove the console ashtray, open
the sunroof is closed. Open the sunshade by hand. Press the l\
id and lift out the ashtray using the snuffer.
the rear of the switch to close the vent. The
center front ashtray may be on the instrument panel
The sunroof glass panel cannot be opened or closed
if
your vehicle has an electrical failure.
For the instrument panel ashtray, open
it, push down on
the locking tab and pull out the ashtray.
2-44
ProCarManuals.com
Page 107 of 354
Instrument Panel -- Your Information System
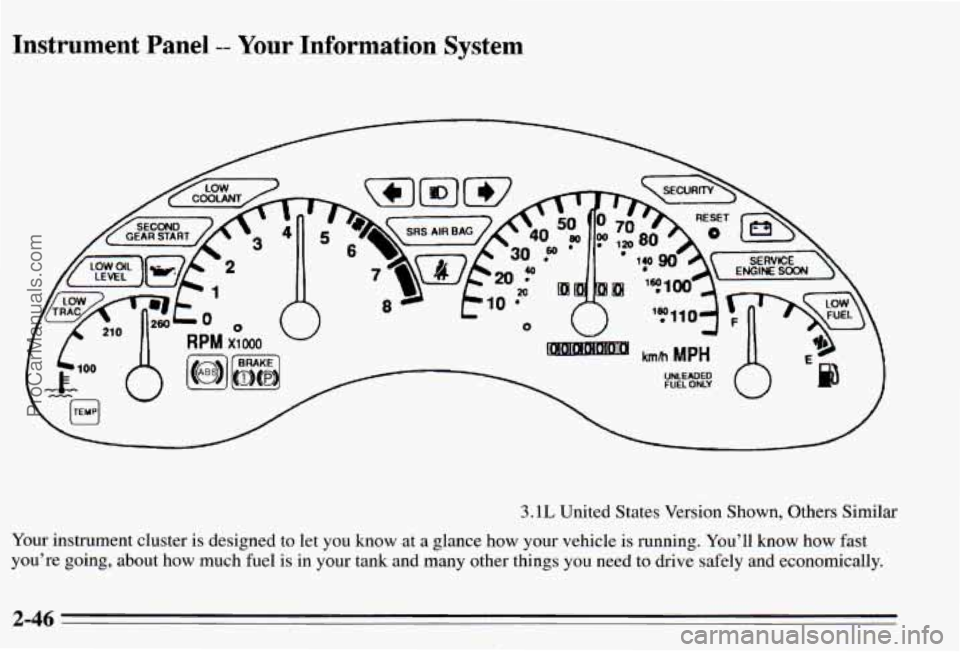
3.1L United States Version Shown, Others Similar
Your instrument cluster is designed to let you know at a glance how your vehicle is running. You’ll know how fast
you’re going, about how much fuel
is in your tank and many other things you need to drive safely and economically.
2-46
ProCarManuals.com
Page 112 of 354
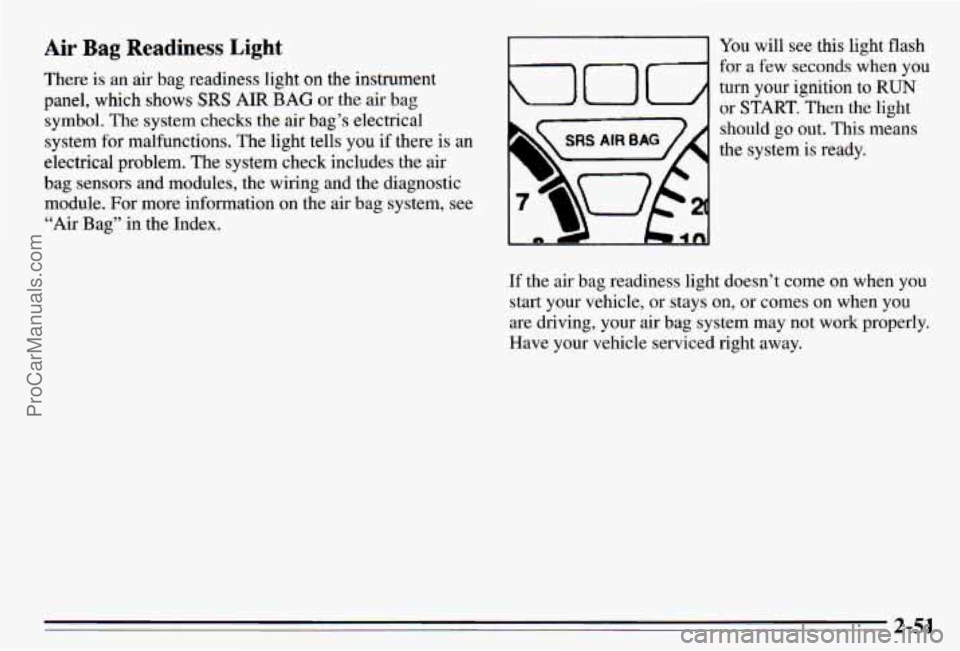
Air Bag Readiness Light You will see this light flash
for a few seconds when you
There is an
air bag readiness light on the instrument
turn your ignition to RUN panel, which shows SRS AIR BAG or the air bag or START. Then the light
symbol. The system checks the
air bag’s electrical
should go out. This means system for malfunctions. The light tells you if there is an the system is ready.
electrical problem. The system check includes the air
bag sensors and modules, the wiring and the diagnostic
module. For more information on the air bag system, see
“Air Bag” in the Index.
If the air bag readiness light doesn’t come on when you
start your vehicle, or stays on, or comes on when you
are driving, your air bag system may not work properly.
Have your vehicle serviced right away.
2-51
ProCarManuals.com
Page 121 of 354
Control Buttons
The trip calculator has three buttons that control its
functions.
MODE: Press this button to change the mode being
displayed.
EM: Press this button to change the display from
English to metric units or metric to English.
RESET Press this button for one second to reset the
mode displayed.
If you push and hold RESET for more
than five seconds, all the modes will reset. You can’t
reset
INST ECON, RANGE or EXT TEMP.
Head-Up Display (Option)
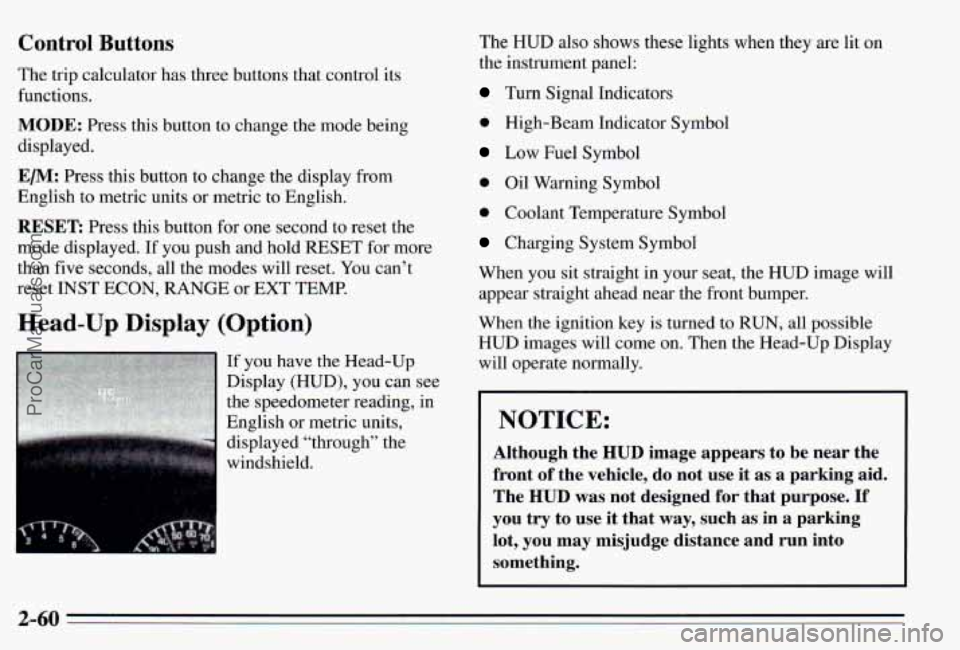
If you have the Head-Up
Display (HUD), you can see
the speedometer reading, in
English or metric units,
displayed “through” the
windshield. The
HUD also shows these lights when they are
lit on
the instrument panel:
Turn Signal Indicators
0 High-Beam Indicator Symbol
Low Fuel Symbol
0 Oil Warning Symbol
0 Coolant Temperature Symbol
Charging System Symbol
When you sit straight in your seat, the HUD image will appear straight ahead near the front bumper.
When the ignition key is turned
to RUN, all possible
HUD images will come on. Then the Head-Up Display
will operate normally.
NOTICE:
Although the HUD image appears to be near the
front
of the vehicle, do not use it as a parking aid.
The
HUD was not designed for that purpose. If
you try to use it that way, such as in a parking
lot, you may misjudge distance and run into
something.
2-60
ProCarManuals.com
Page 123 of 354
Care of the Head-Up Display
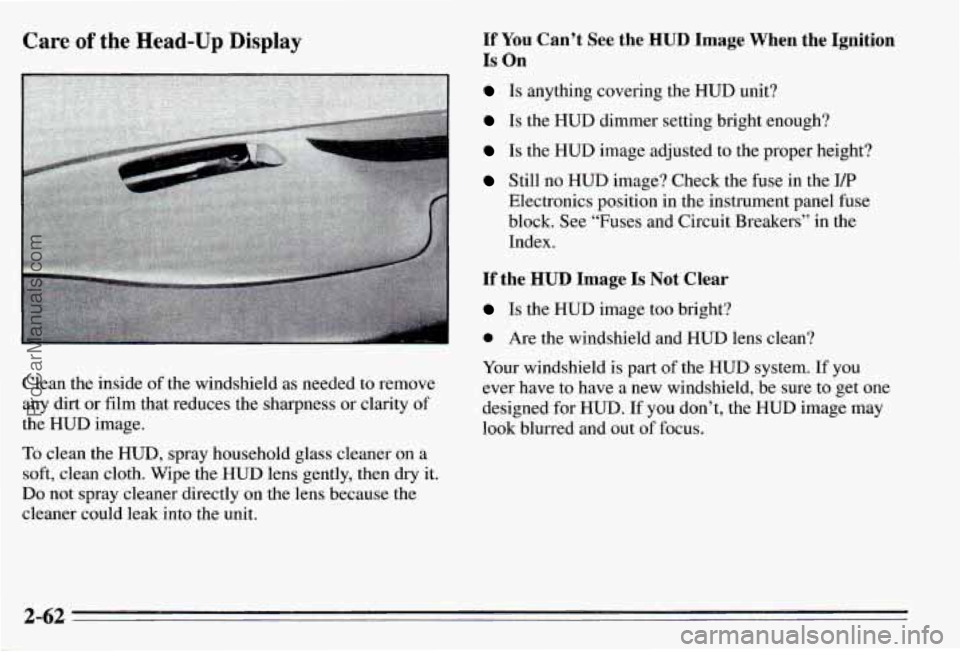
Clean the inside of the windshield as needed to remove
any dirt or film that reduces the sharpness or clarity of
the HUD image.
To clean the HUD, spray household glass cleaner on a
soft, clean cloth. Wipe the HUD lens gently, then dry it.
Do not spray cleaner directly on the lens because the
cleaner could leak into the unit.
If YOU Can’t See the HUD Image When the Ignition
Is On
Is anything covering the HUD unit?
Is the HUD dimmer setting bright enough?
Is the HUD image adjusted to the proper height?
Still no HUD image? Check the fuse in the I/P
Electronics position in the instrument panel fuse
block. See “Fuses and Circuit Breakers” in the
Index.
If the HUD Image Is Not Clear
Is the HUD image too bright?
0 Are the windshield and HUD lens clean?
Your windshield
is part of the HUD system. If you
ever have to have a new windshield, be sure to get one
designed for HUD.
If you don’t, the HUD image may
look blurred and out of focus.
2-62
ProCarManuals.com
Page 127 of 354
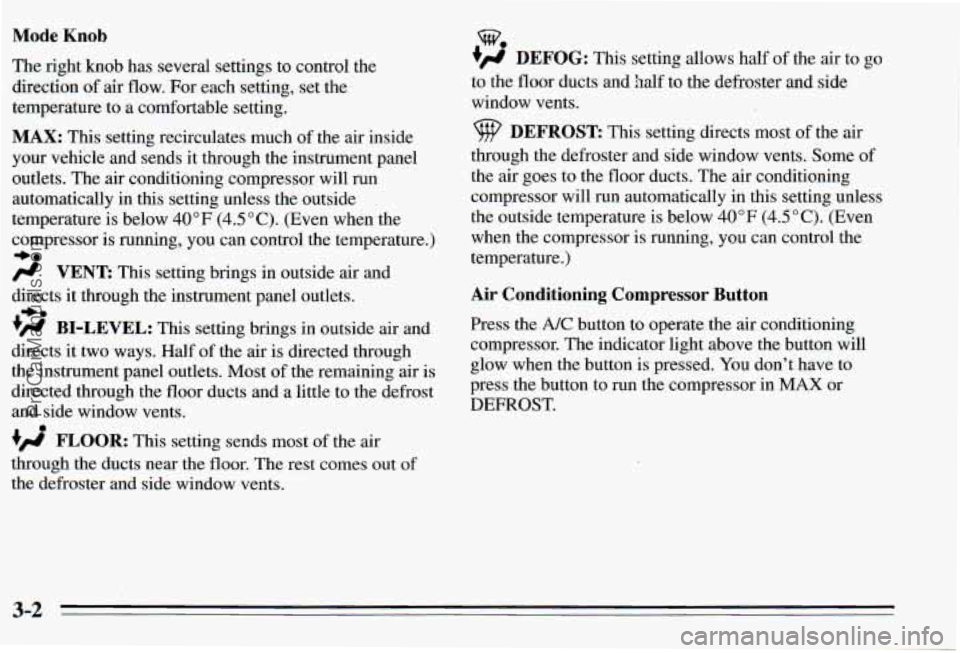
Mode Knob
The right knob has several settings to control the
direction
of air flow. For each setting, set the
temperature to a comfortable setting.
MAX: This setting recirculates much of the air inside
your vehicle and sends
it through the instrument panel
outlets. The air conditioning compressor will run
automatically in this setting unless the outside
temperature is below 40°F (4.5"C). (Even when the
compressor
is running, you can control the temperature.)
-be
/.I VENT This setting brings in outside air and
directs it through the instrument panel outlets.
+' BI-LEVEL: This setting brings in outside air and
directs it two ways. Half of the air is directed through
the instrument panel outlets. Most of the remaining air is
directed through the floor ducts and
a little to the defrost
and side window vents.
FLOOR: This setting sends most of the air
through the ducts near the floor. The rest comes out
of
the defroster and side window vents.
+e
%
+)d DEFOG: This setting allows half of the air to go
to the floor ducts and
half to the defroster and side
window vents.
9 DEFROST: This setting directs most of the air
through the defroster and side window vents. Some of
the air goes to the floor ducts. The air conditioning
compressor will run automatically in this setting unless
the outside temperature
is below 40°F (4.5"C). (Even
when the compressor is running, you can control the
temperature.)
Air Conditioning Compressor Button
Press the A/C button to operate the air conditioning
compressor. The indicator light above the button will
glow when the button is pressed.
You don't have to
press the button to run the compressor in
MAX or
DEFROST.
3-2
ProCarManuals.com
Page 150 of 354
I
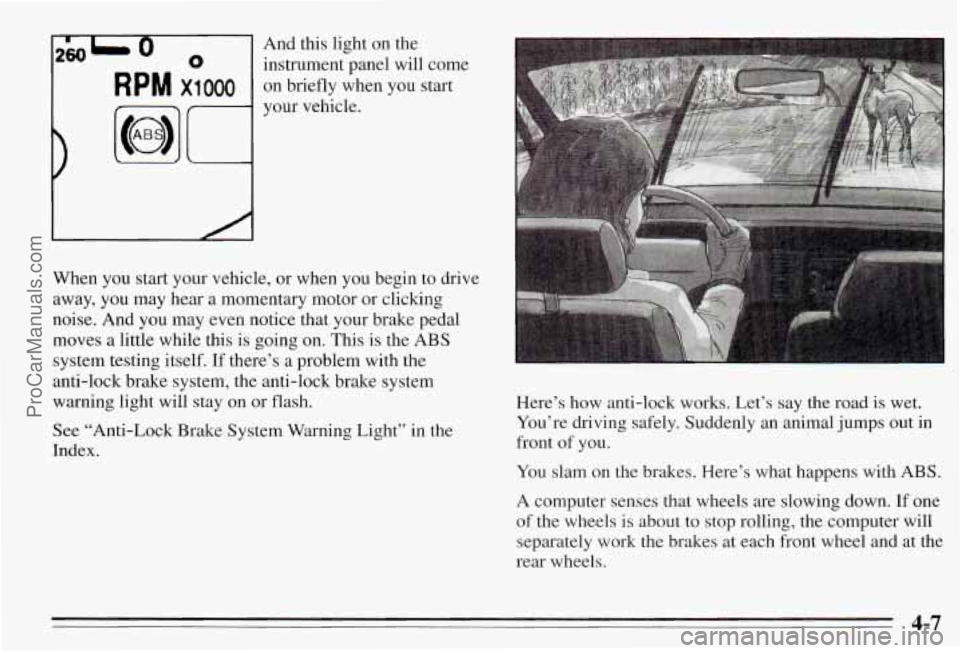
260L 0 0 instrument panel will come
And this
light on the
R p M x1 000 on briefly when you start
your vehicle.
When you start your vehicle, or when you begin to drive
away, you may hear a momentary motor or clicking
noise. And you may even notice that your brake pedal moves a little while this is going on.
This is the ABS
system testing itself.
If there’s a problem with the
anti-lock brake system, the anti-lock brake system
warning light will stay on or flash.
See “Anti-Lock Brake System Warning Light” in the
Index. Here’s how anti-lock works. Let’s say the road
is wet.
You’re driving safely. Suddenly an animal jumps out
in
front of you.
You slam on the brakes. Here’s what happens with
ABS.
A computer senses that wheels are slowing down. If one
of the wheels is about
to stop rolling, the computer will
separately work the brakes at each front wheel and at the
rear wheels.
~~
4-7
ProCarManuals.com
Page 177 of 354
Passing
You’ll need more passing distance up ahead when
you’re towing a trailer. And, because you’re
a good deal
longer, you’ll need to go much farther beyond the
passed vehicle before you can
return to your lane.
Backing Up
Hold the bottom of the steering wheel with one hand.
Then, to move the trailer
to the left, just move that hand
to the left.
To move the trailer to the right, move your
hand to the right. Always back
up slowly and, if
possible, have someone guide you.
Making Th-ns
I NOTICE:
Making very sharp turns while trailering could
cause the trailer to come in contact with the
vehicle. Your vehicle could be damaged. Avoid
making very sharp turns while trailering.
When you’re turning with a trailer, make wider turns than
normal.
Do this so your trailer won’t strike soft shoulders,
curbs, road signs, trees, or other objects. Avoid jerky or sudden maneuvers. Signal well in advance.
mrn Signals When Towing a Trailer
When you tow a trailer, your vehicle has to have a
different turn signal flasher and extra wiring. The green
arrows on your instrument panel will flash whenever
you signal a turn or lane change. Properly hooked up,
the trailer lamps will also flash, telling other drivers
you’re about to turn, change lanes or stop.
When towing a trailer, the green arrows on your
instrument panel will flash for turns even if the bulbs on
the trailer are burned out. Thus, you may thmk drivers
behind you are seeing your signal when they
are not. It’s
important to check occasionally to be sure the trailer
bulbs are still working.
4-34
ProCarManuals.com