bulb PONTIAC PONTIAC 1995 Owners Manual
[x] Cancel search | Manufacturer: PONTIAC, Model Year: 1995, Model line: PONTIAC, Model: PONTIAC PONTIAC 1995Pages: 354, PDF Size: 17.27 MB
Page 90 of 354
Turn Signal and Lane Change Indicator
The turn signal has two upward (for right) and two
downward (for left) positions. These positic allow you
to signal a turn or a lane change.
To signal a turn, move the lever all the way up or down.
When the turn is finished, the lever will return
automatically.
r-l
WOW
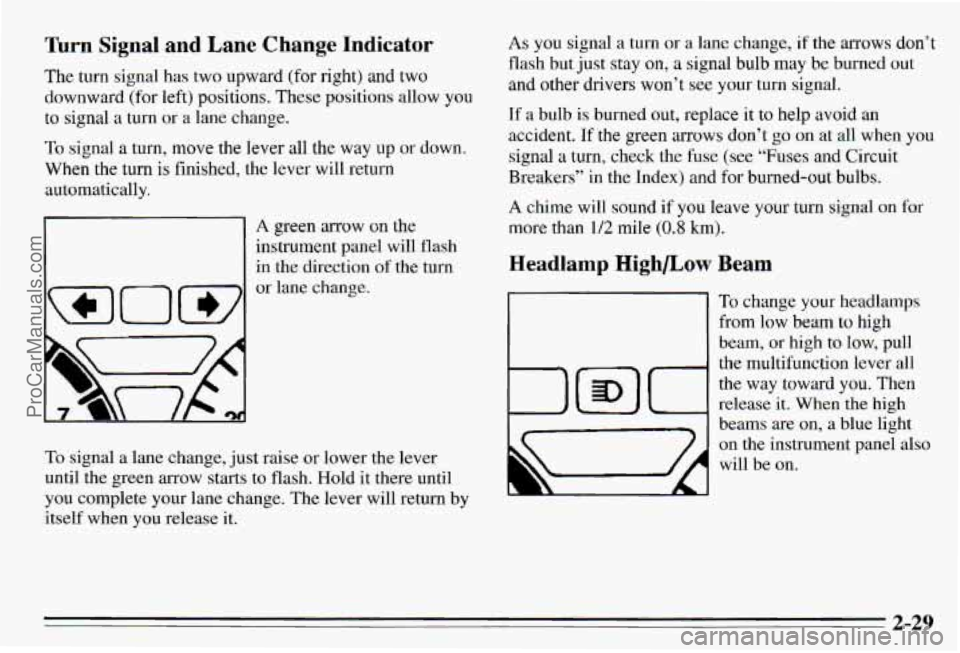
A green arrow on the
instrument panel will flash
in the direction
of the turn
or lane change.
To signal
a lane change, just raise or lower the lever
until the green arrow starts to flash. Hold
it there until
you complete your lane change. The lever
will return by
itself when you release it.
As you signal a turn or a lane change, if the arrows don’t
flash but just stay on, a signal bulb may be burned out
and other drivers won’t see your turn signal.
If a bulb is burned out, replace it to help avoid an
accident.
If the green mows don’t go on at all when you
signal a
turn, check the fuse (see “Fuses and Circuit
Breakers” in the Index) and for burned-out bulbs.
A chime will sound if you leave your turn signal on for
more
than 1/2 mile (0.8 km).
Headlamp Highbow
1
Beam
To change your headlamps
from
low beam to high
beam, or high to low, pull
the multifunction lever all
the way toward you. Then
release
it. When the high
beams are on, a blue light
on the instrument panel also
will be on.
2-29
ProCarManuals.com
Page 115 of 354
Anti-Lock Brake System Active Light
(Option)
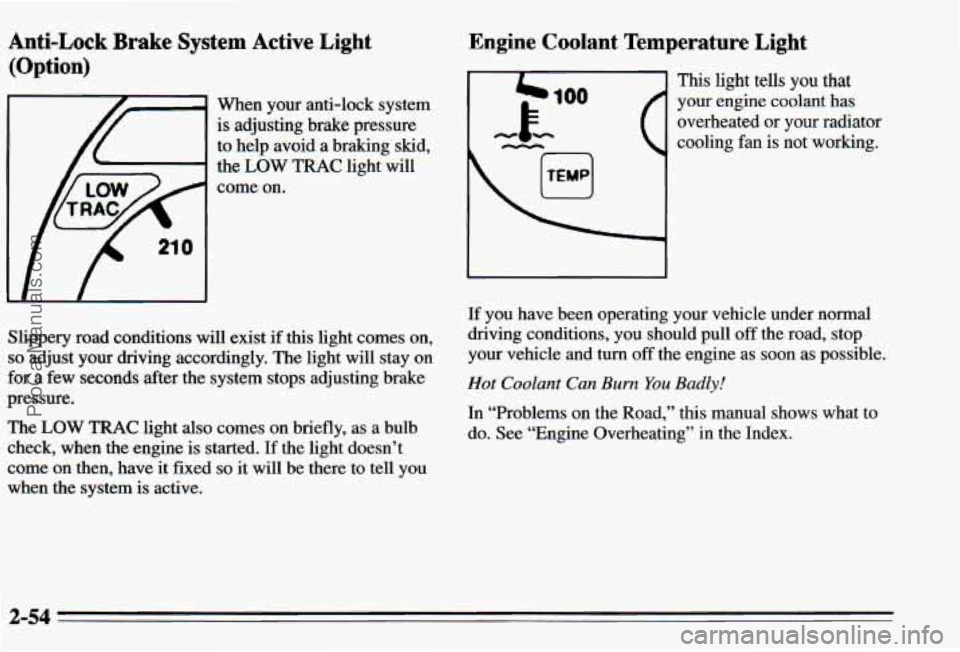
When your anti-lock system
is adjusting brake pressure
to help avoid a braking skid,
the
LOW TRAC light will
come on.
Slippery road conditions will exist
if this light comes on,
so adjust your driving accordingly. The light will stay on
for a few seconds after the system stops adjusting brake
pressure.
The
LOW TRAC light also comes on briefly, as a bulb
check, when the engine is started. If the light doesn’t
come on then, have it fixed
so it will be there to tell you
when the system is active.
Engine Coolant Temperature Light
4b 100
This light tells you that
your engine coolant has
overheated
or your radiator
cooling fan is not working.
-k
If you have been operating your vehicle under normal
driving conditions, you should pull
off the road, stop
your vehicle and turn off the engine as soon as possible.
Hot Coolant Can Burn You Badly!
In “Problems on the Road,” this manual shows what to
do. See “Engine Overheating’’ in the Index.
2-54
ProCarManuals.com
Page 118 of 354
Oil Warning Light
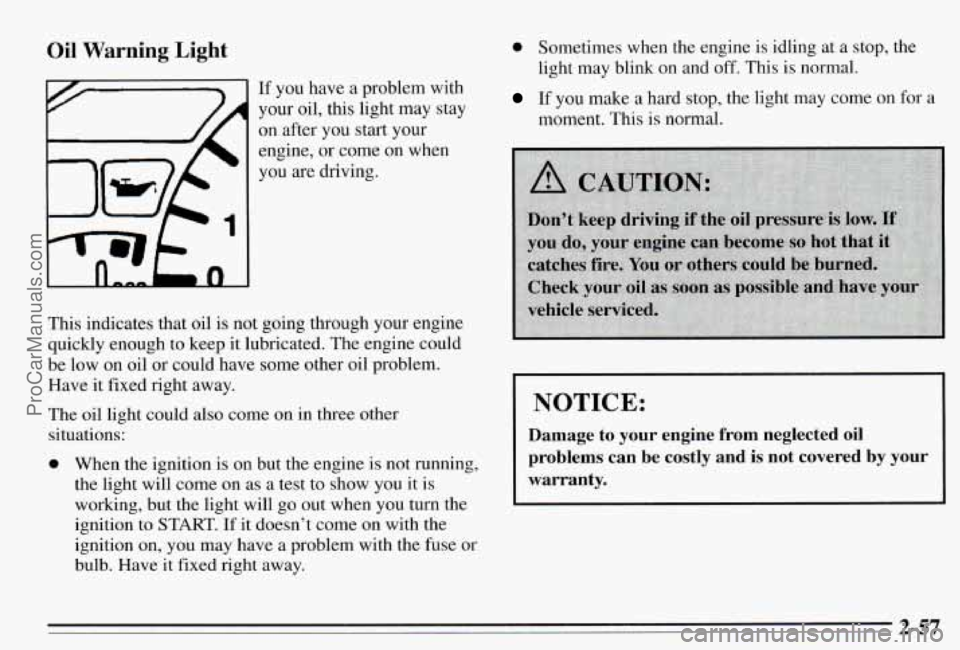
If you have a problem with
your oil, this light may stay
on after you start your
engine,
or come on when
you are driving.
This indicates that oil is not going through your engine
quickly enough to keep it lubricated. The engine could
be low on oil or could have some other oil problem.
Have it fixed right away.
The oil light could also come on in three other
situations:
0 When the ignition is on but the engine is not running,
the light will come on as a test to show you it is
working, but the light will go out when you turn the
ignition to
START. If it doesn’t come on with the
ignition on, you may have a problem with the fuse or
bulb. Have it fixed right away.
0 Sometimes when the engine is idling at a stop, the
light may blink on
and off. This is normal.
If you make a hard stop, the light may come on for a
moment. This is normal.
NOTICE:
Damage to your engine from neglected oil
problems can be costly and
is not covered by your
warranty.
2-57
ProCarManuals.com
Page 177 of 354
Passing
You’ll need more passing distance up ahead when
you’re towing a trailer. And, because you’re
a good deal
longer, you’ll need to go much farther beyond the
passed vehicle before you can
return to your lane.
Backing Up
Hold the bottom of the steering wheel with one hand.
Then, to move the trailer
to the left, just move that hand
to the left.
To move the trailer to the right, move your
hand to the right. Always back
up slowly and, if
possible, have someone guide you.
Making Th-ns
I NOTICE:
Making very sharp turns while trailering could
cause the trailer to come in contact with the
vehicle. Your vehicle could be damaged. Avoid
making very sharp turns while trailering.
When you’re turning with a trailer, make wider turns than
normal.
Do this so your trailer won’t strike soft shoulders,
curbs, road signs, trees, or other objects. Avoid jerky or sudden maneuvers. Signal well in advance.
mrn Signals When Towing a Trailer
When you tow a trailer, your vehicle has to have a
different turn signal flasher and extra wiring. The green
arrows on your instrument panel will flash whenever
you signal a turn or lane change. Properly hooked up,
the trailer lamps will also flash, telling other drivers
you’re about to turn, change lanes or stop.
When towing a trailer, the green arrows on your
instrument panel will flash for turns even if the bulbs on
the trailer are burned out. Thus, you may thmk drivers
behind you are seeing your signal when they
are not. It’s
important to check occasionally to be sure the trailer
bulbs are still working.
4-34
ProCarManuals.com
Page 241 of 354
Battery
Every new Pontiac has a Delco Freedom’ battery. You
never have to add water to one of these. When it’s time
for a new battery, we recommend a Delco Freedom@
battery, Get
one that has the replacement number shown
on the original battery’s label.
Halogen Bulbs
6-28
ProCarManuals.com
Page 245 of 354
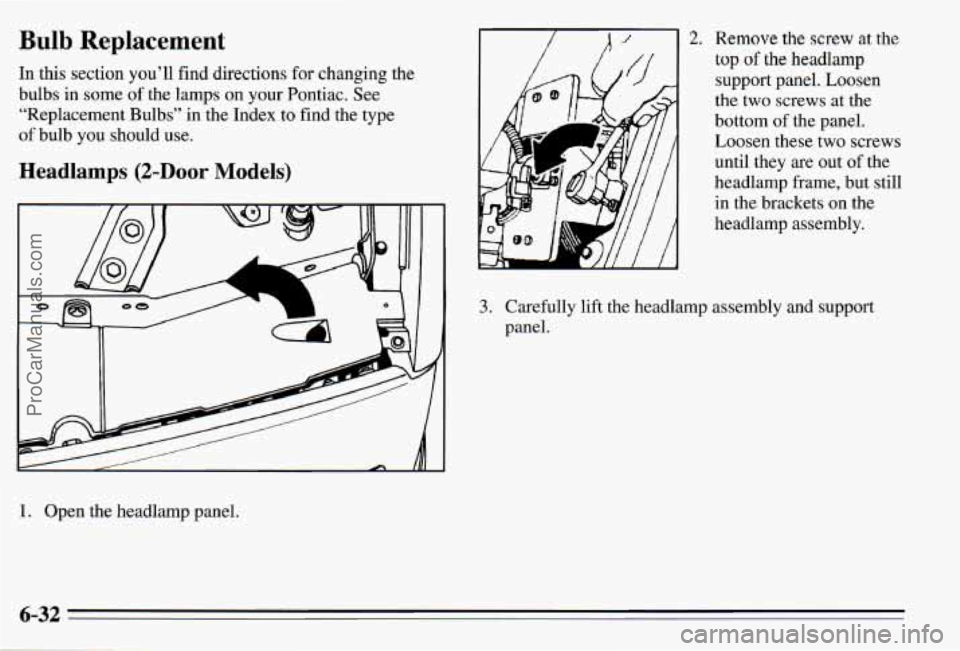
Bulb Replacement
In this section you’ll find directions for changing the
bulbs
in some of the lamps on your Pontiac. See
“Replacement Bulbs” in the Index to find the type
of bulb you should use.
Headlamps (2-Door Models)
1. Or L the headlamp panel.
7-
A
2. Remove the screw at the
top of the headlamp
support panel. Loosen
the two screws at the
bottom of the panel.
Loosen these two screws
until they are out of the
headlamp frame, but still
in the brackets on the
headlamp assembly.
3. Carefully lift the headlamp assembly and support
panel.
6-32 ..
ProCarManuals.com
Page 248 of 354
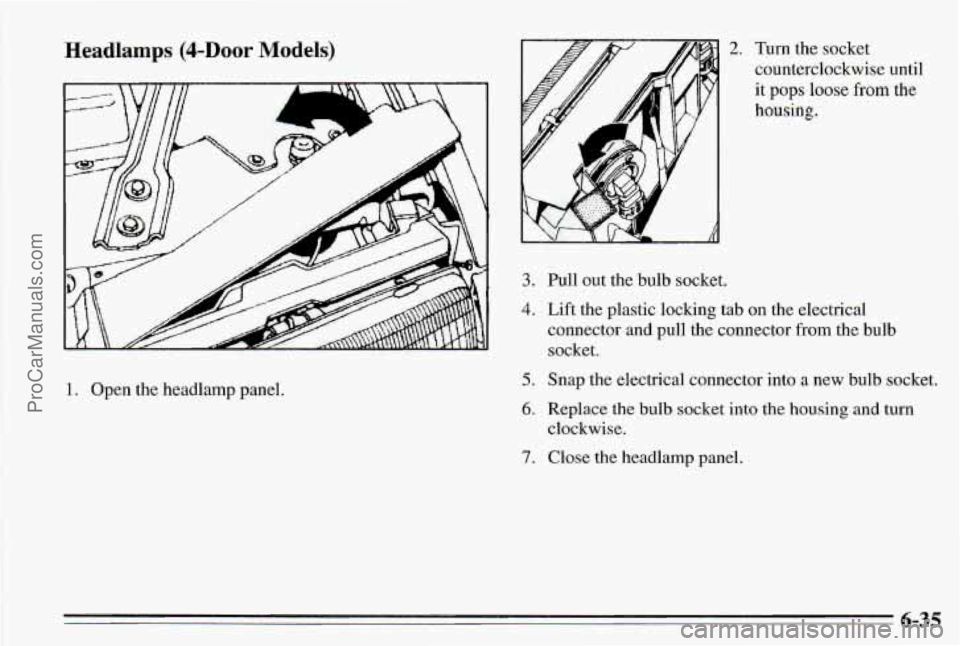
Headlamps @-Door Models)
1. Open the headlamp panel.
2. Turn the socket
counterclockwise until
it pops loose from the
housing.
3.
4.
5.
6.
7.
Pull out the bulb socket.
Lift the plastic locking tab on the electrical
connector and pull the connector
from the bulb
socket.
Snap the electrical connector into
a new bulb socket.
Replace the bulb socket into the housing
and turn
clockwise.
Close the headlamp panel.
6-35
ProCarManuals.com
Page 250 of 354
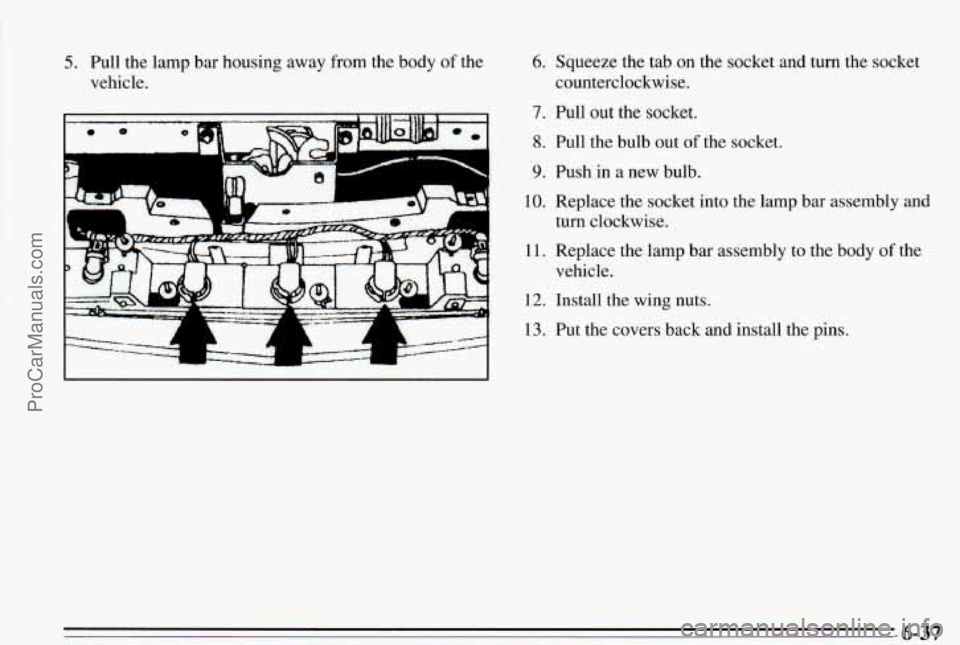
5. Pull the lamp bar housing away from the body of the
vehicle.
K uw
6. Squeeze the tab on the socket and turn the socket
counterclockwise.
7. Pull out the socket.
8. Pull the bulb out of the socket.
9. Push in a new bulb.
10. Replace the socket into the lamp bar assembly and
11. Replace the lamp
bar assembly to the body of the
turn clockwise.
vehicle.
12. Install the wing nuts.
13. Put the covers back and install the pins.
6-37 ProCarManuals.com
Page 251 of 354
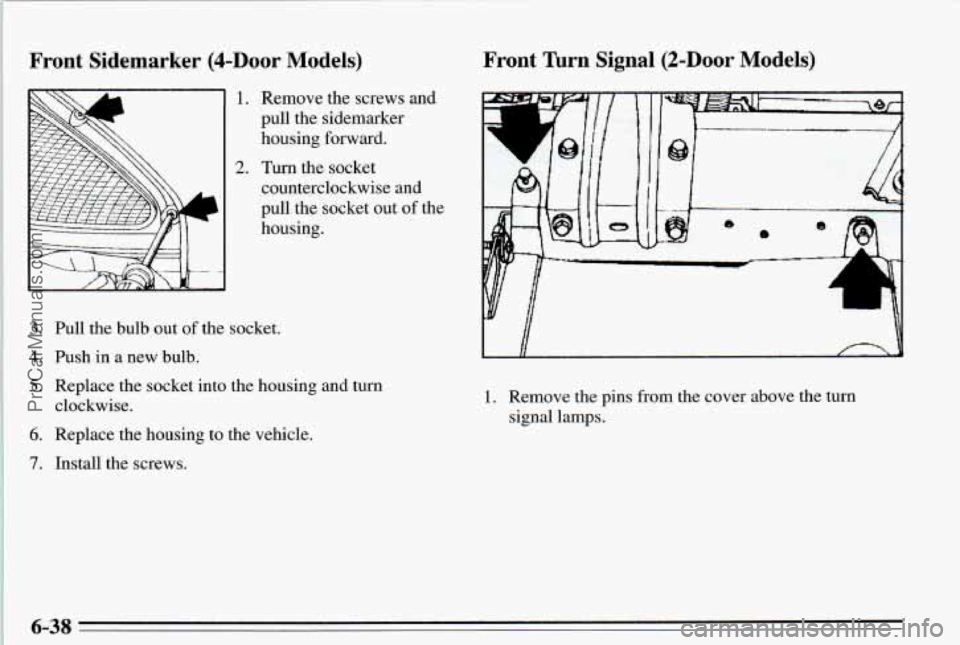
Front Sidemarker (&Door Models) Front Turn Signal (2-Door Models)
1.
2.
Remove the screws and
pull the sidemarker
housing forward.
Turn the socket
counterclockwise and
pull the socket out
of the
housing.
3.
4.
5.
6.
7.
Pull the bulb out of the socket.
fish
in a new bulb.
Replace the socket into the housing
and turn
clockwise.
Replace the housing to the vehicle.
Install the screws-
45 -3
L A
1. Remove the pins from the cover above the turn
signal lamps.
6-38 ProCarManuals.com
Page 252 of 354
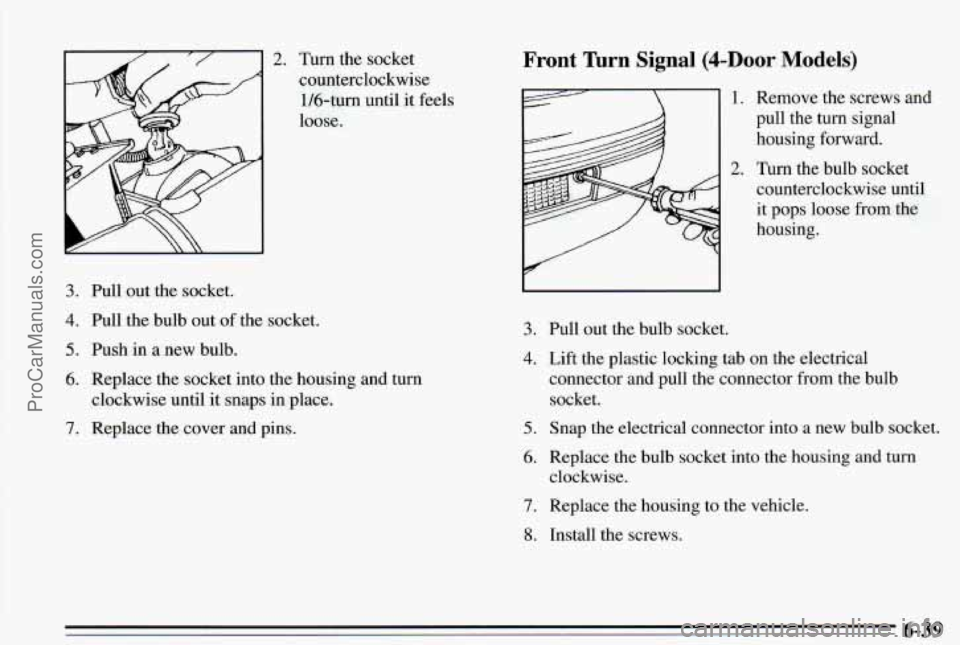
3.
4.
5.
6.
7.
Turn the socket
counterclockwise 1/6-tum until it feels
loose.
Pull out~the socket.
Pull the bulb out
of the socket.
Push
in a new bulb.
Replace the socket into the housing and
turn
clockwise until it snaps in place.
Replace the cover and pins.
Front Turn Signal (4-Door Models)
)I 1. Remove the screws and
3. Pull out the bulb socket.
2.
pull the turn signal
housing forward.
Turn the bulb socket counterclockwise until
it pops loose from the
housing.
4. Lift the plastic locking tab on the electrical
connector and pull the connector from the bulb
socket.
5. Snap the electrical connector into a new bulb socket.
6. Replace the bulb socket into the housing and turn
clockxvise.
7. Replace the housing to the vehicle.
8. Install the screws.
6-39 ProCarManuals.com