remote start PONTIAC TORRENT 2008 User Guide
[x] Cancel search | Manufacturer: PONTIAC, Model Year: 2008, Model line: TORRENT, Model: PONTIAC TORRENT 2008Pages: 434, PDF Size: 2.51 MB
Page 209 of 434
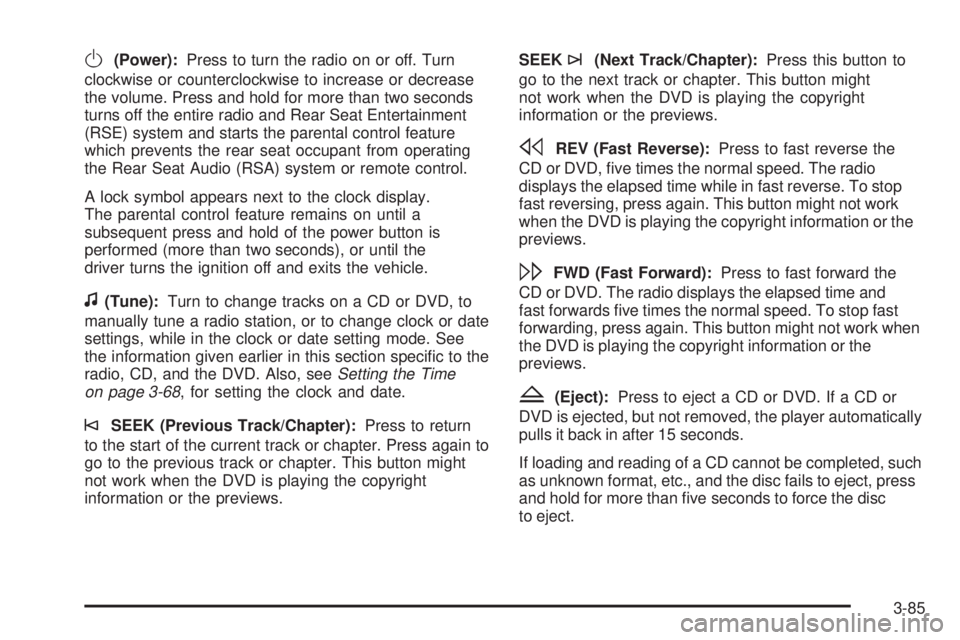
O(Power):Press to turn the radio on or off. Turn
clockwise or counterclockwise to increase or decrease
the volume. Press and hold for more than two seconds
turns off the entire radio and Rear Seat Entertainment
(RSE) system and starts the parental control feature
which prevents the rear seat occupant from operating
the Rear Seat Audio (RSA) system or remote control.
A lock symbol appears next to the clock display.
The parental control feature remains on until a
subsequent press and hold of the power button is
performed (more than two seconds), or until the
driver turns the ignition off and exits the vehicle.
f(Tune):Turn to change tracks on a CD or DVD, to
manually tune a radio station, or to change clock or date
settings, while in the clock or date setting mode. See
the information given earlier in this section speci�c to the
radio, CD, and the DVD. Also, seeSetting the Time
on page 3-68, for setting the clock and date.
©SEEK (Previous Track/Chapter):Press to return
to the start of the current track or chapter. Press again to
go to the previous track or chapter. This button might
not work when the DVD is playing the copyright
information or the previews.SEEK
¨(Next Track/Chapter):Press this button to
go to the next track or chapter. This button might
not work when the DVD is playing the copyright
information or the previews.
sREV (Fast Reverse):Press to fast reverse the
CD or DVD, �ve times the normal speed. The radio
displays the elapsed time while in fast reverse. To stop
fast reversing, press again. This button might not work
when the DVD is playing the copyright information or the
previews.
\FWD (Fast Forward):Press to fast forward the
CD or DVD. The radio displays the elapsed time and
fast forwards �ve times the normal speed. To stop fast
forwarding, press again. This button might not work when
the DVD is playing the copyright information or the
previews.
Z(Eject):Press to eject a CD or DVD. If a CD or
DVD is ejected, but not removed, the player automatically
pulls it back in after 15 seconds.
If loading and reading of a CD cannot be completed, such
as unknown format, etc., and the disc fails to eject, press
and hold for more than �ve seconds to force the disc
to eject.
3-85
Page 210 of 434
DVD-V (Video) Display Buttons
Once a DVD-V is inserted, the radio display menu
shows several tag options for DVD playing. Press the
pushbuttons located under any desired tag option during
DVD playback. See the tag options listed below for
more information.
The rear seat passenger navigates the DVD-V menus
and controls through the remote control. See “Remote
Control”, underRear Seat Entertainment (RSE)
System on page 3-101for more information. The Video
Screen automatically turns on when the DVD-V is
inserted into the DVD slot.
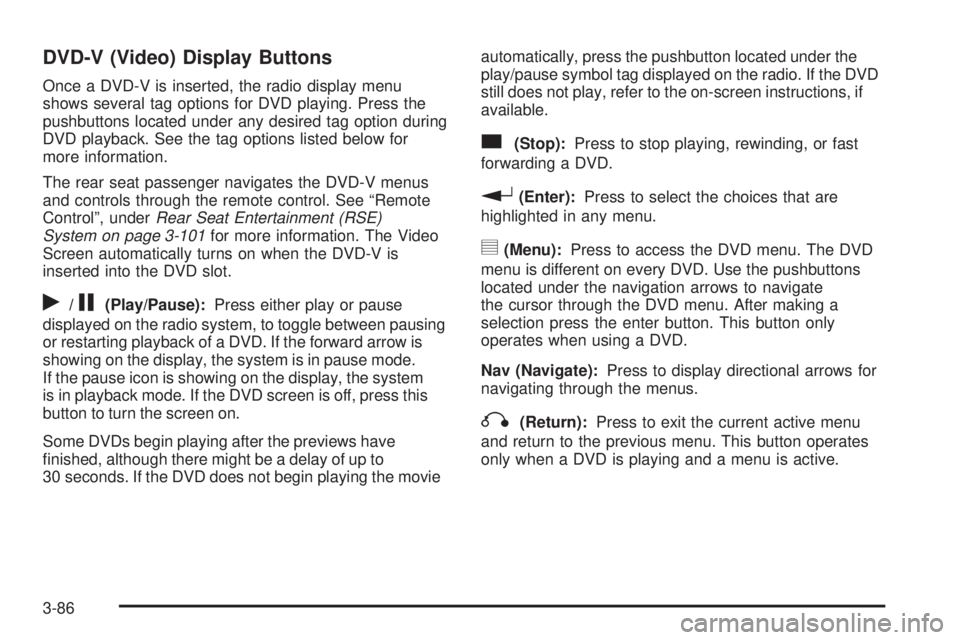
r/j(Play/Pause):Press either play or pause
displayed on the radio system, to toggle between pausing
or restarting playback of a DVD. If the forward arrow is
showing on the display, the system is in pause mode.
If the pause icon is showing on the display, the system
is in playback mode. If the DVD screen is off, press this
button to turn the screen on.
Some DVDs begin playing after the previews have
�nished, although there might be a delay of up to
30 seconds. If the DVD does not begin playing the movieautomatically, press the pushbutton located under the
play/pause symbol tag displayed on the radio. If the DVD
still does not play, refer to the on-screen instructions, if
available.
c(Stop):Press to stop playing, rewinding, or fast
forwarding a DVD.
r(Enter):Press to select the choices that are
highlighted in any menu.
y(Menu):Press to access the DVD menu. The DVD
menu is different on every DVD. Use the pushbuttons
located under the navigation arrows to navigate
the cursor through the DVD menu. After making a
selection press the enter button. This button only
operates when using a DVD.
Nav (Navigate):Press to display directional arrows for
navigating through the menus.
q(Return):Press to exit the current active menu
and return to the previous menu. This button operates
only when a DVD is playing and a menu is active.
3-86
Page 211 of 434
DVD-A (Audio) Display Buttons
Once a DVD-A is inserted, a radio display menu
shows several tag options for DVD playing. Press the
pushbuttons located under any desired tag option during
DVD playback. See the tag options listed below for more
information.
The rear seat operator navigates the DVD-A menus
and controls through the remote control. See “Remote
Control”, underRear Seat Entertainment (RSE) System
on page 3-101for more information. The Video Screen
does not automatically power on when the DVD-A is
inserted into the DVD slot. It must be manually turned on
by the rear seat occupant through the remote control
power button.
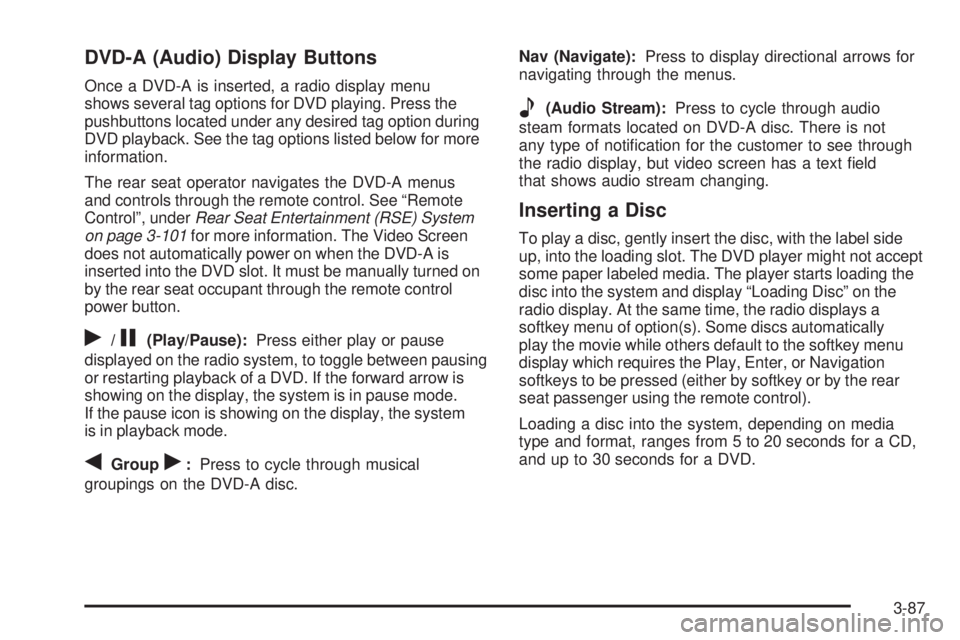
r/j(Play/Pause):Press either play or pause
displayed on the radio system, to toggle between pausing
or restarting playback of a DVD. If the forward arrow is
showing on the display, the system is in pause mode.
If the pause icon is showing on the display, the system
is in playback mode.
qGroupr:Press to cycle through musical
groupings on the DVD-A disc.Nav (Navigate):Press to display directional arrows for
navigating through the menus.
e(Audio Stream):Press to cycle through audio
steam formats located on DVD-A disc. There is not
any type of noti�cation for the customer to see through
the radio display, but video screen has a text �eld
that shows audio stream changing.
Inserting a Disc
To play a disc, gently insert the disc, with the label side
up, into the loading slot. The DVD player might not accept
some paper labeled media. The player starts loading the
disc into the system and display “Loading Disc” on the
radio display. At the same time, the radio displays a
softkey menu of option(s). Some discs automatically
play the movie while others default to the softkey menu
display which requires the Play, Enter, or Navigation
softkeys to be pressed (either by softkey or by the rear
seat passenger using the remote control).
Loading a disc into the system, depending on media
type and format, ranges from 5 to 20 seconds for a CD,
and up to 30 seconds for a DVD.
3-87
Page 229 of 434
Video Screen
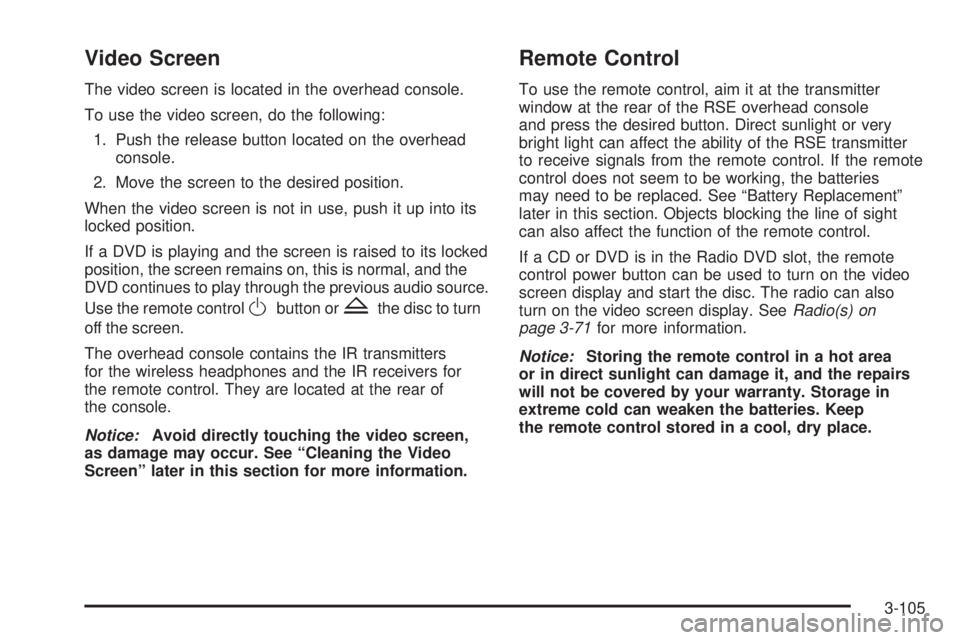
The video screen is located in the overhead console.
To use the video screen, do the following:
1. Push the release button located on the overhead
console.
2. Move the screen to the desired position.
When the video screen is not in use, push it up into its
locked position.
If a DVD is playing and the screen is raised to its locked
position, the screen remains on, this is normal, and the
DVD continues to play through the previous audio source.
Use the remote control
Obutton orZthe disc to turn
off the screen.
The overhead console contains the IR transmitters
for the wireless headphones and the IR receivers for
the remote control. They are located at the rear of
the console.
Notice:Avoid directly touching the video screen,
as damage may occur. See “Cleaning the Video
Screen” later in this section for more information.
Remote Control
To use the remote control, aim it at the transmitter
window at the rear of the RSE overhead console
and press the desired button. Direct sunlight or very
bright light can affect the ability of the RSE transmitter
to receive signals from the remote control. If the remote
control does not seem to be working, the batteries
may need to be replaced. See “Battery Replacement”
later in this section. Objects blocking the line of sight
can also affect the function of the remote control.
If a CD or DVD is in the Radio DVD slot, the remote
control power button can be used to turn on the video
screen display and start the disc. The radio can also
turn on the video screen display. SeeRadio(s) on
page 3-71for more information.
Notice:Storing the remote control in a hot area
or in direct sunlight can damage it, and the repairs
will not be covered by your warranty. Storage in
extreme cold can weaken the batteries. Keep
the remote control stored in a cool, dry place.
3-105
Page 230 of 434
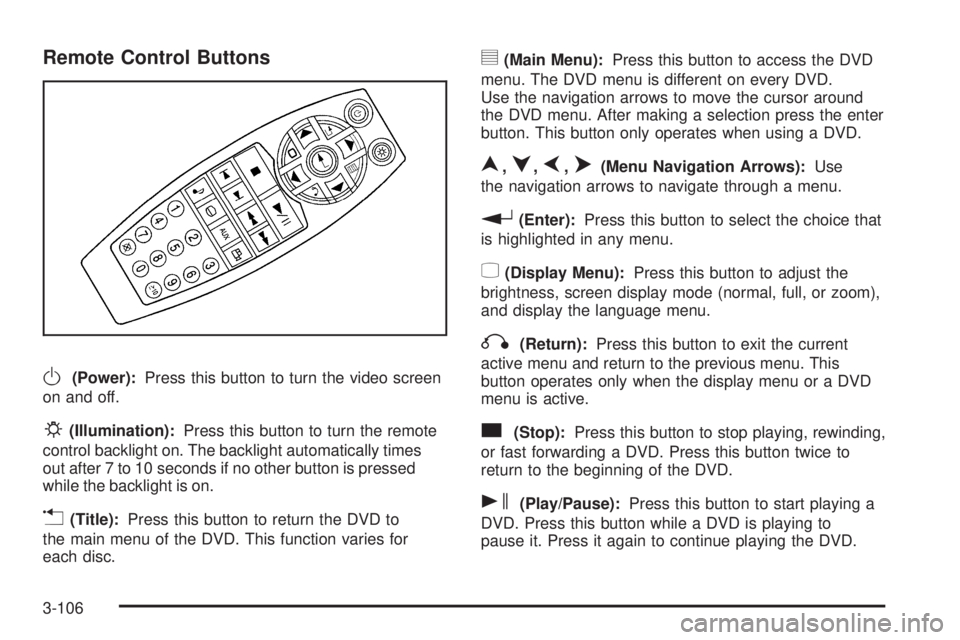
Remote Control Buttons
O(Power):Press this button to turn the video screen
on and off.
P(Illumination):Press this button to turn the remote
control backlight on. The backlight automatically times
out after 7 to 10 seconds if no other button is pressed
while the backlight is on.
v(Title):Press this button to return the DVD to
the main menu of the DVD. This function varies for
each disc.
y(Main Menu):Press this button to access the DVD
menu. The DVD menu is different on every DVD.
Use the navigation arrows to move the cursor around
the DVD menu. After making a selection press the enter
button. This button only operates when using a DVD.
n,q,p,o(Menu Navigation Arrows):Use
the navigation arrows to navigate through a menu.
r(Enter):Press this button to select the choice that
is highlighted in any menu.
z(Display Menu):Press this button to adjust the
brightness, screen display mode (normal, full, or zoom),
and display the language menu.
q(Return):Press this button to exit the current
active menu and return to the previous menu. This
button operates only when the display menu or a DVD
menu is active.
c(Stop):Press this button to stop playing, rewinding,
or fast forwarding a DVD. Press this button twice to
return to the beginning of the DVD.
s(Play/Pause):Press this button to start playing a
DVD. Press this button while a DVD is playing to
pause it. Press it again to continue playing the DVD.
3-106
Page 232 of 434
\(Clear):Press this button within three seconds after
inputting a numeric selection, to clear all numeric inputs.
}10 (Double Digit Entries):Press this button
to select chapter or track numbers greater than 9.
Press this button before inputting the number.
If the remote control becomes lost or damaged, a
new universal remote control can be purchased. If this
happens, make sure the universal remote control uses a
code set of Toshiba
®.
Battery Replacement
To change the remote control batteries, do the following:
1. Slide the rear cover back on the remote control.
2. Replace the two batteries in the compartment.
Make sure that they are installed correctly,
using the diagram on the inside of the battery
compartment.
3. Replace the battery cover.
If the remote control is to be stored for a long period of
time, remove the batteries and keep them in a cool,
dry place.
Problem Recommended Action
No power. The ignition might not be
turned ON/RUN or in
ACC/ACCESSORY.
The picture does not
�ll the screen. There
are black borders on
the top and bottom or on
both sides or it looks
stretched out.Check the display mode
settings in the setup menu
by pressing the display
menu button on the remote
control.
In auxiliary mode, the
picture moves or scrolls.Check the auxiliary input
connections at both
devices.
The remote control does
not work.Check to make sure there
is no obstruction between
the remote control and
the transmitter window.
Check the batteries to
make sure they are
not dead or installed
incorrectly.
After stopping the player, I
push Play but sometimes
the DVD starts where I left
off and sometimes at the
beginning.If the stop button was
pressed one time, the
DVD player resumes
playing where the DVD
was stopped. If the stop
button was pressed two
times the DVD player
begins to play from the
beginning of the DVD.
3-108
Page 289 of 434
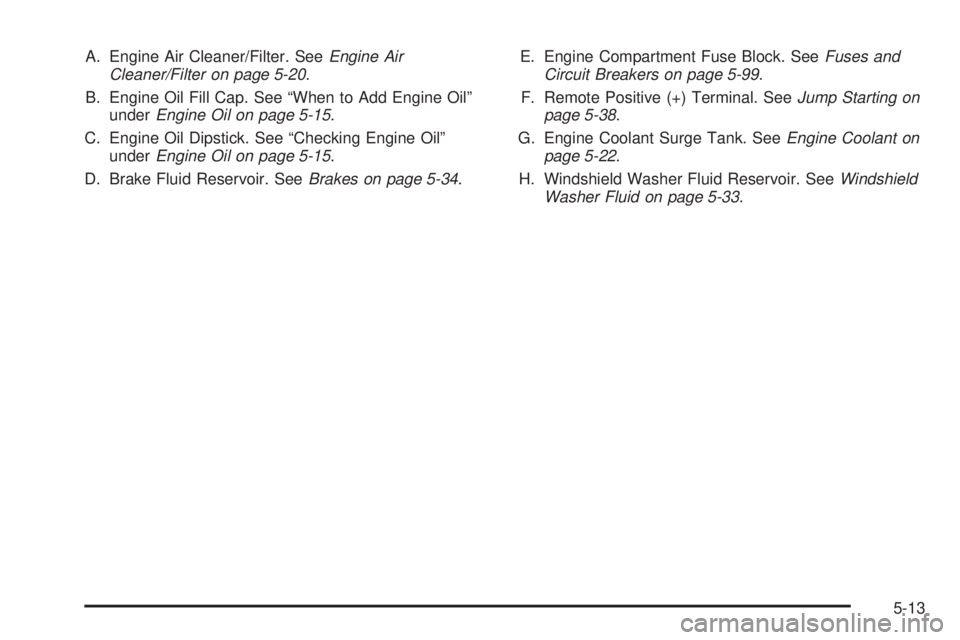
A. Engine Air Cleaner/Filter. SeeEngine Air
Cleaner/Filter on page 5-20.
B. Engine Oil Fill Cap. See “When to Add Engine Oil”
underEngine Oil on page 5-15.
C. Engine Oil Dipstick. See “Checking Engine Oil”
underEngine Oil on page 5-15.
D. Brake Fluid Reservoir. SeeBrakes on page 5-34.E. Engine Compartment Fuse Block. SeeFuses and
Circuit Breakers on page 5-99.
F. Remote Positive (+) Terminal. SeeJump Starting on
page 5-38.
G. Engine Coolant Surge Tank. SeeEngine Coolant on
page 5-22.
H. Windshield Washer Fluid Reservoir. SeeWindshield
Washer Fluid on page 5-33.
5-13
Page 291 of 434
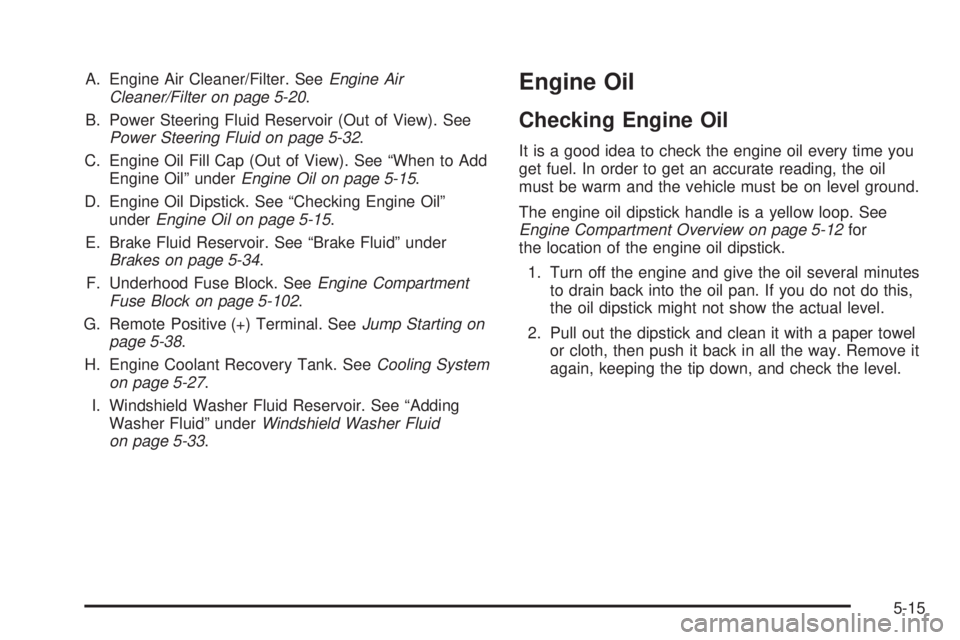
A. Engine Air Cleaner/Filter. SeeEngine Air
Cleaner/Filter on page 5-20.
B. Power Steering Fluid Reservoir (Out of View). See
Power Steering Fluid on page 5-32.
C. Engine Oil Fill Cap (Out of View). See “When to Add
Engine Oil” underEngine Oil on page 5-15.
D. Engine Oil Dipstick. See “Checking Engine Oil”
underEngine Oil on page 5-15.
E. Brake Fluid Reservoir. See “Brake Fluid” under
Brakes on page 5-34.
F. Underhood Fuse Block. SeeEngine Compartment
Fuse Block on page 5-102.
G. Remote Positive (+) Terminal. SeeJump Starting on
page 5-38.
H. Engine Coolant Recovery Tank. SeeCooling System
on page 5-27.
I. Windshield Washer Fluid Reservoir. See “Adding
Washer Fluid” underWindshield Washer Fluid
on page 5-33.Engine Oil
Checking Engine Oil
It is a good idea to check the engine oil every time you
get fuel. In order to get an accurate reading, the oil
must be warm and the vehicle must be on level ground.
The engine oil dipstick handle is a yellow loop. See
Engine Compartment Overview on page 5-12for
the location of the engine oil dipstick.
1. Turn off the engine and give the oil several minutes
to drain back into the oil pan. If you do not do this,
the oil dipstick might not show the actual level.
2. Pull out the dipstick and clean it with a paper towel
or cloth, then push it back in all the way. Remove it
again, keeping the tip down, and check the level.
5-15
Page 315 of 434
3. Turn off the ignition on both vehicles. Unplug
unnecessary accessories plugged into the cigarette
lighter or the accessory power outlet. Turn off
the radio and all lamps that are not needed. This
will avoid sparks and help save both batteries.
And it could save your radio!
4. Open the hoods and locate the positive (+) and
negative (−) terminal locations on each vehicle.
You will not need to access your battery for jump
starting. Your vehicle has a remote positive (+)
and a remote negative (−) jump starting terminal
for that purpose.
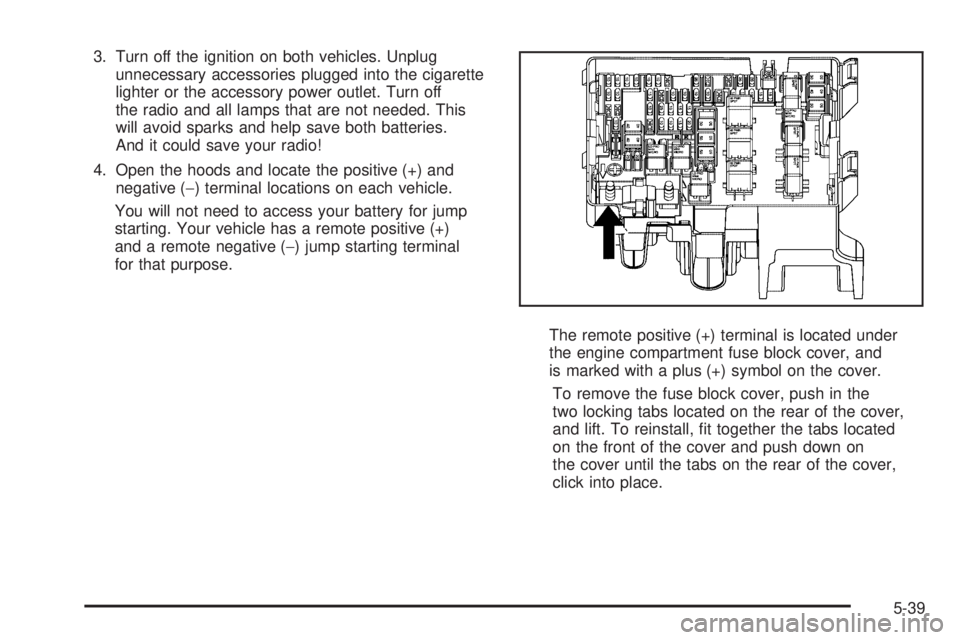
The remote positive (+) terminal is located under
the engine compartment fuse block cover, and
is marked with a plus (+) symbol on the cover.
To remove the fuse block cover, push in the
two locking tabs located on the rear of the cover,
and lift. To reinstall, �t together the tabs located
on the front of the cover and push down on
the cover until the tabs on the rear of the cover,
click into place.
5-39
Page 318 of 434
5. Check that the jumper cables do not have loose or
missing insulation. If they do, you could get a shock.
The vehicles could be damaged, too.
Before you connect the cables, here are some
basic things you should know. Positive (+) will go to
positive (+) or to a remote positive (+) terminal if
the vehicle has one. Negative (−) will go to a heavy,
unpainted metal engine part or to a remote
negative (−) terminal if the vehicle has one.
Do not connect positive (+) to negative (−) or you will
get a short that would damage the battery and maybe
other parts, too. And do not connect the negative (−)
cable to the negative (−) terminal on the dead battery
because this can cause sparks.
6. Connect the red positive (+) cable to the positive (+)
terminal of the dead battery. Use a remote
positive (+) terminal if the vehicle has one.
7. Do not let the other end touch metal. Connect it to
the positive (+) terminal of the good battery. Use a
remote positive (+) terminal if the vehicle has one.
8. Now connect the black negative (−) cable to the
negative (−) terminal of the good battery. Use a
remote negative (−) terminal if the vehicle has one.
Do not let the other end touch anything until the next
step. The other end of the negative (−) cable does
not go to the dead battery. It goes to a heavy,
unpainted metal engine part or to a remote
negative (−) terminal on the vehicle with the dead
battery.9. Connect the other end of the negative (−) cable at
least 18 inches (45 cm) away from the dead battery,
but not near engine parts that move. The electrical
connection is just as good there, and the chance
of sparks getting back to the battery is much less.
Your vehicle has a remote negative (−) terminal
for this purpose.
10. Now start the vehicle with the good battery and run
the engine for a while.
11. Press the unlock button on the remote keyless
entry transmitter to disarm your content
theft-deterrent system.
12. Try to start the vehicle that had the dead battery. If
it will not start after a few tries, it probably needs
service.
Notice:If the jumper cables are connected or
removed in the wrong order, electrical shorting may
occur and damage the vehicle. The repairs would
not be covered by your warranty. Always connect
and remove the jumper cables in the correct
order, making sure that the cables do not touch
each other or other metal.
5-42