remote start PONTIAC VIBE 2005 Owners Manual
[x] Cancel search | Manufacturer: PONTIAC, Model Year: 2005, Model line: VIBE, Model: PONTIAC VIBE 2005Pages: 374, PDF Size: 2.49 MB
Page 71 of 374

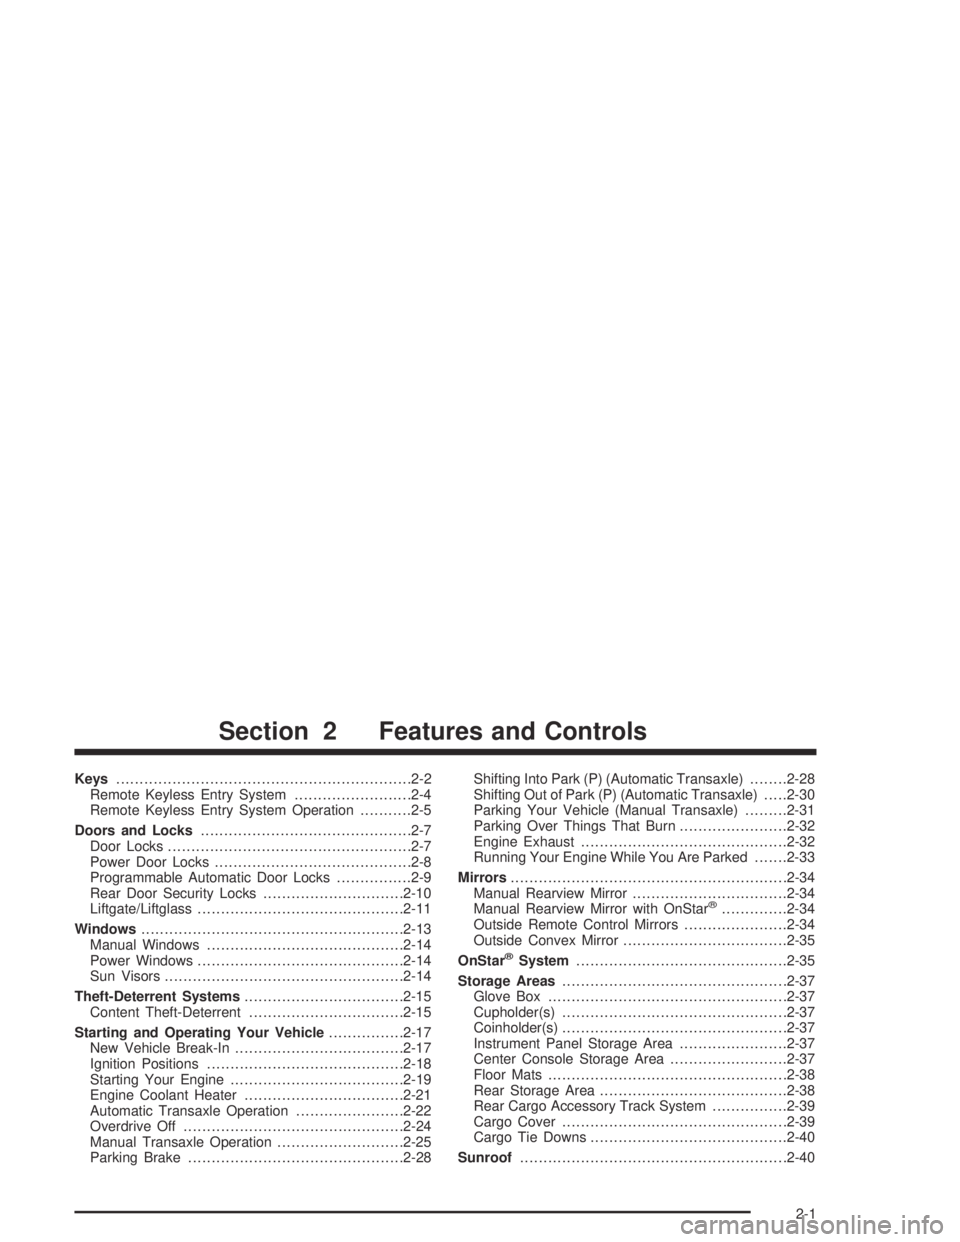
Keys...............................................................2-2
Remote Keyless Entry System.........................2-4
Remote Keyless Entry System Operation...........2-5
Doors and Locks.............................................2-7
Door Locks....................................................2-7
Power Door Locks..........................................2-8
Programmable Automatic Door Locks................2-9
Rear Door Security Locks..............................2-10
Liftgate/Liftglass............................................2-11
Windows........................................................2-13
Manual Windows..........................................2-14
Power Windows............................................2-14
Sun Visors...................................................2-14
Theft-Deterrent Systems..................................2-15
Content Theft-Deterrent.................................2-15
Starting and Operating Your Vehicle................2-17
New Vehicle Break-In....................................2-17
Ignition Positions..........................................2-18
Starting Your Engine.....................................2-19
Engine Coolant Heater..................................2-21
Automatic Transaxle Operation.......................2-22
Overdrive Off...............................................2-24
Manual Transaxle Operation...........................2-25
Parking Brake..............................................2-28Shifting Into Park (P) (Automatic Transaxle)........2-28
Shifting Out of Park (P) (Automatic Transaxle).....2-30
Parking Your Vehicle (Manual Transaxle).........2-31
Parking Over Things That Burn.......................2-32
Engine Exhaust............................................2-32
Running Your Engine While You Are Parked.......2-33
Mirrors...........................................................2-34
Manual Rearview Mirror.................................2-34
Manual Rearview Mirror with OnStar
®..............2-34
Outside Remote Control Mirrors......................2-34
Outside Convex Mirror...................................2-35
OnStar
®System.............................................2-35
Storage Areas................................................2-37
Glove Box...................................................2-37
Cupholder(s)................................................2-37
Coinholder(s)................................................2-37
Instrument Panel Storage Area.......................2-37
Center Console Storage Area.........................2-37
Floor Mats...................................................2-38
Rear Storage Area........................................2-38
Rear Cargo Accessory Track System................2-39
Cargo Cover................................................2-39
Cargo Tie Downs..........................................2-40
Sunroof.........................................................2-40
Section 2 Features and Controls
2-1
Page 85 of 374

Theft-Deterrent Systems
Vehicle theft is big business, especially in some cities.
Although your vehicle has a number of theft-deterrent
features, we know that nothing we put on it can make it
impossible to steal.
Content Theft-Deterrent
If your vehicle has this feature, the theft-deterrent
system is designed to activate an alarm if any of the
side doors or the liftgate is forcibly unlocked or if
the battery terminal is disconnected and then
reconnected while the system is set.
The alarm will sound the horn intermittently and �ash
the headlamps, turn signal lamps and interior lights.
If the driver’s or front passenger’s side doors are
unlocked forcibly, the other side doors and the liftgate
will be locked automatically.
Arming the System
To arm the system, do the following:
1. Turn the ignition key to the LOCK position and
remove it.
2. Close and lock all doors and liftgate with the key or
remote keyless entry transmitter.
The indicator light located
on the instrument panel to
the left of the steering
wheel will come on when
all doors and liftgate
are closed and locked.
The system will be automatically set after
30 seconds. When the system is set, the indicator
light will start �ashing.
3. After the indicator light starts �ashing, you may
leave the vehicle.
Do not leave anyone in the vehicle when you set
the system, because unlocking the vehicle from the
inside will activate the system.
2-15
Page 86 of 374

Testing the Alarm
To test the alarm, do the following:
1. Open all the windows.
2. Set the system as described in the previous
procedure. The doors and liftgate should be locked
with the key or remote keyless entry transmitter.
Be sure to wait until the indicator light starts �ashing.
3. Unlock the driver’s door from the inside.
The system should activate the alarm.
4. Stop the alarm as described in the disarming
procedure following.
5. Repeat this operation for the other doors.
Also check that the system is activated when
the battery terminal is disconnected and then
reconnected.
If the system does not work properly, have it
checked by your dealer.
How the System Alarm is Activated
The system will activate the alarm under the following
conditions:
If the driver’s or front passenger’s door is unlocked
or if any of the other doors or the liftgate is forcibly
opened without the key or remote keyless entry
transmitter.
If the battery terminal is disconnected and then
reconnected.
If the ignition is hot-wired.
If the side window glass is broken or damaged.
The indicator light will come on when the system
is activated.
If the driver’s or front passenger’s doors are unlocked
without using the key or remote keyless entry
transmitter, the other doors and the liftgate will be
automatically locked again.
After one minute the alarm will automatically stop and
the indicator light will start �ashing again.
2-16
Page 87 of 374

Reactivating the System
Once the system is set, it will automatically reset the
alarm after the alarm stops. The alarm will activate again
under the same conditions as described earlier.
Disarming the System
The alarm can be disarmed by doing one of the
following:
Turn the ignition key from LOCK to ON.
Unlock any of the doors with the key or with the
remote keyless entry transmitter.
If the liftgate or liftglass is opened with the key,
the system will still be activated.
Starting and Operating
Your Vehicle
New Vehicle Break-In
Notice:Your vehicle does not need an elaborate
“break-in.” But it will perform better in the long run
if you follow these guidelines:
Do not drive at any one speed — fast or
slow — for the �rst 500 miles (805 km).
Do not make full-throttle starts.
Avoid making hard stops for the �rst 200 miles
(322 km) or so. During this time your new brake
linings are not yet broken in. Hard stops with new
linings can mean premature wear and earlier
replacement. Follow this breaking-in guideline
every time you get new brake linings.
Do not tow a trailer during break-in. SeeTowing a
Trailer on page 4-40for more information.
2-17
Page 268 of 374

6. Connect the red positive (+) cable to the positive (+)
terminal of the dead battery. Use a remote
positive (+) terminal if the vehicle has one.
7. Do not let the other end touch metal. Connect it to
the positive (+) terminal of the good battery. Use a
remote positive (+) terminal if the vehicle has one.8. Now connect the black negative (−) cable to the
negative terminal of the good battery. Use a
remote negative (−) terminal if the vehicle has one.
Do not let the other end touch anything until the
next step. The other end of the negative (−) cable
does notgo to the dead battery. It goes to a
heavy, unpainted metal engine part or to a remote
negative (−) terminal on the vehicle with the
dead battery.
9. Connect the other end of the negative (−) cable at
least 18 inches (45 cm) away from the dead battery,
but not near engine parts that move. The electrical
connection is just as good there, and the chance
of sparks getting back to the battery is much less.
10. Now start the vehicle with the good battery and run
the engine for a while.
11. Try to start the vehicle that had the dead battery.
If it will not start after a few tries, it probably needs
service.
5-46
Page 321 of 374

Fuses Usage
RDI FAN Electric Cooling Fan
ABS NO. 1Anti-lock Brake System
(With Stability Control System)
FOG Front Fog Lamps
EFI2Multiport Fuel Injection System/
Sequential Multiport Fuel Injection
System, Emission Control System
EFI3Multiport Fuel Injection System/
Sequential Multiport Fuel Injection
System, Emission Control System
HEAD MAINRight Headlamp, Left Headlamp
Fuses
ALT-S Charging System
EFI Electronic Fuel Injection System
HAZARDTurn Signal Lamps, Emergency
Flasher
HORN Horn
DOMEInterior Lights, Gauges and Meters,
Audio System, Remote Keyless Entry
System, Navigation System
(If Equipped)Fuses Usage
MAIN Starter System, AM2 Fuse
AMP Audio System
MAYDAY OnStar
®System
ALTABS NO.1, ABS NO.2, RDI FAN,
FOG, Heater, AM1, POWER, DOOR,
ECU-B, TAIL, STOP, P/POINT, INV,
OBD Fuses, Charging System
HEAD RHRight-hand Headlamp, Headlamp
High Beam Indicator Lamp
HEAD LH Left-hand Headlamp
Relays Usage
M/G M/G
HEAD Headlamps
DIMMER Headlamp Dimmer
FAN NO. 2 Cooling Fan System
FAN NO. 1 Cooling Fan System
EFI Electronic Fuel Injection System
FOG Fog Lamps
5-99