CD changer PONTIAC VIBE 2007 Owners Manual
[x] Cancel search | Manufacturer: PONTIAC, Model Year: 2007, Model line: VIBE, Model: PONTIAC VIBE 2007Pages: 432, PDF Size: 2.54 MB
Page 133 of 432
Instrument Panel Overview........................ 136
Hazard Warning Flashers.......................... 138
Other Warning Devices............................. 138
Horn.......................................................... 138
Tilt Wheel.................................................. 139
Turn Signal/Multifunction Lever.................. 139
Turn and Lane-Change Signals................. 140
Headlamp High/Low-Beam Changer.......... 140
Flash-to-Pass............................................ 141
Windshield Wipers..................................... 141
Windshield Washer.................................... 142
Rear Window Wiper/Washer...................... 142
Cruise Control........................................... 143
Exterior Lamps.......................................... 146
Headlamps on Reminder........................... 146
Daytime Running Lamps (DRL)................. 147
Automatic Headlamp System..................... 147
Fog Lamps................................................ 148
Instrument Panel Brightness...................... 148
Interior Lamps Control............................... 149
Entry Lighting............................................ 149
Reading Lamps......................................... 150
Accessory Power Outlet(s)........................ 150Power Outlet 115 Volt Alternating
Current.................................................. 151
Ashtray(s) and Cigarette Lighter................ 151
Climate Controls......................................... 152
Climate Control System............................. 152
Outlet Adjustment...................................... 155
Passenger Compartment Air Filter............. 156
Warning Lights, Gages, and Indicators..... 158
Instrument Panel Cluster........................... 159
Speedometer and Odometer...................... 160
Trip Odometers......................................... 160
Tachometer............................................... 161
Safety Belt Reminder Light........................ 161
Airbag Readiness Light............................. 162
Passenger Airbag Status Indicator............. 163
Charging System Light.............................. 165
Brake System Warning Light..................... 166
Anti-Lock Brake System Warning Light...... 167
Low Tire Pressure Warning Light.............. 167
Traction Control System (TCS)
Warning Light........................................ 168
StabiliTrak
®Indicator Light......................... 168
Section 3 Instrument Panel
133
Page 139 of 432
Tilt Wheel
A tilt steering column allows you to adjust the
steering column before you drive. You can also
raise it to the highest level to give your legs more
room when you exit and enter the vehicle.
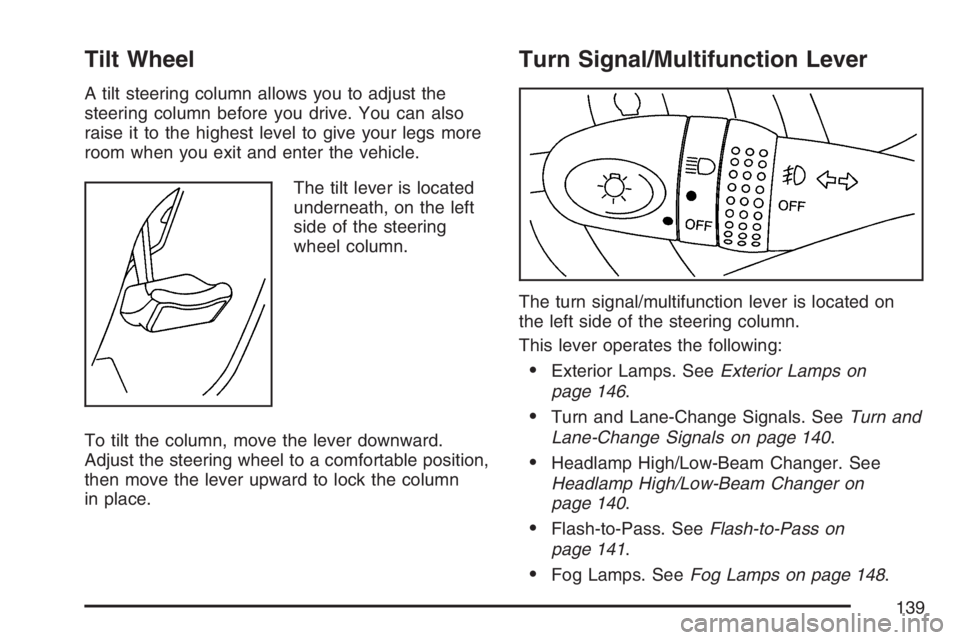
The tilt lever is located
underneath, on the left
side of the steering
wheel column.
To tilt the column, move the lever downward.
Adjust the steering wheel to a comfortable position,
then move the lever upward to lock the column
in place.
Turn Signal/Multifunction Lever
The turn signal/multifunction lever is located on
the left side of the steering column.
This lever operates the following:
Exterior Lamps. SeeExterior Lamps on
page 146.
Turn and Lane-Change Signals. SeeTurn and
Lane-Change Signals on page 140.
Headlamp High/Low-Beam Changer. See
Headlamp High/Low-Beam Changer on
page 140.
Flash-to-Pass. SeeFlash-to-Pass on
page 141.
Fog Lamps. SeeFog Lamps on page 148.
139
Page 140 of 432
Turn and Lane-Change Signals
The turn signal has an upward (for right) and a
downward (for left) position. These positions allow
you to signal a turn or a lane change.
To signal a turn, move the lever all the way up or
down. When the turn is �nished, the lever will
return automatically.
To signal a lane change, raise or lower the lever
until the arrow starts to �ash. Hold it there until you
complete your lane change. The lever will return
by itself when you release it.
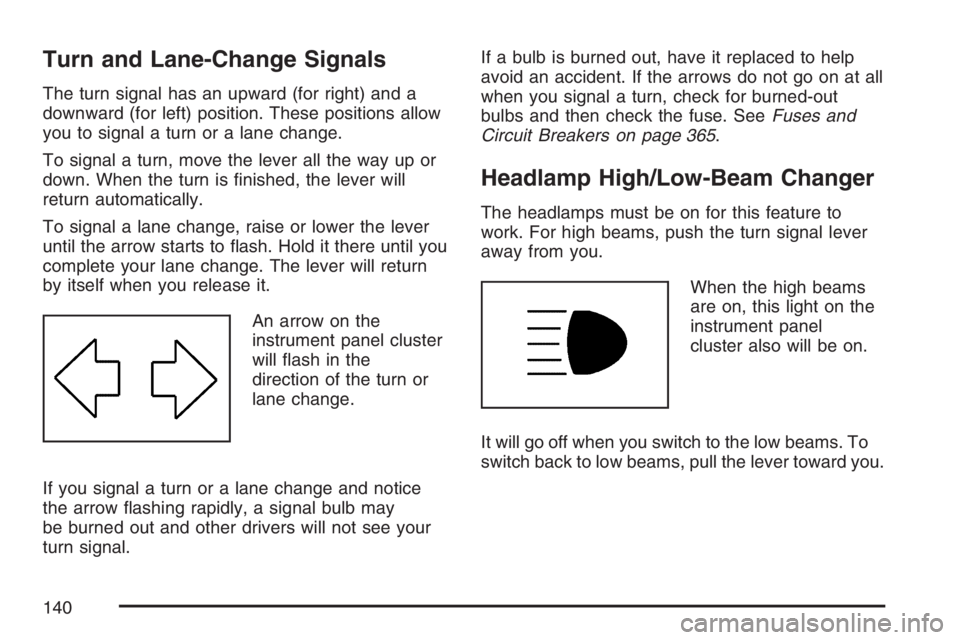
An arrow on the
instrument panel cluster
will �ash in the
direction of the turn or
lane change.
If you signal a turn or a lane change and notice
the arrow �ashing rapidly, a signal bulb may
be burned out and other drivers will not see your
turn signal.If a bulb is burned out, have it replaced to help
avoid an accident. If the arrows do not go on at all
when you signal a turn, check for burned-out
bulbs and then check the fuse. SeeFuses and
Circuit Breakers on page 365.
Headlamp High/Low-Beam Changer
The headlamps must be on for this feature to
work. For high beams, push the turn signal lever
away from you.
When the high beams
are on, this light on the
instrument panel
cluster also will be on.
It will go off when you switch to the low beams. To
switch back to low beams, pull the lever toward you.
140
Page 175 of 432
Highbeam On Light
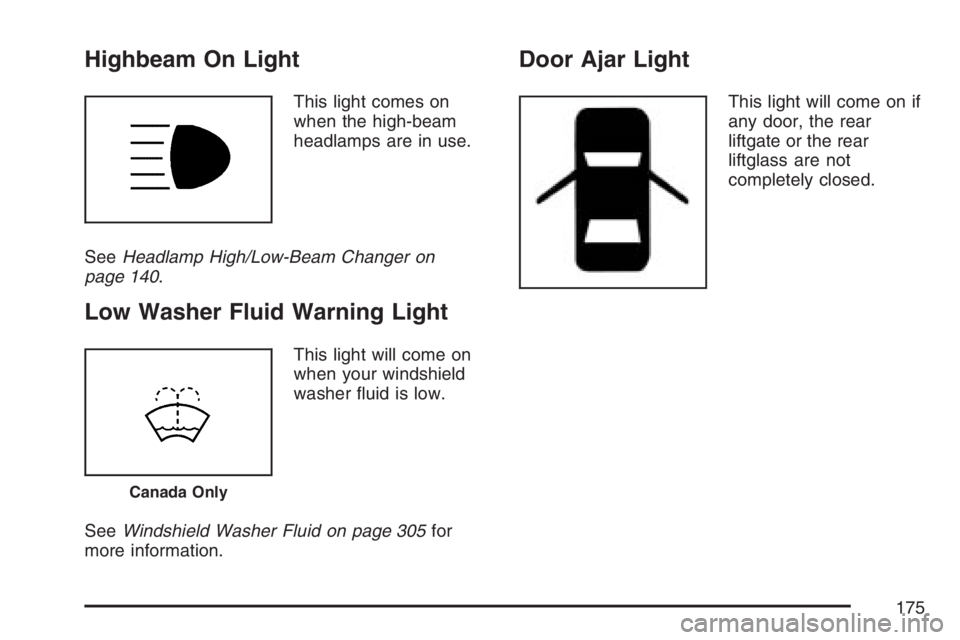
This light comes on
when the high-beam
headlamps are in use.
SeeHeadlamp High/Low-Beam Changer on
page 140.
Low Washer Fluid Warning Light
This light will come on
when your windshield
washer �uid is low.
SeeWindshield Washer Fluid on page 305for
more information.
Door Ajar Light
This light will come on if
any door, the rear
liftgate or the rear
liftglass are not
completely closed.
Canada Only
175
Page 207 of 432
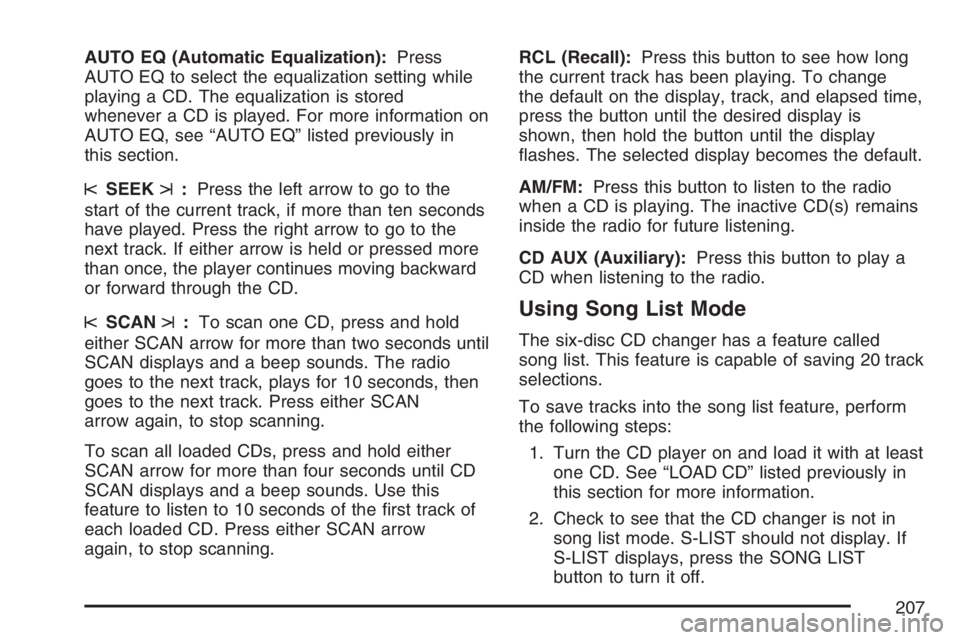
AUTO EQ (Automatic Equalization):Press
AUTO EQ to select the equalization setting while
playing a CD. The equalization is stored
whenever a CD is played. For more information on
AUTO EQ, see “AUTO EQ” listed previously in
this section.
sSEEKt:Press the left arrow to go to the
start of the current track, if more than ten seconds
have played. Press the right arrow to go to the
next track. If either arrow is held or pressed more
than once, the player continues moving backward
or forward through the CD.
sSCANt:To scan one CD, press and hold
either SCAN arrow for more than two seconds until
SCAN displays and a beep sounds. The radio
goes to the next track, plays for 10 seconds, then
goes to the next track. Press either SCAN
arrow again, to stop scanning.
To scan all loaded CDs, press and hold either
SCAN arrow for more than four seconds until CD
SCAN displays and a beep sounds. Use this
feature to listen to 10 seconds of the �rst track of
each loaded CD. Press either SCAN arrow
again, to stop scanning.RCL (Recall):Press this button to see how long
the current track has been playing. To change
the default on the display, track, and elapsed time,
press the button until the desired display is
shown, then hold the button until the display
�ashes. The selected display becomes the default.
AM/FM:Press this button to listen to the radio
when a CD is playing. The inactive CD(s) remains
inside the radio for future listening.
CD AUX (Auxiliary):Press this button to play a
CD when listening to the radio.Using Song List Mode
The six-disc CD changer has a feature called
song list. This feature is capable of saving 20 track
selections.
To save tracks into the song list feature, perform
the following steps:
1. Turn the CD player on and load it with at least
one CD. See “LOAD CD” listed previously in
this section for more information.
2. Check to see that the CD changer is not in
song list mode. S-LIST should not display. If
S-LIST displays, press the SONG LIST
button to turn it off.
207
Page 424 of 432
Fuel (cont.)
Filling Your Tank...................................... 277
Fuels in Foreign Countries....................... 276
Gage....................................................... 176
Gasoline Octane...................................... 274
Gasoline Speci�cations............................ 274
Low Warning Light................................... 177
System Inspection.................................... 392
Fuses
Engine Compartment Fuse Block............. 367
Fuses and Circuit Breakers...................... 365
Instrument Panel Fuse Block................... 365
Windshield Wiper..................................... 364
G
Gage
Engine Coolant Temperature.................... 169
Fuel......................................................... 176
Speedometer........................................... 160
Tachometer.............................................. 161
Gasoline
Octane..................................................... 274
Speci�cations........................................... 274
Glove Box................................................... 127
GM Mobility Reimbursement Program.......... 405
H
Hazard Warning Flashers............................ 138
Head Restraints............................................ 13
Headlamp Wiring......................................... 364
Headlamps
Automatic Headlamp System.................... 147
Bulb Replacement.................................... 315
Daytime Running Lamps.......................... 147
Flash-to-Pass........................................... 141
Halogen Bulbs......................................... 315
Headlamps, Front Turn Signal, and
Parking Lamps..................................... 316
High/Low Beam Changer ......................... 140
On Reminder........................................... 146
Heater......................................................... 152
Height Adjuster, Driver Seat............................ 9
Highbeam On Light..................................... 175
Highway Hypnosis....................................... 245
Hill and Mountain Roads............................. 246
Hood
Checking Things Under............................ 280
Release................................................... 280
Horn............................................................ 138
How to Use This Manual................................ 4
How to Wear Safety Belts Properly............... 23
Hydraulic Clutch.......................................... 293
424