remote control PONTIAC VIBE 2008 Owners Manual
[x] Cancel search | Manufacturer: PONTIAC, Model Year: 2008, Model line: VIBE, Model: PONTIAC VIBE 2008Pages: 368, PDF Size: 5.7 MB
Page 73 of 368
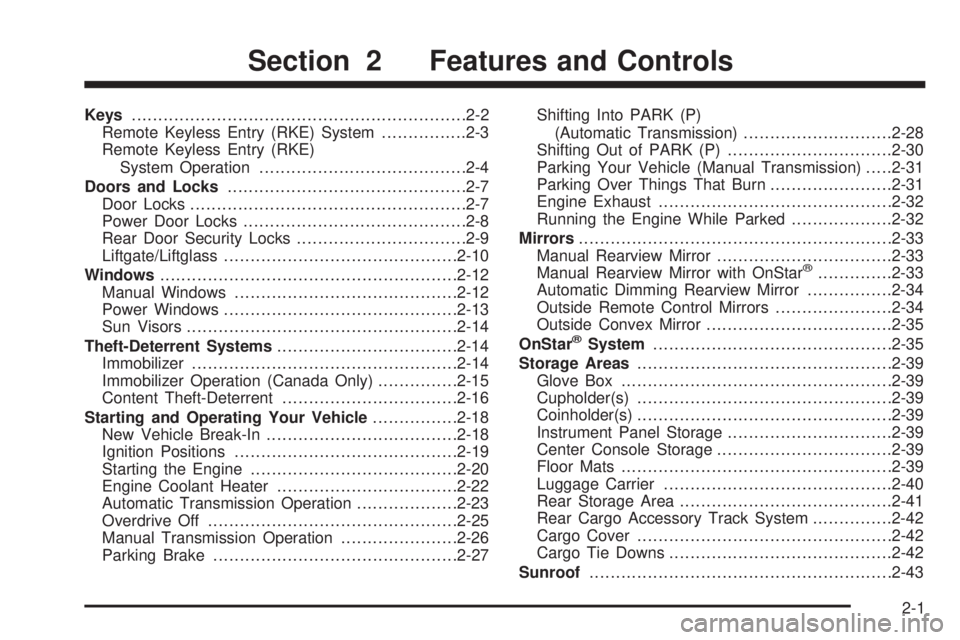
Keys...............................................................2-2
Remote Keyless Entry (RKE) System................2-3
Remote Keyless Entry (RKE)
System Operation.......................................2-4
Doors and Locks.............................................2-7
Door Locks....................................................2-7
Power Door Locks..........................................2-8
Rear Door Security Locks................................2-9
Liftgate/Liftglass............................................2-10
Windows........................................................2-12
Manual Windows..........................................2-12
Power Windows............................................2-13
Sun Visors...................................................2-14
Theft-Deterrent Systems..................................2-14
Immobilizer..................................................2-14
Immobilizer Operation (Canada Only)...............2-15
Content Theft-Deterrent.................................2-16
Starting and Operating Your Vehicle................2-18
New Vehicle Break-In....................................2-18
Ignition Positions..........................................2-19
Starting the Engine.......................................2-20
Engine Coolant Heater..................................2-22
Automatic Transmission Operation...................2-23
Overdrive Off...............................................2-25
Manual Transmission Operation......................2-26
Parking Brake..............................................2-27Shifting Into PARK (P)
(Automatic Transmission)............................2-28
Shifting Out of PARK (P)...............................2-30
Parking Your Vehicle (Manual Transmission).....2-31
Parking Over Things That Burn.......................2-31
Engine Exhaust............................................2-32
Running the Engine While Parked...................2-32
Mirrors...........................................................2-33
Manual Rearview Mirror.................................2-33
Manual Rearview Mirror with OnStar®..............2-33
Automatic Dimming Rearview Mirror................2-34
Outside Remote Control Mirrors......................2-34
Outside Convex Mirror...................................2-35
OnStar
®System.............................................2-35
Storage Areas................................................2-39
Glove Box...................................................2-39
Cupholder(s)................................................2-39
Coinholder(s)................................................2-39
Instrument Panel Storage...............................2-39
Center Console Storage.................................2-39
Floor Mats...................................................2-39
Luggage Carrier...........................................2-40
Rear Storage Area........................................2-41
Rear Cargo Accessory Track System...............2-42
Cargo Cover................................................2-42
Cargo Tie Downs..........................................2-42
Sunroof.........................................................2-43
Section 2 Features and Controls
2-1
Page 88 of 368

Do not leave the key or device that disarms
or deactivates the theft deterrent system in
the vehicle.
Content Theft-Deterrent
Your vehicle may have a theft-deterrent system
designed to activate an alarm if someone attempts to
damage or break into your vehicle. The alarm will sound
and the headlamps and turn signal lamps will �ash for
about one minute. The interior lights will also come on
when the interior lamps control is in the door position.
Your vehicle will have one of the following security
lights, located on the instrument panel to the left of
the steering wheel.
Arming the System
To arm the system:
1. Remove the key from the ignition.
The security light will �ash when the key is removed
from the ignition. SeeImmobilizer Operation (Canada
Only) on page 2-15for additional information.
2. Have all passengers get out of the vehicle.
3. Close and lock all doors including the liftgate/liftglass
with the key or Remote Keyless Entry (RKE)
transmitter.
The security light will come on when all doors and
liftgate are closed and locked.
The system will be automatically set after
30 seconds. When the system is set, the
security light will �ash.
4. After the security light starts �ashing, you may
leave the vehicle.
Do not leave anyone in the vehicle when you set
the system, because unlocking the vehicle from the
inside will activate the system.
2-16
Page 106 of 368

Automatic Dimming Rearview Mirror
While sitting in a comfortable driving position, adjust
the mirror so you can see clearly behind your vehicle.
Hold the mirror in the center to move it up or down
and side to side.
The mirror may have an automatic dimming feature that
darkens gradually to reduce the glare of headlamps from
behind. When the ignition key is inserted and turned
on, the inside rear view mirror always turns on in the
automatic function mode.An indicator light located on
the mirror will come on to show you that the function
is on. When the inside air temperature is low, it may take
a little longer for the mirror to darken in response to the
detection of headlights.
Press the AUTO button located in the lower center of
the mirror to turn automatic dimming on and the
((off)
button located next to the AUTO button to turn automatic
dimming off.
One photocell on the front of the mirror senses when it
is becoming dark outside. Another photocell, facing
rearward, senses headlamps behind you.
To keep the photocells operating well, occasionally
clean them with a cotton swab and glass cleaner.
Outside Remote Control Mirrors
Your vehicle has outside power adjustable mirrors.
The controls are located
to the left of the steering
wheel on the instrument
panel.
To adjust either mirror, push the button labeled L (left) or
R (right). Use the arrows on the control pad to adjust the
direction of the mirror. Once both mirrors have been
adjusted, move the selector switch back to the center.
This prevents the mirrors from being moved once they
have been adjusted.
2-34
Page 110 of 368

How OnStar Service Works
In order to provide you with OnStar services, your
vehicle’s OnStar system has the capability of recording
and transmitting vehicle information. This information is
automatically sent to an OnStar Call Center at the time
of an OnStar button press, Emergency button press or
if your airbags or AACN system deploys. The vehicle
information usually includes your GPS location and, in
the event of a crash, additional information regarding the
accident that your vehicle has been involved in (e.g. the
direction from which your vehicle was hit). When you use
the Virtual Advisor feature of OnStar Hands-Free Calling,
your vehicle also sends OnStar your GPS location so that
we can provide you with location-based services.
OnStar service cannot work unless your vehicle is in a
place where OnStar has an agreement with a wireless
service provider for service in that area. OnStar service
also cannot work unless you are in a place where the
wireless service provider OnStar has hired for that area
has coverage, network capacity and reception when the
service is needed, and technology that is compatible
with the OnStar service. Not all services are available
everywhere, particularly in remote or enclosed areas,
or at all times.OnStar service that involves location information about
your vehicle cannot work unless GPS satellite signals
are unobstructed and available in that place as well.
Your vehicle must have a working electrical system
(including adequate battery power) for the OnStar
equipment to operate. There are other problems OnStar
cannot control that may prevent OnStar from providing
OnStar service to you at any particular time or place.
Some examples are damage to important parts of your
vehicle in an accident, hills, tall buildings, tunnels,
weather or wireless phone network congestion.
Your Responsibility
You may need to increase the volume of your radio to
hear the OnStar advisor. If the light next to the OnStar
buttons is red, this means that your system is not
functioning properly and should be checked by a dealer.
If the light appears clear (no light is appearing), your
OnStar subscription has expired. You can always press
the blue OnStar button to con�rm that your OnStar
equipment is active.
2-38
Page 121 of 368
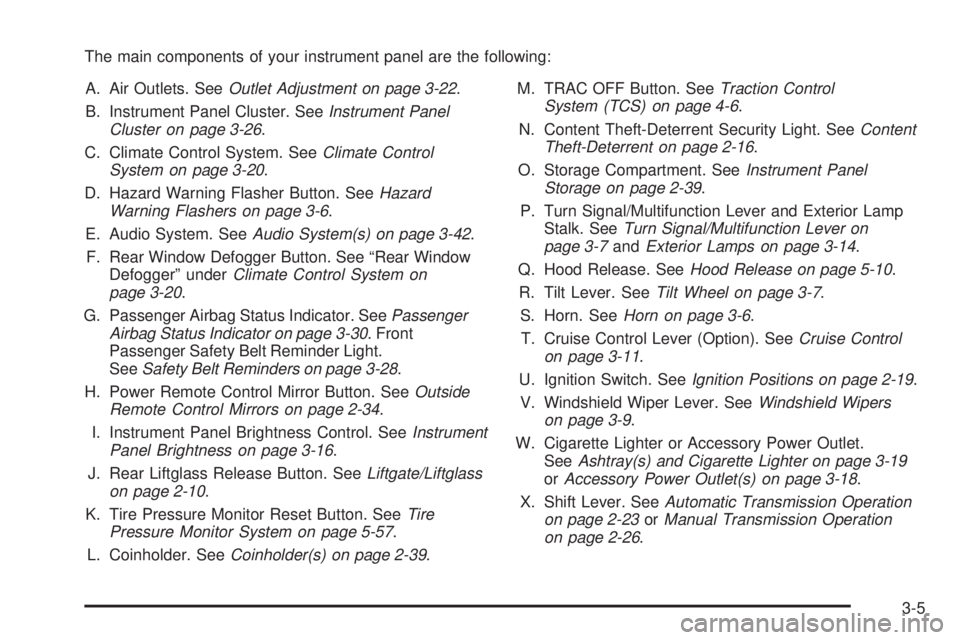
The main components of your instrument panel are the following:
A. Air Outlets. SeeOutlet Adjustment on page 3-22.
B. Instrument Panel Cluster. SeeInstrument Panel
Cluster on page 3-26.
C. Climate Control System. SeeClimate Control
System on page 3-20.
D. Hazard Warning Flasher Button. SeeHazard
Warning Flashers on page 3-6.
E. Audio System. SeeAudio System(s) on page 3-42.
F. Rear Window Defogger Button. See “Rear Window
Defogger” underClimate Control System on
page 3-20.
G. Passenger Airbag Status Indicator. SeePassenger
Airbag Status Indicator on page 3-30. Front
Passenger Safety Belt Reminder Light.
SeeSafety Belt Reminders on page 3-28.
H. Power Remote Control Mirror Button. SeeOutside
Remote Control Mirrors on page 2-34.
I. Instrument Panel Brightness Control. SeeInstrument
Panel Brightness on page 3-16.
J. Rear Liftglass Release Button. SeeLiftgate/Liftglass
on page 2-10.
K. Tire Pressure Monitor Reset Button. SeeTire
Pressure Monitor System on page 5-57.
L. Coinholder. SeeCoinholder(s) on page 2-39.M. TRAC OFF Button. SeeTraction Control
System (TCS) on page 4-6.
N. Content Theft-Deterrent Security Light. SeeContent
Theft-Deterrent on page 2-16.
O. Storage Compartment. SeeInstrument Panel
Storage on page 2-39.
P. Turn Signal/Multifunction Lever and Exterior Lamp
Stalk. SeeTurn Signal/Multifunction Lever on
page 3-7andExterior Lamps on page 3-14.
Q. Hood Release. SeeHood Release on page 5-10.
R. Tilt Lever. SeeTilt Wheel on page 3-7.
S. Horn. SeeHorn on page 3-6.
T. Cruise Control Lever (Option). SeeCruise Control
on page 3-11.
U. Ignition Switch. SeeIgnition Positions on page 2-19.
V. Windshield Wiper Lever. SeeWindshield Wipers
on page 3-9.
W. Cigarette Lighter or Accessory Power Outlet.
SeeAshtray(s) and Cigarette Lighter on page 3-19
orAccessory Power Outlet(s) on page 3-18.
X. Shift Lever. SeeAutomatic Transmission Operation
on page 2-23orManual Transmission Operation
on page 2-26
.
3-5
Page 133 of 368
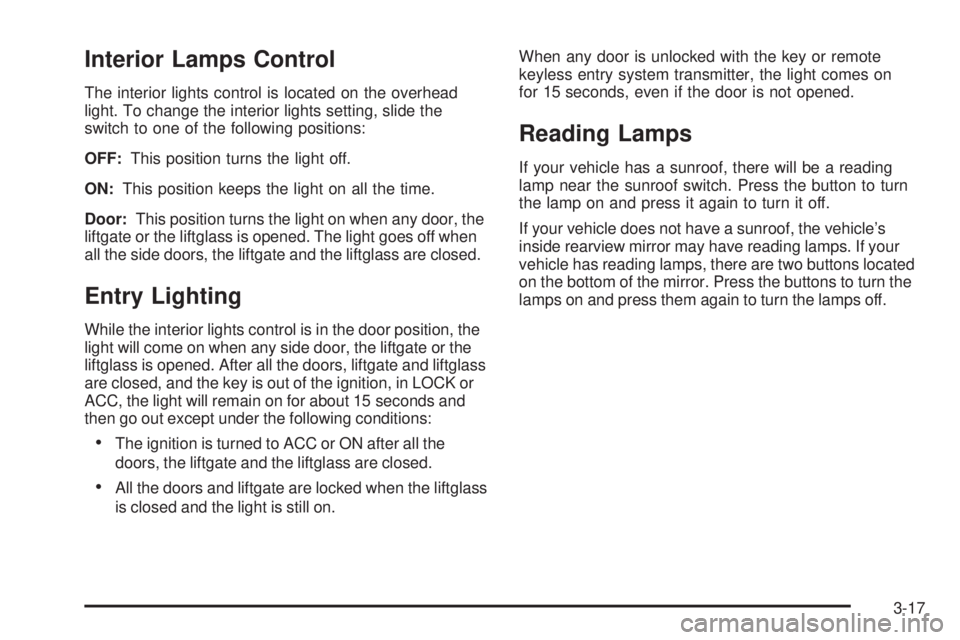
Interior Lamps Control
The interior lights control is located on the overhead
light. To change the interior lights setting, slide the
switch to one of the following positions:
OFF:This position turns the light off.
ON:This position keeps the light on all the time.
Door:This position turns the light on when any door, the
liftgate or the liftglass is opened. The light goes off when
all the side doors, the liftgate and the liftglass are closed.
Entry Lighting
While the interior lights control is in the door position, the
light will come on when any side door, the liftgate or the
liftglass is opened. After all the doors, liftgate and liftglass
are closed, and the key is out of the ignition, in LOCK or
ACC, the light will remain on for about 15 seconds and
then go out except under the following conditions:
The ignition is turned to ACC or ON after all the
doors, the liftgate and the liftglass are closed.
All the doors and liftgate are locked when the liftglass
is closed and the light is still on.When any door is unlocked with the key or remote
keyless entry system transmitter, the light comes on
for 15 seconds, even if the door is not opened.
Reading Lamps
If your vehicle has a sunroof, there will be a reading
lamp near the sunroof switch. Press the button to turn
the lamp on and press it again to turn it off.
If your vehicle does not have a sunroof, the vehicle’s
inside rearview mirror may have reading lamps. If your
vehicle has reading lamps, there are two buttons located
on the bottom of the mirror. Press the buttons to turn the
lamps on and press them again to turn the lamps off.
3-17
Page 308 of 368
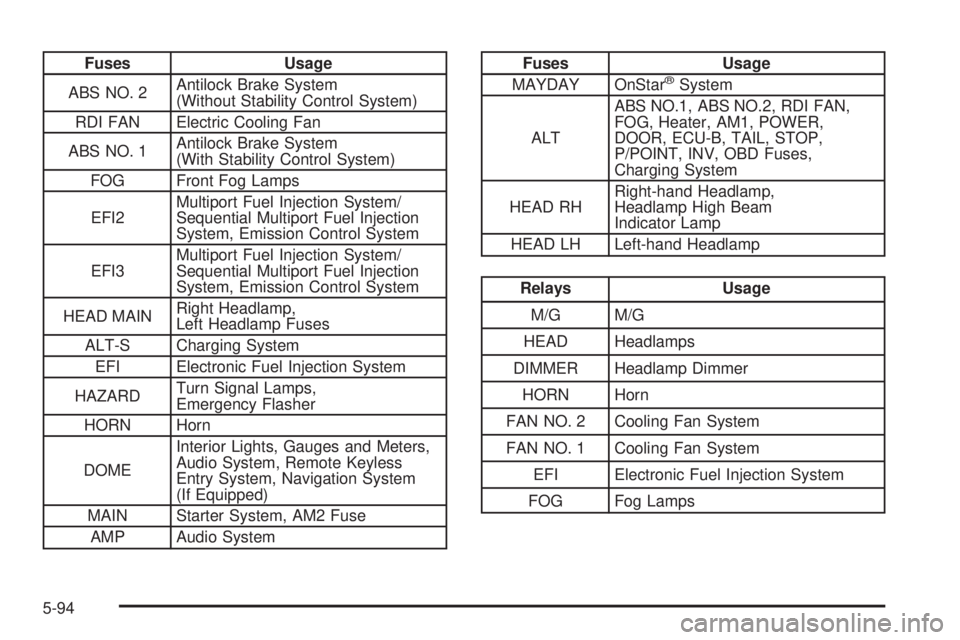
Fuses Usage
ABS NO. 2Antilock Brake System
(Without Stability Control System)
RDI FAN Electric Cooling Fan
ABS NO. 1Antilock Brake System
(With Stability Control System)
FOG Front Fog Lamps
EFI2Multiport Fuel Injection System/
Sequential Multiport Fuel Injection
System, Emission Control System
EFI3Multiport Fuel Injection System/
Sequential Multiport Fuel Injection
System, Emission Control System
HEAD MAINRight Headlamp,
Left Headlamp Fuses
ALT-S Charging System
EFI Electronic Fuel Injection System
HAZARDTurn Signal Lamps,
Emergency Flasher
HORN Horn
DOMEInterior Lights, Gauges and Meters,
Audio System, Remote Keyless
Entry System, Navigation System
(If Equipped)
MAIN Starter System, AM2 Fuse
AMP Audio SystemFuses Usage
MAYDAY OnStar®System
ALTABS NO.1, ABS NO.2, RDI FAN,
FOG, Heater, AM1, POWER,
DOOR, ECU-B, TAIL, STOP,
P/POINT, INV, OBD Fuses,
Charging System
HEAD RHRight-hand Headlamp,
Headlamp High Beam
Indicator Lamp
HEAD LH Left-hand Headlamp
Relays Usage
M/G M/G
HEAD Headlamps
DIMMER Headlamp Dimmer
HORN Horn
FAN NO. 2 Cooling Fan System
FAN NO. 1 Cooling Fan System
EFI Electronic Fuel Injection System
FOG Fog Lamps
5-94
Page 362 of 368

M
Maintenance, Replacement Parts......................5-96
Maintenance Schedule
At Each Fuel Fill.........................................6-12
At Least Once a Month................................6-13
At Least Once a Year..................................6-14
At Least Twice a Year..................................6-13
Brake System Inspection..............................6-18
Engine Cooling System Inspection.................6-18
Exhaust System Inspection...........................6-17
Fuel System Inspection................................6-18
How This Section is Organized....................... 6-3
Introduction.................................................. 6-2
Maintenance Requirements............................. 6-2
Part A - Scheduled Maintenance Services......... 6-4
Part B - Owner Checks and Services.............6-12
Part C - Periodic Maintenance Inspections......6-17
Part D - Recommended Fluids and
Lubricants...............................................6-19
Part E - Maintenance Record........................6-21
Scheduled Maintenance................................. 6-4
Steering, Suspension and Front Drive Axle
Boot and Seal Inspection..........................6-17Maintenance Schedule (cont.)
Throttle System Inspection............................6-18
Using.......................................................... 6-4
Your Vehicle and the Environment................... 6-2
Malfunction Indicator Light................................3-36
Manual Seats................................................... 1-2
Manual Transmission
Fluid..........................................................5-21
Operation...................................................2-26
Manual, Using.................................................... iii
Manual Windows............................................2-12
Mirrors
Automatic Dimming Rearview........................2-34
Manual Rearview Mirror................................2-33
Manual Rearview Mirror with OnStar
®.............2-33
Outside Convex Mirror.................................2-35
Outside Remote Control Mirrors.....................2-34
MP3 .............................................................3-58
MyGMLink.com................................................ 7-4
N
Navigation System, Privacy..............................7-17
New Vehicle Break-In......................................2-18
8
Page 363 of 368
O
Odometer......................................................3-27
Odometers, Trip..............................................3-27
Off-Road Recovery..........................................4-10
Oil
Engine.......................................................5-13
Pressure Light.............................................3-38
Older Children, Restraints................................1-27
Online Owner Center........................................ 7-4
OnStar, Privacy..............................................7-17
OnStar
®System, see OnStar®Manual...............2-35
Other Warning Devices...................................... 3-6
Outlet Adjustment............................................3-22
Outlets
Accessory Power.........................................3-18
Outside
Convex Mirror.............................................2-35
Remote Controls Mirrors...............................2-34
Overdrive Off.................................................2-25
Overdrive Off Light..........................................3-39
Owners, Canadian............................................... ii
P
Paint, Damage...............................................5-88
Panic Brake Assist............................................ 4-7
Park Brake....................................................2-27
Park (P)
Shifting Into................................................2-28
Shifting Out of............................................2-30
Parking
Over Things That Burn.................................2-31
Parking Your Vehicle.......................................2-31
Part A - Scheduled Maintenance Services............ 6-4
Part B - Owner Checks and Services................6-12
Part C - Periodic Maintenance Inspections..........6-17
Part D - Recommended Fluids and Lubricants....6-19
Part E - Maintenance Record...........................6-21
Passenger Airbag Status Indicator.....................3-30
Passenger Compartment Air Filter.....................3-23
Passenger Sensing System..............................1-59
Passing.........................................................4-10
Perchlorate Materials Requirements,
California..................................................... 5-4
9