stop start PONTIAC VIBE 2010 User Guide
[x] Cancel search | Manufacturer: PONTIAC, Model Year: 2010, Model line: VIBE, Model: PONTIAC VIBE 2010Pages: 318, PDF Size: 1.7 MB
Page 152 of 318
Retained Accessory
Power (RAP)
These vehicle accessories may be
used for less than a minute after
the engine is turned off.
•Power Windows, if equipped
•Sunroof, if equipped
The power windows and sunroof will
continue to work for less than a
minute or until either front door is
opened. The radio will work when
the key is in ON/RUN or ACC/
ACCESSORY.
Starting the Engine
Automatic Transmission
Move the shift lever to P (Park) or
N (Neutral). The engine will not
start in any other position. To restart
when you are already moving, use
N (Neutral) only. Notice:
Shifting into P (Park)
with the vehicle moving could
damage the transmission. Shift
into P (Park) only when the vehicle
is stopped.
Manual Transmission
The shift lever should be in
NEUTRAL and the parking brake
engaged. Hold the clutch pedal
to the floor and start the engine.
The vehicle will not start if the clutch
pedal is not all the way down.
Starting Procedure
1. With your foot off the accelerator pedal, turn the ignition to START.
When the engine starts, let go of
the key. The idle speed will go
down as the engine gets warm.
Vehicles equipped with
the 1.8L engine have a
Computer-Controlled Cranking
System. This feature assists in
starting the engine and protects components. If the ignition key is
turned to the START position,
and then released when the
engine begins cranking, the
engine will continue cranking for
a about 30 seconds or until the
vehicle starts. If the engine does
not start and the key is held in
START for many seconds,
cranking will be stopped after
25 seconds to prevent cranking
motor damage. To prevent gear
damage, this system also
prevents cranking if the engine is
already running. Engine cranking
can be stopped by turning the
ignition switch to ACC/
ACCESSORY or LOCK/OFF.
Vehicles equipped with
the 2.4L engine should not
be cranked for more than
30 seconds at a time. This
may overheat the starter and
wiring systems.
8-18 Driving and Operating
Page 153 of 318
Notice:Holding the key in START
for longer than 15 seconds at a
time will cause the battery to be
drained much sooner. And the
excessive heat can damage the
starter motor. Wait about
15 seconds between each try to
help avoid draining the battery or
damaging the starter.
2. If the engine does not start, wait about 15 seconds and try again
to start the engine by turning
the ignition to START. Wait about
15 seconds between each try.
When the engine has run about
10 seconds to warm up, the
vehicle is ready to be driven.
Do not run the engine at high
speed when it is cold.
If the weather is below freezing
(32°F or 0°C), let the engine run
for a few minutes to warm up. 3. If the engine still will not start, or
starts but then stops, it could be
flooded with too much gasoline.
Try pushing the accelerator pedal
all the way to the floor and holding
it there as you hold the key in
START for about three seconds.
If the vehicle starts briefly but then
stops again, do the same thing,
but this time keep the pedal down
for five or six seconds. This clears
the extra gasoline from the
engine. Notice:
The engine is designed
to work with the electronics in
the vehicle. If electrical parts or
accessories are added, you
could change the way the engine
operates. Before adding electrical
equipment, check with your
dealer/retailer. If you do not,
the engine might not perform
properly. Any resulting damage
would not be covered by the
vehicle warranty.
Engine Heater
The engine coolant heater, if
available, can help in cold weather
conditions at or below 0°F ( −18°C)
for easier starting and better fuel
economy during engine warm-up.
Plug in the coolant heater at least
four hours before starting the vehicle.
Driving and Operating 8-19
Page 159 of 318
{CAUTION
It is dangerous to get out of the
vehicle if the shift lever is not fully
in P (Park) with the parking brake
firmly set. The vehicle can roll.
Do not leave the vehicle when the
engine is running unless you have
to. If you have left the engine
running, the vehicle can move
suddenly. You or others could be
injured. To be sure the vehicle will
not move, even when you are on
fairly level ground, always set the
parking brake and move the shift
lever to P (Park). SeeShifting Into
Park on page 8-20. If you are
pulling a trailer, see Driving
Characteristics and Towing Tips
on page 8-44. Make sure the shift lever is fully in
P (Park) before starting the engine.
The vehicle has an automatic
transmission shift lock control
system. You must fully apply the
regular brake first and move the shift
lever to the right before you can shift
from P (Park) when the ignition key is
in ON/RUN. If you cannot shift out of
P (Park), ease pressure on the shift
lever, then push the shift lever all the
way into P (Park) as you maintain
brake application. Then move the
shift lever to the right and move the
shift lever into another gear. See
Shifting Out of Park on page 8-22
.R (Reverse):
Use this gear to
back up.
Notice: Shifting to R (Reverse)
while the vehicle is moving
forward could damage the
transmission. The repairs would
not be covered by the vehicle
warranty. Shift to R (Reverse) only
after the vehicle is stopped.
To rock the vehicle back and forth to
get out of snow, ice or sand without
damaging the transmission, see If
the Vehicle is Stuck on page 8-11 .
Driving and Operating 8-25
Page 161 of 318
Automatic Transmission
(Five Speed Automatic)
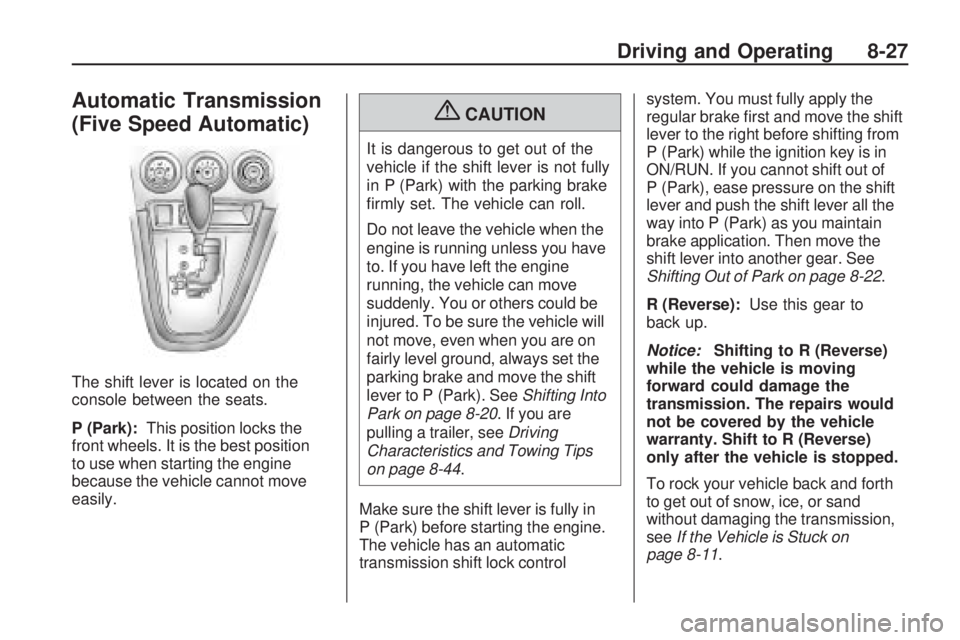
The shift lever is located on the
console between the seats.
P (Park):This position locks the
front wheels. It is the best position
to use when starting the engine
because the vehicle cannot move
easily.
{CAUTION
It is dangerous to get out of the
vehicle if the shift lever is not fully
in P (Park) with the parking brake
firmly set. The vehicle can roll.
Do not leave the vehicle when the
engine is running unless you have
to. If you have left the engine
running, the vehicle can move
suddenly. You or others could be
injured. To be sure the vehicle will
not move, even when you are on
fairly level ground, always set the
parking brake and move the shift
lever to P (Park). See Shifting Into
Park on page 8-20. If you are
pulling a trailer, see Driving
Characteristics and Towing Tips
on page 8-44.
Make sure the shift lever is fully in
P (Park) before starting the engine.
The vehicle has an automatic
transmission shift lock control system. You must fully apply the
regular brake first and move the shift
lever to the right before shifting from
P (Park) while the ignition key is in
ON/RUN. If you cannot shift out of
P (Park), ease pressure on the shift
lever and push the shift lever all the
way into P (Park) as you maintain
brake application. Then move the
shift lever into another gear. See
Shifting Out of Park on page 8-22
.
R (Reverse): Use this gear to
back up.
Notice: Shifting to R (Reverse)
while the vehicle is moving
forward could damage the
transmission. The repairs would
not be covered by the vehicle
warranty. Shift to R (Reverse)
only after the vehicle is stopped.
To rock your vehicle back and forth
to get out of snow, ice, or sand
without damaging the transmission,
see If the Vehicle is Stuck on
page 8-11.
Driving and Operating 8-27
Page 162 of 318
N (Neutral):In this position,
the engine does not connect with
the wheels. To restart the engine
when the vehicle is already moving,
use N (Neutral) only. Also, use
N (Neutral) when the vehicle is
being towed.
{CAUTION
Shifting into a drive gear while the
engine is running at high speed is
dangerous. Unless your foot is
firmly on the brake pedal, the
vehicle could move very rapidly.
You could lose control and hit
people or objects. Do not shift into
a drive gear while the engine is
running at high speed. Notice:
Shifting out of P (Park)
or N (Neutral) with the engine
running at high speed may
damage the transmission.
The repairs would not be covered
by the vehicle warranty. Be sure
the engine is not running at high
speed when shifting the vehicle.
D (Drive): This position is for normal
driving. It provides the best fuel
economy from the vehicle. If you
need more power for passing, and
you are:
•Going less than 35 mph
(55 km/h), push the accelerator
pedal about halfway down.
•Going about 35 mph (55 km/h) or
more, push the accelerator all the
way down.
Manual Mode
Driver Shift Control (DSC)
DSC mode allows you to choose
the top gear limit of the vehicle’s
transmission and the vehicle’s speed
while driving down hill or towing a
trailer. To use this feature, do the
following:
1. Move the shift lever from D (Drive) left to S (Shift Control).
While driving in this mode, the
transmission will remain in the
driver selected range. When
coming to a stop, the vehicle
will automatically shift into
1 (First) gear.
2. Move the shift lever forward to increase the gear range, or
rearward to decrease the gear
range available based upon your
current driving conditions and
needs.
8-28 Driving and Operating
Page 164 of 318
2 (Second):Press the clutch pedal
as you let up on the accelerator
pedal and shift into 2 (Second).
Then, slowly let up on the clutch
pedal as you press the accelerator
pedal.
3 (Third), 4 (Fourth), 5 (Fifth): Shift
into 3 (Third), 4 (Fourth) and 5 (Fifth)
the same way you do for 2 (Second).
Slowly let up on the clutch pedal as
you press the accelerator pedal.
To stop, let up on the accelerator
pedal and press the brake pedal.
Just before the vehicle stops, press
the clutch pedal and the brake pedal,
and shift to Neutral.
Neutral: Use this position when
you start or idle the engine. R (Reverse):
To back up, press
down on the clutch pedal and shift
into R (Reverse). Let up on the clutch
pedal slowly while pressing the
accelerator pedal.
Notice: Shifting to R (Reverse)
while the vehicle is moving
forward could damage the
transmission. The repairs would
not be covered by the vehicle
warranty. Shift to R (Reverse) only
after the vehicle is stopped.
Also, use R (Reverse) along with
the parking brake for parking
the vehicle.Shift Speeds
{CAUTION
If you skip a gear when you
downshift, you could lose control
of the vehicle. You could injure
yourself or others. Do not shift
down more than one gear at a
time when you downshift.
This chart shows the maximum
allowable speeds in each gear when
maximum acceleration is necessary.
8-30 Driving and Operating
Page 166 of 318
Brakes
Antilock Brake
System (ABS)
This vehicle has the Antilock Brake
System (ABS), an advanced
electronic braking system that
helps prevent a braking skid.
When the engine is started and the
vehicle begins to drive away, ABS
checks itself. A momentary motor or
clicking noise might be heard while
this test is going on, and it might
even be noticed that the brake pedal
moves a little. This is normal.
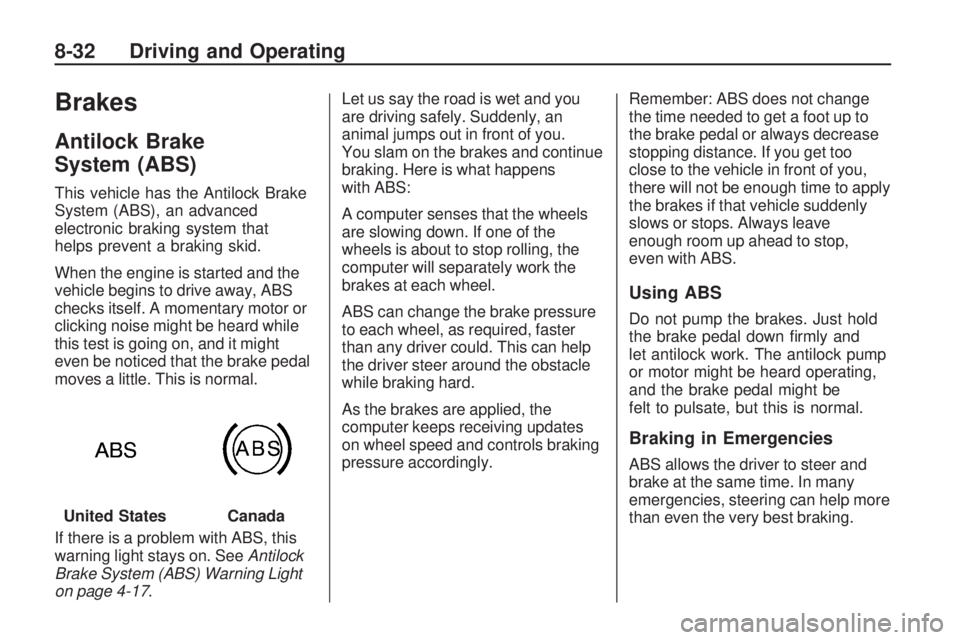
If there is a problem with ABS, this
warning light stays on. SeeAntilock
Brake System (ABS) Warning Light
on page 4-17. Let us say the road is wet and you
are driving safely. Suddenly, an
animal jumps out in front of you.
You slam on the brakes and continue
braking. Here is what happens
with ABS:
A computer senses that the wheels
are slowing down. If one of the
wheels is about to stop rolling, the
computer will separately work the
brakes at each wheel.
ABS can change the brake pressure
to each wheel, as required, faster
than any driver could. This can help
the driver steer around the obstacle
while braking hard.
As the brakes are applied, the
computer keeps receiving updates
on wheel speed and controls braking
pressure accordingly.
Remember: ABS does not change
the time needed to get a foot up to
the brake pedal or always decrease
stopping distance. If you get too
close to the vehicle in front of you,
there will not be enough time to apply
the brakes if that vehicle suddenly
slows or stops. Always leave
enough room up ahead to stop,
even with ABS.
Using ABS
Do not pump the brakes. Just hold
the brake pedal down firmly and
let antilock work. The antilock pump
or motor might be heard operating,
and the brake pedal might be
felt to pulsate, but this is normal.
Braking in Emergencies
ABS allows the driver to steer and
brake at the same time. In many
emergencies, steering can help more
than even the very best braking.
United States
Canada
8-32 Driving and Operating
Page 168 of 318
When the ignition is turned to
ON/RUN, the system automatically
turns on. If the system has been
turned off, it will automatically turn on
at 55 km/h (35 mph). TCS cannot be
turned off above 55 km/h (35 mph).
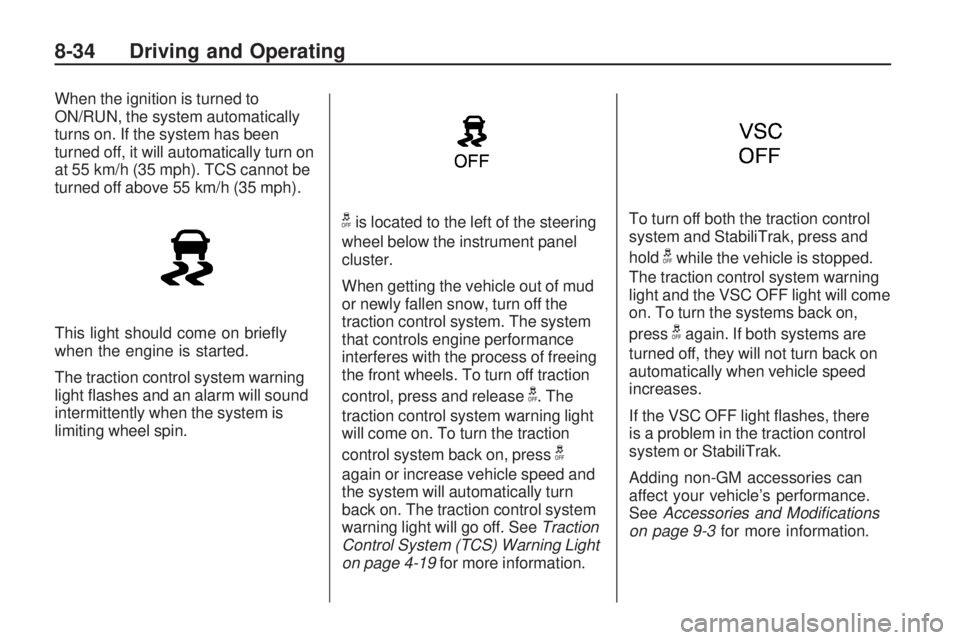
This light should come on briefly
when the engine is started.
The traction control system warning
light flashes and an alarm will sound
intermittently when the system is
limiting wheel spin.
gis located to the left of the steering
wheel below the instrument panel
cluster.
When getting the vehicle out of mud
or newly fallen snow, turn off the
traction control system. The system
that controls engine performance
interferes with the process of freeing
the front wheels. To turn off traction
control, press and release
g. The
traction control system warning light
will come on. To turn the traction
control system back on, press
g
again or increase vehicle speed and
the system will automatically turn
back on. The traction control system
warning light will go off. See Traction
Control System (TCS) Warning Light
on page 4-19 for more information. To turn off both the traction control
system and StabiliTrak, press and
hold
gwhile the vehicle is stopped.
The traction control system warning
light and the VSC OFF light will come
on. To turn the systems back on,
press
gagain. If both systems are
turned off, they will not turn back on
automatically when vehicle speed
increases.
If the VSC OFF light flashes, there
is a problem in the traction control
system or StabiliTrak.
Adding non-GM accessories can
affect your vehicle’s performance.
See Accessories and Modi�cations
on page 9-3 for more information.
8-34 Driving and Operating
Page 169 of 318
StabiliTrak System
The vehicle has the StabiliTrak
system which combines antilock
brake, traction and stability control
systems. This system automatically
controls the brakes and engine to
help prevent the vehicle from
skidding when cornering on a
slippery road surface or turning
the steering wheel abruptly.
This system activates when the
vehicle speed reaches or exceeds
15 km/h (9 mph), and deactivates
when the vehicle speed reduces to
below 15 km/h (9 mph).
A sound may be heard in the engine
compartment for a few seconds
when the engine is started or just
after the vehicle begins to move.
This means that the system is in
the self-check mode, but does not
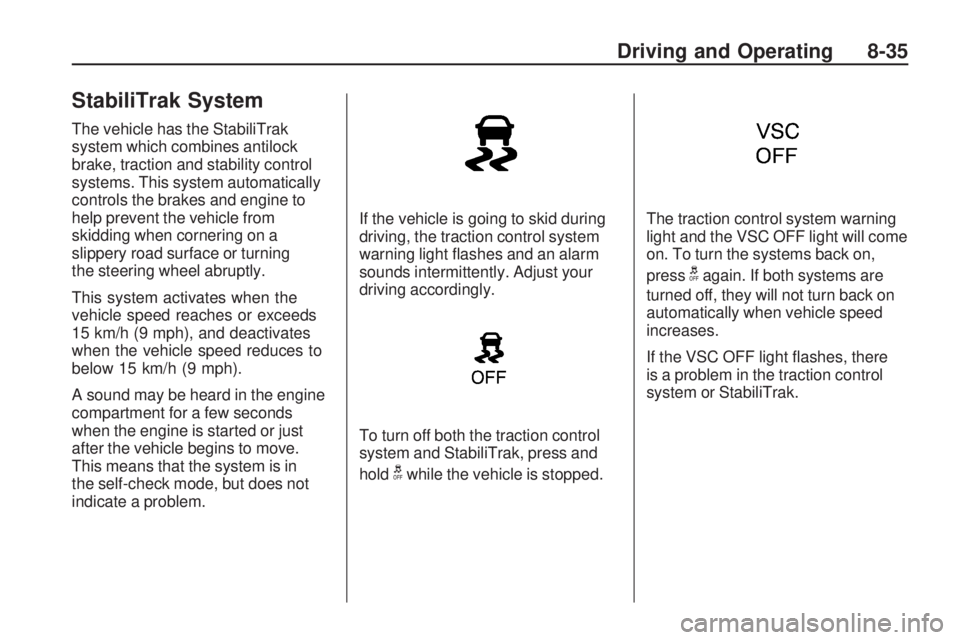
indicate a problem.If the vehicle is going to skid during
driving, the traction control system
warning light flashes and an alarm
sounds intermittently. Adjust your
driving accordingly.
To turn off both the traction control
system and StabiliTrak, press and
hold
gwhile the vehicle is stopped.
The traction control system warning
light and the VSC OFF light will come
on. To turn the systems back on,
press
gagain. If both systems are
turned off, they will not turn back on
automatically when vehicle speed
increases.
If the VSC OFF light flashes, there
is a problem in the traction control
system or StabiliTrak.
Driving and Operating 8-35
Page 176 of 318
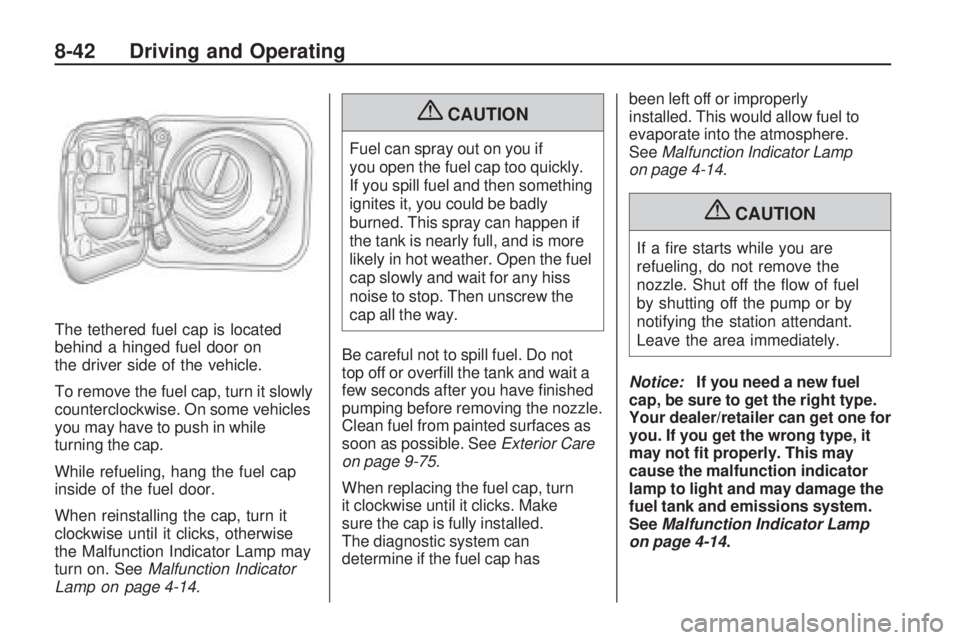
The tethered fuel cap is located
behind a hinged fuel door on
the driver side of the vehicle.
To remove the fuel cap, turn it slowly
counterclockwise. On some vehicles
you may have to push in while
turning the cap.
While refueling, hang the fuel cap
inside of the fuel door.
When reinstalling the cap, turn it
clockwise until it clicks, otherwise
the Malfunction Indicator Lamp may
turn on. SeeMalfunction Indicator
Lamp on page 4-14.
{CAUTION
Fuel can spray out on you if
you open the fuel cap too quickly.
If you spill fuel and then something
ignites it, you could be badly
burned. This spray can happen if
the tank is nearly full, and is more
likely in hot weather. Open the fuel
cap slowly and wait for any hiss
noise to stop. Then unscrew the
cap all the way.
Be careful not to spill fuel. Do not
top off or overfill the tank and wait a
few seconds after you have finished
pumping before removing the nozzle.
Clean fuel from painted surfaces as
soon as possible. See Exterior Care
on page 9-75.
When replacing the fuel cap, turn
it clockwise until it clicks. Make
sure the cap is fully installed.
The diagnostic system can
determine if the fuel cap has been left off or improperly
installed. This would allow fuel to
evaporate into the atmosphere.
See
Malfunction Indicator Lamp
on page 4-14.
{CAUTION
If a fire starts while you are
refueling, do not remove the
nozzle. Shut off the flow of fuel
by shutting off the pump or by
notifying the station attendant.
Leave the area immediately.
Notice: If you need a new fuel
cap, be sure to get the right type.
Your dealer/retailer can get one for
you. If you get the wrong type, it
may not �t properly. This may
cause the malfunction indicator
lamp to light and may damage the
fuel tank and emissions system.
See Malfunction Indicator Lamp
on page 4-14.
8-42 Driving and Operating