clock PORSCHE BOXSTER S 2010 2.G Owners Manual
[x] Cancel search | Manufacturer: PORSCHE, Model Year: 2010, Model line: BOXSTER S, Model: PORSCHE BOXSTER S 2010 2.GPages: 294, PDF Size: 6.89 MB
Page 9 of 294

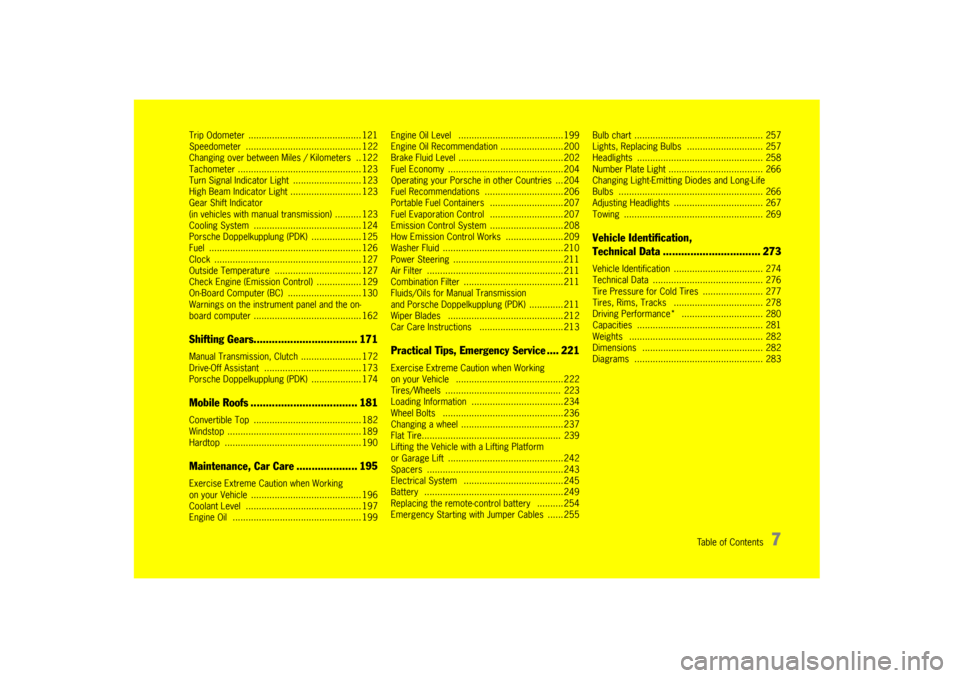
Table of Contents
7
Trip Odometer ........................................... 121
Speedometer ................ ............................ 122
Changing over between Miles / Kilometers .. 122
Tachometer ............... ................................ 123
Turn Signal Indicator Light .......................... 123
High Beam Indicator Li ght ........................... 123
Gear Shift Indicator
(in vehicles with manual transmission) .......... 123
Cooling System ......... ................................ 124
Porsche Doppelkupplung (PDK) ................... 125
Fuel .......................... ................................ 126
Clock ............................ ............................ 127
Outside Temperature ................................. 127
Check Engine (Emission Control) ................. 129
On-Board Computer (B C) ............................ 130
Warnings on the instrument panel and the on-
board computer ............. ............................ 162Shifting Gears.................................. 171Manual Transmission, Cl utch ....................... 172
Drive-Off Assistant ..... ................................ 173
Porsche Doppelkupplung (PDK) ................... 174Mobile Roofs ................................... 181Convertible Top ......... ................................ 182
Windstop ................... ................................ 189
Hardtop ........................ ............................ 190Maintenance, Car Care .................... 195Exercise Extreme Caution when Working
on your Vehicle .......................................... 196
Coolant Level ............ ................................ 197
Engine Oil ................. ................................ 199 Engine Oil Level ..
......................................199
Engine Oil Recommendat ion ........................200
Brake Fluid Level ...... ..................................202
Fuel Economy .......... ..................................204
Operating your Porsche in other Countries ...204
Fuel Recommendation s ..............................206
Portable Fuel Containers ............................207
Fuel Evaporation Control ............................207
Emission Control Syst em ............................208
How Emission Control Works ......................209
Washer Fluid ............ ..................................210
Power Steering ........ ..................................211
Air Filter .................. ..................................211
Combination Filter .... ..................................211
Fluids/Oils for Manual Transmission
and Porsche Doppelkuppl ung (PDK) .............211
Wiper Blades .......... ..................................212
Car Care Instructions ................................213
Practical Tips, Emergency Service .... 221Exercise Extreme Caution when Working
on your Vehicle ............................ .............222
Tires/Wheels ............... ............................. 223
Loading Information ...................... .............234
Wheel Bolts ................................. .............236
Changing a wheel .......................... .............237
Flat Tire........................ ............................. 239
Lifting the Vehicle with a Lifting Platform
or Garage Lift ...... ......................................242
Spacers ...................... ..............................243
Electrical System ......................................245
Battery ................... ..................................249
Replacing the remote-control battery ..........254
Emergency Starting with Jumper Cables ......255 Bulb chart ..............
................................... 257
Lights, Replacing Bulb s ............................. 257
Headlights ............. ................................... 258
Number Plate Light . ................................... 266
Changing Light-Emitting Diodes and Long-Life
Bulbs ......................... .............................. 266
Adjusting Headlights .................................. 267
Towing ....................... .............................. 269
Vehicle Identification,
Technical Data ......... ....................... 273Vehicle Identification .................................. 274
Technical Data ....... ................................... 276
Tire Pressure for Cold Tires ....................... 277
Tires, Rims, Tracks .................................. 278
Driving Performance* ................. .............. 280
Capacities ............. ................................... 281
Weights ..................... .............................. 282
Dimensions ........... ................................... 282
Diagrams ................... .............................. 283
Page 76 of 294

74
Operation, Safety
Emergency operation – pulling out the
ignition keyIf the vehicle battery is dead, the key can be pulled
out only if the emergency operation is performed.
1. Grasp the fuse box cover at the finger hole and pull it off.
2. Unclip metal hook A on the inside of the cover. 3. Use metal hook A
to remove the plastic lid B
from the ignition lock. Make sure that plastic lid
B is not lost. 4. Turn ignition key counter-
clockwise as far as it
will go.
5. Press metal hook A into opening C.
An unlocking sound will be heard.
6. Turn the ignition key to initial position (0) and
remove.
7. Re-fit the plastic lid B.
Page 117 of 294

Instruments, On-Board Computer, Warnings
115
Instruments, On-Board Computer, Warnings
Instrument Panel USA Models ..................... 116
Instrument Panel Canada Models ................ 118
Automatic Speed Control Indicator light ...... 120
Instrument Illumination
............................... 120
Trip Odometer ....... ................................... 121
Speedometer .............. .............................. 122
Changing over between Miles / Kilometers .. 122
Tachometer ................ .............................. 123
Turn Signal Indicator Light ......................... 123
High Beam Indicator Light .......................... 123
Gear Shift Indicator
(in vehicles with manual transmission) ......... 123
Cooling System ...... ................................... 124
Porsche Doppelkupplung (PDK) .................. 125
Fuel ............... ......................... .................. 126
Clock ............ ......................... .................. 127
Outside Temperature ................................. 127
Check Engine (Emission Control) ................ 129
On-Board Computer (BC) ............................ 130
Warnings on the instrument panel and the on-
board computer .......... .............................. 162
Page 118 of 294

116
Instruments, On-Board Computer, Warnings
Instrument Panel USA Models Also refer to the corresponding chapters in
the Owner’s Manual.1. Speedometer with analogue display
2. Automatic speed control indicator light
3. Tire pressure warning light
4. Turn signal indicator light, left/right
5. Tachometer
6. High beam indicator light
7. ABS warning light
8. Cooling system Temperature gage, warning light
9. Fuel Level gage, warning light
10.Adjustment button for instrument illumination and trip counter
11.Odometer and daily trip mileage display
12.Light sensor for instrument illumination
13.Airbag warning light 14.Check Engine warning light
(Emission control warning light)
15.Central warning light
16.On-board computer display
17.Porsche Stability Management PSM Multifunctional light
18.Brake warning light
19.Safety belt warning light
20.Gear display
21.PDK transmission, selector lever position
22.Clock and outside temperature display
23.Adjustment button for clock When the ignition is switched on, the warning
lights light up for a lamp check.
Note
Warnings that have been given are stored in the
appropriate control unit me
mory and can be read
out at an authorized Porsche dealer.
This information can help to warn you about situa-
tions which may be hazardous to you or your car.
Page 120 of 294

118
Instruments, On-Board Computer, Warnings
Instrument Panel Canada Models Also refer to the corresponding chapters in
the Owner’s Manual.1. Speedometer with analogue display
2. Automatic speed control indicator light
3. Tire pressure warning light
4. Turn signal indicator light, left/right
5. Tachometer
6. High beam indicator light
7. ABS warning light
8. Cooling system Temperature gage, warning light
9. Fuel Level gage, warning light
10.Adjustment button for instrument illumination and trip counter
11.Odometer and daily trip mileage display
12.Light sensor for instrument illumination
13.Airbag warning light 14.Check Engine warning light
(Emission control warning light)
15.Central warning light
16.On-board computer display
17.Porsche Stability Management PSM Multifunctional light
18.Brake warning light
19.Safety belt warning light
20.Gear display
21.PDK transmission, selector lever position
22.Clock and outside temperature display
23.Adjustment button for clock When the ignition is switched on, the warning
lights light up for a lamp check.
Note
Warnings that have been given are stored in the
appropriate control unit me
mory and can be read
out at an authorized Porsche dealer.
This information can help to warn you about situa-
tions which may be hazardous to you or your car.
Page 129 of 294

Instruments, On-Board Computer, Warnings
127
A- Adjustment button for clock
B - Clock
C - Outside temperature displayClock The clock is blanked out approximately four min-
utes after the ignition is switched off or when the
car is locked.
Setting the time
Warning!
Risk of loss of control or accident, resulting
in serious personal injury or death.
f Do not reach through the steering-wheel spokes while driving.
f Switch ignition on.
Setting hours
f Press adjustment button A for about one sec-
ond.
Hour display flashes.
f Turn button in the appropriate direction:
to right – increase hours figure
to left – decrease hours figure.
Adjustment in hours – turn button briefly
Fast adjustment (display cycles) –
turn and hold button.
Setting minutes
f Press adjustment button again.
Minutes display flashes.
f Set by rotating as in hours mode. Leaving adjustment mode
Automatically after one minute
or:
f Press adjustment button again.
When adjustment mode is deliberately left by
pressing the button, the time begins precisely to
the second.
Note
The time mode can be changed between 12h and
24h in the on-board computer.
Outside Temperature The outside temperature display C does not indi-
cate, if ice is on the road.
Even if a temperature above 32 °F (0 °C) is dis-
played, ice may still form on the road, for instance
on bridges or when the road passes through a
heavily shaded area.
Page 262 of 294

260
Practical Tips, Emergency Service
Changing bulb for low beam
Halogen headlights1. Pull off plug A.
2. Disengage fixing clip B.
3. Replace defective bulb. When doing so, ensure bulb is seated properly.
4. Reassemble in reverse order.
Closing the cover of the headlight housing
1. Push on cover until it is felt to engage.
2. Fasten cover with the 4 screws.
Changing bulb for high beam
Halogen headlights1. Turn housing cover counter-clockwise and take it off. 2. Turn bulb holder clockwise and remove it
(bayonet lock).
3. Pull both plug release tabs apart and pull plug out.
4. Replace the defective bulb with bulb holder.
5. Insert bulb holder and turn it as far as it will go to the left.
6. Close the housing cover.
Page 263 of 294

Practical Tips, Emergency Service
261
Changing bulb for low beam/high beam
Bi-Xenon headlights1. Unscrew the 3 screws A on the control unit and
remove the control unit. 2. Turn the plug counter-clockwise and pu
ll it off. 3. Disengage both fixing clips.
4. Replace defective bulb.When doing so, ensure bulb is seated properly.
5. Engage both fixing clips, push on plug and turn right as far as the stop.
6. Fit control unit and screw tight.
Closing the cover of the headlight housing
1. Push on cover until it is felt to engage.
2. Fasten cover with the 4 screws.
Page 264 of 294

262
Practical Tips, Emergency Service
Changing bulb for additional high beam
Bi-Xenon headlights1. Turn housing cover counter-clockwise and take it off. 2. Pull off plug. 3. Disengage fixing clip.
4. Replace defective bulb.
5. Engage fixing clip, insert plug and close housing cover.
Page 265 of 294

Practical Tips, Emergency Service
263
Changing bulb for turn signal light
Halogen/Bi-Xenon headlights1. Turn housing cover counter-clockwise and take it off. 2. Turn bulb holder counter-clockwise and
remove it (bayonet lock). 3. Replace the defective bulb (bayonet lock).
4. Insert the bulb holder and turn it clockwise.
5. Close the housing cover.