Ram 1500 2011 Owner's Manual
Manufacturer: RAM, Model Year: 2011, Model line: 1500, Model: Ram 1500 2011Pages: 636, PDF Size: 4.88 MB
Page 101 of 636
Heated Mirrors — If Equipped
These mirrors are heated to melt frost or ice. This
feature is activated whenever you turn on the rear
window defroster. Refer to “Rear Window Features” in
“Understanding the Features of Your Vehicle” for further
information.
Driver’s Automatic Dimming Mirror — If Equipped
The driver’s outside mirror will automatically adjust for
glare from vehicles behind you. This feature is controlled
by the inside automatic dimming mirror and can be
turned on or off by pressing the button at the base of the
inside mirror. The mirror will automatically adjust for
headlight glare when the inside mirror adjusts.
Illuminated Vanity Mirror — If Equipped
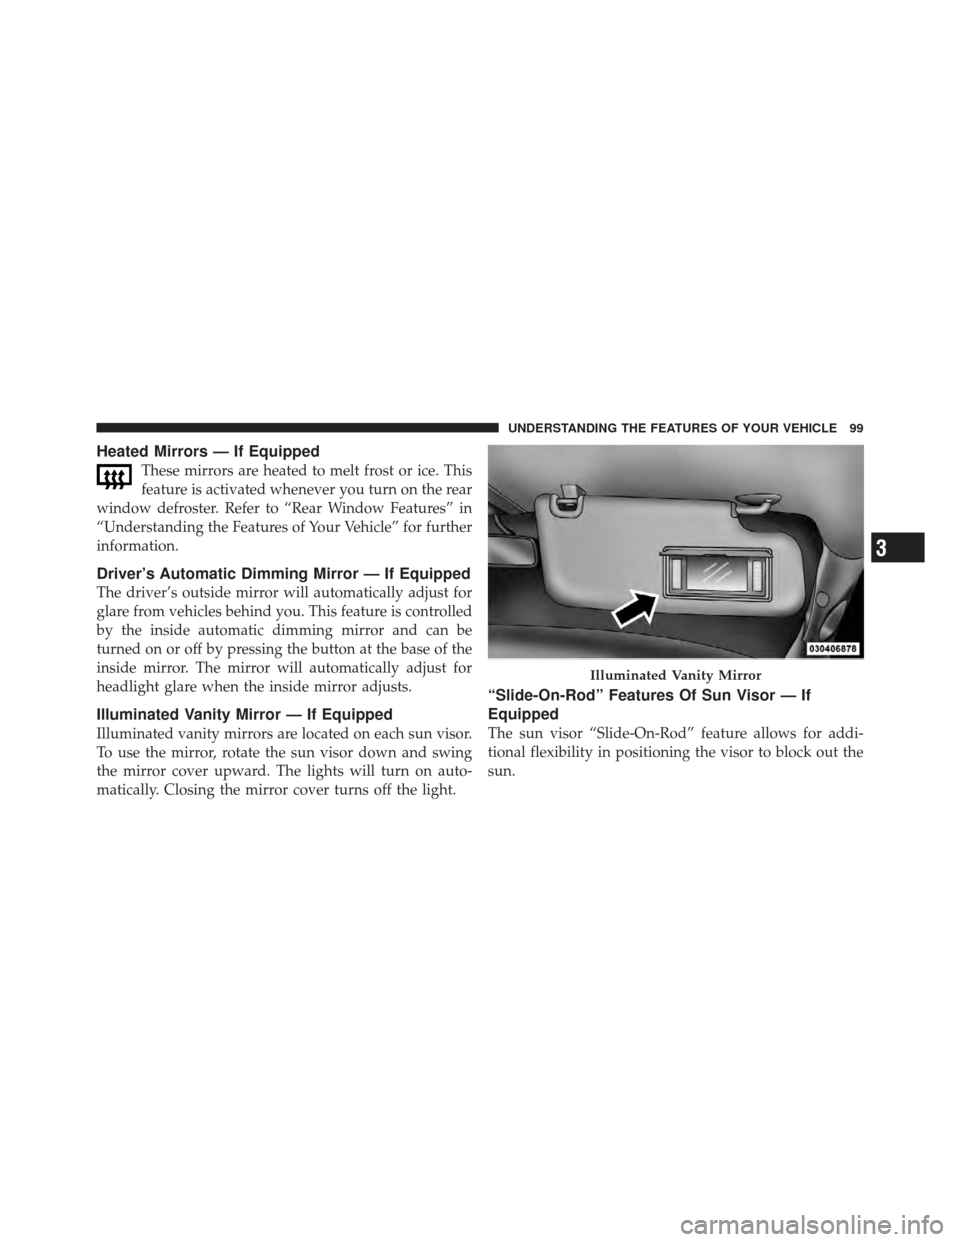
Illuminated vanity mirrors are located on each sun visor.
To use the mirror, rotate the sun visor down and swing
the mirror cover upward. The lights will turn on auto-
matically. Closing the mirror cover turns off the light.
“Slide-On-Rod” Features Of Sun Visor — If
Equipped
The sun visor “Slide-On-Rod” feature allows for addi-
tional flexibility in positioning the visor to block out the
sun.
Illuminated Vanity Mirror
3
UNDERSTANDING THE FEATURES OF YOUR VEHICLE 99
Page 102 of 636
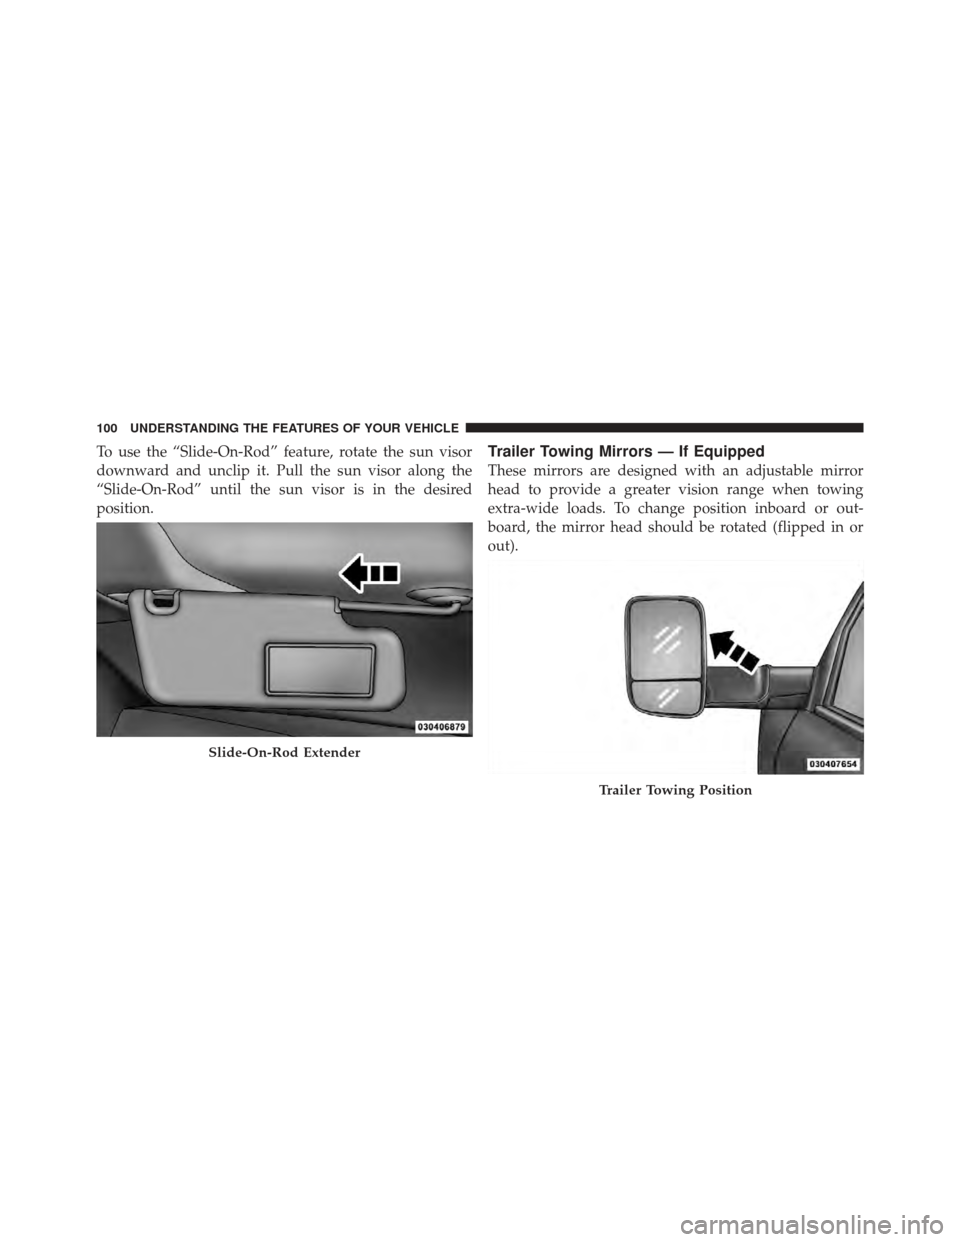
To use the “Slide-On-Rod” feature, rotate the sun visor
downward and unclip it. Pull the sun visor along the
“Slide-On-Rod” until the sun visor is in the desired
position.Trailer Towing Mirrors — If Equipped
These mirrors are designed with an adjustable mirror
head to provide a greater vision range when towing
extra-wide loads. To change position inboard or out-
board, the mirror head should be rotated (flipped in or
out).
Slide-On-Rod Extender
Trailer Towing Position
100 UNDERSTANDING THE FEATURES OF YOUR VEHICLE
Page 103 of 636
NOTE:Fold the trailer towing mirrors rearward prior to
entering an automated car wash.
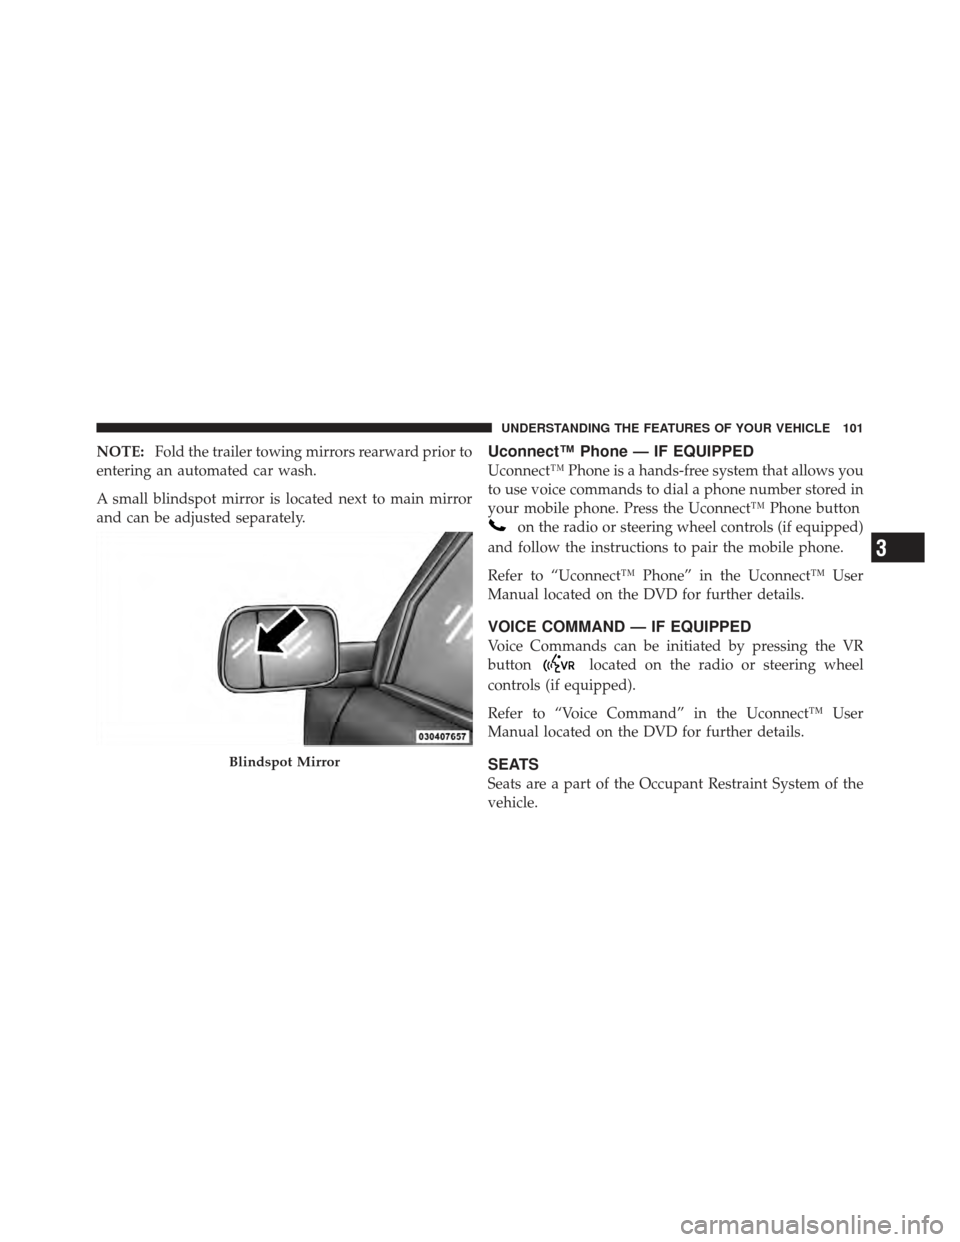
A small blindspot mirror is located next to main mirror
and can be adjusted separately.Uconnect™ Phone — IF EQUIPPED
Uconnect™ Phone is a hands-free system that allows you
to use voice commands to dial a phone number stored in
your mobile phone. Press the Uconnect™ Phone button
on the radio or steering wheel controls (if equipped)
and follow the instructions to pair the mobile phone.
Refer to “Uconnect™ Phone” in the Uconnect™ User
Manual located on the DVD for further details.
VOICE COMMAND — IF EQUIPPED
Voice Commands can be initiated by pressing the VR
button
located on the radio or steering wheel
controls (if equipped).
Refer to “Voice Command” in the Uconnect™ User
Manual located on the DVD for further details.
SEATS
Seats are a part of the Occupant Restraint System of the
vehicle.
Blindspot Mirror
3
UNDERSTANDING THE FEATURES OF YOUR VEHICLE 101
Page 104 of 636

WARNING!
•It is dangerous to ride in a cargo area, inside or
outside of a vehicle. In a collision, people riding in
these areas are more likely to be seriously injured
or killed.
•Do not allow people to ride in any area of your
vehicle that is not equipped with seats and seat
belts.
•Be sure everyone in your vehicle is in a seat and
using a seat belt properly.
Power Seats — If Equipped
Some models may be equipped with driver and passen-
ger eight-way power seats. The power seat switches are
located on the outboard side of the front seat cushions.
There are two power seat switches that are used to
control the movement of the seat cushion and the seat-
back.
Adjusting The Sear Forward Or Rearward
The seat can be adjusted both forward and rearward.
Push the seat switch forward or rearward, the seat will
Power Seat Switches
1 — Power Seat Switch
2 — Power Seatback Switch
102 UNDERSTANDING THE FEATURES OF YOUR VEHICLE
Page 105 of 636
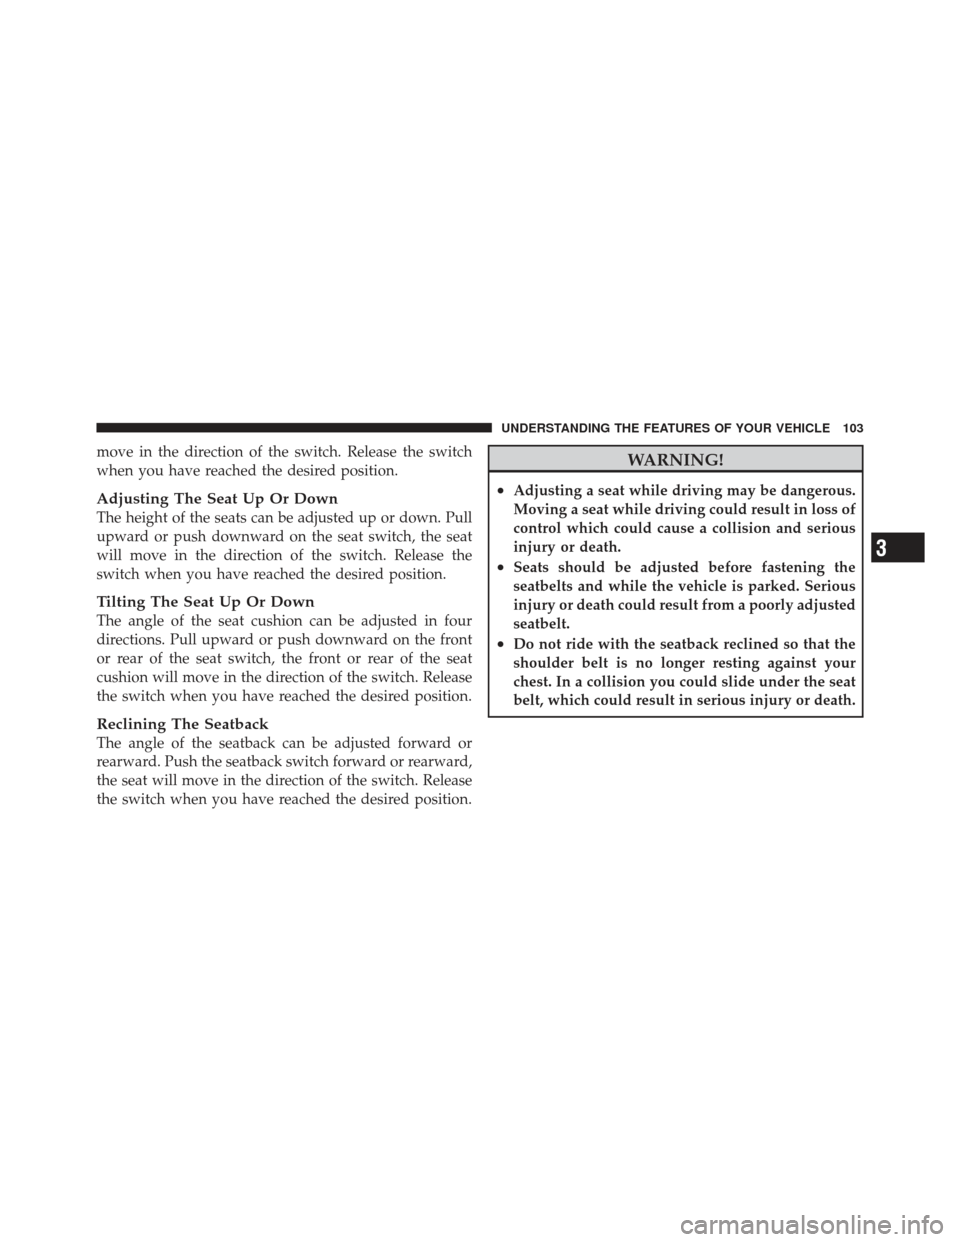
move in the direction of the switch. Release the switch
when you have reached the desired position.
Adjusting The Seat Up Or Down
The height of the seats can be adjusted up or down. Pull
upward or push downward on the seat switch, the seat
will move in the direction of the switch. Release the
switch when you have reached the desired position.
Tilting The Seat Up Or Down
The angle of the seat cushion can be adjusted in four
directions. Pull upward or push downward on the front
or rear of the seat switch, the front or rear of the seat
cushion will move in the direction of the switch. Release
the switch when you have reached the desired position.
Reclining The Seatback
The angle of the seatback can be adjusted forward or
rearward. Push the seatback switch forward or rearward,
the seat will move in the direction of the switch. Release
the switch when you have reached the desired position.
WARNING!
•Adjusting a seat while driving may be dangerous.
Moving a seat while driving could result in loss of
control which could cause a collision and serious
injury or death.
•Seats should be adjusted before fastening the
seatbelts and while the vehicle is parked. Serious
injury or death could result from a poorly adjusted
seatbelt.
•Do not ride with the seatback reclined so that the
shoulder belt is no longer resting against your
chest. In a collision you could slide under the seat
belt, which could result in serious injury or death.
3
UNDERSTANDING THE FEATURES OF YOUR VEHICLE 103
Page 106 of 636
CAUTION!
Do not place any article under a power seat or
impede its ability to move as it may cause damage to
the seat controls. Seat travel may become limited if
movement is stopped by an obstruction in the seat’s
path.
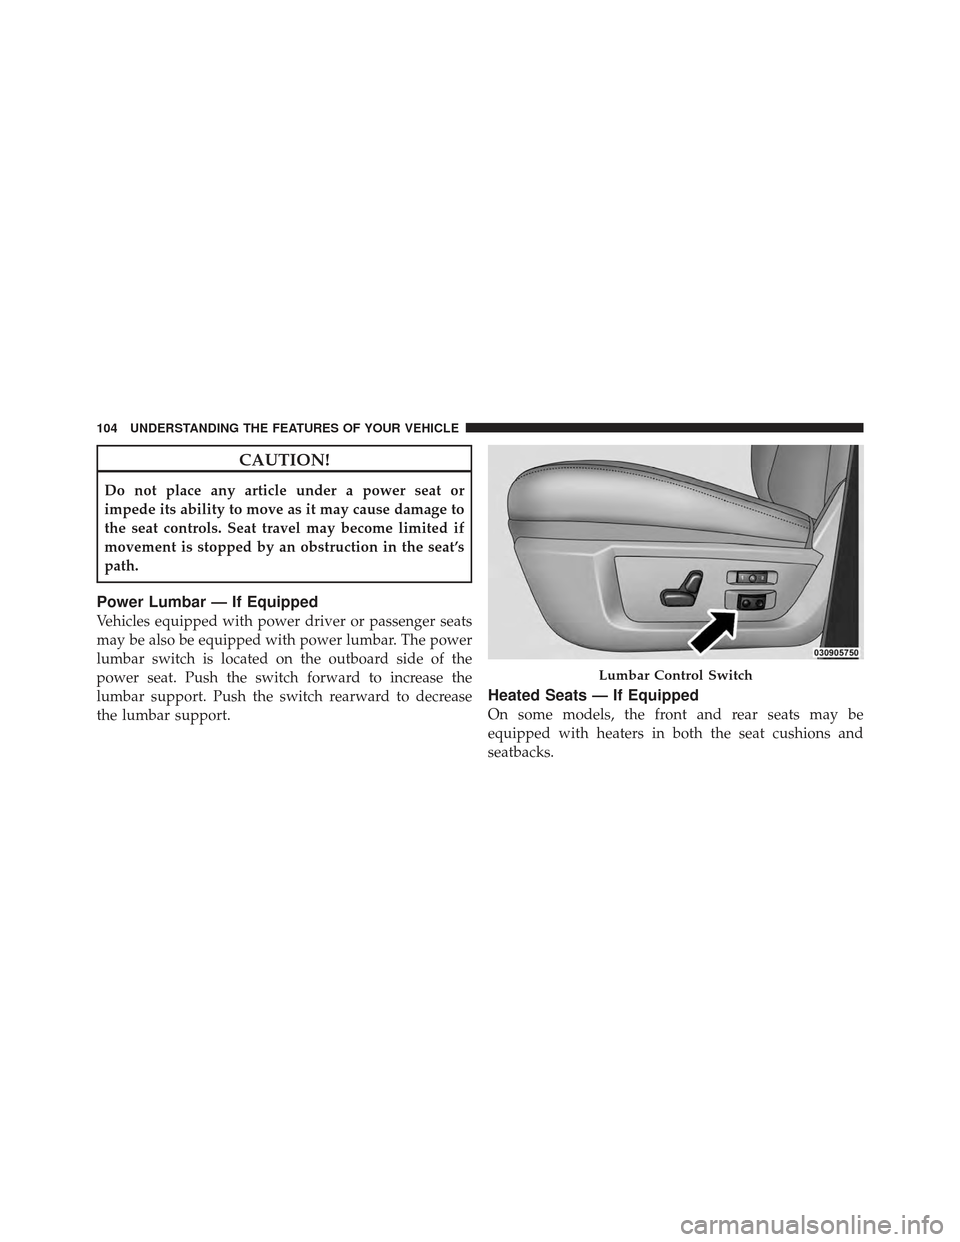
Power Lumbar — If Equipped
Vehicles equipped with power driver or passenger seats
may be also be equipped with power lumbar. The power
lumbar switch is located on the outboard side of the
power seat. Push the switch forward to increase the
lumbar support. Push the switch rearward to decrease
the lumbar support.
Heated Seats — If Equipped
On some models, the front and rear seats may be
equipped with heaters in both the seat cushions and
seatbacks.
Lumbar Control Switch
104 UNDERSTANDING THE FEATURES OF YOUR VEHICLE
Page 107 of 636
WARNING!
•Persons who are unable to feel pain to the skin
because of advanced age, chronic illness, diabetes,
spinal cord injury, medication, alcohol use, ex-
haustion or other physical condition must exercise
care when using the seat heater. It may cause burns
even at low temperatures, especially if used for
long periods of time.
•Do not place anything on the seat that insulates
against heat, such as a blanket or cushion. This
may cause the seat heater to overheat. Sitting in a
seat that has been overheated could cause serious
burns due to the increased surface temperature of
the seat.
CAUTION!
Repeated overheating of the seat could damage the
heating element and/or degrade the material of the
seat.
Front Heated Seats
There are two heated seat switches that allow the driver
and passenger to operate the seats independently. The
controls for each seat are located near the bottom center
of the instrument panel (below the climate controls).
You can choose from HIGH, LOW or OFF heat settings.
Amber indicator lights in each switch indicate the level of
heat in use. Two indicator lights will illuminate for
HIGH, one for LOW and none for OFF.
3
UNDERSTANDING THE FEATURES OF YOUR VEHICLE 105
Page 108 of 636

Press the switch once to select HIGH-
level heating. Press the switch a sec-
ond time to select LOW-level heating.
Press the switch a third time to shut
the heating elements OFF.
NOTE:
•Once a heat setting is selected, heat will be felt within
two to five minutes.
•The engine must be running for the heated seats to
operate.
The heated seats switch from HIGH to LOW and from
LOW to OFF automatically, based on time and tempera-
ture of the seat. The heated seats can operate on HIGH
heat for a maximum of 60 minutes before switching to
LOW heat. Once a seat has switched to the LOW heat
setting it may operate for a maximum of 45 minutes before automatically shutting OFF. The heated seats can
shut OFF early or may not turn on when the seat is
already warm.
Vehicle Equipped With Remote Start
On models that are equipped with remote start, the
driver ’s heated seat can be programmed to come on
during a remote start. Refer to “Remote Starting System
— If Equipped” in “Things to Know Before Starting Your
Vehicle” for further information.Rear Heated Seats
On some models, the two outboard seats are equipped
with heated seats. The heated seat switches for these
seats are located on the rear of the center console.
There are two heated seat switches that allow the rear
passengers to operate the seats independently. You can
choose from HIGH, LOW or OFF heat settings. Amber
106 UNDERSTANDING THE FEATURES OF YOUR VEHICLE
Page 109 of 636
indicator lights in each switch indicate the level of heat in
use. Two indicator lights will illuminate for HIGH, one
for LOW and none for OFF.Press the switch once to select HIGH-
level heating. Press the switch a sec-
ond time to select LOW-level heating.
Press the switch a third time to shut
the heating elements OFF.
NOTE:
•Once a heat setting is selected, heat will be felt within
two to five minutes.
•The engine must be running for the heated seats to
operate.
When the HIGH-level setting is selected, the heater will
provide a boosted heat level during the first four minutes
of operation. Then, the heat output will drop to the normal HIGH-level. If the HIGH-level setting is selected,
the system will automatically switch to LOW-level after a
maximum of 60 minutes of continuous operation. At that
time, the number of illuminated LEDs changes from two
to one, indicating the change. The LOW-level setting will
turn OFF automatically after a maximum of 45 minutes.
Ventilated Seats — If Equipped
On some models, both the driver and passenger seats are
ventilated. Located in the seat cushion and seatback are
small fans that draw the air from the passenger compart-
ment and blow air through fine perforations in the seat
cover to help keep the driver and front passenger cooler
in higher ambient temperatures.
The ventilated seat switches are located in the switch
bank in the center stack of the instrument panel, just
below the climate controls. The fans operate at two
speeds, HIGH and LOW.
3
UNDERSTANDING THE FEATURES OF YOUR VEHICLE 107
Page 110 of 636
Press the switch once to choose HIGH,
press it a second time to choose LOW.
Pressing the switch a third time will
turn the ventilated seat OFF. When
HIGH speed is selected both lights on
the switch will be illuminated. When
LOW speed is selected one light will
be illuminated.
NOTE: The engine must be running for the ventilated
seats to operate.
Vehicles Equipped With Remote Start
On models equipped with remote start, the drivers
ventilated seat can be programmed to come on during a
remote start. Refer to “Remote Starting System — If
Equipped” in “Things to Know Before Starting Your
Vehicle” for further information.Manual Seat Adjuster — If Equipped
Both front seats are adjustable forward or rearward. The
manual seat adjustment handle is located under the seat
cushion at the front edge of each seat.
While sitting in the seat, pull up on the handle and slide
the seat forward or backward. Release the bar once you
Manual Seat Adjuster
108 UNDERSTANDING THE FEATURES OF YOUR VEHICLE