Window switch Ram 1500 2015 User Guide
[x] Cancel search | Manufacturer: RAM, Model Year: 2015, Model line: 1500, Model: Ram 1500 2015Pages: 871, PDF Size: 24.83 MB
Page 214 of 871
WARNING!(Continued)
must continue to pay attention while backing up.
Failure to do so can result in serious injury or death.
CAUTION!
•To avoid vehicle damage, ParkView® should only
be used as a parking aid. The ParkView® camera is
unable to view every obstacle or object in your
drive path.
•To avoid vehicle damage, the vehicle must be
driven slowly when using ParkView® to be able to
stop in time when an obstacle is seen. It is recom-
mended that the driver look frequently over his/her
shoulder when using ParkView®.
NOTE:If snow, ice, mud, or any foreign substance builds
up on the camera lens, clean the lens, rinse with water,
and dry with a soft cloth. Do not cover the lens.
OVERHEAD CONSOLE — IF EQUIPPED
The overhead console is located on the headliner above
the review mirror. The overhead console contains the
following features:
•Courtesy/Reading Lights
•Power Sunroof Switch — If Equipped
•Power Sliding Rear Window Switch — If Equipped
•Universal Garage Door Opener — If Equipped
212 UNDERSTANDING THE FEATURES OF YOUR VEHICLE
Page 228 of 871

Pinch Protect Feature
This feature will detect an obstruction in the opening of
the sunroof during Express Close operation. If an ob-
struction in the path of the sunroof is detected, the
sunroof will automatically retract. Remove the obstruc-
tion if this occurs. Next, press the switch forward and
release to Express Close.
NOTE:If three consecutive sunroof close attempts result
in Pinch Protect reversals, the fourth close attempt will be
a Manual Close movement with Pinch Protect disabled.
Press and hold close switch to fully close sunroof.
Venting Sunroof — Express
Press and release the Vent button within one half second
and the sunroof will open to the vent position. This is
called “Express Vent” and it will occur regardless of
sunroof position. During Express Vent operation, any
movement of the switch will stop the sunroof.
Sunshade Operation
The sunshade can be opened manually. However, the
sunshade will open automatically as the sunroof opens.
NOTE:The sunshade cannot be closed if the sunroof is
open.
Wind Buffeting
Wind buffeting can be described as the perception of
pressure on the ears or a helicopter-type sound in the
ears. Your vehicle may exhibit wind buffeting with the
windows down, or the sunroof (if equipped) in certain
open or partially open positions. This is a normal occur-
rence and can be minimized. If the buffeting occurs with
the rear windows open, open the front and rear windows
together to minimize the buffeting. If the buffeting occurs
with the sunroof open, adjust the sunroof opening to
minimize the buffeting or open any window.
226 UNDERSTANDING THE FEATURES OF YOUR VEHICLE
Page 248 of 871

CAUTION!
Failure to follow these cautions can cause damage to
the heating elements:
•Use care when washing the inside of the rear
window. Do not use abrasive window cleaners on
the interior surface of the window. Use a soft cloth
and a mild washing solution, wiping parallel to the
heating elements. Labels can be peeled off after
soaking with warm water.
•Do not use scrapers, sharp instruments, or abrasive
window cleaners on the interior surface of the
window.
•Keep all objects a safe distance from the window.
Power Sliding Rear Window — If Equipped
The switch for the power sliding rear window is located
on the overhead console.
Push the switch to the right to open the glass. Pull the
switch to the left to close the glass.
Rear Window Switch
246 UNDERSTANDING THE FEATURES OF YOUR VEHICLE
Page 370 of 871

•Engine Off Power Delay
When this feature is selected, the power window
switches, radio, Uconnect® phone system (if equipped),
DVD video system (if equipped), power sunroof (if
equipped), and power outlets will remain active for up to
10 minutes after the ignition is cycled to OFF. Opening
either front door will cancel this feature. Press the “En-
gine Off Power Delay” button on the touchscreen and
choose from “0 sec,” “45 sec,” “5 min” or “10 min” to
select your desired time interval. Then press the back
arrow/Done button on the touchscreen to return to the
previous menu.
•Auto Entry/Exit — If Equipped
When this feature is selected, it automatically lowers the
vehicle ride height position when shifted into park. Press
the “Auto Entry/Exit” button on the touchscreen and
choose from “On” or “Off.” Press the back arrow/Done
button on the touchscreen to return to the previous menu.
Suspension — If Equipped
After pressing the “Suspension” button on the touch-
screen the following settings will be available:
•Sound Horn With Lower
When this feature is selected, a short horn sound will
occur when the RKE transmitter REMOTE LOWER but-
ton is pressed. To make your selection, press the “Horn
w/lower” button on the touchscreen, select “On” or
“Off” followed by pressing the back arrow/Done button
on the touchscreen.
•Flash Lights With Lower
When this feature is selected, the front and rear turn
signals will flash when the RKE transmitter REMOTE
LOWER button is pressed twice. To make your selection,
press the “Light w/Lower” button on the touchscreen,
select “On” or “Off” followed by pressing the back
arrow/Done button on the touchscreen.
368 UNDERSTANDING YOUR INSTRUMENT PANEL
Page 390 of 871

button on the touchscreen, then select either “Off,” “Re-
mote Start” or “All Starts”. Press the back arrow button on
the touchscreen to return to the previous menu.
Engine Off Options
After pressing the “Engine Off Options” button on the
touchscreen the following settings will be available.
•Easy Exit Seat
When this feature is selected, the Driver ’s seat will
automatically move rearward once the engine is shut off.
To make your selection, press the “Easy Exit Seat” button
on the touchscreen until a check-mark appears next to
setting, showing that setting has been selected. Press the
back arrow button on the touchscreen to return to the
previous menu.
•Engine Off Power Delay
When this feature is selected, the power window
switches, radio, Uconnect® phone system (if equipped),
DVD video system (if equipped), power sunroof (if
equipped), and power outlets will remain active for up to
10 minutes after the ignition is cycled to OFF. Opening
either front door will cancel this feature. To change the
Engine Off Power Delay status press the “+” or “–”
buttons on the touchscreen to adjust the time delay up or
down. Press the back arrow button on the touchscreen to
return to the previous menu.
•Headlight Off Delay
When this feature is selected, the driver can choose to
have the headlights remain on for 0, 30, 60, or 90 seconds
when exiting the vehicle. To make your selection press
the “+” or “–” buttons on the touchscreen to adjust the
seconds up or down. Press the back arrow button on the
touchscreen to return to the previous menu
388 UNDERSTANDING YOUR INSTRUMENT PANEL
Page 408 of 871
Button Descriptions (Applies To Both Buttons On The
Faceplate and Buttons On The Touchscreen)
1. MAX A/C Button
Press and release to toggle between MAX A/C and the
prior settings. The button on the touchscreen illuminates
when MAX A/C is ON. In MAX A/C, the blower level
and mode position can be adjusted to desired user
settings. Pressing other settings will cause the MAX A/C
operation to switch to the prior settings and the MAX
A/C indicator will turn off.
2. A/C Button
Press and release to change the current setting, the
indicator illuminates when A/C is ON. Performing this
function again will cause the A/C operation to switch
into manual mode and the A/C indicator will turn off.
3. Recirculation Button
Press and release to change the current setting; the
indicator illuminates when ON.
4. Front Defrost Button
Press and release to change the current airflow setting to
Defrost mode. The indicator illuminates when this fea-
ture is ON. Air comes from the windshield and side
window demist outlets. When the defrost button is
selected, the blower level will increase. Use Defrost mode
with maximum temperature settings for best windshield
and side window defrosting and defogging. Performing
this function will cause the ATC to switch into manual
mode. If the front defrost mode is turned off the climate
system will return the previous setting.
5. Defrost Button
Press and release this button to turn on the rear window
defroster (if equipped) and the heated outside mirrors (if
406 UNDERSTANDING YOUR INSTRUMENT PANEL
Page 410 of 871
NOTE:BI-LEVEL mode is designed under comfort con-
ditions to provide cooler air out of the panel outlets and
warmer air from the floor outlets.
•Floor Mode
Air comes from the floor outlets. A slight
amount of air is directed through the defrost
and side window demister outlets.
•Mix Mode
Air comes from the floor, defrost and side
window demister outlets. This mode works
best in cold or snowy conditions.
NOTE:The air conditioning compressor operates in MIX
and DEFROST modes even if the A/C button is not
pressed. This dehumidifies the air to help dry the wind-
shield. To improve fuel economy, utilize these modes
only when required.
7. Blower Control
Blower control is used to regulate the amount of air
forced through the climate system. There are seven
blower speeds available. Adjusting the blower will cause
automatic mode to switch to manual operation. The
speeds can be selected using either buttons on the
faceplate or buttons on the touchscreen as follows:
Blower Control Knob On The Faceplate
The blower speed increases as you turn the control
clockwise from the lowest blower setting. The blower
speed decreases as you turn the blower control knob
counterclockwise.
Buttons On The Touchscreen
Use the small blower icon to reduce the blower setting
and the large blower icon to increase the blower setting.
Blower can also be selected by pressing the blower bar
area between the icons.
408 UNDERSTANDING YOUR INSTRUMENT PANEL
Page 414 of 871
this function again will cause the MAX A/C operation to
switch into manual mode and the MAX A/C indicator
will turn off.
2. A/C Button
Press and release to change the current setting, the
indicator illuminates when A/C is ON. Performing this
function again will cause the A/C operation to switch
into manual mode and the A/C indicator will turn off.
3. Recirculation Button
Press and release to change the current setting, the
indicator illuminates when ON.
4. AUTO Operation Button
Automatically controls the interior cabin temperature by
adjusting airflow distribution and amount. Performing
this function will cause the ATC to switch between
manual mode and automatic modes. Refer to “Automatic
Operation” for more information.
5. Front Defrost Button
Press and release to change the current airflow setting to
Defrost mode. The indicator illuminates when this fea-
ture is ON. Air comes from the windshield and side
window demist outlets. When the defrost button is
selected, the blower level will increase. Use Defrost mode
with maximum temperature settings for best windshield
and side window defrosting and defogging. Performing
this function will cause the ATC to switch into manual
mode. If the front defrost mode is turned off the climate
system will return the previous setting.
6. Defrost Button
Press and release this button to turn on the rear window
defroster (if equipped) and the heated outside mirrors (if
equipped). An indicator will illuminate when the rear
window defroster is on. The rear window defroster
automatically turns off after 10 minutes.
412 UNDERSTANDING YOUR INSTRUMENT PANEL
Page 488 of 871
WARNING!(Continued)
•Never leave children alone in a vehicle, or with
access to an unlocked vehicle. Allowing children to
be in a vehicle unattended is dangerous for a
number of reasons. A child or others could be
seriously or fatally injured. Children should be
warned not to touch the parking brake, brake pedal
or the shift lever.
•Do not leave the key fob in or near the vehicle (or
in a location accessible to children), and do not
leave the ignition (in a vehicle equipped with
Keyless Enter-N-Go™) in the ACC or ON/RUN
position. A child could operate power windows,
other controls, or move the vehicle.
CAUTION!
•Before moving the shift lever out of PARK, you
must turn the ignition switch from the LOCK/OFF
position to the ON/RUN position, and also press
the brake pedal. Otherwise, damage to the shift
lever could result.
•DO NOT race the engine when shifting from
PARK or NEUTRAL into another gear range, as this
can damage the drivetrain.
The following indicators should be used to ensure that
you have engaged the transmission into the PARK posi-
tion:
•When shifting into PARK, pull the shift lever toward
you and move it all the way counterclockwise until it
stops.
486 STARTING AND OPERATING
Page 633 of 871
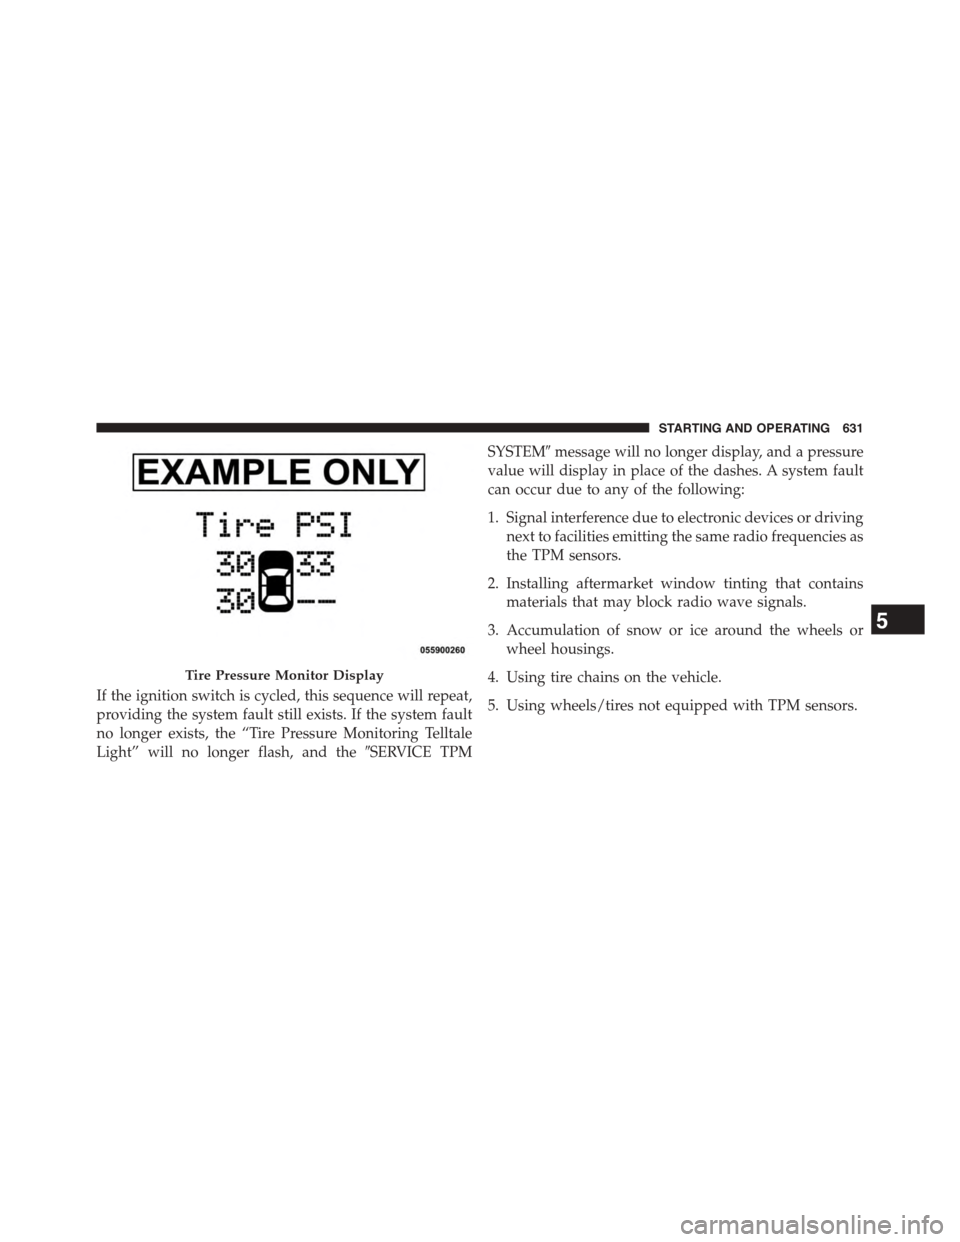
If the ignition switch is cycled, this sequence will repeat,
providing the system fault still exists. If the system fault
no longer exists, the “Tire Pressure Monitoring Telltale
Light” will no longer flash, and the#SERVICE TPM
SYSTEM#message will no longer display, and a pressure
value will display in place of the dashes. A system fault
can occur due to any of the following:
1. Signal interference due to electronic devices or driving
next to facilities emitting the same radio frequencies as
the TPM sensors.
2. Installing aftermarket window tinting that contains
materials that may block radio wave signals.
3. Accumulation of snow or ice around the wheels or
wheel housings.
4. Using tire chains on the vehicle.
5. Using wheels/tires not equipped with TPM sensors.
Tire Pressure Monitor Display
5
STARTING AND OPERATING 631