jack and jack tools Ram 1500 2015 User Guide
[x] Cancel search | Manufacturer: RAM, Model Year: 2015, Model line: 1500, Model: Ram 1500 2015Pages: 871, PDF Size: 24.83 MB
Page 710 of 871
WARNING!(Continued)
you may experience abrupt stopping, rapid accelera-
tion or sharp turns. A loose jack, tools, bracket or
other objects in the vehicle may move around with
force, resulting in serious injury.
Jacking And Tire Changing 2500 And 3500 Series
Trucks
WARNING!
•Do not attempt to change a tire on the side of the
vehicle close to moving traffic. Pull far enough off
the road to avoid the danger of being hit when
operating the jack or changing the wheel.
(Continued)
WARNING!(Continued)
•Being under a jacked-up vehicle is dangerous. The
vehicle could slip off the jack and fall on you. You
could be crushed. Never put any part of your body
under a vehicle that is on a jack. If you need to get
under a raised vehicle, take it to a service center
where it can be raised on a lift.
•Never start or run the engine while the vehicle is
on a jack.
•The jack is designed to be used as a tool for
changing tires only. The jack should not be used to
lift the vehicle for service purposes. The vehicle
should be jacked on a firm level surface only.
Avoid ice or slippery areas.
708 WHAT TO DO IN EMERGENCIES
Page 711 of 871

Jack Location
The jack and jack tools are stored under the front
passenger seat.
Removal Of Jack And Tools (2500, 3500 Series)
To access the jack and jack tools you must remove the
plastic access cover, located on the side of the front
passengers seat. To remove the cover, pull the front part
of the cover (closest to the front of the seat) toward you
to release a locking tab. Once the front of the cover is
loose, slide the cover toward the front of the seat until it
is free from the seat frame.
Remove the jack and tools by turning the wing bolt
counterclockwise, remove the wing bolt and then slide
the assembly out from under the seat.
Jack Access Cover6
WHAT TO DO IN EMERGENCIES 709
Page 712 of 871

Remove the jack and tools from the bracket assembly.
Turn the jack-turn-screw counterclockwise to release jack
from bracket assembly.
Wing Bolt/Jack And Tools (2500/3500 Series)Jack And Tools Bracket Assembly
710 WHAT TO DO IN EMERGENCIES
Page 714 of 871
Assembled For Jack OperationWARNING!
After using the jack and tools, always reinstall them
in the original carrier and location. While driving
you may experience abrupt stopping, rapid accelera-
tion or sharp turns. A loose jack, tools, bracket or
other objects in the vehicle may move around with
force, resulting in serious injury.
Removing The Spare Tire
1. Remove the spare tire before attempting to jack up the
truck. Attach the wheel wrench to the jack extension
tube with the curved angle facing away from the
vehicle. Insert the tube through the access hole be-
tween the lower tailgate and the top of the bumper
and into the winch mechanism tube.
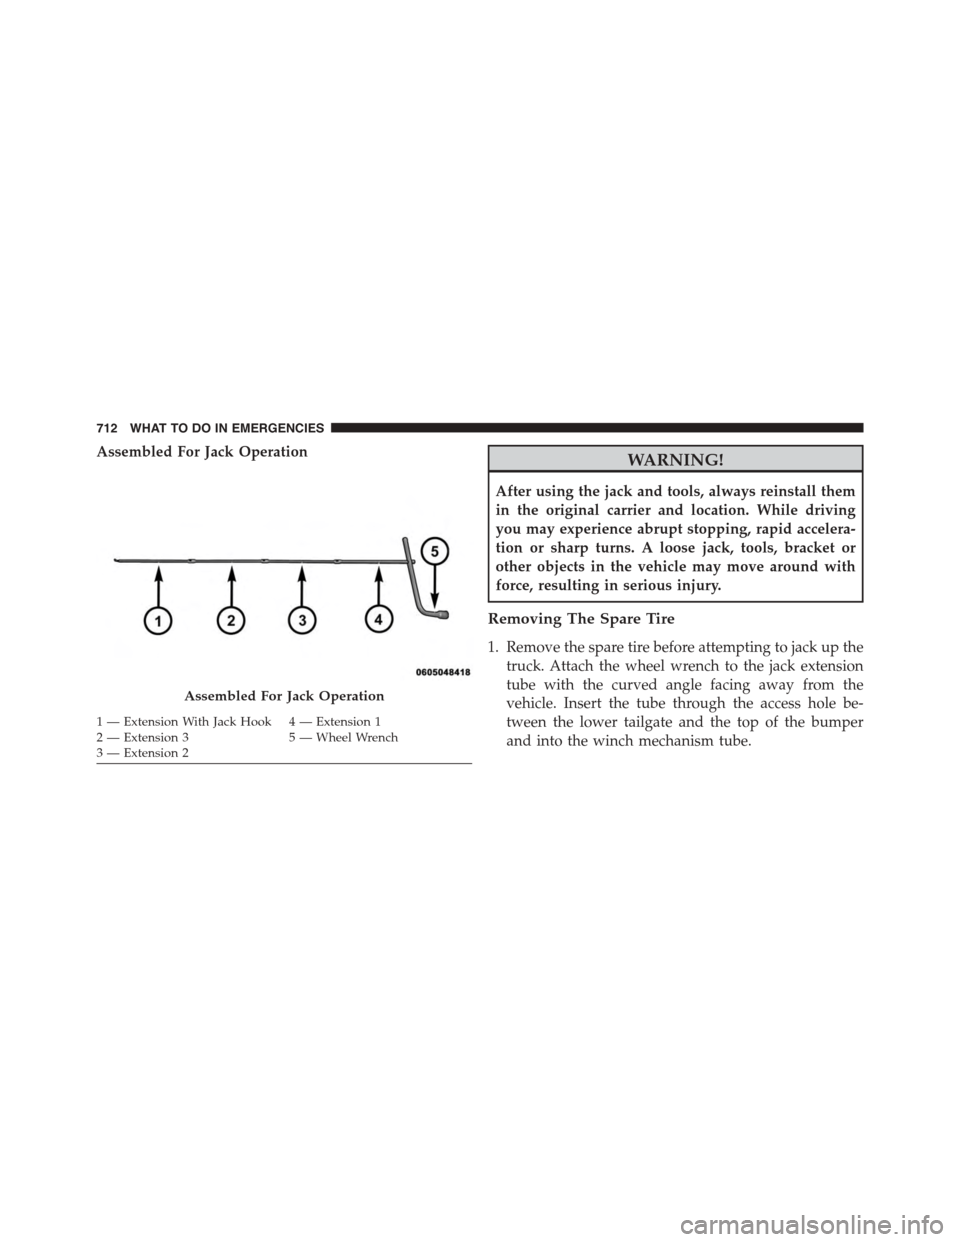
Assembled For Jack Operation
1 — Extension With Jack Hook 4 — Extension 12 — Extension 3 5 — Wheel Wrench3—Extension2
712 WHAT TO DO IN EMERGENCIES
Page 717 of 871
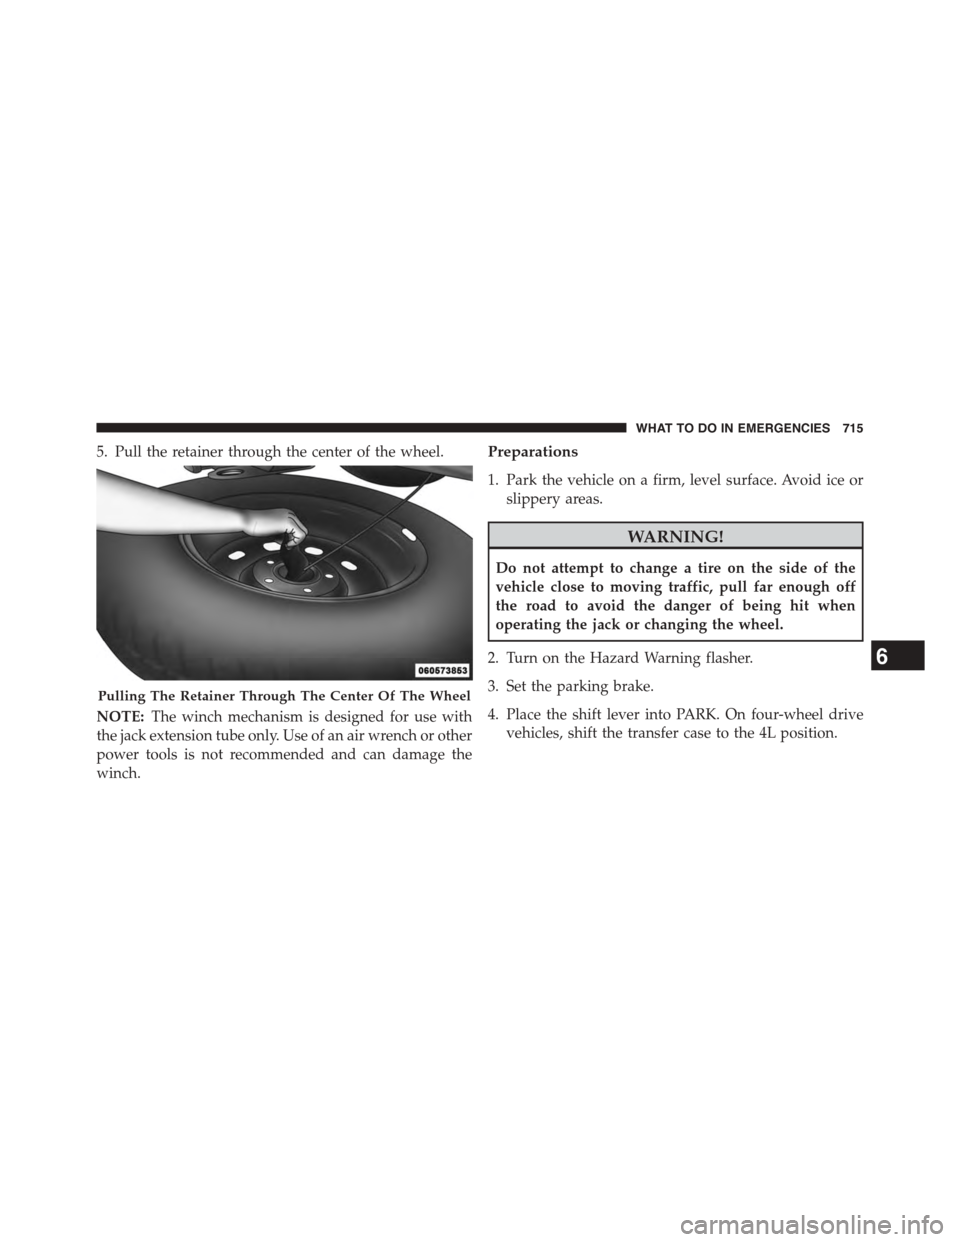
5. Pull the retainer through the center of the wheel.
NOTE:The winch mechanism is designed for use with
the jack extension tube only. Use of an air wrench or other
power tools is not recommended and can damage the
winch.
Preparations
1. Park the vehicle on a firm, level surface. Avoid ice or
slippery areas.
WARNING!
Do not attempt to change a tire on the side of the
vehicle close to moving traffic, pull far enough off
the road to avoid the danger of being hit when
operating the jack or changing the wheel.
2. Turn on the Hazard Warning flasher.
3. Set the parking brake.
4. Place the shift lever into PARK. On four-wheel drive
vehicles, shift the transfer case to the 4L position.
Pulling The Retainer Through The Center Of The Wheel
6
WHAT TO DO IN EMERGENCIES 715
Page 719 of 871
WARNING!(Continued)
•Only use the jack in the positions indicated and for
lifting this vehicle during a tire change.
•If working on or near a roadway, be extremely
careful of motor traffic.
•To assure that spare tires, flat or inflated, are
securely stowed, spares must be stowed with the
valve stem facing the ground.
CAUTION!
Do not attempt to raise the vehicle by jacking on
locations other than those indicated in the Jacking
Instructions for this vehicle.
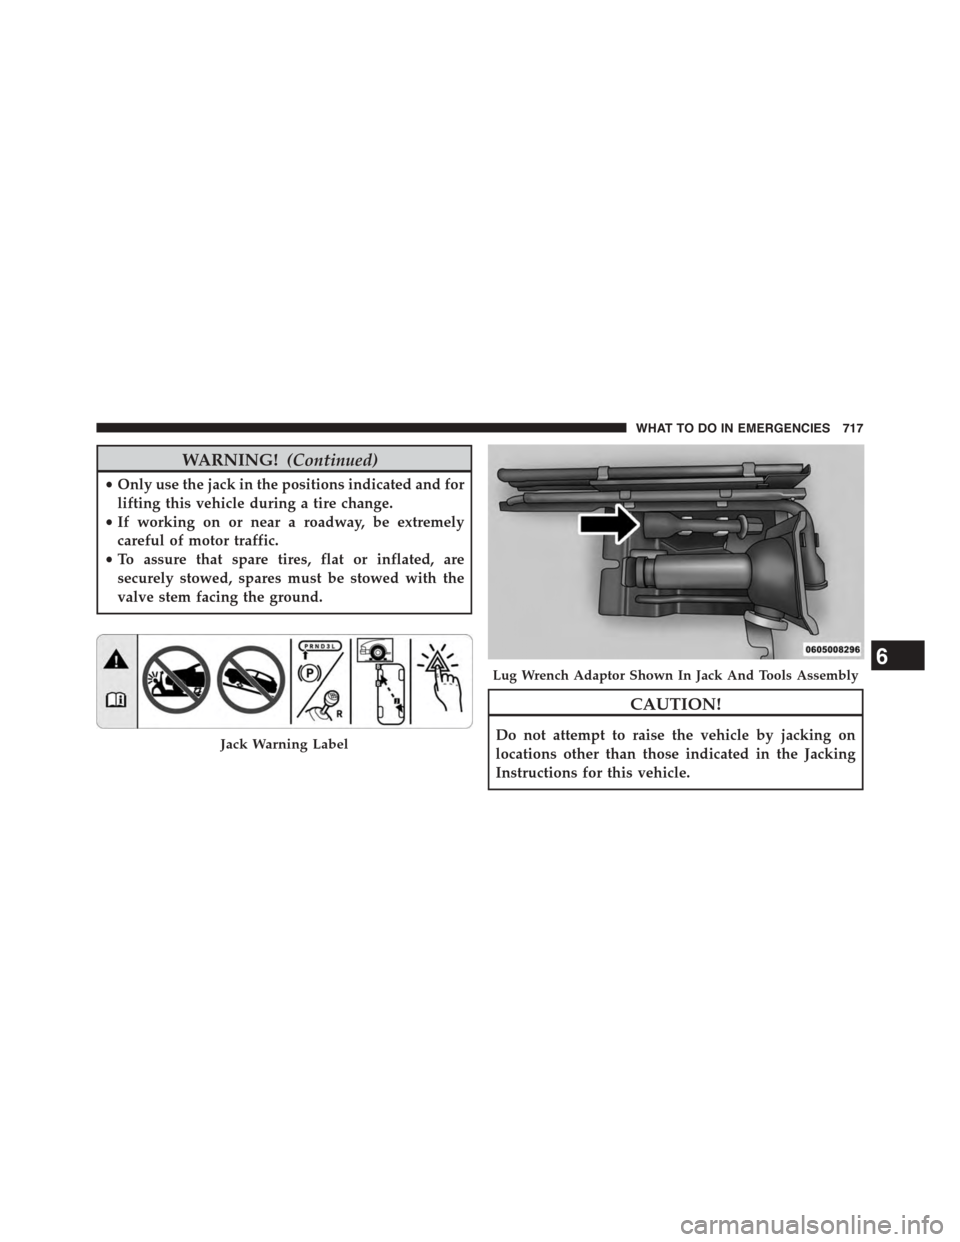
Jack Warning Label
Lug Wrench Adaptor Shown In Jack And Tools Assembly6
WHAT TO DO IN EMERGENCIES 717
Page 720 of 871
1. Remove the spare wheel, jack, and tools from storage.
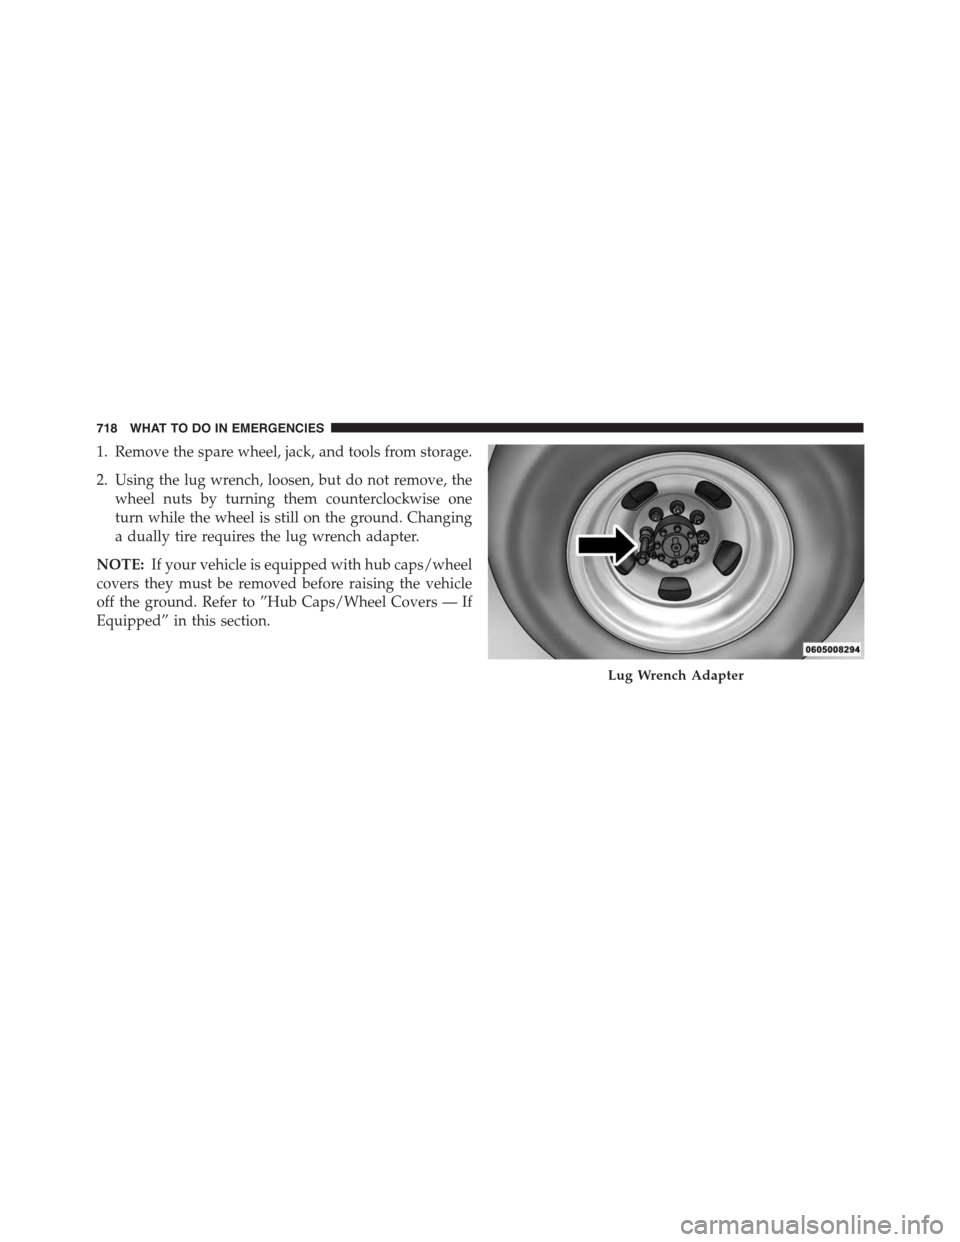
2. Using the lug wrench, loosen, but do not remove, the
wheel nuts by turning them counterclockwise one
turn while the wheel is still on the ground. Changing
a dually tire requires the lug wrench adapter.
NOTE:If your vehicle is equipped with hub caps/wheel
covers they must be removed before raising the vehicle
off the ground. Refer to ”Hub Caps/Wheel Covers — If
Equipped” in this section.
Lug Wrench Adapter
718 WHAT TO DO IN EMERGENCIES
Page 724 of 871

6. Finish tightening the lug nuts. Push down on the
wrench while at the end of the handle for increased
leverage. Tighten the lug nuts in a star pattern until
each nut has been tightened twice. For the correct lug
nut torque refer to “Torque Specifications” in this
section. If in doubt about the correct tightness, have
them checked with a torque wrench by you authorized
dealer or service station.
WARNING!
A loose tire or jack thrown forward in a collision or
hard stop could injure someone in the vehicle. Al-
ways stow the jack parts and the extra tire and wheel
in the places provided.
7. Install the wheel center cap and remove the wheel
blocks. Do not install chrome or aluminum wheel
center caps on the spare wheel. This may result in cap
damage.
8. Lower the jack to its fully closed position. Stow the
replaced tire, jack, and tools as previously described.
NOTE:If the bottle jack will not lower by turning the dial
(thumbwheel) by hand, it may be necessary to use the
jack drive tube in order to lower the jack.
Dual Rear Wheel Placement
722 WHAT TO DO IN EMERGENCIES
Page 727 of 871
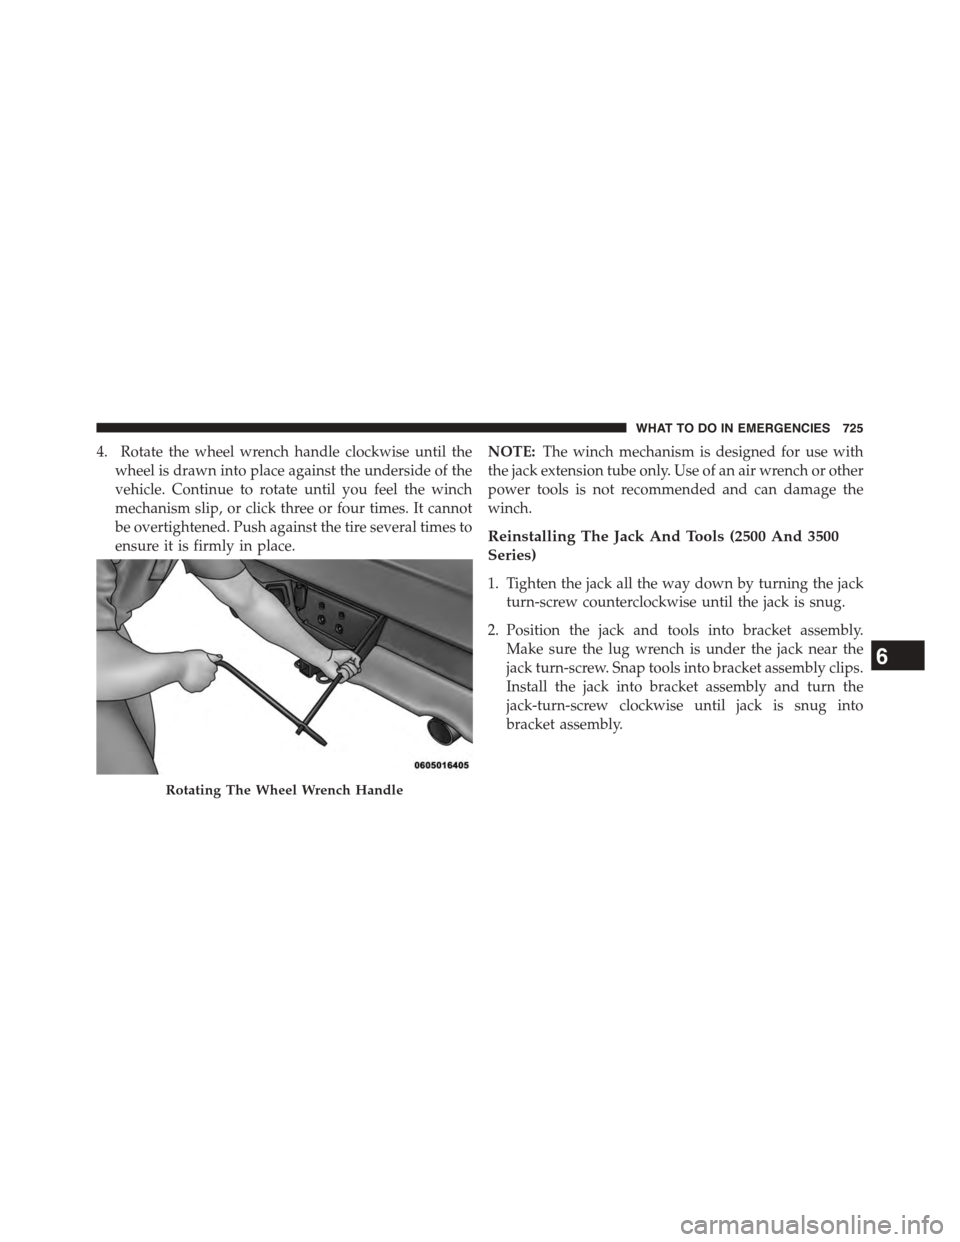
4. Rotate the wheel wrench handle clockwise until the
wheel is drawn into place against the underside of the
vehicle. Continue to rotate until you feel the winch
mechanism slip, or click three or four times. It cannot
be overtightened. Push against the tire several times to
ensure it is firmly in place.
NOTE:The winch mechanism is designed for use with
the jack extension tube only. Use of an air wrench or other
power tools is not recommended and can damage the
winch.
Reinstalling The Jack And Tools (2500 And 3500
Series)
1. Tighten the jack all the way down by turning the jack
turn-screw counterclockwise until the jack is snug.
2. Position the jack and tools into bracket assembly.
Make sure the lug wrench is under the jack near the
jack turn-screw. Snap tools into bracket assembly clips.
Install the jack into bracket assembly and turn the
jack-turn-screw clockwise until jack is snug into
bracket assembly.
Rotating The Wheel Wrench Handle
6
WHAT TO DO IN EMERGENCIES 725
Page 728 of 871
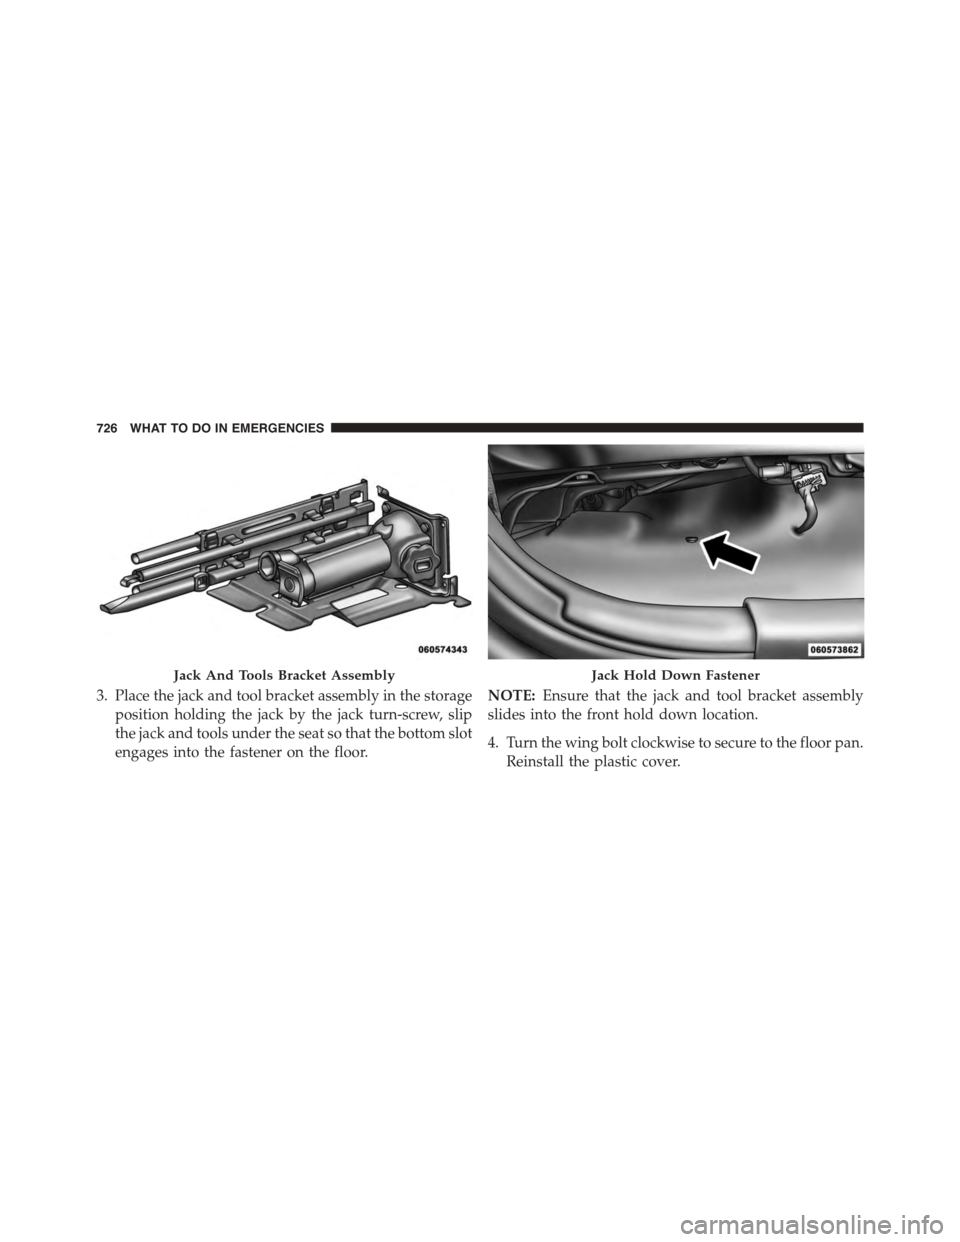
3. Place the jack and tool bracket assembly in the storage
position holding the jack by the jack turn-screw, slip
the jack and tools under the seat so that the bottom slot
engages into the fastener on the floor.
NOTE:Ensure that the jack and tool bracket assembly
slides into the front hold down location.
4. Turn the wing bolt clockwise to secure to the floor pan.
Reinstall the plastic cover.
Jack And Tools Bracket AssemblyJack Hold Down Fastener
726 WHAT TO DO IN EMERGENCIES