Manual Brake Ram 1500 2015 Owner's Manual
[x] Cancel search | Manufacturer: RAM, Model Year: 2015, Model line: 1500, Model: Ram 1500 2015Pages: 871, PDF Size: 24.83 MB
Page 40 of 871
Front doors may be opened with the inside door handle
without lifting the lock knob.
Doors locked before closing will remain locked when
closed.
The emergency key will unlock the driver door lock on
your vehicle.
WARNING!
•Do not leave children or animals inside parked
vehicles in hot weather. Interior heat build-up may
cause serious injury or death.
•For personal security and safety in the event of an
collision, lock the vehicle doors as you drive as
well as when you park and leave the vehicle.
(Continued)
WARNING!(Continued)
•Before exiting a vehicle, always turn the vehicle
OFF, apply the parking brake, shift the automatic
transmission into PARK or the manual transmis-
sion into REVERSE,and push ignition button to
place ignition in OFF mode.
•Never leave children alone in a vehicle, or with
access to an unlocked vehicle.
•Allowing children to be in a vehicle unattended is
dangerous for a number of reasons. A child or
others could be seriously or fatally injured. Chil-
dren should be warned not to touch the parking
brake, brake pedal or the transmission gear selec-
tor.
(Continued)
38 THINGS TO KNOW BEFORE STARTING YOUR VEHICLE
Page 444 of 871
▫Brake/Transmission Shift Interlock System . . .461
▫Eight-Speed Automatic Transmission —
If Equipped.........................461
▫Six-Speed Automatic Transmission —
1500 Models Only (If Equipped)...........470
▫Six-Speed Automatic Transmission —
2500/3500 Models Only................483
!FOUR-WHEEL DRIVE OPERATION —
IF EQUIPPED.........................494
▫Manually Shifted Transfer Case —
If Equipped..........................494
▫Electronically Shifted Transfer Case (Four-Position
Switch) — If Equipped.................498
▫Electronically Shifted Transfer Case (Five-Position
Switch) — If Equipped.................504
▫Electronically Shifted Transfer Case (Five-Position
Switch) — If Equipped.................509
!AIR SUSPENSION SYSTEM (1500 MODELS) —
IF EQUIPPED.........................516
▫Description..........................516
▫Air Suspension Modes..................520
▫Electronic Vehicle Information Center
(EVIC)/Driver Information Display (DID)
Display Messages.....................522
▫Operation...........................522
!AIR SUSPENSION SYSTEM (2500/3500 MODELS) —
IF EQUIPPED..........................524
▫Description..........................524
▫Air Suspension Modes..................526
442 STARTING AND OPERATING
Page 451 of 871
Automatic Transmission
Start the engine with the transmission in PARK position.
Apply the brake before shifting into any driving range.
NOTE:
•This vehicle is equipped with a transmission shift
interlocking system. The brake pedal must be pressed
to shift out of PARK.
•If equipped with an 8 speed transmission starting the
vehicle in NEUTRAL is not possible unless the Manual
Park Release has been activated. For the Manual Park
Release operation refer to Manual Park Release in
“WHAT TO DO IN EMERGENCIES.”
Tip Start Feature
Do notpress the accelerator. Cycle the ignition switch
briefly to the START position and release it. The starter
motor will continue to run but will automatically disen-
gage when the engine is running.
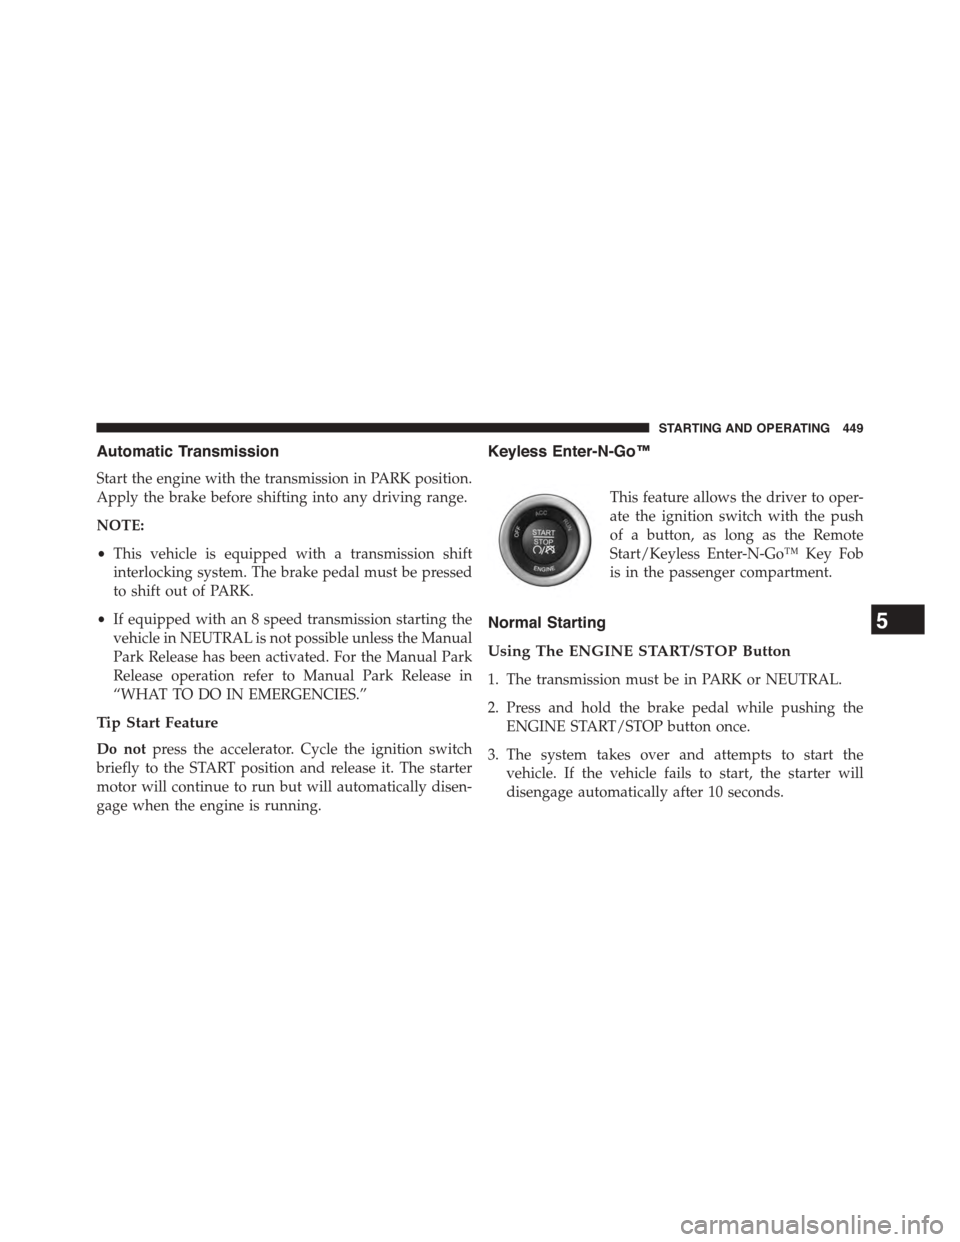
Keyless Enter-N-Go™
This feature allows the driver to oper-
ate the ignition switch with the push
of a button, as long as the Remote
Start/Keyless Enter-N-Go™ Key Fob
is in the passenger compartment.
Normal Starting
Using The ENGINE START/STOP Button
1. The transmission must be in PARK or NEUTRAL.
2. Press and hold the brake pedal while pushing the
ENGINE START/STOP button once.
3. The system takes over and attempts to start the
vehicle. If the vehicle fails to start, the starter will
disengage automatically after 10 seconds.
5
STARTING AND OPERATING 449
Page 464 of 871
speeds (refer to#Brake/Transmission Shift Interlock Sys-
tem#in this section). To shift past multiple gear ranges at
once (such as Park to Drive), simply rotate the gear
selector to the appropriate detent. Select the DRIVE range
for normal driving.
The electronically-controlled transmission provides a
precise shift schedule. The transmission electronics are
self-calibrating; therefore, the first few shifts on a new
vehicle may be somewhat abrupt. This is a normal
condition, and precision shifts will develop within a few
hundred miles (kilometers).
Only shift from DRIVE to PARK or REVERSE when the
accelerator pedal is released and the vehicle is stopped.
Be sure to keep your foot on the brake pedal when
shifting between these gears.
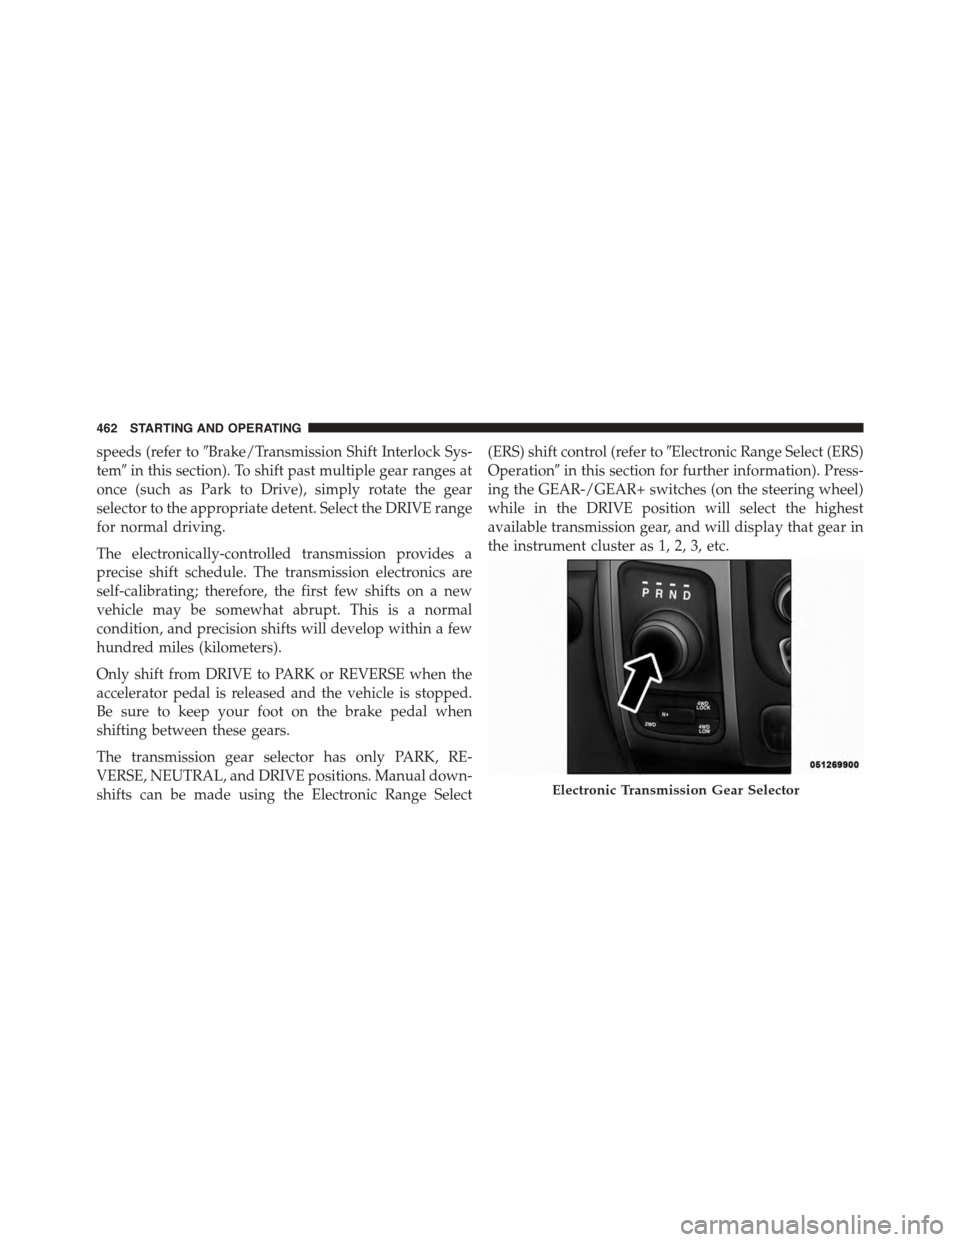
The transmission gear selector has only PARK, RE-
VERSE, NEUTRAL, and DRIVE positions. Manual down-
shifts can be made using the Electronic Range Select
(ERS) shift control (refer to#Electronic Range Select (ERS)
Operation#in this section for further information). Press-
ing the GEAR-/GEAR+ switches (on the steering wheel)
while in the DRIVE position will select the highest
available transmission gear, and will display that gear in
the instrument cluster as 1, 2, 3, etc.
Electronic Transmission Gear Selector
462 STARTING AND OPERATING
Page 473 of 871
Only shift from DRIVE to PARK or REVERSE when the
accelerator pedal is released and the vehicle is stopped.
Be sure to keep your foot on the brake pedal when
shifting between these gears.
The transmission shift lever has only PARK, REVERSE,
NEUTRAL, and DRIVE shift positions. Manual down-
shifts can be made using the Electronic Range Select
(ERS) shift control (refer to “Electronic Range Select (ERS)
Operation” in this section for further information). Press-
ing the ERS (-/+) switches (column shift) or moving the
shift lever to the left or right (-/+) (console shift) while in
the DRIVE position will select the highest available
transmission gear, and will display that gear in the
instrument cluster as 1, 2, 3, etc.
Gear Ranges
DO NOT race the engine when shifting from PARK or
NEUTRAL into another gear range.
NOTE:After selecting any gear range, wait a moment to
allow the selected gear to engage before accelerating.
This is especially important when the engine is cold.
PARK (P)
This range supplements the parking brake by locking the
transmission. The engine can be started in this range.
Never attempt to use PARK while the vehicle is in
motion. Apply the parking brake when leaving the
vehicle in this range.
When parking on a level surface, you may shift the
transmission into PARK first, and then apply the parking
brake.
When parking on a hill, apply the parking brake before
shifting the transmission to PARK, otherwise the load on
the transmission locking mechanism may make it difficult
to move the shift lever out of PARK. As an added precau-
tion, turn the front wheels toward the curb on a downhill
grade and away from the curb on an uphill grade.
5
STARTING AND OPERATING 471
Page 485 of 871
cause damage to the transmission. The torque con-
verter will refill within five seconds after starting the
engine.
Six-Speed Automatic Transmission — 2500/3500
Models Only
The transmission gear position display (located in the
instrument cluster) indicates the transmission gear range.
The shift lever is mounted on the right side of the steering
column. You must press the brake pedal to move the shift
lever out of PARK (refer to “Brake/Transmission Shift
Interlock System” in this section for further information).
To drive, move the shift lever from PARK or NEUTRAL
to the DRIVE position. Pull the shift lever toward you
when shifting into REVERSE or PARK, or when shifting
out of PARK.
The electronically-controlled transmission provides a
precise shift schedule. The transmission electronics are
self-calibrating; therefore, the first few shifts on a new
vehicle may be somewhat abrupt. This is a normal
condition, and precision shifts will develop within a few
hundred miles (kilometers).
Only shift from DRIVE to PARK or REVERSE when the
accelerator pedal is released and the vehicle is stopped.
Be sure to keep your foot on the brake pedal when
shifting between these gears.
The transmission shift lever has only PARK, REVERSE,
NEUTRAL, and DRIVE shift positions. Manual down-
shifts can be made using the Electronic Range Select
(ERS) shift control (refer to “Electronic Range Select (ERS)
Operation” in this section for further information). Press-
ing the ERS (-/+) switches (on the shift lever) while in the
DRIVE position will select the highest available transmis-
sion gear, and will display that gear in the instrument
cluster as 1, 2, 3, etc.
5
STARTING AND OPERATING 483
Page 543 of 871
fresh#bite#into the surface and will usually provide
enough traction to complete the climb. If you do not
make it to the top, place the vehicle in REVERSE and
back straight down the grade using engine resistance
along with the vehicle brakes.
WARNING!
Never attempt to climb a hill at an angle or turn
around on a steep grade. Driving across an incline
increases the risk of a roll over, which may result in
severe injury or death.
•Driving Down Hill– Before driving down a steep hill
you need to determine if it is too steep for a safe
descent. What is the surface traction? Is the grade too
steep to maintain a slow controlled descent? Are there
obstacles? Is it a straight descent? Is there plenty of
distance at the base of the hill to regain control if the
vehicle descends too fast? If you feel confident in your
ability to proceed then make sure you are in 4L (Low
Range) with the transmission in first gear (manually
select first gear on automatic transmissions) and pro-
ceed with caution. Allow engine braking to control the
descent and apply your brakes if necessary, but do not
allow the tires to lock.
WARNING!
Do not descend a steep grade in NEUTRAL. Use
vehicle brakes in conjunction with engine braking.
Descending a grade too fast could cause you to lose
control and be seriously injured or killed.
•Driving Across An Incline– If at all possible avoid
driving across an incline. If it is necessary, know your
vehicle’s abilities. Driving across an incline places
more weight on the down hill wheels, which increases
the possibilities of a down hill slide or rollover. Make
sure the surface has good traction with firm and stable
5
STARTING AND OPERATING 541
Page 552 of 871
•Inspect the radiator for mud and debris and clean as
required.
•Check threaded fasteners for looseness, particularly on
the chassis, drivetrain components, steering, and sus-
pension. Retighten them, if required, and torque to the
values specified in the Service Manual.
•Check for accumulations of plants or brush. These
things could be a fire hazard. They might hide damage
to fuel lines, brake hoses, axle pinion seals, and
propeller shafts.
•After extended operation in mud, sand, water, or
similar dirty conditions, have the radiator, fan, brake
rotors, wheels, brake linings, and axle yokes inspected
and cleaned as soon as possible.
WARNING!
Abrasive material in any part of the brakes may cause
excessive wear or unpredictable braking. You might
not have full braking power when you need it to
prevent a collision. If you have been operating your
vehicle in dirty conditions, get your brakes checked
and cleaned as necessary.
•If you experience unusual vibration after driving in
mud, slush or similar conditions, check the wheels for
impacted material. Impacted material can cause a
wheel imbalance and freeing the wheels of it will
correct the situation.
550 STARTING AND OPERATING
Page 557 of 871
OFF-ROAD DRIVING TIPS
Care should be taken when attempting to climb steep
hills or driving diagonally across a hill or slope. If natural
obstacles force you to travel diagonally up or down a hill,
choose a mild angle and keep as little side tilt as possible.
Keep the vehicle moving and make turns slowly and
cautiously.
If you must back down a hill, back straight down using
REVERSE gear. Never back down in NEUTRAL or diago-
nally across the hill.
When driving over sand, mud, and other soft terrain,
shift to low gear and drive steadily. Apply the accelerator
slowly to avoid spinning the wheels.
Do not reduce the tire pressures for this type of driving.
After Driving Off-Road
Off-road operation puts more stress on your vehicle than
does most on-road driving. After going off-road, it is
always a good idea to check for damage. That way you
can get any problems taken care of right away and have
your vehicle ready when you need it.
•Completely inspect the underbody of your vehicle.
Check tires, body structure, steering, suspension, and
exhaust system for damage.
•Inspect the radiator for mud and debris and clean as
required.
•Check threaded fasteners for looseness, particularly on
the chassis, drivetrain components, steering, and sus-
pension. Retighten them, if required, and torque to the
values specified in the Service Manual.
•Check for accumulations of plants or brush. These
things could be a fire hazard. They might hide damage
to fuel lines, brake hoses, axle pinion seals, and
propeller shafts.
5
STARTING AND OPERATING 555
Page 558 of 871
•After extended operation in mud, sand, water, or
similar dirty conditions, have the radiator, fan, brake
rotors, wheels, brake linings, and axle yokes inspected
and cleaned as soon as possible.
WARNING!
Abrasive material in any part of the brakes may cause
excessive wear or unpredictable braking. You might
not have full braking power when you need it to
prevent a collision. If you have been operating your
vehicle in dirty conditions, get your brakes checked
and cleaned as necessary.
•If you experience unusual vibration after driving in
mud, slush or similar conditions, check the wheels for
impacted material. Impacted material can cause a
wheel imbalance and freeing the wheels of it will
correct the situation.
WINCH USAGE — POWER WAGON ONLY — (IF
EQUIPPED)
Things To Know Before Using Your Winch
General Winch Information
Your vehicle is equipped with an electric vehicle recovery
winch. This winch uses the electrical power from the
vehicle charging system to power a motor that winds
wire rope into the winch drum via planetary gear reduc-
tion. By nature, a winch is capable of generating very
high forces and should be used with care. Do not operate
the winch without reading and understanding the com-
plete winch owner’s manual.
Tensioning The Wire Rope
The winch rope must be properly tensioned before use.
Follow the instructions below to tension the rope:
1. Un-spool the wire rope leaving five wraps of rope on
the winch drum.
556 STARTING AND OPERATING