set up Ram 1500 2020 Owner's Manual
[x] Cancel search | Manufacturer: RAM, Model Year: 2020, Model line: 1500, Model: Ram 1500 2020Pages: 674, PDF Size: 32.69 MB
Page 354 of 674

352 STARTING AND OPERATING
Adaptive Cruise Control (ACC) Menu
The instrument cluster display will show the current ACC
system settings. The instrument cluster display is located in
the center of the instrument cluster. The information it
displays depends on ACC system status.
Push the Adaptive Cruise Control (ACC) on/off button
(located on the steering wheel) until one of the following
appears in the instrument cluster display:
Adaptive Cruise Control Off
When ACC is deactivated, the display will read “Adaptive
Cruise Control Off.”Adaptive Cruise Control Ready
When ACC is activated, but the vehicle speed setting has not
been selected, the display will read “Adaptive Cruise
Control Ready.”
Adaptive Cruise Control Set
When the SET (+) or the SET (-) button (located on the
steering wheel) is pushed, the display will read “ACC SET.”
When ACC is set, the set speed will show in the instrument
cluster display.
The ACC screen may display once again if any ACC activity
occurs, which may include any of the following:
• System Cancel
• Driver Override
• System Off
• ACC Proximity Warning
• ACC Unavailable Warning
The instrument cluster display will return to the last
display selected after five seconds of no ACC display
activity
WARNING!
When the ACC system is resumed, the driver must
ensure that there are no pedestrians, vehicles or objects
in the path of the vehicle. Failure to follow these
warnings can result in a collision and death or serious
personal injury.
2020_DT_1500_OM_US.book Page 352
Page 357 of 674
STARTING AND OPERATING 355
able. If this occurs, try activating ACC again later, following
an ignition cycle. If the problem persists, see your authorized
dealer.
Precautions While Driving With ACC
In certain driving situations, ACC may have detection issues.
In these cases, ACC may brake late or unexpectedly. The
driver needs to stay alert and may need to intervene.
NOTE:
• Aftermarket add-ons such as snow plows, lift kits, andbrush/grille bars can hinder module performance. Ensure
the radar/camera has no obstructions in the field of view.
• Height modifications can limit module performance and functionality.
• Do not put stickers or easy passes over the camera/radar field of view.
• Any modifications to the vehicle that may obstruct the field of view of the radar/camera are not recommended.
Cleaning Instructions
Dust and dirt can accumulate on the cover and block the
camera lens. Clean the camera lens with a soft microfiber
cloth, being careful not to damage or scratch the module. Towing A Trailer
ACC while towing a trailer is recommended only with an
Integrated Trailer Brake Controller. Aftermarket trailer
brake controllers will not activate the trailer brakes when
ACC is braking.
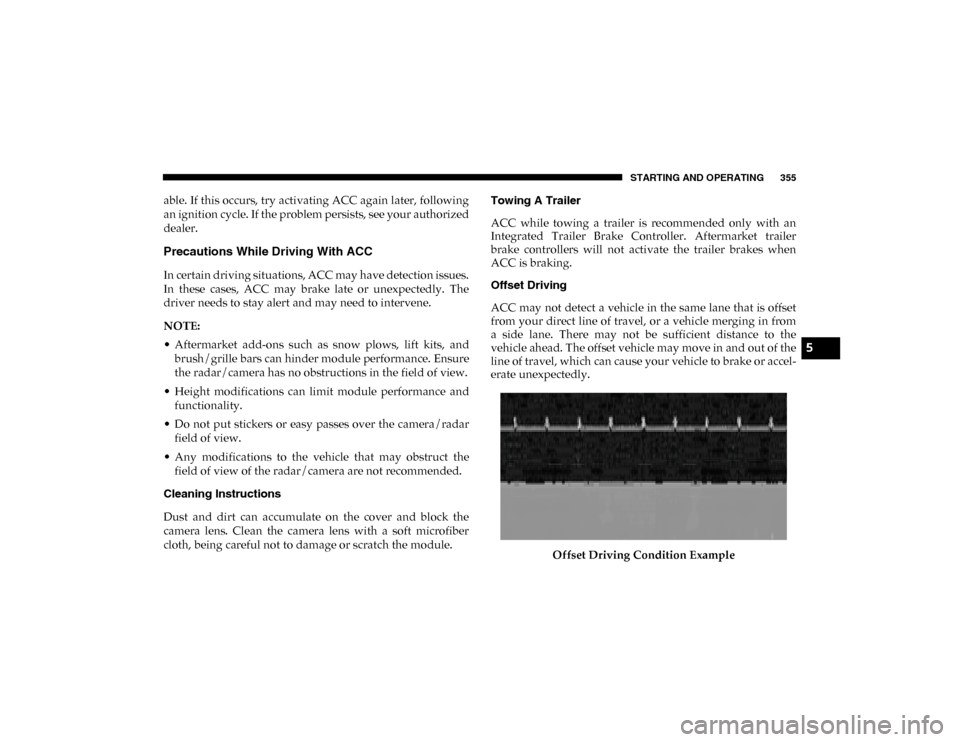
Offset Driving
ACC may not detect a vehicle in the same lane that is offset
from your direct line of travel, or a vehicle merging in from
a side lane. There may not be sufficient distance to the
vehicle ahead. The offset vehicle may move in and out of the
line of travel, which can cause your vehicle to brake or accel
-
erate unexpectedly.
Offset Driving Condition Example
5
2020_DT_1500_OM_US.book Page 355
Page 358 of 674
356 STARTING AND OPERATING
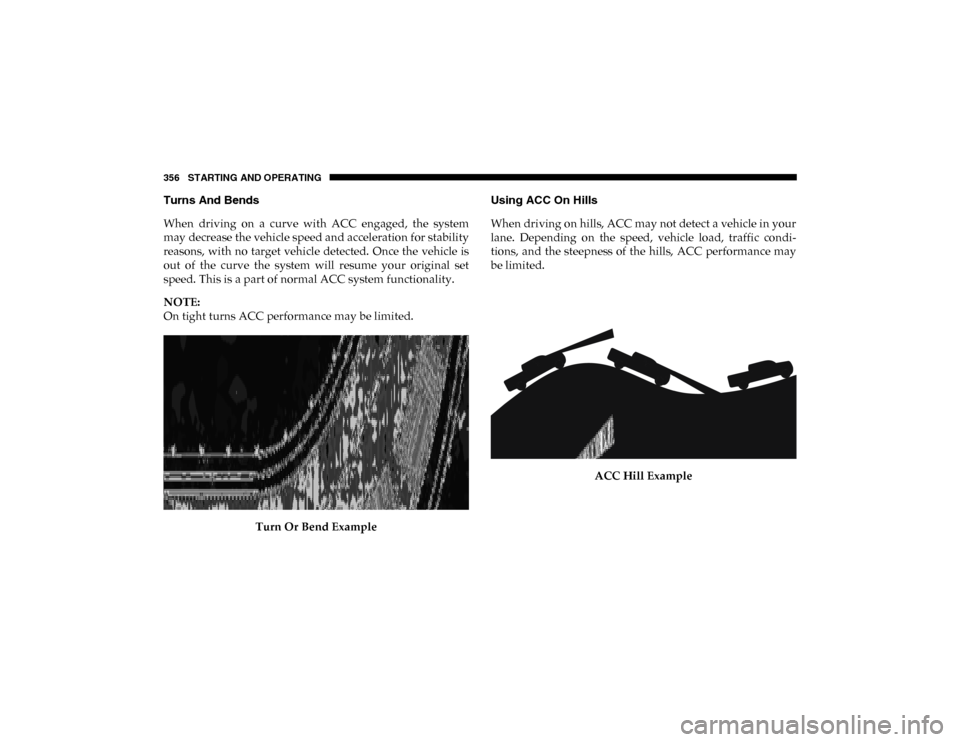
Turns And Bends
When driving on a curve with ACC engaged, the system
may decrease the vehicle speed and acceleration for stability
reasons, with no target vehicle detected. Once the vehicle is
out of the curve the system will resume your original set
speed. This is a part of normal ACC system functionality.
NOTE:
On tight turns ACC performance may be limited.Turn Or Bend Example Using ACC On Hills
When driving on hills, ACC may not detect a vehicle in your
lane. Depending on the speed, vehicle load, traffic condi
-
tions, and the steepness of the hills, ACC performance may
be limited.
ACC Hill Example
2020_DT_1500_OM_US.book Page 356
Page 361 of 674
STARTING AND OPERATING 359
La operación de este equipo está sujeta a las siguientes dos
condiciones:
1. es posible que este equipo o dispositivo no cause interfer-
encia perjudicial y
2. este equipo o dispositivo debe aceptar cualquier interfer- encia, incluyendo la que pueda causar su operación no
deseada.
NOTE:
Changes or modifications not expressly approved by the
party responsible for compliance could void the user’s
authority to operate the equipment.
Normal (Fixed Speed) Cruise Control Mode
In addition to Adaptive Cruise Control (ACC) mode, a
Normal (Fixed Speed) Cruise Control mode is available for
cruising at fixed speeds. The Normal (Fixed Speed) Cruise
Control mode is designed to maintain a set cruising speed
without requiring the driver to operate the accelerator.
Speed Control can only be operated if the vehicle speed is
above 20 mph (32 km/h).
To change between the different control modes, push the
Adaptive Cruise Control (ACC) on/off button which turns
the ACC on and the Normal (Fixed Speed) Cruise Control off. Pushing of the Normal (Fixed Speed) Cruise Control on/
off button will result in turning on (changing to) the Normal
(Fixed Speed) Cruise Control mode.
To Set A Desired Speed
Turn the Normal (Fixed Speed) Cruise Control on.
When the vehicle has reached the desired speed,
push the SET (+) or SET (-) button and release.
Release the accelerator and the vehicle will operate at the
selected speed. Once a speed has been set a message
“CRUISE CONTROL SET TO MPH (km/h)” will appear
indicating what speed was set. This light will turn on when
the system is turned on via the on/off control. It turns green
when the cruise control is set.
WARNING!
In the Normal (Fixed Speed) Cruise Control mode, the
system will not react to vehicles ahead. In addition, the
proximity warning does not activate and no alarm will
sound even if you are too close to the vehicle ahead since
neither the presence of the vehicle ahead nor the
vehicle-to-vehicle distance is detected. Be sure to
maintain a safe distance between your vehicle and the
vehicle ahead. Always be aware which mode is selected.
5
2020_DT_1500_OM_US.book Page 359
Page 362 of 674

360 STARTING AND OPERATING
To Vary The Speed Setting
To Increase Speed
When the Normal (Fixed Speed) Cruise Control is set, you
can increase speed by pushing the SET (+) button.
The driver's preferred units can be selected through the
instrument panel settings. Refer to ”Instrument Cluster
Display” in “Getting To Know Your Instrument Panel” for
more information. The speed increment shown is dependent
on the speed of U.S. (mph) or Metric (km/h) units:
U.S. Speed (mph)
• Pushing the SET (+) button once will result in a 1 mph
increase in set speed. Each subsequent tap of the button
results in an increase of 1 mph.
• If the button is continually pushed, the set speed will continue to increase in 5 mph increments until the button
is released. The increase in set speed is reflected in the
instrument cluster display.
Metric Speed (km/h)
• Pushing the SET (+) button once will result in a 1 km/h
increase in set speed. Each subsequent tap of the button
results in an increase of 1 km/h. • If the button is continually pushed, the set speed will
continue to increase in 10 km/h increments until the
button is released. The increase in set speed is reflected in
the instrument cluster display.
To Decrease Speed
When the Normal (Fixed Speed) Cruise Control is set, you
can decrease speed by pushing the SET (-) button.
The driver's preferred units can be selected through the
instrument panel settings. Refer to ”Instrument Cluster
Display” in “Getting To Know Your Instrument Panel” for
more information. The speed decrement shown is dependent
on the speed of U.S. (mph) or Metric (km/h) units:
U.S. Speed (mph)
• Pushing the SET (-) button once will result in a 1 mph
decrease in set speed. Each subsequent tap of the button
results in a decrease of 1 mph.
• If the button is continually pushed, the set speed will continue to decrease in 5 mph decrements until the button
is released. The decrease in set speed is reflected in the
instrument cluster display.
2020_DT_1500_OM_US.book Page 360
Page 363 of 674

STARTING AND OPERATING 361
Metric Speed (km/h)
• Pushing the SET (-) button once will result in a 1 km/h
decrease in set speed. Each subsequent tap of the button
results in a decrease of 1 km/h.
• If the button is continually pushed, the set speed will continue to decrease in 10 km/h decrements until the
button is released. The decrease in set speed is reflected in
the instrument cluster display.
To Cancel
The following conditions will cancel the Normal (Fixed
Speed) Cruise Control without clearing the memory:
• The brake pedal is applied.
• The CANC button is pushed.
• The Electronic Stability Control/Traction Control System (ESC/TCS) activates.
• The vehicle parking brake is applied.
• The braking temperature exceeds normal range (over -
heated).
• The gear selector is removed from the DRIVE position.
• The driver switches ESC to Full Off mode. To Resume Speed
To resume a previously set speed, push the RES button and
release. Resume can be used at any speed above 20 mph
(32 km/h).
To Turn Off
The system will turn off and erase the set speed in memory if:
• The Normal (Fixed Speed) Cruise Control on/off button is
pushed.
• The ignition is placed in the OFF position.
• You engage Four-Wheel Drive Low.
• The Adaptive Cruise Control (ACC) on/off button is pushed.
PARKSENSE FRONT AND REAR PARK ASSIST
The ParkSense Park Assist system provides visual and
audible indications of the distance between the rear and/or
front fascia and a detected obstacle when backing up or
moving forward (e.g. during a parking maneuver). If your
vehicle is equipped with the automatic braking function, the
vehicle brakes may be automatically applied and released
when performing a reverse parking maneuver if the system
detects a possible collision with an obstacle.
5
2020_DT_1500_OM_US.book Page 361
Page 370 of 674
368 STARTING AND OPERATING
Front Park Assist Audible Alerts
ParkSense will turn off the Front Park Assist audible alert
(chime) after approximately three seconds when an obstacle
has been detected, the vehicle is stationary, and brake pedal
is applied.
Adjustable Chime Volume Settings
The Front and Rear chime volume settings are program-
mable.
• The settings may be programmed through the Uconnect System. Refer to “Uconnect Settings ” in “Multimedia” for
further information.
Enabling And Disabling Front And/Or Rear ParkSense
Front ParkSense can be enabled and disabled with the Front
ParkSense switch.
Rear ParkSense can be enabled and disabled with the Rear
ParkSense switch.
When the Front or Rear ParkSense switch is pushed
to disable the system, the instrument cluster display
will show a vehicle graphic of the Front or Rear Park-
Sense on/off state for two seconds. Refer to “Instrument
Cluster Display” in “Getting To Know Your Instrument
Panel” for further information. When the gear selector is moved to REVERSE and the Front
or Rear system is disabled, the instrument cluster display
will show a vehicle graphic with "OFF" on the corresponding
side. This vehicle graphic will be displayed for as long as the
vehicle is in REVERSE.
NOTE:
Arc alerts from the enabled ParkSense system, will interrupt
the five second messages, and the instrument cluster display
will show the vehicle graphic with the corresponding arcs
and "OFF" message.
The Front or Rear ParkSense switch LED will be on when
Front or Rear ParkSense is disabled or requires service. The
Front or Rear ParkSense switch LED will be off when the
Front or Rear system is enabled. If the Front or Rear Park
-
Sense switch is pushed, and the system requires service, the
Front or Rear ParkSense switch LED will blink momentarily,
and then the LED will be on.
Service The ParkSense Park Assist System
During vehicle start up, when the ParkSense System has
detected a faulted condition, the instrument cluster will
actuate a single chime, once per ignition cycle, and it will
display the "PARKSENSE UNAVAILABLE WIPE REAR
SENSORS", "PARKSENSE UNAVAILABLE WIPE FRONT
2020_DT_1500_OM_US.book Page 368
Page 375 of 674

STARTING AND OPERATING 373
The ParkSense Active Park Assist system will only operate
and search for a parking space when the following condi-
tions are present:
• The gear position is in DRIVE.
• The ignition is in the RUN position.
• The ParkSense Active Park Assist switch is activated.
• The driver’s door is closed.
• The liftgate is closed.
• Vehicle speed is less than 15 mph (25 km/h).
NOTE:
If the vehicle is driven above approximately 15 mph (25 km/h),
the instrument cluster display will instruct the driver to slow
down. If the vehicle is driven above approximately 18 mph
(30 km/h), the system will cancel. The driver must then reacti -
vate the system by pushing the ParkSense Active Park Assist
switch.
• Make sure that the outer surface and the underside of the front and rear fascias/bumpers are clean and clear of
snow, ice, mud, dirt or other obstruction.
When pushed, the LED on the ParkSense Active Park Assist
switch will blink momentarily, and then the LED will turn
off if any of the above conditions are not present.Parallel Parking Space Assistance Operation/Display
When the ParkSense Active Park Assist system is enabled the
“Active ParkSense Searching - Push OK To Switch To
Perpendicular Park” message will appear in the instrument
cluster display. You may switch to perpendicular parking if
you desire. Push the OK button on the left side steering
wheel switch to change your parking space setting.
NOTE:
• When searching for a parking space, use the turn signal indicator to select which side of the vehicle you want to
perform the parking maneuver. The ParkSense Active
Park Assist system will automatically search for a parking
space on the passenger's side of the vehicle if the turn
signal is not activated.
• The driver needs to make sure that the selected parking space for the maneuver remains free and clear of any
obstructions (e.g. pedestrians, bicycles, etc.).
• The driver is responsible to ensure that the selected parking space is suitable for the maneuver and free/clear
of anything that may be overhanging or protruding into
the parking space (e.g., ladders, tailgates, etc. from
surrounding objects/vehicles).
5
2020_DT_1500_OM_US.book Page 373
Page 383 of 674

STARTING AND OPERATING 381
The system will then instruct the driver to check their
surroundings and move backward.Check Surroundings — Move Backwards Your vehicle is now in the parallel park position. When the
maneuver is complete, the driver will be instructed to check
the vehicle's parking position. If the driver is satisfied with
the vehicle position, they should shift to PARK. The "Active
ParkSense Complete - Check Parking Position" message will
be momentarily displayed.
Perpendicular Parking Space Assistance Operation/
Display
When the ParkSense Active Park Assist system is enabled,
the “Active ParkSense Searching - Push OK to Switch to
Perpendicular Park” message will show in the instrument
cluster display. Push the OK button on the left side steering
wheel switch to change your parking space setting to a
perpendicular maneuver. You may switch back to parallel
parking if you desire.
5
2020_DT_1500_OM_US.book Page 381
Page 397 of 674
STARTING AND OPERATING 395
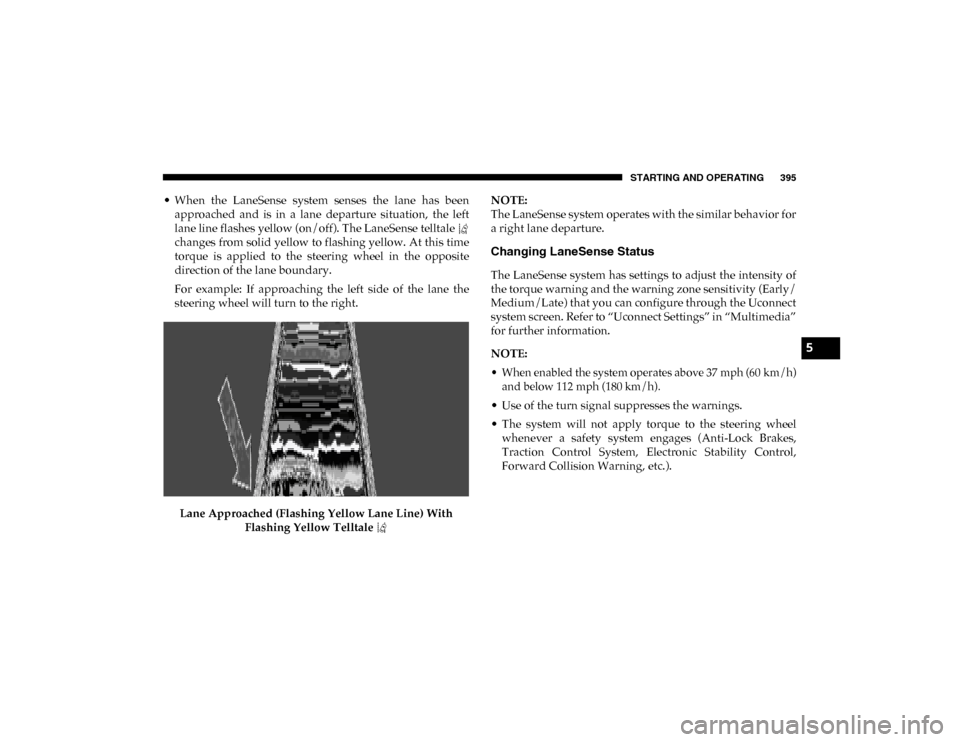
• When the LaneSense system senses the lane has beenapproached and is in a lane departure situation, the left
lane line flashes yellow (on/off). The LaneSense telltale
changes from solid yellow to flashing yellow. At this time
torque is applied to the steering wheel in the opposite
direction of the lane boundary.
For example: If approaching the left side of the lane the
steering wheel will turn to the right.
Lane Approached (Flashing Yellow Lane Line) With Flashing Yellow Telltale NOTE:
The LaneSense system operates with the similar behavior for
a right lane departure.
Changing LaneSense Status
The LaneSense system has settings to adjust the intensity of
the torque warning and the warning zone sensitivity (Early/
Medium/Late) that you can configure through the Uconnect
system screen. Refer to “Uconnect Settings” in “Multimedia”
for further information.
NOTE:
• When enabled the system operates above 37 mph (60 km/h)
and below 112 mph (180 km/h).
• Use of the turn signal suppresses the warnings.
• The system will not apply torque to the steering wheel whenever a safety system engages (Anti-Lock Brakes,
Traction Control System, Electronic Stability Control,
Forward Collision Warning, etc.).
5
2020_DT_1500_OM_US.book Page 395