headlight Ram 1500 2020 Owner's Guide
[x] Cancel search | Manufacturer: RAM, Model Year: 2020, Model line: 1500, Model: Ram 1500 2020Pages: 674, PDF Size: 32.69 MB
Page 440 of 674

438 IN CASE OF EMERGENCY
Replacing Exterior Bulbs
Base Quad: Low Beam Headlamp, High Beam Headlamp,
Front Park And Turn — If Equipped
Low Beam
1. Open the hood.
2. Disconnect and isolate the negative battery cable.
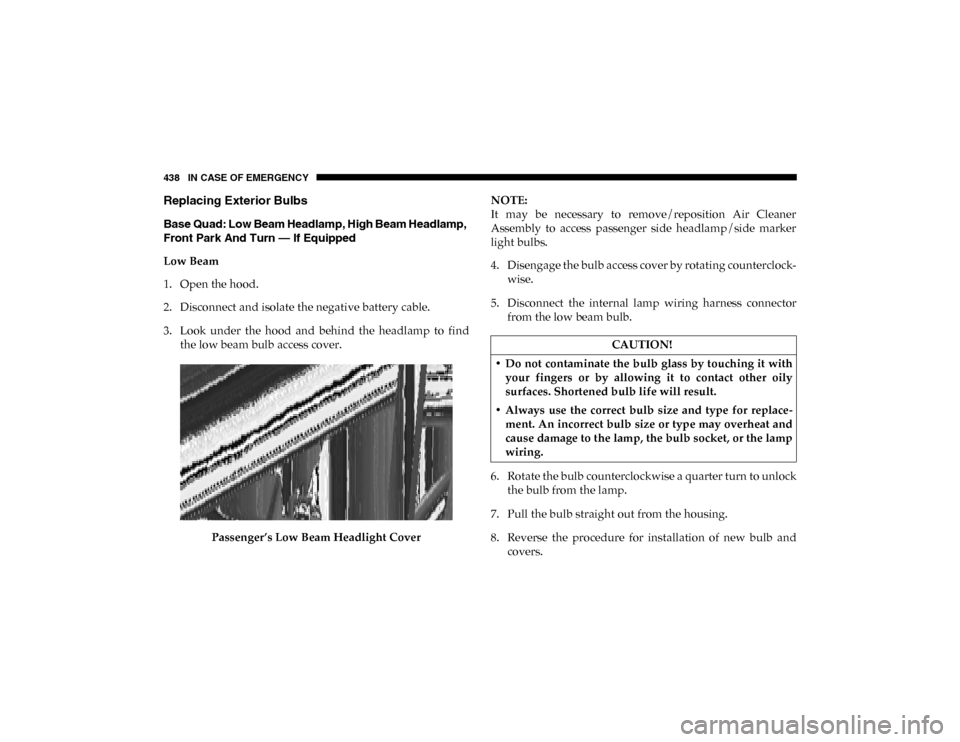
3. Look under the hood and behind the headlamp to findthe low beam bulb access cover.
Passenger’s Low Beam Headlight Cover NOTE:
It may be necessary to remove/reposition Air Cleaner
Assembly to access passenger side headlamp/side marker
light bulbs.
4. Disengage the bulb access cover by rotating counterclock
-
wise.
5. Disconnect the internal lamp wiring harness connector from the low beam bulb.
6. Rotate the bulb counterclockwise a quarter turn to unlock the bulb from the lamp.
7. Pull the bulb straight out from the housing.
8. Reverse the procedure for installation of new bulb and covers.
CAUTION!
• Do not contaminate the bulb glass by touching it with your fingers or by allowing it to contact other oily
surfaces. Shortened bulb life will result.
• Always use the correct bulb size and type for replace -
ment. An incorrect bulb size or type may overheat and
cause damage to the lamp, the bulb socket, or the lamp
wiring.
2020_DT_1500_OM_US.book Page 438
Page 441 of 674

IN CASE OF EMERGENCY 439
High Beam
1. Open the hood.
2. Disconnect and isolate the negative battery cable.
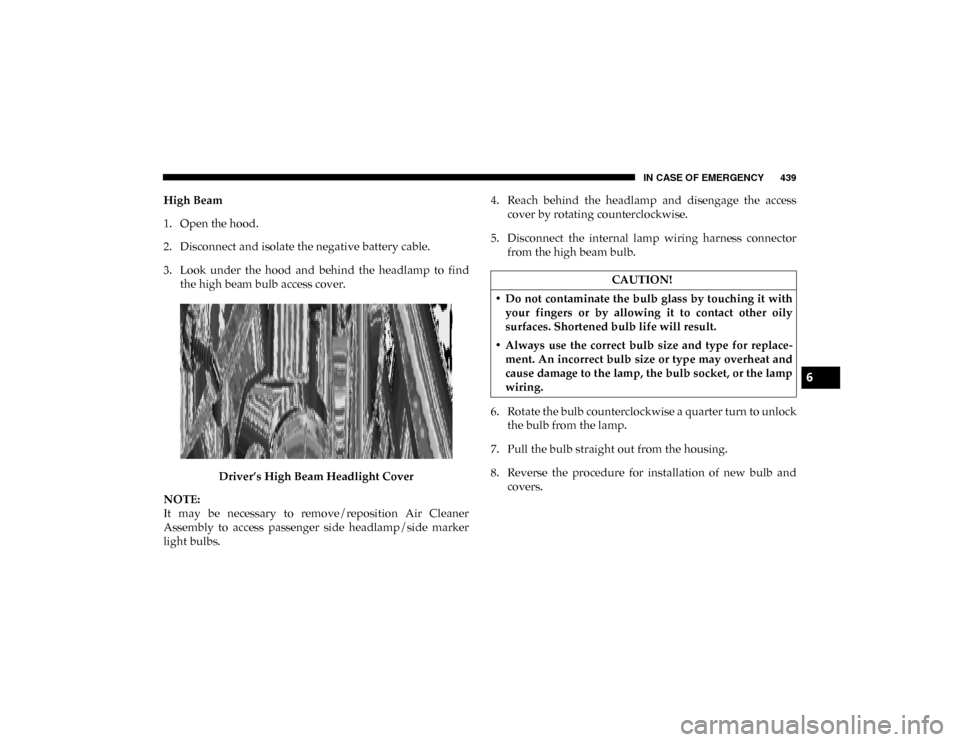
3. Look under the hood and behind the headlamp to findthe high beam bulb access cover.
Driver’s High Beam Headlight Cover
NOTE:
It may be necessary to remove/reposition Air Cleaner
Assembly to access passenger side headlamp/side marker
light bulbs. 4. Reach behind the headlamp and disengage the access
cover by rotating counterclockwise.
5. Disconnect the internal lamp wiring harness connector from the high beam bulb.
6. Rotate the bulb counterclockwise a quarter turn to unlock the bulb from the lamp.
7. Pull the bulb straight out from the housing.
8. Reverse the procedure for installation of new bulb and covers.
CAUTION!
• Do not contaminate the bulb glass by touching it with your fingers or by allowing it to contact other oily
surfaces. Shortened bulb life will result.
• Always use the correct bulb size and type for replace -
ment. An incorrect bulb size or type may overheat and
cause damage to the lamp, the bulb socket, or the lamp
wiring.
6
2020_DT_1500_OM_US.book Page 439
Page 474 of 674

472 IN CASE OF EMERGENCY
JUMP STARTING
If your vehicle has a discharged battery, it can be jump
started using a set of jumper cables and a battery in another
vehicle, or by using a portable battery booster pack. Jump
starting can be dangerous if done improperly, so please
follow the procedures in this section carefully.
NOTE:
When using a portable battery booster pack, follow the
manufacturer's operating instructions and precautions.
Preparations For Jump Start
The battery in your vehicle is located in the front of the
engine compartment, behind the left headlight assembly.
NOTE:
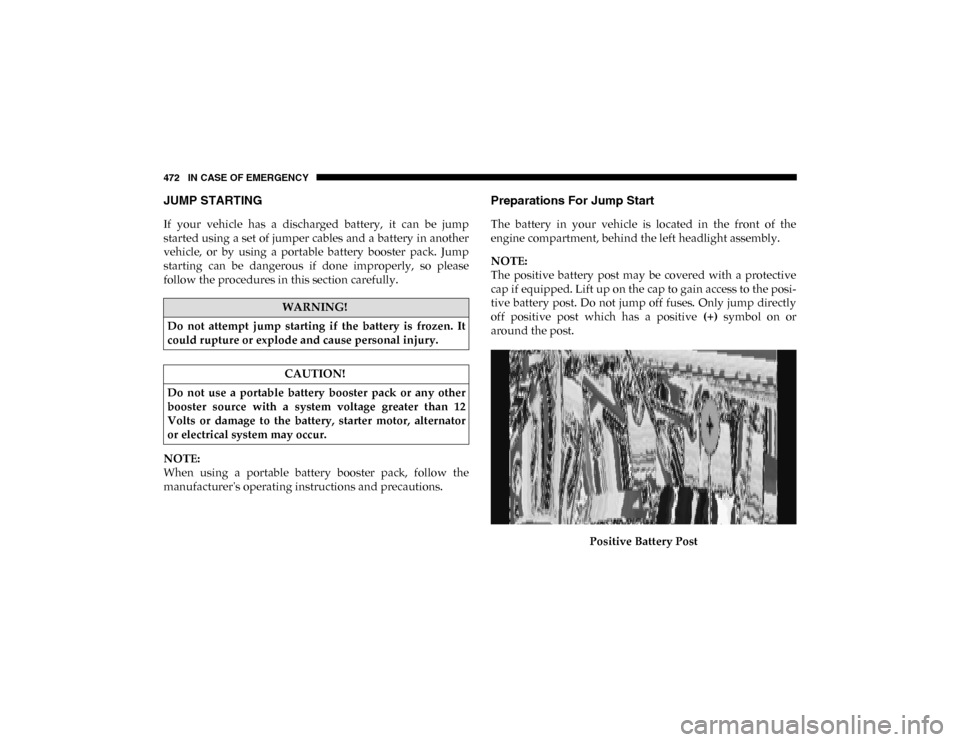
The positive battery post may be covered with a protective
cap if equipped. Lift up on the cap to gain access to the posi-
tive battery post. Do not jump off fuses. Only jump directly
off positive post which has a positive (+) symbol on or
around the post.
Positive Battery Post
WARNING!
Do not attempt jump starting if the battery is frozen. It
could rupture or explode and cause personal injury.
CAUTION!
Do not use a portable battery booster pack or any other
booster source with a system voltage greater than 12
Volts or damage to the battery, starter motor, alternator
or electrical system may occur.
2020_DT_1500_OM_US.book Page 472
Page 542 of 674

540 SERVICING AND MAINTENANCE
What Causes Corrosion?
Corrosion is the result of deterioration or removal of paint
and protective coatings from your vehicle.
The most common causes are:
• Road salt, dirt and moisture accumulation.
• Stone and gravel impact.
• Insects, tree sap and tar.
• Salt in the air near seacoast localities.
• Atmospheric fallout/industrial pollutants.
Body And Underbody Maintenance
Cleaning Headlights
Your vehicle is equipped with plastic headlights and fog
lights that are lighter and less susceptible to stone breakage
than glass headlights.
Plastic is not as scratch resistant as glass and therefore
different lens cleaning procedures must be followed.
To minimize the possibility of scratching the lenses and
reducing light output, avoid wiping with a dry cloth. To
remove road dirt, wash with a mild soap solution followed
by rinsing.Do not use abrasive cleaning components, solvents, steel
wool or other aggressive material to clean the lenses.
Tri-Fold Soft Tonneau Cover Care
For cleaning and protecting the vinyl Tri-Fold Tonneau
cover, use Mopar Whitewall & Vinyl Top Cleaner and Mopar
Leather and Vinyl Conditioner/Protectant.
Preserving The Bodywork
Washing
• Wash your vehicle regularly. Always wash your vehicle in
the shade using Mopar Car Wash, or a mild car wash soap,
and rinse the panels completely with clear water.
• If insects, tar, or other similar deposits have accumulated on your vehicle, use Mopar Super Kleen Bug and Tar
Remover to remove.
• Use a high quality cleaner wax, such as Mopar Cleaner Wax to remove road film, stains and to protect your paint
finish. Take care never to scratch the paint.
• Avoid using abrasive compounds and power buffing that may diminish the gloss or thin out the paint finish.
2020_DT_1500_OM_US.book Page 540
Page 567 of 674

MULTIMEDIA 565
Brakes — If Equipped
After pressing the Brakes button on the touchscreen, the following setting will be available:
Lights
After pressing the Lights button on the touchscreen, the following settings will be available:Setting Name
Selectable Options
Brake Service YesNo
NOTE:
Selecting the “Brake Service” feature will display a pop-up asking whether or not you would like to retract the park brakes
to all brake system service. Auto Park Brake OnOff
Setting Name Selectable Options
Headlight Off Delay 0 sec
30 sec
60 sec 90 sec
Headlight Illumination On Approach 0 sec
30 sec
60 sec 90 sec
NOTE:
When the “Headlight Illumination On Approach” feature is selected, it allows the adjustment of the amount of time the head -
lights remain on when the doors are unlocked with the key fob.
Headlights With Wipers — If Equipped On
Off
9
2020_DT_1500_OM_US.book Page 565
Page 568 of 674

566 MULTIMEDIA
Doors & Locks
After pressing the Doors & Locks button on the touchscreen, the following settings will be available:Auto Dim High Beams — If Equipped
OnOff
Flash Lights With Lock OnOff
NOTE:
When the “Flash Lights With Lock” feature is selected, the exterior lights flash when the doors are locked or unlocked with
the key fob. This feature may be selected with or without the sound horn on lock feature selected. Steering Directed Lights — If Equipped On
Off
NOTE:
When the “Steering Directed Lights” feature is selected, the headlights turn with the direction of the steering wheel. Setting Name
Selectable Options
Setting NameSelectable Options
Auto Door Locks — If Equipped On
Off
NOTE:
When the “Auto Door Locks” feature is selected, all doors lock automatically when the vehicle reaches a speed of 15 mph
(24 km/h).
2020_DT_1500_OM_US.book Page 566
Page 571 of 674

MULTIMEDIA 569
Auto Comfort Systems — If Equipped
After pressing the Auto-On Comfort button on the touchscreen, the following settings will be available:
Engine Off Options
After pressing the Engine Off Options button on the touchscreen, the following settings will be available:Setting Name
Selectable Options
Auto-On Driver Heated/
Ventilated Seat & Steering
Wheel With Vehicle Start — If Equipped Off
Remote Start Only All Starts
NOTE:
When the “Auto-On Driver Heated/Ventilated Seat & Steering Wheel With Vehicle Start” feature is selected, the driver's
heated seat and heated steering wheel will automatically turn on when temperatures are below 40°F (4.4°C). When tempera -
tures are above 80°F (26.7°C), the driver vented seat will turn on.
Setting Name Selectable Options
Easy Exit Seats — If Equipped OnOff
Headlight Off Delay 0 sec
30 sec
60 sec 90 sec
Engine Off Power Delay 0 sec
45 sec
5 min 10 min
Auto Entry/Exit — If Equipped OnOff
9
2020_DT_1500_OM_US.book Page 569
Page 579 of 674

MULTIMEDIA 577
Language
After pressing the Language button on the touchscreen, the following settings will be available:
Display
After pressing the Display button on the touchscreen, the following settings will be available:Setting Name
Selectable Options
Set Language EnglishFrançais Español
NOTE:
When the “Set Language” feature is selected, you may select one of multiple languages (English / Français / Español) for all
display nomenclature, including the trip functions and the navigation system (if equipped). Press the Set Language button
on the touchscreen, and then press the desired language button on the touchscreen until a check-mark appears next to the
language, showing that setting has been selected.
Setting Name Selectable Options
Display Mode AutoManual
NOTE:
When Day or Night is selected for the Display Mode, the usage of the Parade Mode feature will cause the radio to activate
the Display Brightness Day control even though the headlights are on. Display Brightness With Headlights ON –
+
NOTE:
To make changes to the "Display Brightness with Headlights ON" setting, the headlights must be on and the interior dimmer
switch must not be in the "party" or "parade" positions.
9
2020_DT_1500_OM_US.book Page 577
Page 580 of 674

578 MULTIMEDIA
Display Brightness With Headlights OFF –
+
NOTE:
To make changes to the "Display Brightness with Headlights OFF" setting, the headlights must be off and the interior dimmer
switch must not be in the "party" or "parade" positions. Set Theme — If Equipped Pre-configured Themes
Touchscreen Beep OnOff
Controls Screen Time-Out — If Equipped On
Off
Fuel Saver Display in Cluster — If Equipped On
Off
NOTE:
When selected, the system displays fuel saver mode in the instrument cluster. Navigation Next Turn Pop-ups
Displayed In Cluster — If Equipped On
Off
Phone Pop-ups Displayed in Cluster — If Equipped On
Off
Setting Name
Selectable Options
2020_DT_1500_OM_US.book Page 578
Page 586 of 674

584 MULTIMEDIA
Brakes
After pressing the Brakes button on the touchscreen, the following settings will be available:Rain Sensing Auto Wipers — If
Equipped On
Off
NOTE:
Automatically adjusts the wiper speed based on the amount of precipitation. Headlights with Wipers OnOff
Setting Name
Selectable Options
Setting NameSelectable Options
Brake Service YesNo
NOTE:
Selecting the “Brake Service” feature will display a pop-up asking whether or you would like to retract the park brakes to all
brake system service. Auto Park Brake OnOff
2020_DT_1500_OM_US.book Page 584