start stop button Ram 1500 2020 Owner's Guide
[x] Cancel search | Manufacturer: RAM, Model Year: 2020, Model line: 1500, Model: Ram 1500 2020Pages: 674, PDF Size: 32.69 MB
Page 353 of 674

STARTING AND OPERATING 351
Brake Alert
NOTE:
The “BRAKE!” Screen in the instrument cluster display is a
warning for the driver to take action and does not necessarily
mean that the Forward Collision Warning system is
applying the brakes autonomously.
Overtake Aid
When driving with Adaptive Cruise Control (ACC)
engaged, and following a vehicle, the system will provide an
additional acceleration up to the ACC set speed to assist in passing the vehicle. This additional acceleration is triggered
when the driver utilizes the left turn signal and will only be
active when passing on the left hand side.
ACC Operation At Stop
In the event that the ACC system brings your vehicle to a
standstill while following a target vehicle, if the target
vehicle starts moving within two seconds of your vehicle
coming to a standstill, your vehicle will resume motion
without the need for any driver action.
If the target vehicle does not start moving within two
seconds of your vehicle coming to a standstill, the driver will
either have to push the RES (resume) button, or apply the
accelerator pedal to reengage the ACC to the existing Set
Speed.
NOTE:
After the ACC system holds your vehicle at a standstill for
approximately 3 consecutive minutes, the parking brake will
be activated, and the ACC system will be cancelled.
While ACC is holding your vehicle at a standstill, if the
driver seatbelt is unbuckled or the driver door is opened, the
parking brake will be activated, and the ACC system will be
cancelled.
5
2020_DT_1500_OM_US.book Page 351
Page 418 of 674

416 STARTING AND OPERATING
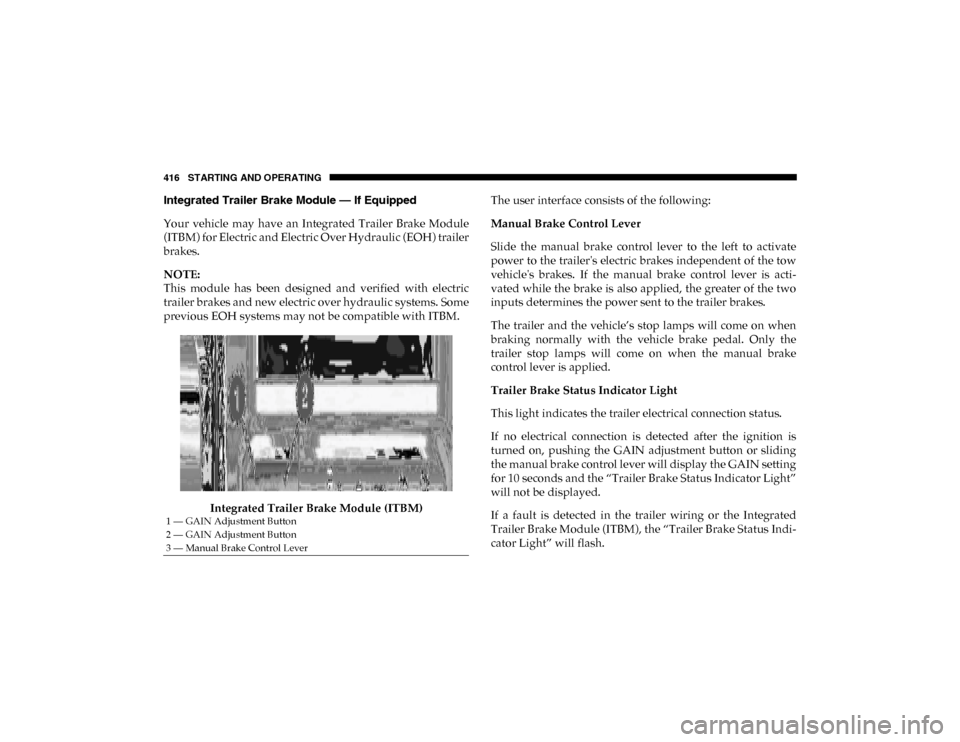
Integrated Trailer Brake Module — If Equipped
Your vehicle may have an Integrated Trailer Brake Module
(ITBM) for Electric and Electric Over Hydraulic (EOH) trailer
brakes.
NOTE:
This module has been designed and verified with electric
trailer brakes and new electric over hydraulic systems. Some
previous EOH systems may not be compatible with ITBM.Integrated Trailer Brake Module (ITBM) The user interface consists of the following:
Manual Brake Control Lever
Slide the manual brake control lever to the left to activate
power to the trailer's electric brakes independent of the tow
vehicle's brakes. If the manual brake control lever is acti
-
vated while the brake is also applied, the greater of the two
inputs determines the power sent to the trailer brakes.
The trailer and the vehicle’s stop lamps will come on when
braking normally with the vehicle brake pedal. Only the
trailer stop lamps will come on when the manual brake
control lever is applied.
Trailer Brake Status Indicator Light
This light indicates the trailer electrical connection status.
If no electrical connection is detected after the ignition is
turned on, pushing the GAIN adjustment button or sliding
the manual brake control lever will display the GAIN setting
for 10 seconds and the “Trailer Brake Status Indicator Light”
will not be displayed.
If a fault is detected in the trailer wiring or the Integrated
Trailer Brake Module (ITBM), the “Trailer Brake Status Indi -
cator Light” will flash.
1 — GAIN Adjustment Button
2 — GAIN Adjustment Button
3 — Manual Brake Control Lever
2020_DT_1500_OM_US.book Page 416
Page 427 of 674

STARTING AND OPERATING 425
1. Bring the vehicle to a complete stop on level ground, withthe engine running. Apply the parking brake.
2. Press and hold the brake pedal.
3. Shift the transmission to NEUTRAL. The driver's door must be closed (or the driver's seat belt buckled) so that
the transmission will remain in NEUTRAL when the
brake pedal is released.
NOTE:
If vehicle is equipped with air suspension, ensure the vehicle
is set to Normal Ride Height.
4. Using a ballpoint pen or similar object, push and hold the recessed transfer case NEUTRAL (N) button (at the center
of the transfer case switches). The NEUTRAL (N) indi -
cator light will illuminate, and remain lit, when the shift
to NEUTRAL (N) is complete. After the shift is completed
and the NEUTRAL (N) light stays on, release the
NEUTRAL (N) button. 5. Release the parking brake.
6. Shift the transmission into REVERSE.
7. Release the brake pedal for five seconds and ensure that
there is no vehicle movement.
8. Repeat steps 6 and 7 with the transmission in DRIVE.
9. Shift the transmission to NEUTRAL. Apply the parking brake. Turn OFF the engine. For vehicles with Keyless
Enter-N-Go, push and hold the ENGINE START/STOP
button until the engine shuts off. The transmission will
automatically select PARK when the engine is turned off.
10. Turn the ignition to the OFF mode.
11. Attach the vehicle to the tow vehicle using a suitable tow bar.
12. Turn the ignition to the ON/RUN mode, but do not start the engine.
13. Release the parking brake.
14. Turn the ignition OFF.
CAUTION!
It is necessary to follow these steps to be certain that the
transfer case is fully in NEUTRAL (N) before
recreational towing to prevent damage to internal parts.
5
2020_DT_1500_OM_US.book Page 425
Page 428 of 674

426 STARTING AND OPERATING
NOTE:
• Steps 2 and 3 are requirements that must be met beforepushing the NEUTRAL (N) button, and must continue to
be met until the shift has been completed. If any of these
requirements are not met before pushing the NEUTRAL
(N) button or are no longer met during the shift, the
NEUTRAL (N) indicator light will flash continuously until
all requirements are met or until the NEUTRAL (N) button
is released.
• The ignition must be in the ON/RUN mode for a shift to take place and for the position indicator lights to be oper -
able. If the ignition is not in the ON/RUN mode, the shift
will not take place and no position indicator lights will be
on or flashing.
• A flashing NEUTRAL (N) position indicator light indi -
cates that shift requirements have not been met.
• If the vehicle is equipped with air suspension, the engine should be started and left running for a minimum of 60
seconds (with all the doors closed) at least once every 24
hours. This process allows the air suspension to adjust the
vehicle’s ride height to compensate for temperature
effects. Shifting Out Of NEUTRAL (N)
Use the following procedure to prepare your vehicle for
normal usage:
1. Bring the vehicle to a complete stop, leaving it connected
to the tow vehicle.
2. Press and hold the brake pedal.
3. Start the engine. Apply the parking brake. Shift the trans -
mission into NEUTRAL.
4. Using a ballpoint pen or similar object, push and hold the recessed transfer case NEUTRAL (N) button (at the center
of the transfer case switches).
5. When the NEUTRAL (N) indicator light turns off, release the NEUTRAL (N) button.
6. Turn the engine OFF. The transmission will automatically select PARK when the engine is turned off.
7. Release the brake pedal.
8. Disconnect vehicle from the tow vehicle.
9. Press and hold the brake pedal.
2020_DT_1500_OM_US.book Page 426
Page 612 of 674

610 MULTIMEDIA
Doors & Locks
After pressing the Doors & Locks button on the touchscreen, the following settings will be available:Setting Name Selectable Options
Auto Door Locks On Off
Auto Unlock On Exit OnOff
NOTE:
When the “Auto Unlock On Exit” feature is selected, all doors unlock when the vehicle is stopped and the transmission is in
the PARK or NEUTRAL position and the driver's door is opened. Flash Lights With Lock OnOff
NOTE:
When the “Flash Lights With Lock” feature is selected, the front and rear turn signals flash when the doors are locked or
unlocked with the key fob. This feature may be selected with or without the “Sound Horn With Lock” feature selected.
Sound Horn With Lock — If Equipped Off1st Press 2nd Press
Sound Horn With Remote Start OnOff
2020_DT_1500_OM_US.book Page 610
Page 631 of 674

MULTIMEDIA 629
Get Started
All you need to control your Uconnect system with your
voice are the buttons on your steering wheel.
1. Visit UconnectPhone.com to check mobile device and
feature compatibility and to find phone pairing instruc -
tions.
2. Reduce background noise. Wind noise and passenger conversations are examples of noise that may impact
recognition.
3. Speak clearly at a normal pace and volume while facing straight ahead. The microphone is located in the head -
liner and aimed at the driver.
4. Each time you give a Voice Command, you must first push either the VR or Phone button, wait until after the
beep, then say your Voice Command.
5. You can interrupt the help message or system prompts by pushing the VR or Phone button and saying a Voice
Command from current category.
Basic Voice Commands
The basic Voice Commands below can be given at any point
while using your Uconnect system.
Push the VR button . After the beep, say:
• “Cancel ” to stop a current voice session.
• “Help ” to hear a list of suggested Voice Commands.
• “Repeat ” to listen to the system prompts again.
Notice the visual cues that inform you of your voice recogni -
tion system’s status. Cues appear on the top of the touch -
screen.
Uconnect 3 With 5-inch Display
9
2020_DT_1500_OM_US.book Page 629