check engine light Ram 1500 2020 Owner's Manual
[x] Cancel search | Manufacturer: RAM, Model Year: 2020, Model line: 1500, Model: Ram 1500 2020Pages: 674, PDF Size: 32.69 MB
Page 33 of 674

GETTING TO KNOW YOUR VEHICLE 31
SENTRY KEY
The Sentry Key Immobilizer system prevents unauthorized
vehicle operation by disabling the engine. The system does
not need to be armed or activated. Operation is automatic,
regardless of whether the vehicle is locked or unlocked.
The system uses a key fob, keyless push button ignition and
a Radio Frequency (RF) receiver to prevent unauthorized
vehicle operation. Therefore, only key fobs that are
programmed to the vehicle can be used to start and operate
the vehicle. The system cannot reprogram a key fob obtained
from another vehicle.
After placing the ignition switch in the ON/RUN position,
the vehicle security light will turn on for three seconds for a
bulb check. If the light remains on after the bulb check, it
indicates that there is a problem with the electronics. In addi-
tion, if the light begins to flash after the bulb check, it indi -
cates that someone attempted to start the engine with an
invalid key fob. In the event that a valid key fob is used to
start the engine but there is an issue with the vehicle elec -
tronics, the engine will start and shut off after two seconds. If the vehicle security light turns on during normal vehicle
operation (vehicle running for longer than ten seconds), it
indicates that there is a fault in the electronics. Should this
occur, have the vehicle serviced as soon as possible by an
authorized dealer.
All of the key fobs provided with your new vehicle have
been programmed to the vehicle electronics.
Key Programming
Programming key fobs may be performed at an authorized
dealer.
CAUTION!
The Sentry Key Immobilizer system is not compatible
with some aftermarket remote starting systems. Use of
these systems may result in vehicle starting problems
and loss of security protection.
2
2020_DT_1500_OM_US.book Page 31
Page 183 of 674
GETTING TO KNOW YOUR INSTRUMENT PANEL 181
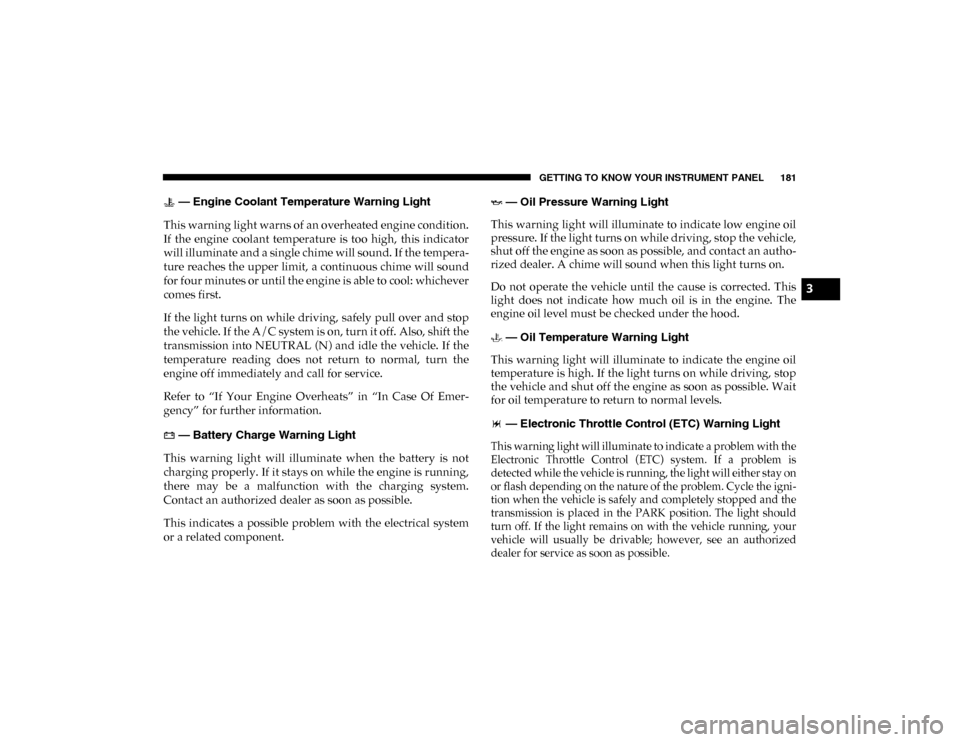
— Engine Coolant Temperature Warning Light
This warning light warns of an overheated engine condition.
If the engine coolant temperature is too high, this indicator
will illuminate and a single chime will sound. If the tempera -
ture reaches the upper limit, a continuous chime will sound
for four minutes or until the engine is able to cool: whichever
comes first.
If the light turns on while driving, safely pull over and stop
the vehicle. If the A/C system is on, turn it off. Also, shift the
transmission into NEUTRAL (N) and idle the vehicle. If the
temperature reading does not return to normal, turn the
engine off immediately and call for service.
Refer to “If Your Engine Overheats” in “In Case Of Emer -
gency” for further information.
— Battery Charge Warning Light
This warning light will illuminate when the battery is not
charging properly. If it stays on while the engine is running,
there may be a malfunction with the charging system.
Contact an authorized dealer as soon as possible.
This indicates a possible problem with the electrical system
or a related component. — Oil Pressure Warning Light
This warning light will illuminate to indicate low engine oil
pressure. If the light turns on while driving, stop the vehicle,
shut off the engine as soon as possible, and contact an autho -
rized dealer. A chime will sound when this light turns on.
Do not operate the vehicle until the cause is corrected. This
light does not indicate how much oil is in the engine. The
engine oil level must be checked under the hood.
— Oil Temperature Warning Light
This warning light will illuminate to indicate the engine oil
temperature is high. If the light turns on while driving, stop
the vehicle and shut off the engine as soon as possible. Wait
for oil temperature to return to normal levels.
— Electronic Throttle Control (ETC) Warning Light
This warning light will illuminate to indicate a problem with the
Electronic Throttle Control (ETC) system. If a problem is
detected while the vehicle is running, the light will either stay on
or flash depending on the nature of the problem. Cycle the igni -
tion when the vehicle is safely and completely stopped and the
transmission is placed in the PARK position. The light should
turn off. If the light remains on with the vehicle running, your
vehicle will usually be drivable; however, see an authorized
dealer for service as soon as possible.
3
2020_DT_1500_OM_US.book Page 181
Page 184 of 674
182 GETTING TO KNOW YOUR INSTRUMENT PANEL
NOTE:
This light may turn on if the accelerator and brake pedals are
pressed at the same time.
If the light continues to flash when the vehicle is running,
immediate service is required and you may experience
reduced performance, an elevated/rough idle, or engine
stall and your vehicle may require towing. The light will
come on when the ignition is placed in the ON/RUN or
ACC/ON/RUN position and remain on briefly as a bulb
check. If the light does not come on during starting, have the
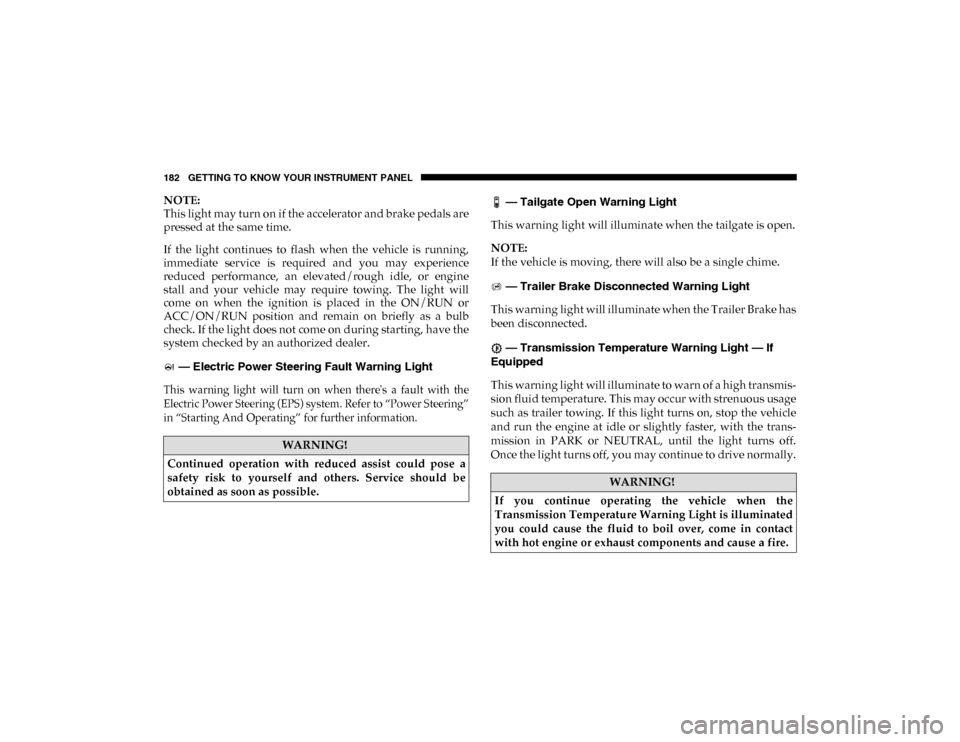
system checked by an authorized dealer. — Electric Power Steering Fault Warning Light
This warning light will turn on when there's a fault with the
Electric Power Steering (EPS) system. Refer to “Power Steering”
in “Starting And Operating” for further information.
— Tailgate Open Warning Light
This warning light will illuminate when the tailgate is open.
NOTE:
If the vehicle is moving, there will also be a single chime.
— Trailer Brake Disconnected Warning Light
This warning light will illuminate when the Trailer Brake has
been disconnected.
— Transmission Temperature Warning Light — If
Equipped
This warning light will illuminate to warn of a high transmis -
sion fluid temperature. This may occur with strenuous usage
such as trailer towing. If this light turns on, stop the vehicle
and run the engine at idle or slightly faster, with the trans -
mission in PARK or NEUTRAL, until the light turns off.
Once the light turns off, you may continue to drive normally.
WARNING!
Continued operation with reduced assist could pose a
safety risk to yourself and others. Service should be
obtained as soon as possible.
WARNING!
If you continue operating the vehicle when the
Transmission Temperature Warning Light is illuminated
you could cause the fluid to boil over, come in contact
with hot engine or exhaust components and cause a fire.
2020_DT_1500_OM_US.book Page 182
Page 185 of 674
GETTING TO KNOW YOUR INSTRUMENT PANEL 183
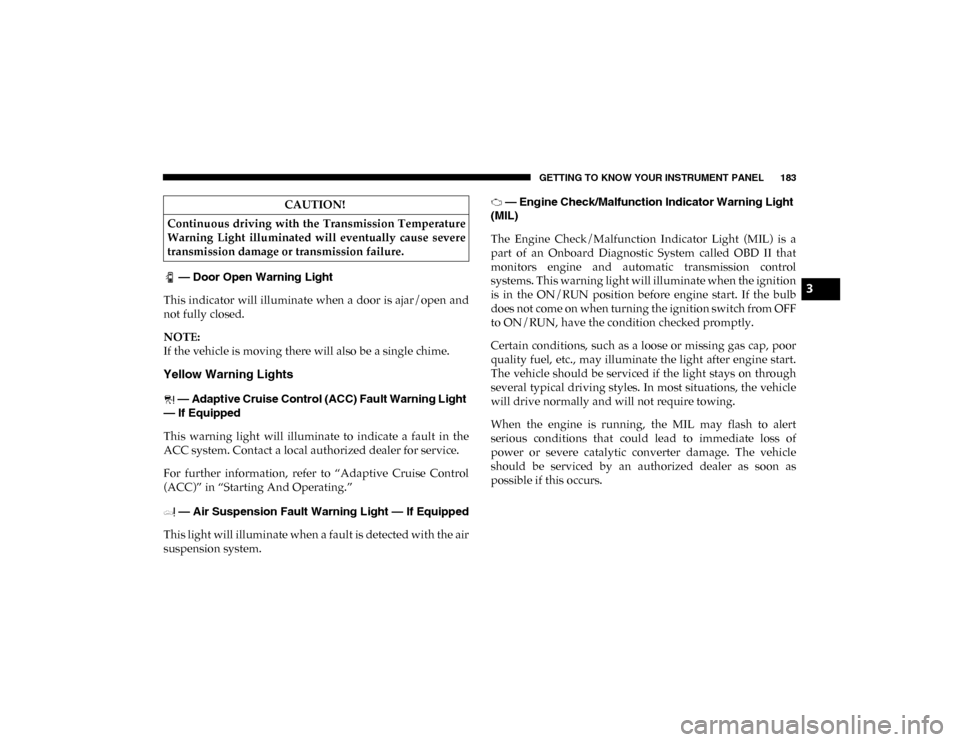
— Door Open Warning Light
This indicator will illuminate when a door is ajar/open and
not fully closed.
NOTE:
If the vehicle is moving there will also be a single chime.
Yellow Warning Lights
— Adaptive Cruise Control (ACC) Fault Warning Light
— If Equipped
This warning light will illuminate to indicate a fault in the
ACC system. Contact a local authorized dealer for service.
For further information, refer to “Adaptive Cruise Control
(ACC)” in “Starting And Operating.”
— Air Suspension Fault Warning Light — If Equipped
This light will illuminate when a fault is detected with the air
suspension system. — Engine Check/Malfunction Indicator Warning Light
(MIL)
The Engine Check/Malfunction Indicator Light (MIL) is a
part of an Onboard Diagnostic System called OBD II that
monitors engine and automatic transmission control
systems. This warning light will illuminate when the ignition
is in the ON/RUN position before engine start. If the bulb
does not come on when turning the ignition switch from OFF
to ON/RUN, have the condition checked promptly.
Certain conditions, such as a loose or missing gas cap, poor
quality fuel, etc., may illuminate the light after engine start.
The vehicle should be serviced if the light stays on through
several typical driving styles. In most situations, the vehicle
will drive normally and will not require towing.
When the engine is running, the MIL may flash to alert
serious conditions that could lead to immediate loss of
power or severe catalytic converter damage. The vehicle
should be serviced by an authorized dealer as soon as
possible if this occurs.
CAUTION!
Continuous driving with the Transmission Temperature
Warning Light illuminated will eventually cause severe
transmission damage or transmission failure.
3
2020_DT_1500_OM_US.book Page 183
Page 198 of 674
196 GETTING TO KNOW YOUR INSTRUMENT PANEL
EMISSIONS INSPECTION AND MAINTENANCE
PROGRAMS
In some localities, it may be a legal requirement to pass an
inspection of your vehicle's emissions control system. Failure
to pass could prevent vehicle registration.For states that require an Inspection and Mainte -
nance (I/M), this check verifies the “Malfunction
Indicator Light (MIL)” is functioning and is not on
when the engine is running, and that the OBD II system is
ready for testing.
Normally, the OBD II system will be ready. The OBD II
system may not be ready if your vehicle was recently
serviced, recently had a depleted battery or a battery replace -
ment. If the OBD II system should be determined not ready
for the I/M test, your vehicle may fail the test.
Your vehicle has a simple ignition actuated test, which you
can use prior to going to the test station. To check if your
vehicle's OBD II system is ready, you must do the following: 1. Cycle the ignition switch to the ON position, but do not
crank or start the engine.
NOTE:
If you crank or start the engine, you will have to start this test
over.
2. As soon as you cycle the ignition switch to the ON posi -
tion, you will see the “Malfunction Indicator Light (MIL)”
symbol come on as part of a normal bulb check.
3. Approximately 15 seconds later, one of two things will happen:
• The MIL will flash for about 10 seconds and then return to being fully illuminated until you turn OFF the igni -
tion or start the engine. This means that your vehicle's
OBD II system is not ready and you should not proceed
to the I/M station.
• The MIL will not flash at all and will remain fully illu -
minated until you place the ignition in the off position
or start the engine. This means that your vehicle's OBD
II system is ready and you can proceed to the I/M
station.
2020_DT_1500_OM_US.book Page 196
Page 249 of 674
SAFETY 247
system is designed to be maintenance free, if any of the
following occurs, have an authorized dealer service the air
bag system immediately.
• The Air Bag Warning Light does not come on during thefour to eight seconds when the ignition switch is first in the
ON/RUN position.
• The Air Bag Warning Light remains on after the four to eight-second interval.
• The Air Bag Warning Light comes on intermittently or remains on while driving.
NOTE:
If the speedometer, tachometer, or any engine related gauges
are not working, the Occupant Restraint Controller (ORC)
may also be disabled. In this condition the air bags may not
be ready to inflate for your protection. Have an authorized
dealer service the air bag system immediately. Redundant Air Bag Warning Light
If a fault with the Air Bag Warning Light is detected, which
could affect the Supplemental Restraint System (SRS), the
Redundant Air Bag Warning Light will illuminate on the
instrument panel. The Redundant Air Bag Warning Light
will stay on until the fault is cleared. In addition, a single
chime will sound to alert you that the Redundant Air Bag
Warning Light has come on and a fault has been detected. If
the Redundant Air Bag Warning Light comes on intermit
-
tently or remains on while driving have an authorized dealer
service the vehicle immediately.
For additional information regarding the Redundant Air Bag
Warning Light refer to “Getting To Know Your Instrument
Panel” section of this manual.
Front Air Bags
This vehicle has front air bags and lap/shoulder belts for
both the driver and front passenger. The front air bags are a
supplement to the seat belt restraint systems. The driver
front air bag is mounted in the center of the steering wheel.
The passenger front air bag is mounted in the instrument
panel, above the glove compartment. The words “SRS
AIRBAG” or “AIRBAG” are embossed on the air bag covers.
WARNING!
Ignoring the Air Bag Warning Light in your instrument
panel could mean you won’t have the air bag system to
protect you in a collision. If the light does not come on as
a bulb check when the ignition is first turned on, stays
on after you start the vehicle, or if it comes on as you
drive, have an authorized dealer service the air bag
system immediately.
4
2020_DT_1500_OM_US.book Page 247
Page 265 of 674

SAFETY 263
(Continued)
Your vehicle may also be designed to perform any of these
other functions in response to the Enhanced Accident
Response System:
• Turn off the Fuel Filter Heater, Turn off the HVAC BlowerMotor, Close the HVAC Circulation Door
• Cut off battery power to the: • Engine
• Electric Motor (if equipped)
• Electric power steering
• Brake booster
• Electric park brake
• Automatic transmission gear selector
• Horn
• Front wiper
• Headlamp washer pump
NOTE:
After an accident, remember to cycle the ignition to the STOP
(OFF/LOCK) position and remove the key from the ignition
switch to avoid draining the battery. Carefully check the
vehicle for fuel leaks in the engine compartment and on the
ground near the engine compartment and fuel tank before
resetting the system and starting the engine. If there are no
fuel leaks or damage to the vehicle electrical devices (e.g. headlights) after an accident, reset the system by following
the procedure described below. If you have any doubt,
contact an authorized dealer.
Enhanced Accident Response System Reset Procedure
In order to reset the Enhanced Accident Response System
functions after an event, the ignition switch must be changed
from ignition START or ON/RUN to ignition OFF. Carefully
check the vehicle for fuel leaks in the engine compartment
and on the ground near the engine compartment and fuel
tank before resetting the system and starting the engine.
Maintaining Your Air Bag System
WARNING!
• Modifications to any part of the air bag system could cause it to fail when you need it. You could be injured
if the air bag system is not there to protect you. Do not
modify the components or wiring, including adding
any kind of badges or stickers to the steering wheel hub
trim cover or the upper passenger side of the instru -
ment panel. Do not modify the front bumper, vehicle
body structure, or add aftermarket side steps or
running boards.
4
2020_DT_1500_OM_US.book Page 263
Page 290 of 674
288 SAFETY
(Continued)
• ONLY install floor mats designed to fit your vehicle.NEVER install a floor mat that cannot be properly
attached and secured to your vehicle. If a floor mat
needs to be replaced, only use a FCA approved floor
mat for the specific make, model, and year of your
vehicle.
• ONLY use the driver’s side floor mat on the driver’s side floor area. To check for interference, with the
vehicle properly parked with the engine off, fully
depress the accelerator, the brake, and the clutch pedal
(if present) to check for interference. If your floor mat
interferes with the operation of any pedal, or is not
secure to the floor, remove the floor mat from the
vehicle and place the floor mat in your trunk.
• ONLY use the passenger’s side floor mat on the passenger’s side floor area.
• ALWAYS make sure objects cannot fall or slide into the driver’s side floor area when the vehicle is moving.
Objects can become trapped under accelerator, brake,
or clutch pedals and could cause a loss of vehicle
control.
WARNING! (Continued)
• NEVER place any objects under the floor mat (e.g.,
towels, keys, etc.). These objects could change the posi -
tion of the floor mat and may cause interference with
the accelerator, brake, or clutch pedals.
• If the vehicle carpet has been removed and re-installed, always properly attach carpet to the floor and check the
floor mat fasteners are secure to the vehicle carpet.
Fully depress each pedal to check for interference with
the accelerator, brake, or clutch pedals then re-install
the floor mats.
• It is recommended to only use mild soap and water to clean your floor mats. After cleaning, always check
your floor mat has been properly installed and is
secured to your vehicle using the floor mat fasteners by
lightly pulling mat.
WARNING! (Continued)
2020_DT_1500_OM_US.book Page 288
Page 339 of 674

STARTING AND OPERATING 337
4. If the STOP/START system is manually turned off, theengine can be started and stopped by cycling the ignition
switch or pressing the STOP/START switch again.
5. The STOP/START system will reset itself back to an ON condition every time the key is turned off and back on.
To Manually Turn On The Stop Start System
1. Push the STOP/START Off switch (located near the gearselector module).
2. The light on the switch will turn off.
System Malfunction
If there is a malfunction in the STOP/START system, the
system will not shut down the engine. A “SERVICE STOP/
START SYSTEM” message will appear in the instrument
cluster display. Refer to “Instrument Cluster Display” in
“Getting To Know Your Instrument Panel” for further infor -
mation.
The system will need to be checked by your authorized
dealer.
SPEED CONTROL — IF EQUIPPED
When engaged, the Speed Control takes over accelerator
operations at speeds greater than 20 mph (32 km/h).
The Speed Control buttons are located on the right side of the
steering wheel.
Speed Control Buttons
1 — CANC/Cancel
2 — SET (+)/Accel
3 — On/Off
4 — RES/Resume
5 — SET (-)/Decel
5
2020_DT_1500_OM_US.book Page 337
Page 429 of 674

STARTING AND OPERATING 427
10. Start the engine.
11. Release the parking brake.
12. Shift the transmission into DRIVE, release the brakepedal, and check that the vehicle operates normally.
NOTE:
• Steps 3 and 4 are requirements that must be met before pushing the button to shift out of NEUTRAL (N), and must
continue to be met until the shift has been completed. If
any of these requirements are not met before pushing the
button or are no longer met during the shift, the
NEUTRAL (N) indicator light will flash continuously until
all requirements are met or until the button is released.
• The ignition must be in the ON/RUN mode for a shift to take place and for the position indicator lights to be oper -
able. If the ignition is not in the ON/RUN mode, the shift
will not take place and no position indicator lights will be
on or flashing.
• A flashing NEUTRAL (N) position indicator light indi -
cates that shift requirements have not been met.DRIVING TIPS
Driving On Slippery Surfaces
Acceleration
Rapid acceleration on snow covered, wet, or other slippery
surfaces may cause the driving wheels to pull erratically to
the right or left. This phenomenon occurs when there is a
difference in the surface traction under the rear (driving)
wheels.
Driving Through Water
Driving through water more than a few inches/centimeters
deep will require extra caution to ensure safety and prevent
damage to your vehicle.
WARNING!
Rapid acceleration on slippery surfaces is dangerous.
Unequal traction can cause sudden pulling of the rear
wheels. You could lose control of the vehicle and
possibly have a collision. Accelerate slowly and carefully
whenever there is likely to be poor traction (ice, snow,
wet, mud, loose sand, etc.).5
2020_DT_1500_OM_US.book Page 427