headlamp Ram 1500 2020 Owner's Manual
[x] Cancel search | Manufacturer: RAM, Model Year: 2020, Model line: 1500, Model: Ram 1500 2020Pages: 674, PDF Size: 32.69 MB
Page 5 of 674

3
Ventilated Seats — If Equipped .................................. 52
Plastic Grocery Bag Retainers ..................................... 54
HEAD RESTRAINTS ......................................................... 54
Front Head Restraints ................................................... 54
Rear Head Restraints .................................................... 55
STEERING WHEEL ............................................................ 56
Tilt/Telescoping Steering Column ............................. 56
Heated Steering Wheel — If Equipped ..................... 57
DRIVER ADJUSTABLE PEDALS — IF EQUIPPED ...... 58
MIRRORS ............................................................................ 59
Inside Day/Night Mirror — If Equipped ................. 59
Automatic Dimming Mirror — If Equipped ............ 60
Outside Mirrors ............................................................ 61
Driver's Outside Automatic Dimming Mirror — If
Equipped......................................................................... 61
Power Mirrors — If Equipped .................................... 61
Power Folding Outside Mirrors For Standard And
Trailer Tow — If Equipped .......................................... 62
Trailer Towing Mirrors — If Equipped ..................... 64
Heated Mirrors — If Equipped ................................... 65
Tilt Side Mirrors In Reverse — If Equipped .............. 65
Illuminated Vanity Mirror — If Equipped ................ 65
EXTERIOR LIGHTS ............................................................ 66
Headlight Switch ........................................................... 66
Daytime Running Lights (DRLs) — If Equipped ..... 67
Multifunction Lever .....................................................68
High/Low Beam Switch ...............................................68
Automatic High Beam Headlamp Control — If
Equipped ........................................................................68
Flash-To-Pass..................................................................69
Automatic Headlights — If Equipped........................70
Parking Lights And Panel Lights ................................70
Headlights On With Wipers (Available With
Automatic Headlights Only)........................................70
Headlight Delay .............................................................70
Lights-On Reminder......................................................71
Front Fog Lights — If Equipped .................................71
Turn Signals ...................................................................71
Lane Change Assist — If Equipped ............................71
Cargo Light With Bed Lights — If Equipped ............72
Battery Saver...................................................................73
INTERIOR LIGHTS ............................................................73
Courtesy Lights ..............................................................73
Illuminated Entry ..........................................................75
WINDSHIELD WIPERS AND WASHERS ......................75
Windshield Wipers........................................................75
Rain Sensing Wipers — If Equipped ..........................77
CLIMATE CONTROLS .....................................................78
Manual Climate Control Overview ............................78
Automatic Climate Control Overview .......................82
2020_DT_1500_OM_US.book Page 3
Page 70 of 674
68 GETTING TO KNOW YOUR VEHICLE
Multifunction Lever
The multifunction lever is located on the left side of the
steering column.Multifunction Lever
High/Low Beam Switch
Push the multifunction lever toward the instrument panel to
switch the headlights to high beam. Pulling the multifunc -
tion lever back toward the steering wheel will turn the low
beams back on, or shut the high beams off. High/Low Beam Switch
Automatic High Beam Headlamp Control — If
Equipped
The Automatic High Beam Headlamp Control system
provides increased forward lighting at night by automating
high beam control through the use of a digital camera
mounted on the inside rearview mirror or a windshield
mounted camera. These cameras detect vehicle specific light
and automatically switch from high beams to low beams
until the approaching vehicle is out of view.
2020_DT_1500_OM_US.book Page 68
Page 71 of 674
GETTING TO KNOW YOUR VEHICLE 69
NOTE:
• The Automatic High Beam Headlamp Control can beturned on or off by selecting “ON” under “Auto Dim High
Beams” within your Uconnect settings, as well as turning
the headlight switch to the AUTO position. Refer to
“Uconnect Settings” in “Multimedia” for further informa -
tion.
• Broken, muddy, or obstructed headlights and taillights of vehicles in the field of view will cause headlights to remain
on longer (closer to the vehicle). Also, dirt, film, and other
obstructions on the windshield or camera lens will cause
the system to function improperly.
If the windshield or Automatic High Beam Headlamp
Control mirror is replaced, the mirror must be re-aimed to
ensure proper performance. See a local authorized dealer.
To Activate
1. The Automatic High Beams are enabled through the Uconnect system. Refer to “Uconnect Settings” in “Multi -
media” for further information.
2. Turn the headlight switch to the AUTO headlight posi -
tion. 3. Push the multifunction lever away from you (toward
front of vehicle) to engage the high beam mode.
NOTE:
The Automatic High Beams will not activate until the vehicle
is at or above 12 mph (20 km/h).
To Deactivate
1. Pull the multifunction lever toward you (or rearward in vehicle) to manually deactivate the system (normal oper -
ation of low beams).
2. Push back on the multifunction lever to reactivate the system.
The Automatic High Beams can also be deactivated through
the Uconnect system. Refer to “Uconnect Settings” in “Multi -
media” for further information.
Flash-To-Pass
You can signal another vehicle with your headlights by
lightly pulling the multifunction lever toward you. This will
cause the high beam headlights to turn on, and remain on,
until the lever is released.
2
2020_DT_1500_OM_US.book Page 69
Page 265 of 674
SAFETY 263
(Continued)
Your vehicle may also be designed to perform any of these
other functions in response to the Enhanced Accident
Response System:
• Turn off the Fuel Filter Heater, Turn off the HVAC BlowerMotor, Close the HVAC Circulation Door
• Cut off battery power to the: • Engine
• Electric Motor (if equipped)
• Electric power steering
• Brake booster
• Electric park brake
• Automatic transmission gear selector
• Horn
• Front wiper
• Headlamp washer pump
NOTE:
After an accident, remember to cycle the ignition to the STOP
(OFF/LOCK) position and remove the key from the ignition
switch to avoid draining the battery. Carefully check the
vehicle for fuel leaks in the engine compartment and on the
ground near the engine compartment and fuel tank before
resetting the system and starting the engine. If there are no
fuel leaks or damage to the vehicle electrical devices (e.g. headlights) after an accident, reset the system by following
the procedure described below. If you have any doubt,
contact an authorized dealer.
Enhanced Accident Response System Reset Procedure
In order to reset the Enhanced Accident Response System
functions after an event, the ignition switch must be changed
from ignition START or ON/RUN to ignition OFF. Carefully
check the vehicle for fuel leaks in the engine compartment
and on the ground near the engine compartment and fuel
tank before resetting the system and starting the engine.
Maintaining Your Air Bag System
WARNING!
• Modifications to any part of the air bag system could cause it to fail when you need it. You could be injured
if the air bag system is not there to protect you. Do not
modify the components or wiring, including adding
any kind of badges or stickers to the steering wheel hub
trim cover or the upper passenger side of the instru -
ment panel. Do not modify the front bumper, vehicle
body structure, or add aftermarket side steps or
running boards.
4
2020_DT_1500_OM_US.book Page 263
Page 300 of 674
298 STARTING AND OPERATING
The park brake switch is located on the instrument panel to
the left of the steering wheel (below the headlamp switch).Electric Park Brake Switch
To apply the park brake manually, pull up on the switch
momentarily. You may hear a slight whirring sound from
the back of the vehicle while the park brake engages. Once
the park brake is fully engaged, the BRAKE telltale light in
the instrument cluster and an indicator on the switch will
illuminate. If your foot is on the brake pedal while you apply
the park brake, you may notice a small amount of brake
pedal movement. The park brake can be applied even when
the ignition switch is OFF but the BRAKE telltale light will
not illuminate, however, it can only be released when the
ignition is in the ON/RUN mode. NOTE:
The EPB fault light will illuminate if the EPB switch is held
for longer than 20 seconds in either the released or applied
position. The light will extinguish upon releasing the switch.
If the Auto Park Brake feature is enabled, the parking brake
will automatically engage whenever the transmission is
placed into PARK. If your foot is on the brake pedal, you may
notice a small amount of brake pedal movement while the
park brake is engaging.
The park brake will release automatically when the ignition
is ON, the transmission is in DRIVE or REVERSE, the driver
seat belt is buckled, and an attempt is made to drive away.
To release the park brake manually, the ignition switch must
be in the ON/RUN mode. Put your foot on the brake pedal,
then push the park brake switch down momentarily. You
may hear a slight whirring sound from the back of the
vehicle while the parking brake disengages. You may also
notice a small amount of movement in the brake pedal. Once
the park brake is fully disengaged, The BRAKE telltale light
in the instrument cluster and the LED indicator on the switch
will extinguish.
2020_DT_1500_OM_US.book Page 298
Page 438 of 674

436 IN CASE OF EMERGENCY
General Information
The following regulatory statement applies to all radio
frequency (RF) devices equipped in this vehicle:
This device complies with Part 15 of the FCC Rules and with
Innovation, Science and Economic Development Canada
Operation is subject to the following two conditions:
1. This device may not cause harmful interference, and
2. This device must accept any interference received,including interference that may cause undesired opera -
tion. NOTE:
Changes or modifications not expressly approved by the
party responsible for compliance could void the user's
authority to operate the equipment.
BULB REPLACEMENT
Replacement Bulbs
All of the inside bulbs are brass or glass-wedge base.
Aluminum base bulbs are not approved.
Interior Bulbs
Bulb Name Bulb Number
Overhead Console Lamps TS 212–9
Dome Lamp 7679
NOTE:
For lighted switches, see an authorized dealer for replacement instructions.
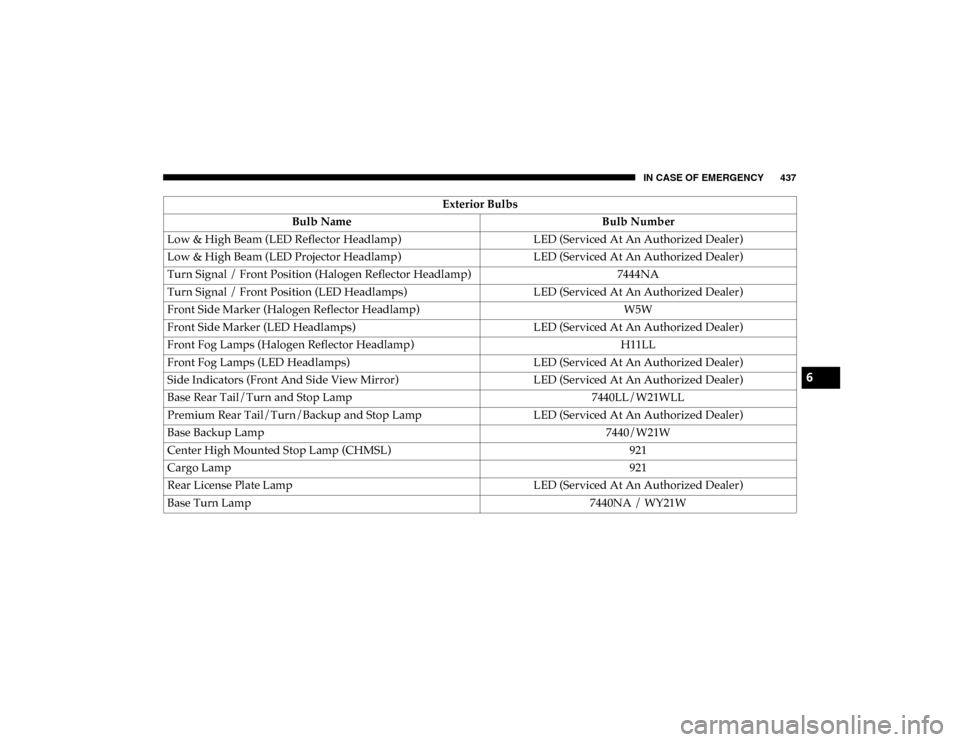
Exterior Bulbs
Bulb Name Bulb Number
Low Beam (Halogen Reflector Headlamp) H11LL
High Beam (Halogen Reflector Headlamp) 9005LL
2020_DT_1500_OM_US.book Page 436
Page 439 of 674
IN CASE OF EMERGENCY 437
Low & High Beam (LED Reflector Headlamp)LED (Serviced At An Authorized Dealer)
Low & High Beam (LED Projector Headlamp) LED (Serviced At An Authorized Dealer)
Turn Signal / Front Position (Halogen Reflector Headlamp) 7444NA
Turn Signal / Front Position (LED Headlamps) LED (Serviced At An Authorized Dealer)
Front Side Marker (Halogen Reflector Headlamp) W5W
Front Side Marker (LED Headlamps) LED (Serviced At An Authorized Dealer)
Front Fog Lamps (Halogen Reflector Headlamp) H11LL
Front Fog Lamps (LED Headlamps) LED (Serviced At An Authorized Dealer)
Side Indicators (Front And Side View Mirror) LED (Serviced At An Authorized Dealer)
Base Rear Tail/Turn and Stop Lamp 7440LL/W21WLL
Premium Rear Tail/Turn/Backup and Stop Lamp LED (Serviced At An Authorized Dealer)
Base Backup Lamp 7440/W21W
Center High Mounted Stop Lamp (CHMSL) 921
Cargo Lamp 921
Rear License Plate Lamp LED (Serviced At An Authorized Dealer)
Base Turn Lamp 7440NA / WY21W
Exterior Bulbs
Bulb Name Bulb Number
6
2020_DT_1500_OM_US.book Page 437
Page 440 of 674
438 IN CASE OF EMERGENCY
Replacing Exterior Bulbs
Base Quad: Low Beam Headlamp, High Beam Headlamp,
Front Park And Turn — If Equipped
Low Beam
1. Open the hood.
2. Disconnect and isolate the negative battery cable.
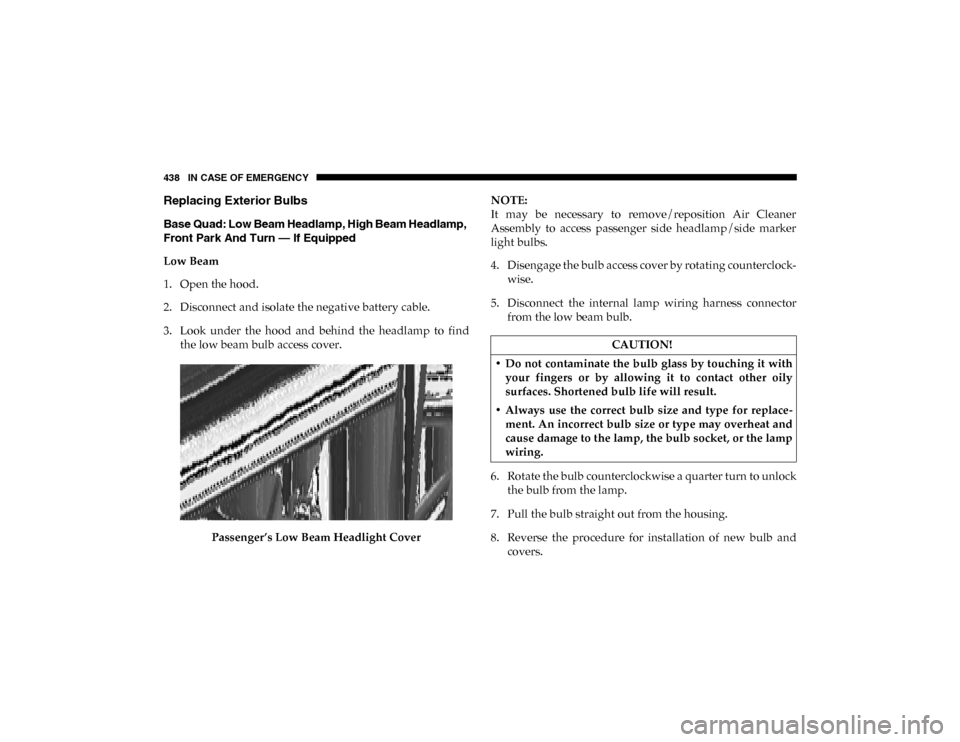
3. Look under the hood and behind the headlamp to findthe low beam bulb access cover.
Passenger’s Low Beam Headlight Cover NOTE:
It may be necessary to remove/reposition Air Cleaner
Assembly to access passenger side headlamp/side marker
light bulbs.
4. Disengage the bulb access cover by rotating counterclock
-
wise.
5. Disconnect the internal lamp wiring harness connector from the low beam bulb.
6. Rotate the bulb counterclockwise a quarter turn to unlock the bulb from the lamp.
7. Pull the bulb straight out from the housing.
8. Reverse the procedure for installation of new bulb and covers.
CAUTION!
• Do not contaminate the bulb glass by touching it with your fingers or by allowing it to contact other oily
surfaces. Shortened bulb life will result.
• Always use the correct bulb size and type for replace -
ment. An incorrect bulb size or type may overheat and
cause damage to the lamp, the bulb socket, or the lamp
wiring.
2020_DT_1500_OM_US.book Page 438
Page 441 of 674
IN CASE OF EMERGENCY 439
High Beam
1. Open the hood.
2. Disconnect and isolate the negative battery cable.
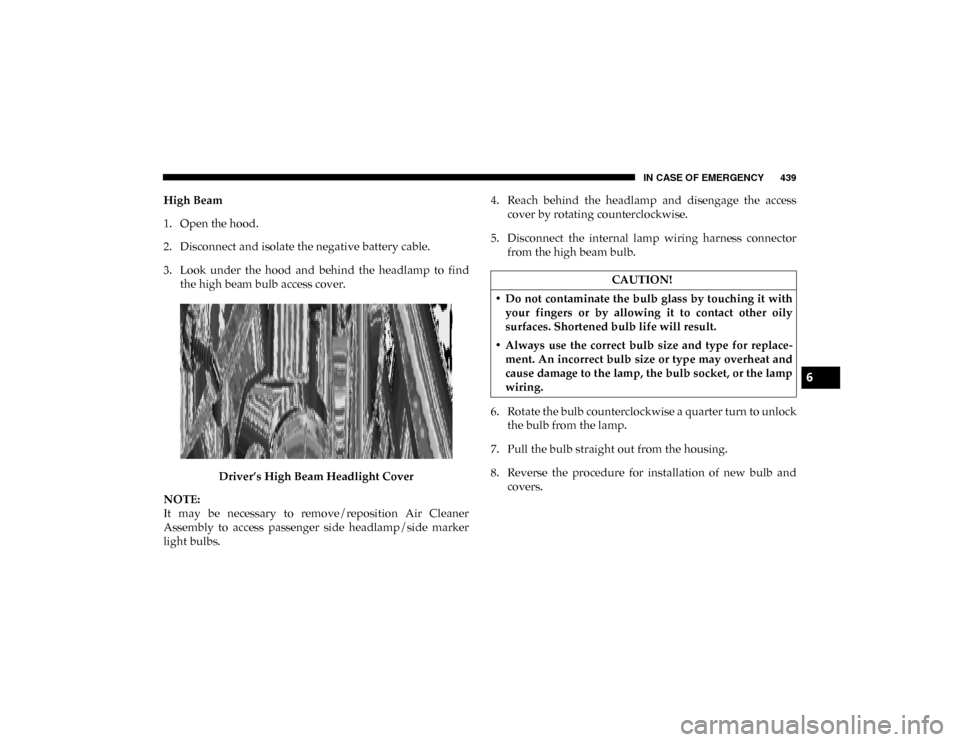
3. Look under the hood and behind the headlamp to findthe high beam bulb access cover.
Driver’s High Beam Headlight Cover
NOTE:
It may be necessary to remove/reposition Air Cleaner
Assembly to access passenger side headlamp/side marker
light bulbs. 4. Reach behind the headlamp and disengage the access
cover by rotating counterclockwise.
5. Disconnect the internal lamp wiring harness connector from the high beam bulb.
6. Rotate the bulb counterclockwise a quarter turn to unlock the bulb from the lamp.
7. Pull the bulb straight out from the housing.
8. Reverse the procedure for installation of new bulb and covers.
CAUTION!
• Do not contaminate the bulb glass by touching it with your fingers or by allowing it to contact other oily
surfaces. Shortened bulb life will result.
• Always use the correct bulb size and type for replace -
ment. An incorrect bulb size or type may overheat and
cause damage to the lamp, the bulb socket, or the lamp
wiring.
6
2020_DT_1500_OM_US.book Page 439
Page 442 of 674
440 IN CASE OF EMERGENCY
Front Park And Turn
1. Open the hood.
2. Disconnect and isolate the negative battery cable.
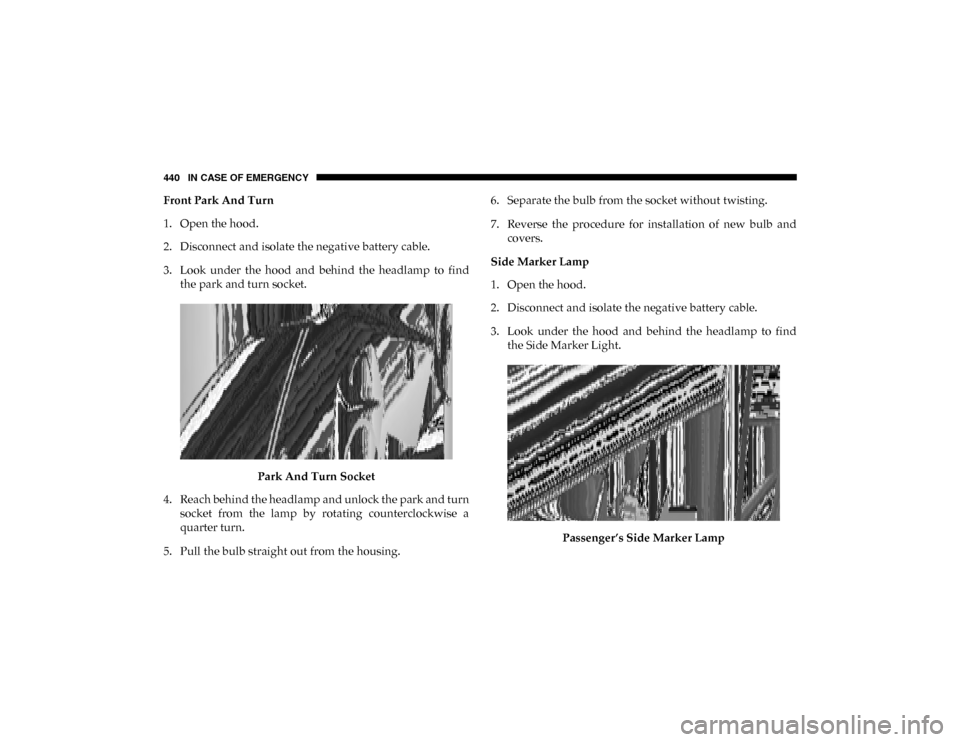
3. Look under the hood and behind the headlamp to findthe park and turn socket.
Park And Turn Socket
4. Reach behind the headlamp and unlock the park and turn socket from the lamp by rotating counterclockwise a
quarter turn.
5. Pull the bulb straight out from the housing. 6. Separate the bulb from the socket without twisting.
7. Reverse the procedure for installation of new bulb and
covers.
Side Marker Lamp
1. Open the hood.
2. Disconnect and isolate the negative battery cable.
3. Look under the hood and behind the headlamp to find the Side Marker Light.
Passenger’s Side Marker Lamp
2020_DT_1500_OM_US.book Page 440