Uconnect Ram 2500 2018 Quick Reference Guide
[x] Cancel search | Manufacturer: RAM, Model Year: 2018, Model line: 2500, Model: Ram 2500 2018Pages: 20, PDF Size: 0.98 MB
Page 2 of 20
Automatic High Beam —
If Equipped
The Automatic High Beam system provides
increased forward lighting at night by automat-
ing high beam control through the use of a
digital camera mounted above the inside rear-
view mirror. This camera detects vehicle spe-
cific light and automatically switches from high
beams to low beams until the approaching
vehicle is out of view. This feature is program-
mable through the Uconnect system.
NOTE:
For further information, and applicable warnings
and cautions, please refer to the Owner’s Manual
at
www.mopar.com/en-us/care/owners-manual.html
(U.S. Residents) orwww.owners.mopar.ca(Cana-
dian Residents).
Parkview Rear Back-Up Camera —
If Equipped
You can see an on-screen image of the rear of
your vehicle whenever the transmission is
shifted into REVERSE. The ParkView Rear
Back-Up Camera image will be displayed on the
Uconnect Display, located on the center stack
of the instrument panel.
For further information, and applicable warnings
and cautions, please refer to the Owner’s Manual
atwww.mopar.com/en-us/care/owners-manual.html
(U.S. Residents) orwww.owners.mopar.ca(Cana-
dian Residents).
Cargo Light With Bed Lights —
If Equipped
• The cargo light and bed lights (if equipped)
are turned on by pushing on the cargo lights
button located under the headlight switch.
• If the vehicle’s speed is 0 mph (0 km/h), these lights can also be turned on using the
switch located just inside the pickup box.
A telltale will illuminate in the instrument
cluster display when this lights are on. Push-
ing the switch a second time will turn the
lights off.
LIGHTS PARKVIEW CARGO FEATURES
Page 3 of 20
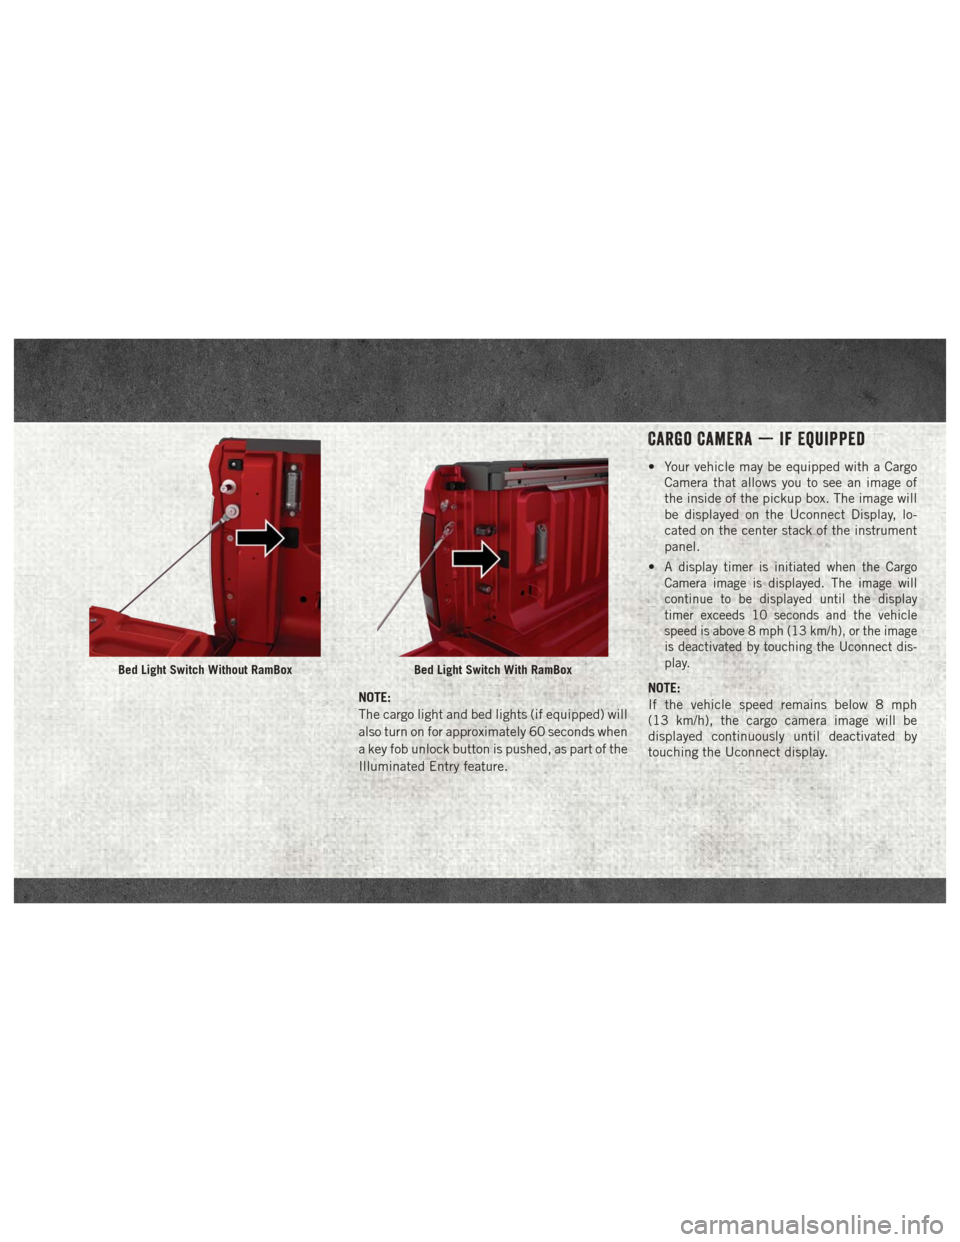
NOTE:
The cargo light and bed lights (if equipped) will
also turn on for approximately 60 seconds when
a key fob unlock button is pushed, as part of the
Illuminated Entry feature.
Cargo Camera — If Equipped
• Your vehicle may be equipped with a CargoCamera that allows you to see an image of
the inside of the pickup box. The image will
be displayed on the Uconnect Display, lo-
cated on the center stack of the instrument
panel.
•
A display timer is initiated when the Cargo
Camera image is displayed. The image will
continue to be displayed until the display
timer exceeds 10 seconds and the vehicle
speed is above 8 mph (13 km/h), or the image
is deactivated by touching the Uconnect dis-
play.
NOTE:
If the vehicle speed remains below 8 mph
(13 km/h), the cargo camera image will be
displayed continuously until deactivated by
touching the Uconnect display.
Bed Light Switch Without RamBoxBed Light Switch With RamBox
Page 12 of 20
• There is an electric heater inside the DEFtank that automatically works when neces-
sary. And if the DEF supply does freeze, the
truck will operate normally until it thaws.
• Ensure the DEF cap is reinstalled prior to filling vehicle with diesel fuel to avoid spill-
ing diesel fuel into the DEF Filler.
AUXILIARY SWITCHES
There can be up to five auxiliary switches located
in the lower switch bank of the instrument panel,
which can all be used to power various electronic
devices and PTO (Power Take Off) – if equipped.
Connections to the switches are found under the
hood in the connectors attached to the auxiliary
Power Distribution Center.
The system has the ability to configure the
functionality of the auxiliary switches via the
Instrument Cluster Display. All switches can
now be configured for ignition or battery power,
saving or not saving the state across a key cycle,
and momentary or latching switch operation. For further information on using the auxiliary
switches, please refer to the Ram Body Builders
Guide by accessing
www.rambodybuilder.com
and choosing the appropriate links.
For general questions on upfitting commercial
vehicles, including:
• Loose rear park assist installation
• Programmable auxiliary switches
• PTO (Power Take Off) system
• Wiring diagrams
• Vehicle dimensions
• Snow plow installation
• Weight charts and trailer towing
Please consult the Body Builders Guide at
www.rambodybuilder.com.For further information, and applicable warnings
and cautions, please refer to the Owner’s Manual at
www.mopar.com/en-us/care/owners-manual.html
(U.S. Residents) or www.owners.mopar.ca (Cana-
dian Residents).
USB Port
Uconnect Media Hub
1 — USB Port
2 — AUX Jack
3 — USB Port
FRONT USB PORT/AUDIO
JACK (AUX) PORT
Page 13 of 20
This feature allows an iPod or external USB
device to be plugged into the USB port. The
USB port supports certain iPod and iPhone
devices. The USB port also supports playing
music from external USB devices. Some iPod
software versions may not fully support the USB
port features. Please visit Apple’s website for
iPod software updates. Connect your iPod or
compatible device using a USB cable con-
nected to the USB port. USB memory sticks
with audio files can also be used. Then, audio
from the device can be played on the vehicle’s
sound system while providing the artist, track
title, and album information on the radio dis-
play (if available on device). When connected,
the iPod/USB device can be controlled using
the radio or steering wheel audio controls to
play, skip to the next or previous track, browse,
and list the contents.AUX/Audio Jack
The AUX/audio jack provides a means to con-
nect a portable audio device, such as an
MP3 player, to the vehicle’s sound system. This
requires the use of a 3.5 mm stereo audio patch
cable. AUX mode is entered by pushing the
Media button. Once in Media mode, select the
AUX button when the audio jack is connected.
Volume on the connected device may need to
be adjusted to optimize audio quality.
Access your Owner’s Information right through
your Uconnect 4C or 4C NAV touchscreen system
— If Equipped.
To access the Vehicle User Guide on your
Uconnect Touchscreen: Press the Uconnect
Appsbutton, then press the Vehicle User Guide
icon on your touchscreen. No Uconnect regis-
tration is required.
NOTE:
Vehicle User Guide features are not available
while the vehicle is moving. If you try to access
while the vehicle is in motion, the system will
display: Feature not available while the vehicle
is in motion.
Pre-Installed Features
Your User Guide —
Updated in real-time Available when and
where you need it
Touchscreen convenience Customizable interface
Maintenance schedules
and informationMultilingual
Comprehensive icon & symbol glossary
VEHICLE USER GUIDE
Page 14 of 20
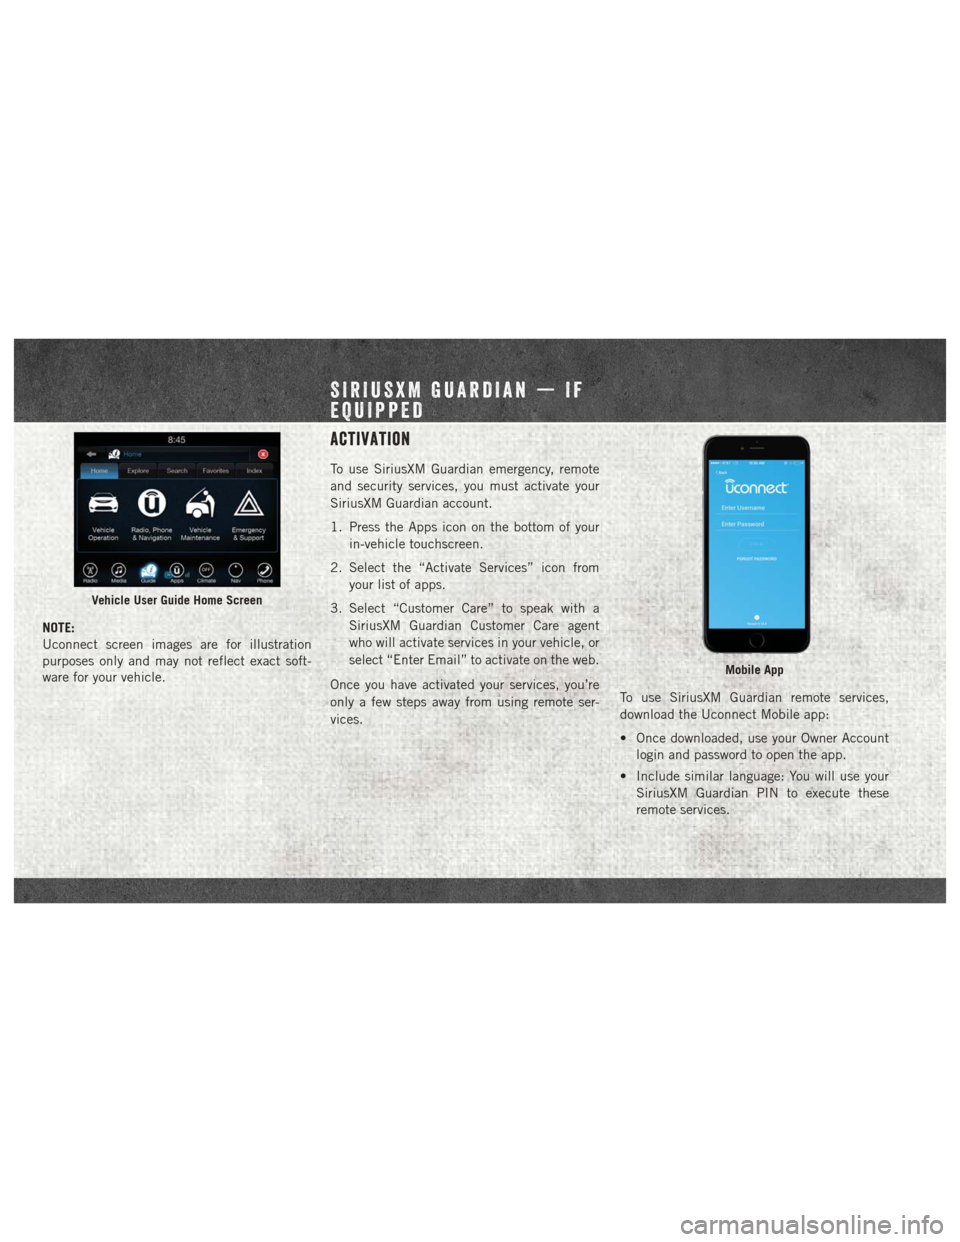
NOTE:
Uconnect screen images are for illustration
purposes only and may not reflect exact soft-
ware for your vehicle.
Activation
To use SiriusXM Guardian emergency, remote
and security services, you must activate your
SiriusXM Guardian account.
1. Press the Apps icon on the bottom of yourin-vehicle touchscreen.
2. Select the “Activate Services” icon from your list of apps.
3. Select “Customer Care” to speak with a SiriusXM Guardian Customer Care agent
who will activate services in your vehicle, or
select “Enter Email” to activate on the web.
Once you have activated your services, you’re
only a few steps away from using remote ser-
vices. To use SiriusXM Guardian remote services,
download the Uconnect Mobile app:
• Once downloaded, use your Owner Account
login and password to open the app.
• Include similar language: You will use your SiriusXM Guardian PIN to execute these
remote services.
Vehicle User Guide Home Screen
Mobile App
SIRIUSXM GUARDIAN — IF
EQUIPPED
Page 15 of 20
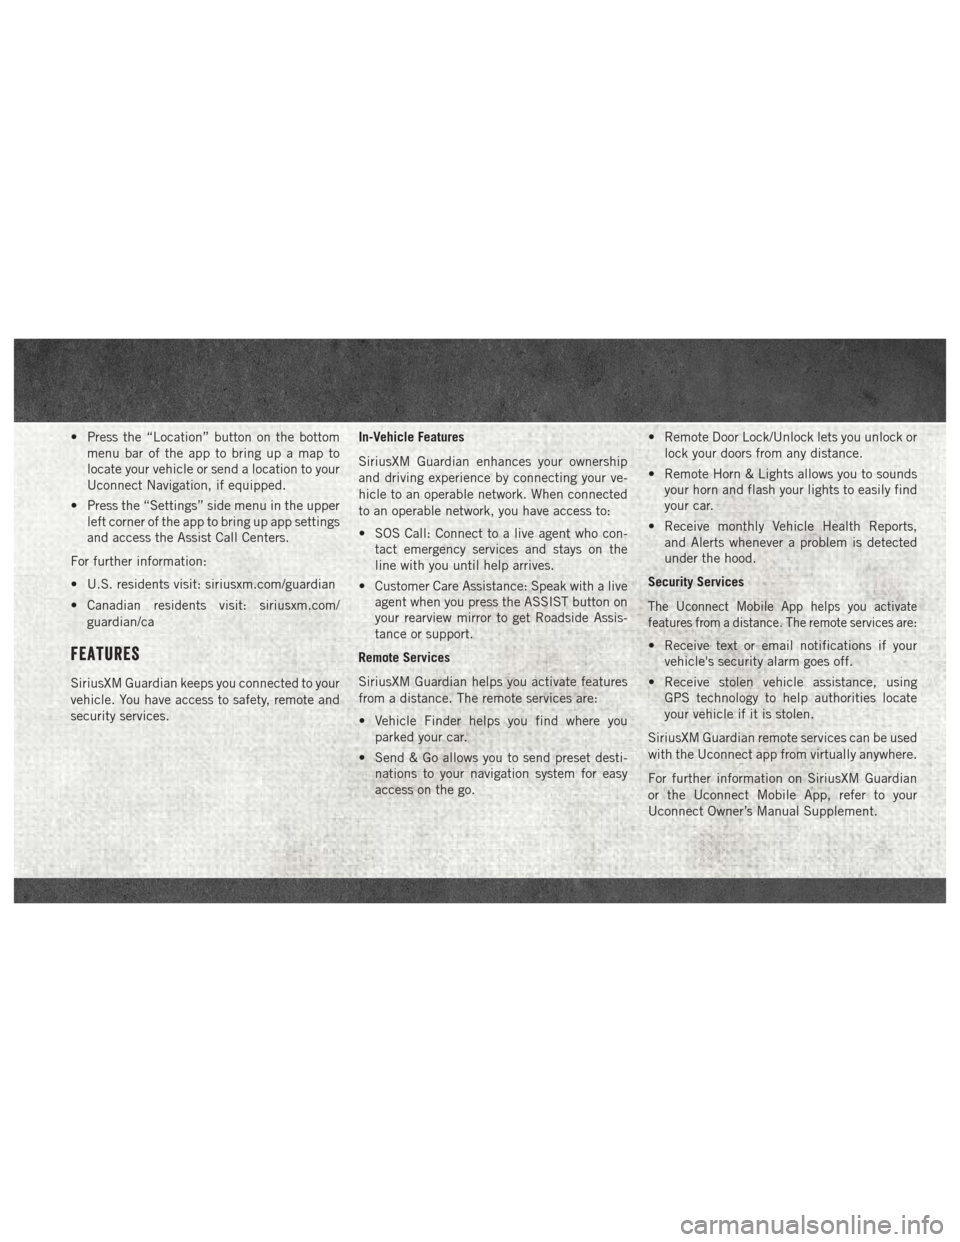
• Press the “Location” button on the bottommenu bar of the app to bring up a map to
locate your vehicle or send a location to your
Uconnect Navigation, if equipped.
• Press the “Settings” side menu in the upper left corner of the app to bring up app settings
and access the Assist Call Centers.
For further information:
• U.S. residents visit: siriusxm.com/guardian
• Canadian residents visit: siriusxm.com/ guardian/ca
Features
SiriusXM Guardian keeps you connected to your
vehicle. You have access to safety, remote and
security services. In-Vehicle Features
SiriusXM Guardian enhances your ownership
and driving experience by connecting your ve-
hicle to an operable network. When connected
to an operable network, you have access to:
• SOS Call: Connect to a live agent who con-
tact emergency services and stays on the
line with you until help arrives.
• Customer Care Assistance: Speak with a live agent when you press the ASSIST button on
your rearview mirror to get Roadside Assis-
tance or support.
Remote Services
SiriusXM Guardian helps you activate features
from a distance. The remote services are:
• Vehicle Finder helps you find where you parked your car.
• Send & Go allows you to send preset desti- nations to your navigation system for easy
access on the go. • Remote Door Lock/Unlock lets you unlock or
lock your doors from any distance.
• Remote Horn & Lights allows you to sounds your horn and flash your lights to easily find
your car.
• Receive monthly Vehicle Health Reports, and Alerts whenever a problem is detected
under the hood.
Security Services
The Uconnect Mobile App helps you activate
features from a distance. The remote services are:
• Receive text or email notifications if your vehicle's security alarm goes off.
• Receive stolen vehicle assistance, using GPS technology to help authorities locate
your vehicle if it is stolen.
SiriusXM Guardian remote services can be used
with the Uconnect app from virtually anywhere.
For further information on SiriusXM Guardian
or the Uconnect Mobile App, refer to your
Uconnect Owner’s Manual Supplement.
Page 16 of 20
Vehicle Finder And Send & Go
Two of the most convenient remote features of
the Uconnect Mobile App are Vehicle Finder
and Send & Go.
Vehicle Finder
Vehicle Finder allows you to find the location of
your vehicle when you have lost it. You can also
sound the alarm and flash the lights to make
finding your vehicle even easier. To find your
vehicle:
1. Press the “Location” tab on the UconnectMobile App bottom bar.
2. Select the “Vehicle” icon to determine the location of your vehicle.
3. Select the “Find Route” button that ap- pears, once your vehicle is located.
4. Select your preferred Navigation App to route a path to your vehicle. Send & Go
Send & Go allows you to search for a destination
on your mobile device and then send the route
to your vehicle’s native navigation system. To
send a navigation route to your vehicle:
1. Press the “Location” tab on the Uconnect
Mobile App bottom bar.
2. Either type in the destination you would like to navigate to, or search through one of the
categories provided.
3. Select the destination you want to route to from the list that appears.
4. Press the “Send To Vehicle” button, and then confirm the destination by pressing
“Yes,” to send the navigation route to the
Uconnect Navigation in your vehicle.
5. Finally, confirm the route inside your vehicle by pressing the “Go Now” option on the
pop-up that appears on the touchscreen,
when the vehicle is started. NOTE:
The Owner’s Mobile App content is applicable
to vehicles sold in the U.S. market and are
not available from the Canadian App Store or
Google Play Store.
Key Features
• Owner Information For Your Vehicle
• Accident Assistant
• Online Service Scheduling
• Roadside Assistance
• Maintenance History
• And More
To get this FREE application, go directly to the
App Store or Google Play Store and enter the
search keyword “RAM TOOLBOX”.
RAM TOOL BOX MOBILE APP
Page 20 of 20
18DS-QRG-AA
RAM TRUCKS 1500/2500/3500
Second EDITION
QUICK REFERENCE GUIDE
©2017 FCA US LLC. ALL RIGHTS RESERVED. RAM IS A REGISTERED TRADEMARK OF FCA US LLC.
Whether it’s providing information about specifi c product features, taking a tour through your vehicle’s heritage,
knowing what steps to take following an accident, or scheduling your nex\
t appointment, we know you’ll fi nd the
app an important extension of your RAM vehicle. Simply download the app, select your\
make and model and enjoy
the ride. To get this app, go directly to the App Store or Google Play and enter th\
e search keyword “ram toolbox”
(U.S. residents only).
WWW.RAMTRUCKS.COM/EN/OWNERS (U.S.) or WWW.OWNERS.MOPAR.CA (CANADA) provides special offers tailored to
your needs, customized vehicle galleries, personalized service records and more. To get this information, just create an account
and check back often.
GET WARRANTY AND OTHER INFORMATION ONLINE – YOU CAN REVIEW AND PRINT OR DOWNLOAD A COPY OF THE
OWNER’S MANUAL, NAVIGATION/UCONNECT MANUALS AND THE LIMITED WARRANTIES PROVIDED BY FCA US LLC
FOR YOUR VEHICLE BY VISITING WWW.MOPAR.COM (U.S.) or WWW.OWNERS.MOPAR.CA (CANADA). CLICK ON THE
APPLICABLE LINK IN THE “POPULAR TOPICS” AREA OF THE WWW.MOPAR.COM (U.S.) or WWW.OWNERS.MOPAR.CA
(CANADA) HOME PAGE AND FOLLOW THE INSTRUCTIONS TO SELECT THE APPLICABLE YEAR, MAKE AND \
MODEL
OF YOUR VEHICLE.
Download a FREE electronic copy of the most up-to-date
Owner’s Manual, Media and Warranty Booklet by visiting:
WWW.MOPAR.COM/EN-US/CARE/OWNERS-MANUAL.HTML (U.S. RESIDENTS);
WWW.OWNERS.MOPAR.CA (CANADIAN RESIDENTS).
RAMTRUCKS.COM (U.S.)
ramtrucks.ca (CANADA)